by Bobbie Bohack -Jackson
I will be honest here – I myself am fairly new to soaping. Out of a desire to use our fresh goat milk, and a love for all things creative, I have taken on the soaping challenge by jumping in with both feet! There have been some bumps in the road (a seized batch and one separated batch) that nearly discouraged me altogether…but I have also found a way to combat some of my own “newbie fears” and that is with whipped soap.
The ultimate in “soaping cold”, whipped soap can be a great way to experiment with colors, using alternatives to water such as milk, and fragrances that can be a challenge sometimes for a beginner! It allows you time to play with swirls, add fragrance oils that can accelerate trace without much worry, and is just plain fun (it does float in the tub after all). Always be careful of course where lye is concerned, keeping your safety equipment such as gloves and goggles in use – even fluffy whipped soap can bite.
Any soap recipe works as long as it has more hard oils than soft oils! My favorite recipe is as follows:
8 oz Coconut Oil (76 degree)
10 oz Lard
8 oz Palm Oil
5 oz Olive Oil
2 oz Safflower Oil
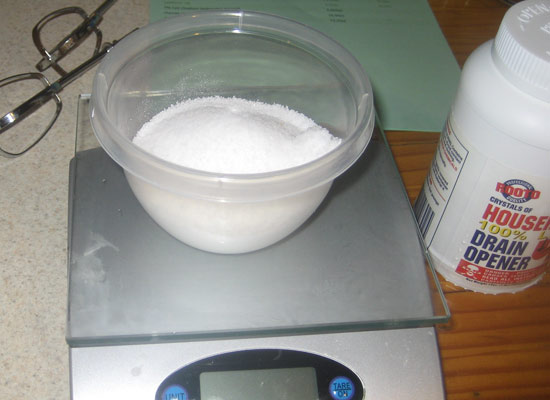
4.5 oz Lye
10.5 oz Liquid (water or milk in my case) 10.5oz
2 oz. Rustic Escentuals body safe fragrance oil
The superfat on this is 7%
Always be sure to run everything through a lye calculator and use a quality scale to weigh your ingredients! Also, be sure to have dedicated soap making tools – from pots and pans to mixing/blending equipment – it’s just best that way.
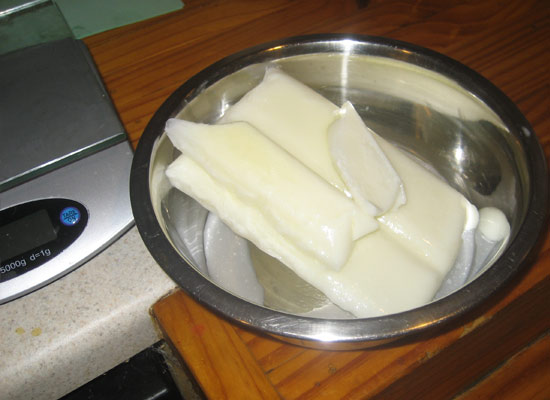
Start by weighing out all your ingredients and having them ready to go – preparedness helps the process of soap making go much smoother. Then we begin with the “hard oils” – anything that is solid or close to it at room temp – in this case it will be the palm oil (first melted, mixed up and weighed then allowed to cool), coconut oil and lard.
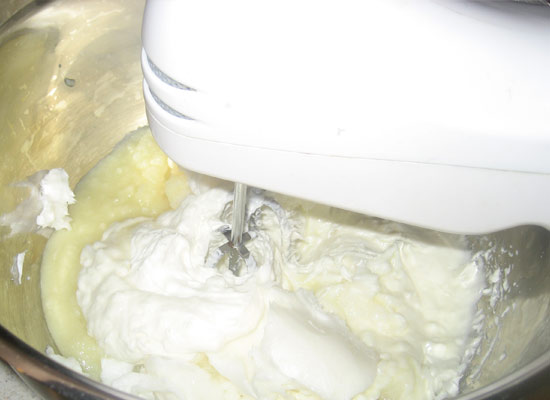
A stand mixer works best but a hand blender will do the job as well…
Beat them, whip them, fluff them! A stand mixer is glorious for this, but a regular hand blender will do the job as well. You are looking for the oils to double in size and take on a fluff much like whipped cream or cool whip has..
oils will double in size and take on a Cool Whip type consistency
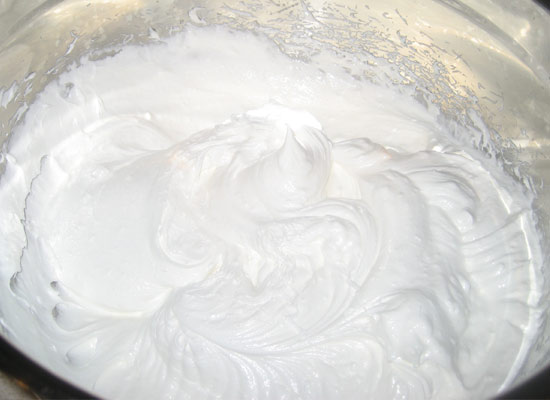
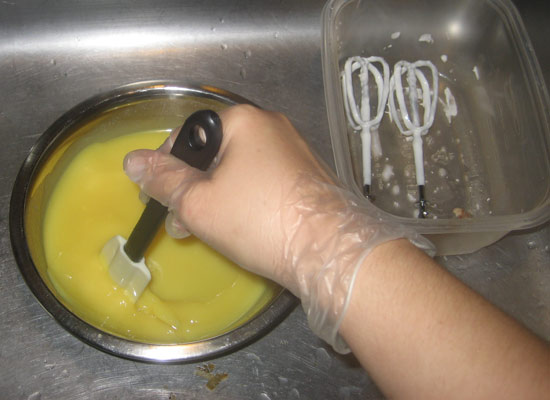
See how they have doubled in size almost and form stiff peaks? That’s perfect! Now, add your soft oils (the olive oil and safflower oil in this recipe) and whip some more. The texture will change, become a tad bit more liquid and less “fluff” at this point, but that is fine. See here….
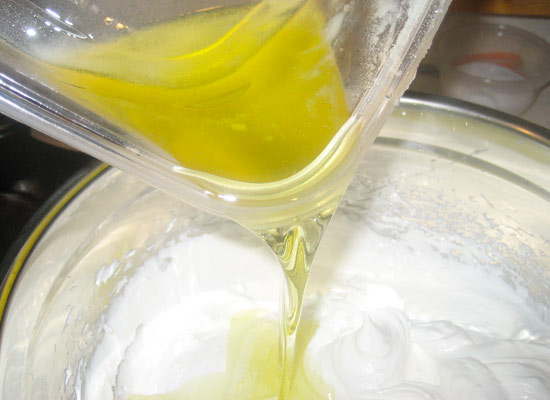
time to add the soft (liquid) oils and whip some more
Notice how we have a very white, airy almost dry appearance and consistency before whipping in the soft oils?
Do you see how it has already become a tad bit more “wet looking”? That’s just fine too – it still has those lovely stiff peaks!
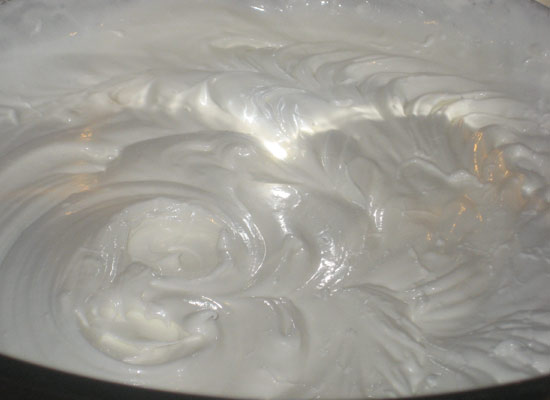
it’s a bit more “wet looking” but has lovely, stiff peaks!
Here’s my next favorite bit – since you don’t have to stress over temperature changes in your oils, now is when I get my lye solution ready! I can wait until the last minute to have the lye mixed up – thus leaving less chance an errant husband will come through and find it (or a small child if you have them about!) I have my oils whipped and ready, fix up my lye and it goes straight into my oils. Since I am using goat milk in place of water, and I do not want my lye solution to heat up too much, I start with frozen goat milk which has been weighed prior to freezing. Frozen ice cubes of distilled water work as well if you do not want to use milk. Here it is – I leave it out to thaw a bit as I whip my oils, but I don’t stress too much if it is still solid when I start adding my lye.
I start with frozen goat milk to prevent the lye solution from heating up too much
Suit up in your gloves and goggles, and S L O W L Y add your lye to your liquids. Remember always “snow falling on water” – NEVER add liquid to the lye, ALWAYS lye in to liquid!
remember: NEVER add liquid to your lye, ALWAYS add lye to your liquid!
Slowly and carefully add your lye to your liquid – I don’t mind if my milk heats up a tad, or turns a tad bit yellow (which it does) but I also lack patience. If you want to avoid this, keep your lye mixture surrounded by an ice water bath…but I have noticed no difference in my final soaps with bright yellow lye mix or not. See….(yes I have gloves on, the thin latex ones so I could operate the camera)
if desired, keep your lye mixture surrounded by an ice water bath to avoid the yellow color
My milk has thickened and turned a bit yellow…but when I strain it into my oils and blend it in, you can’t tell in the end! Don’t forget to let your water run over your lye equipment to rinse it well as you blend your lye mixture into your oils….
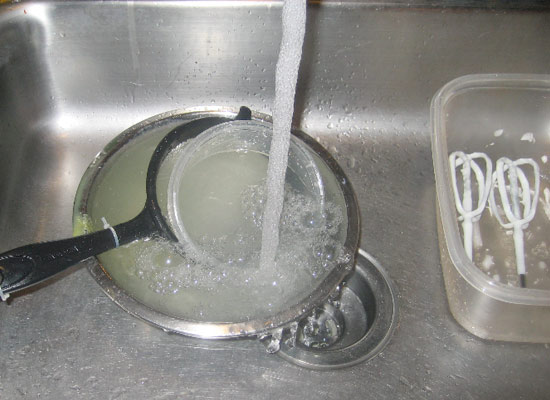
let your water run over your lye equipment to rinse it well
One other note so many people seem to skip over – the temperature of the lye is not crucial but can affect your final soap! The warmer it is when you add the lye mixture to your oils, the more it melts them and you end up with a ‘semi-whipped soap’. Still a viable, good bar of soap, still floats, but not as fluffy in texture. I actually tend to prefer my lye mix a tad bit hot and my oils a bit melted. I like that slightly more solid bar it gives, and thus do not worry over keeping my mix super chilled like many others do.
Here comes the fun part! You have a little time to work with and play with this whipped soap that is not always the case with old fashioned cold process soap! Especially if you are like me and tend to ‘over beat’ things…I am a chronic over-whipper and I freely admit it – it is hard for me to stop at light trace. With whipped soap that is not an issue.
First I added some Lavender and Chamomile Fragrance Oil from Rustic Escentuals. For this recipe I use 1oz of fragrance oil per pound of oils – in this case 2 oz. (Always be sure to weigh out your fragrance as you would any other component of the soap and follow your manufacturer’s specifications. You can often add more or less of many scents based on your own preferences and always be sure to use a fragrance oil that is safe for bath and body products!)….now, the last time I used anything floral, the soap gremlins attacked and the time before that as well! Of course, that was doing traditional cold process soap….This time however with WHIPPED SOAP…nothing! Maybe a tad bit of thickening, but over all NOTHING to discourage, dishearten or otherwise frustrate and confuse!
Okay…so now what…hmm…some color?
How about a purple swirly top? I did swirl it down into the soap, and changed up the top a bit….
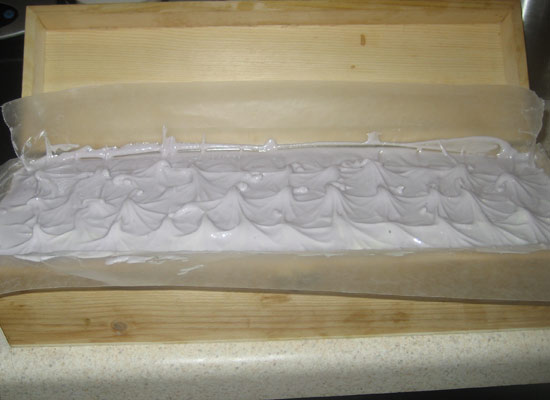
how about a purple swirly top?
The next thing I do is walk away! I stick that bad boy in the freezer over night, pull it out and stuff it back into the corner of a counter top the next day and leave it there for a few days before I cut it! Remember, whipped soap does not gel like traditional cold process soap and stay a bit ‘zappy’ for several days – so walk away from your loaf and be patient. Sure, whipped soap can be a tad bit difficult to get a smooth cut on…but it’s worth it! Three days later we had this as the final product:
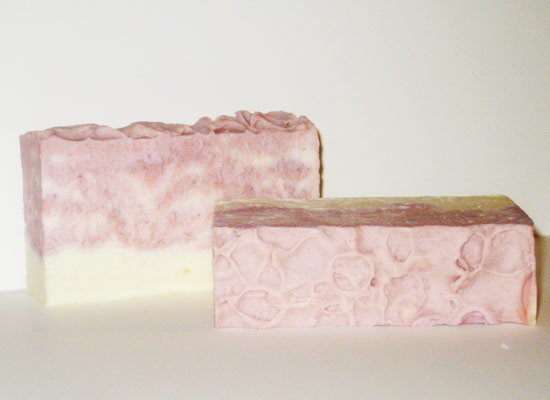
the final product – our purple swirled top whipped goat milk soap!
I still haven’t mastered the “spoon swirl” yet…can you tell? But the point here is that with whipped soap as my base I had plenty of time to play with it!
Also…one other thing I truly love about whipped soap is this, just look:
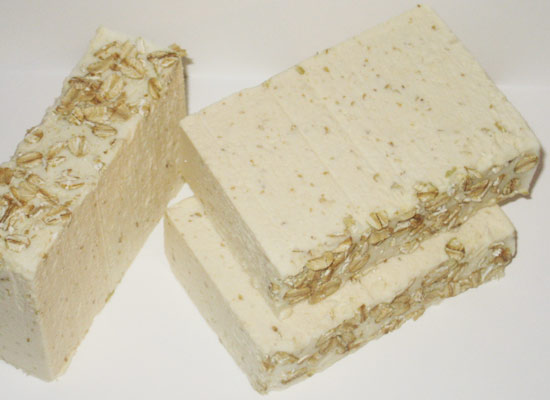
yummy, delicious oatmeal milk and honey whipped soap!
That is oatmeal, goat milk AND honey – all in one soap and it did not turn brown at all, has no titanium dioxide or other whitening agents added. Just yummy, delicious oatmeal milk and honey fragrance oil from Rustic Escentuals – it did turn a slight creamy/tan color from that…but it never threatened to over heat or turned that dark tan that milk and honey soaps often seem to do.
Whipped soap is more than just decoration on soapy-cupcakes. It can be a great tool for beginners to practice with, learning how to work with colors, swirls, and different fragrance oils. It also brings something special to the table when creating milk soaps – without the worry and fuss of avoiding gel and overheating, whipped soap allows you to make light airy milk based soaps which are as delicate themselves as the milk they contain!
I say this to all beginners: do not be afraid of ingredients like milk, honey or fragrance oils! Do not let the phrase “accelerates trace” scare you away from a scent you are dying to try out! Give whipped soap a chance and toss in that scent you have been scared to use while you are at it…you just might discover something you enjoy!