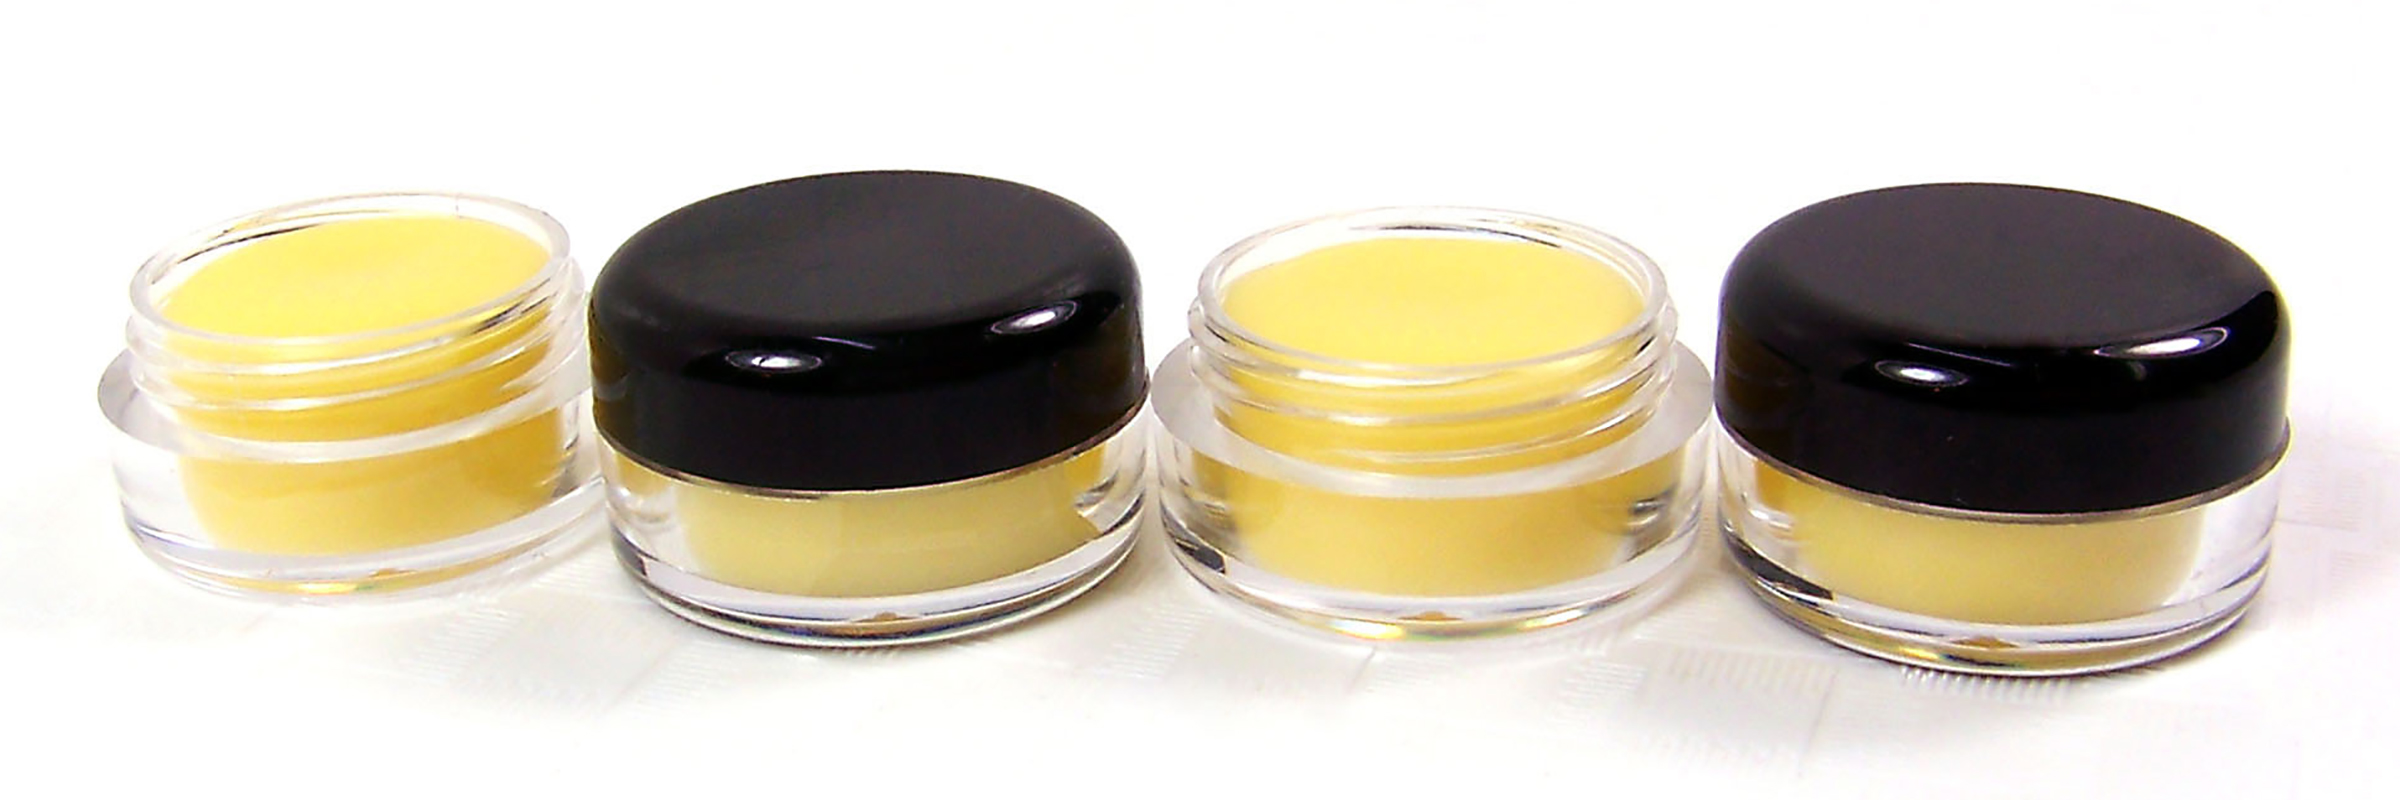
Cuticle Balm is applied directly to the cuticles and rubbed in – it’s moisturizing and helps promote smooth, silky skin for prettier hands. This tutorial features a natural cuticle balm that’s easy to make – you need only 3 ingredients!
Supplies and Equipment Needed
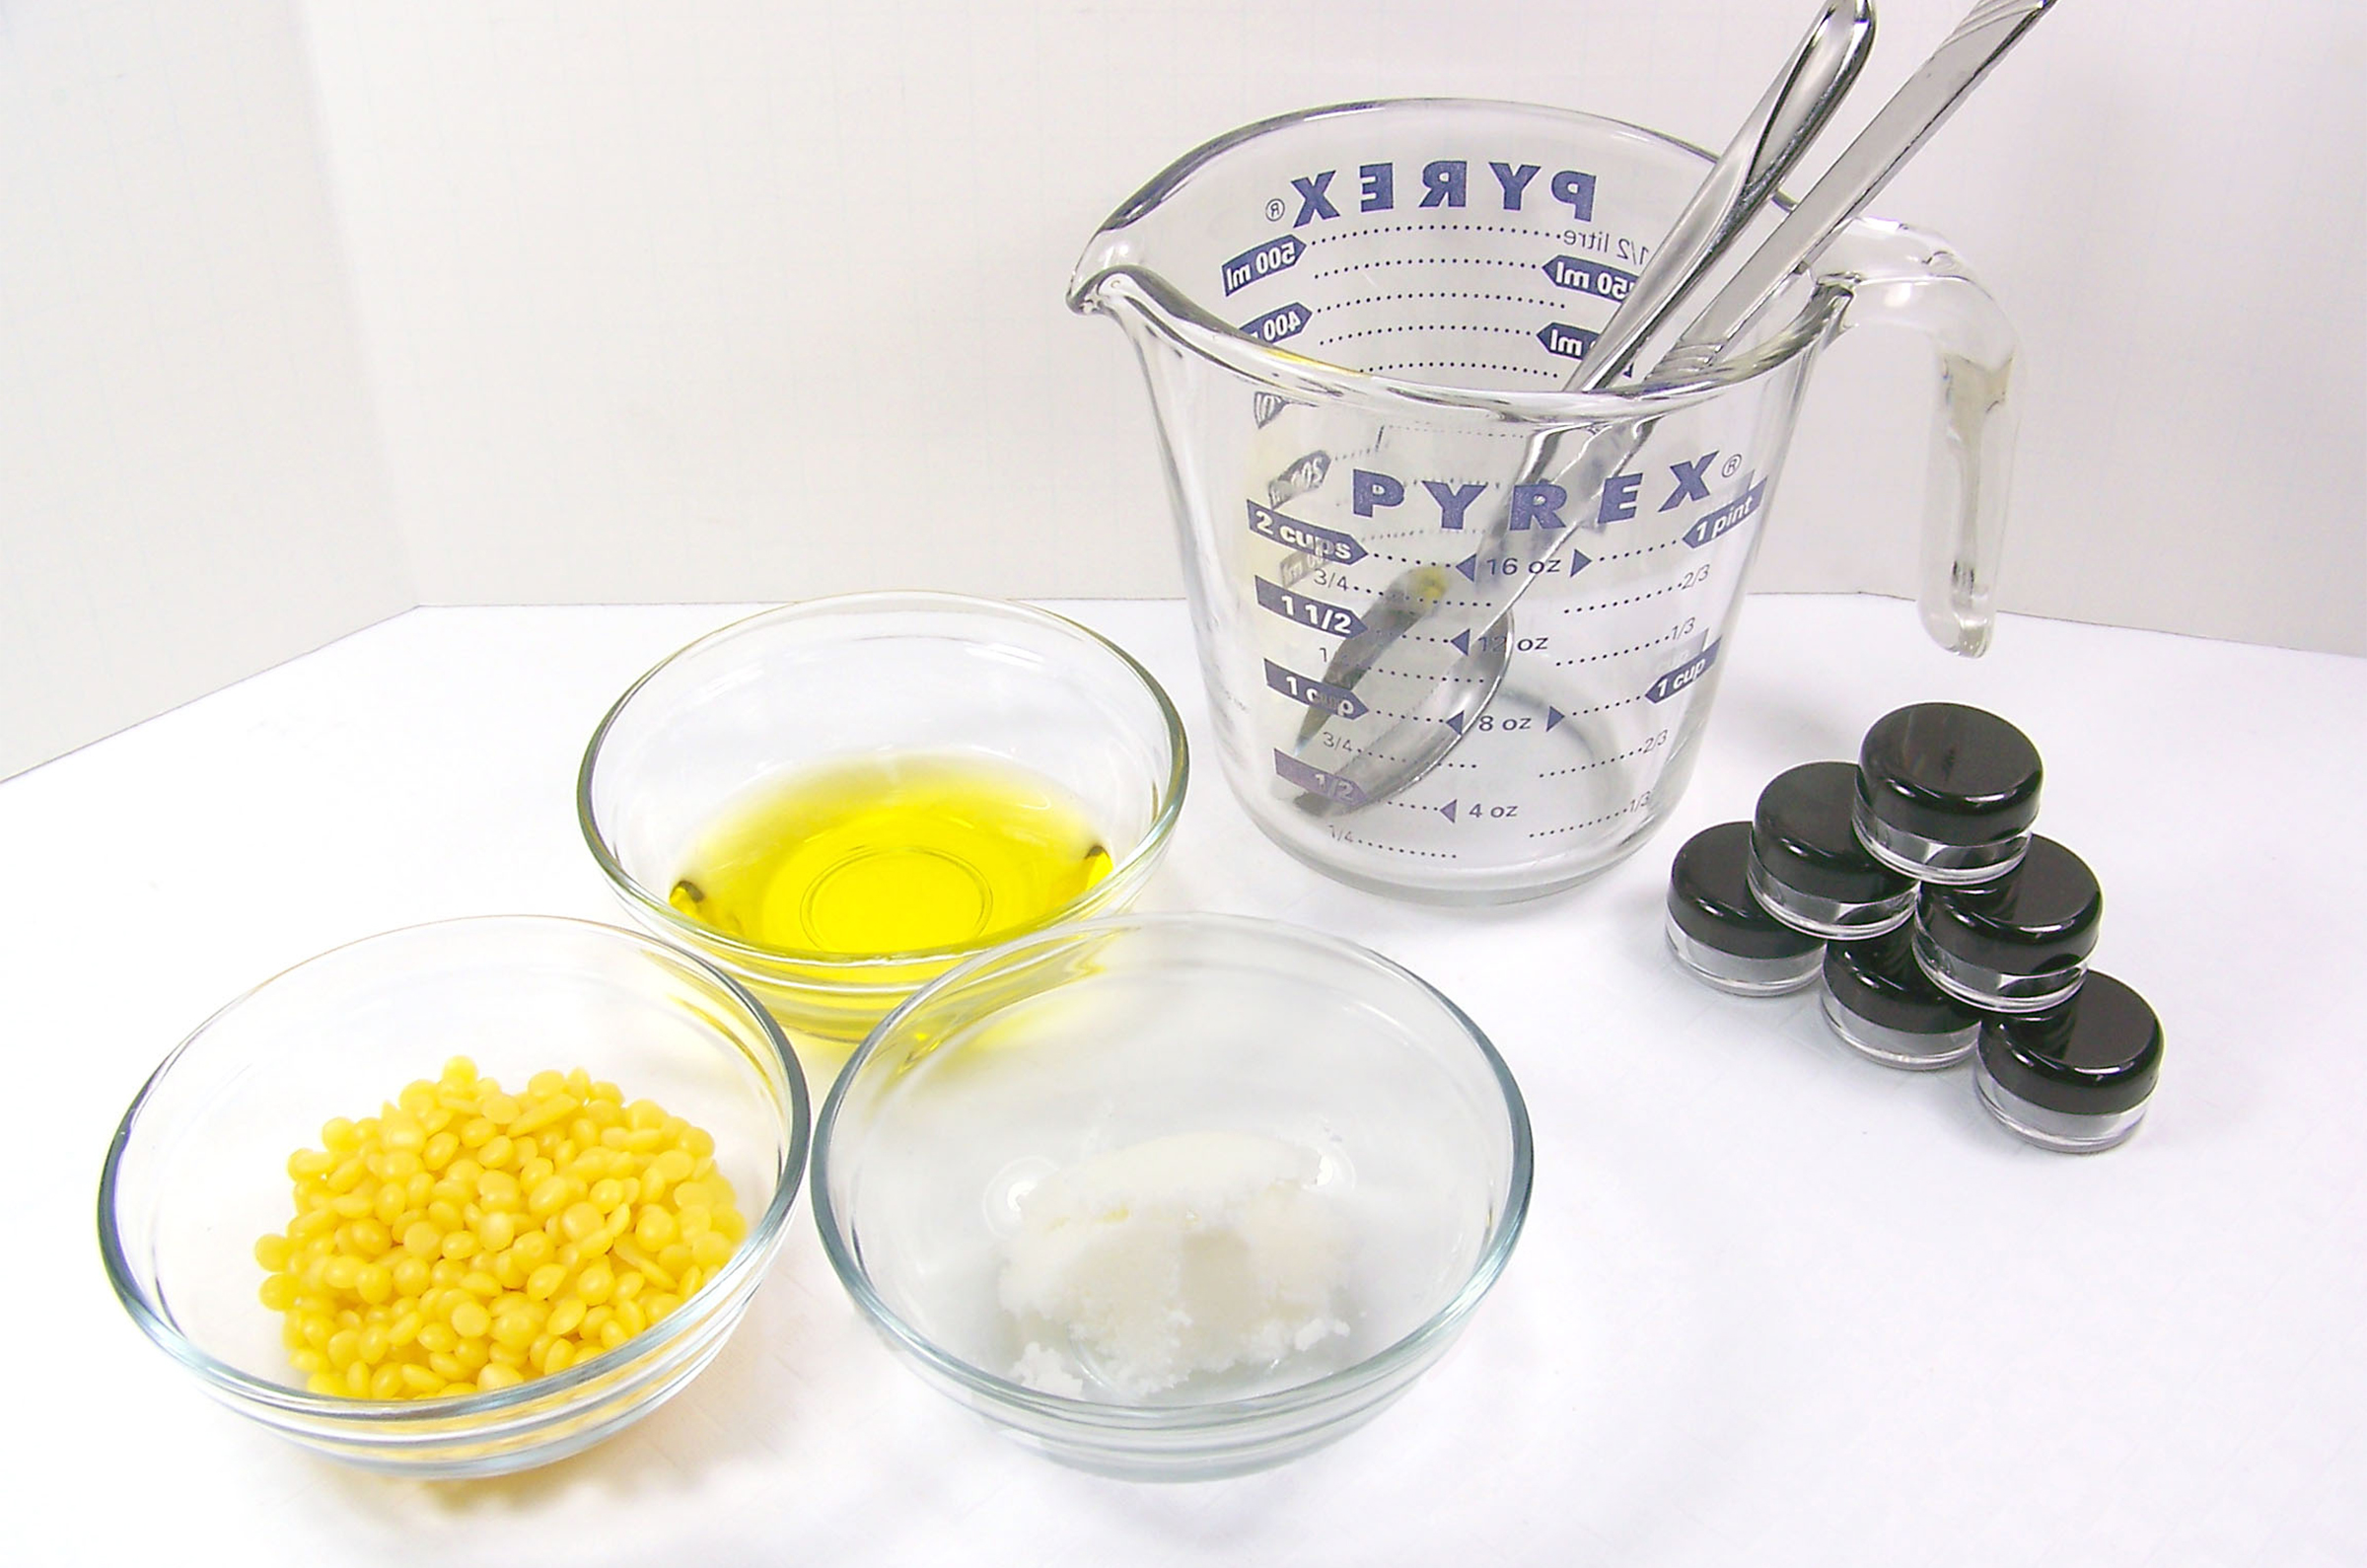
Spoon or butter knife for stirring
Rubber gloves
Glass measuring cup
Digital Scale (not shown)
Disposable pipettes
Mini-Melting Pot (optional)
Microwave (if no melting pot)
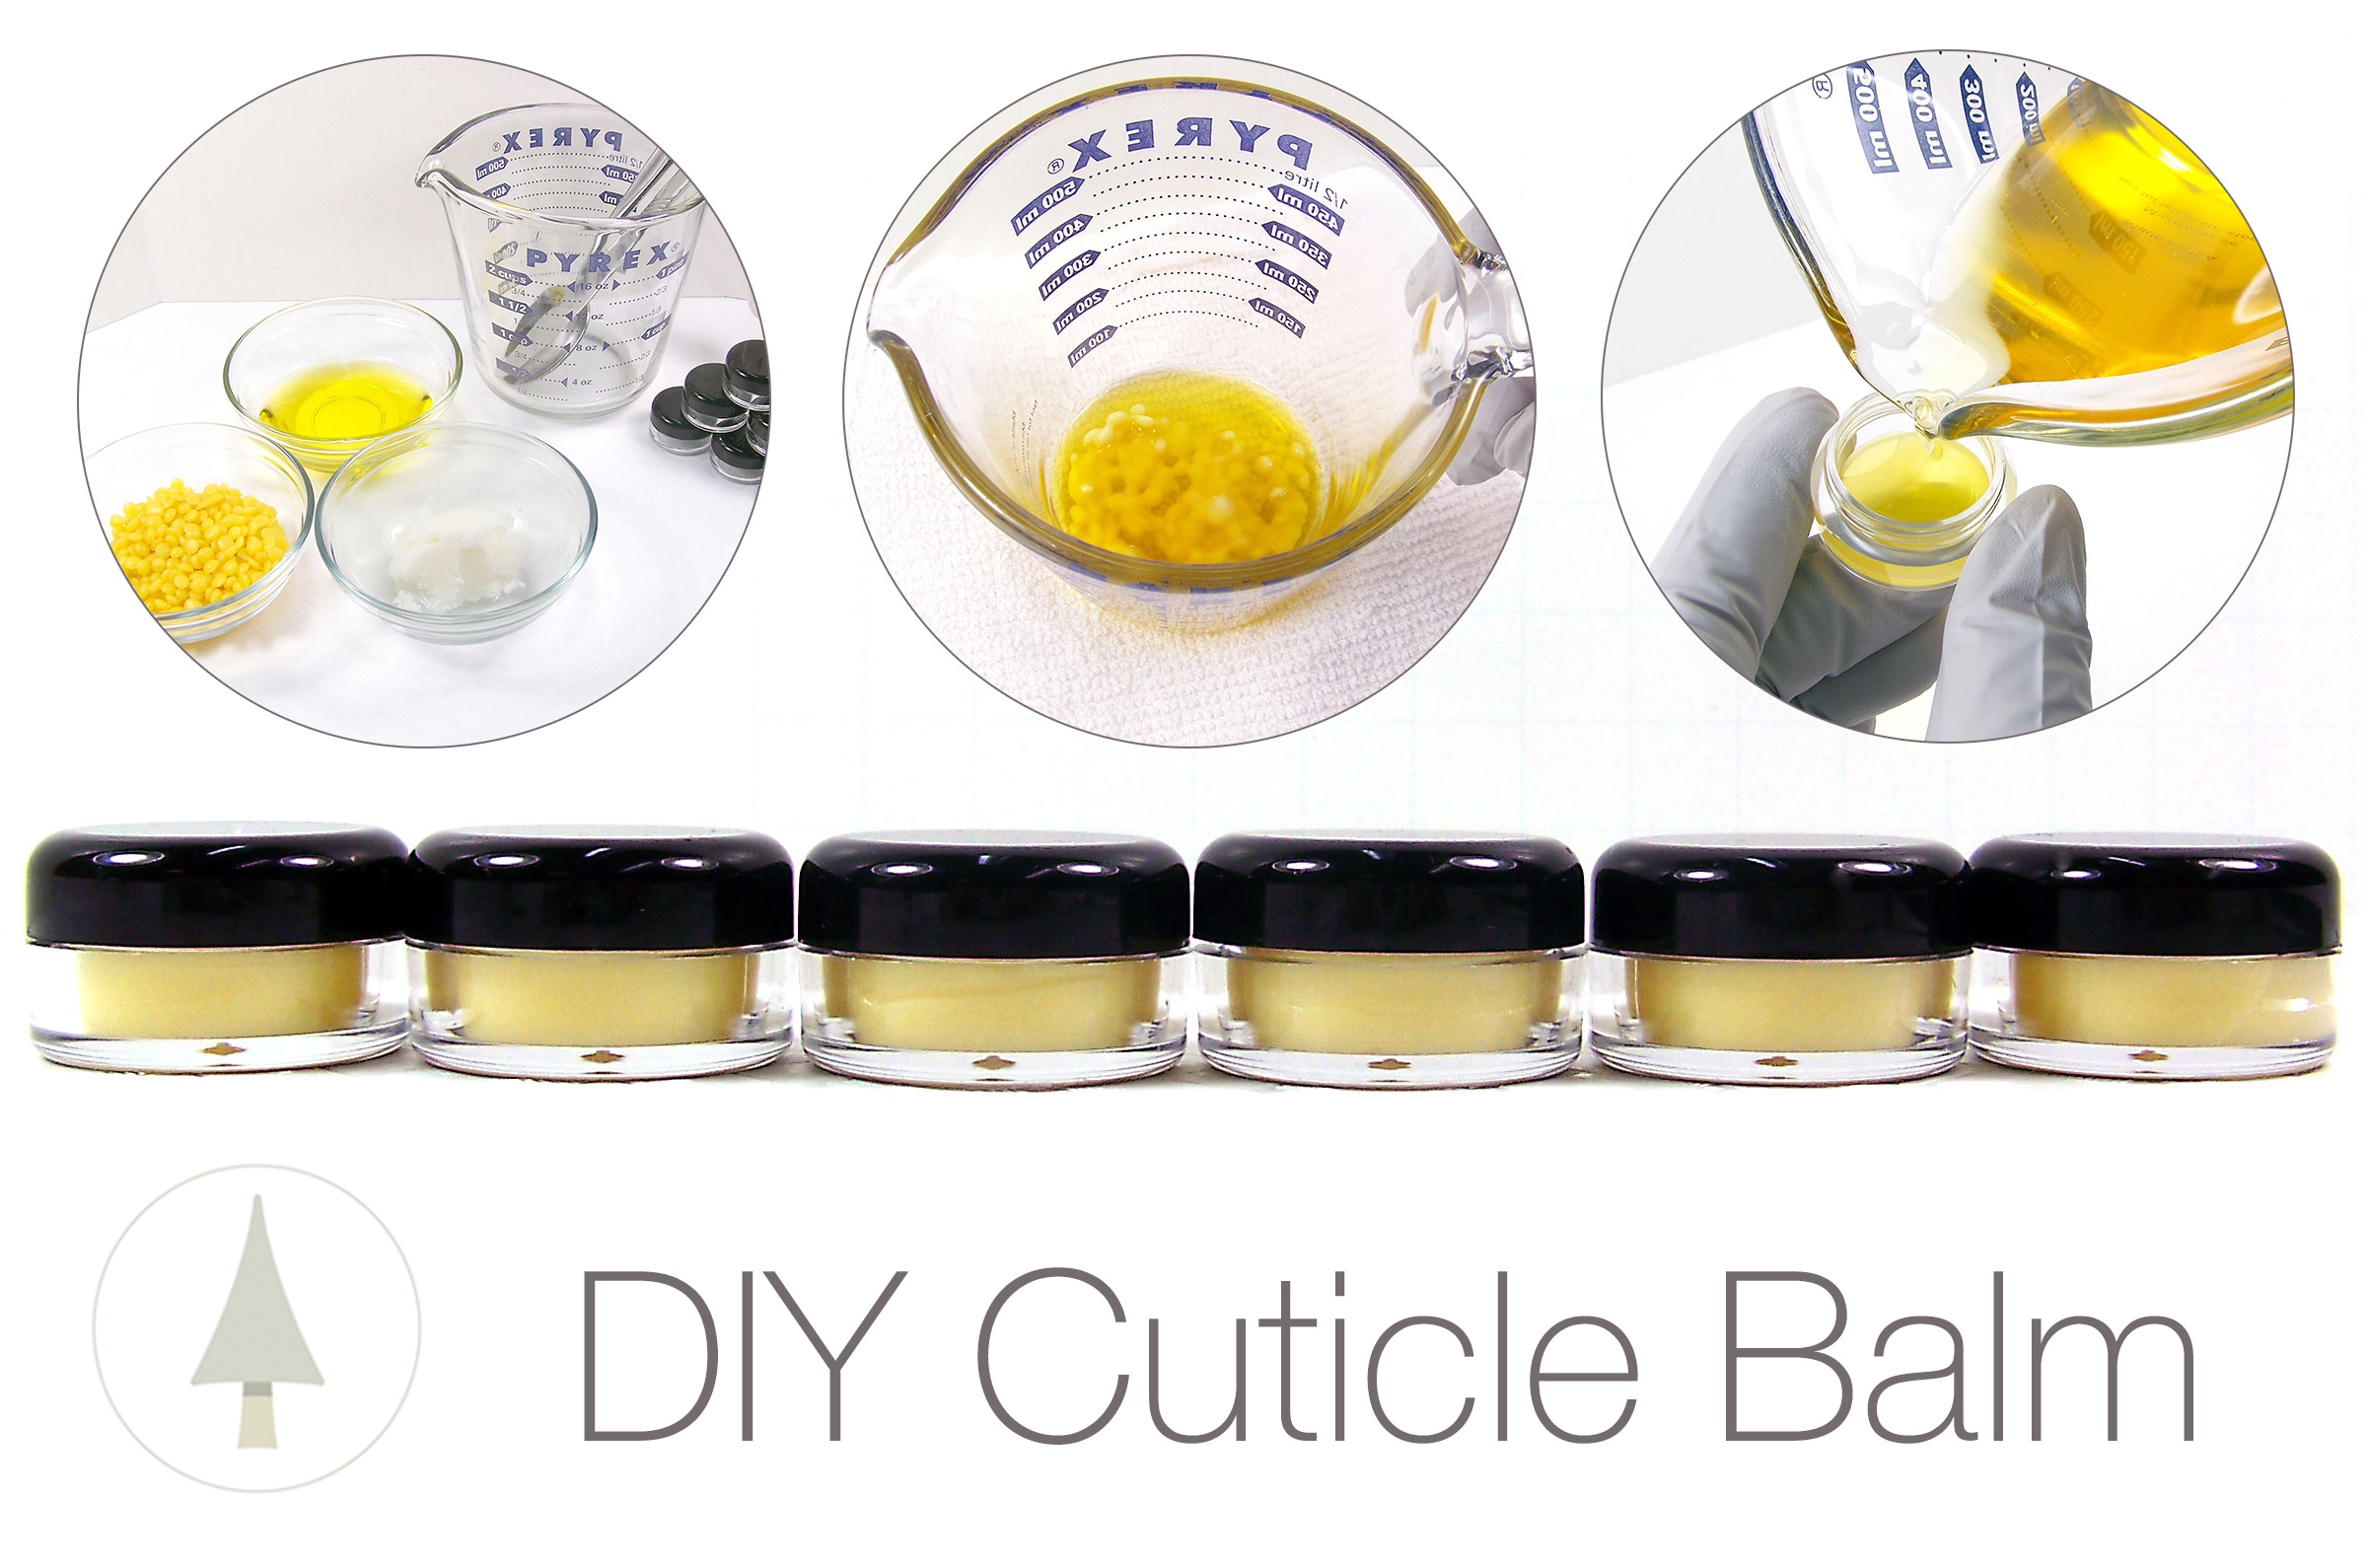
0.87 ounces Beeswax pastilles
0.50 ounces Shea Butter
1.13 ounces Golden Jojoba Oil
15 Clear 3ml Polystyrene Jar w/Black Lid
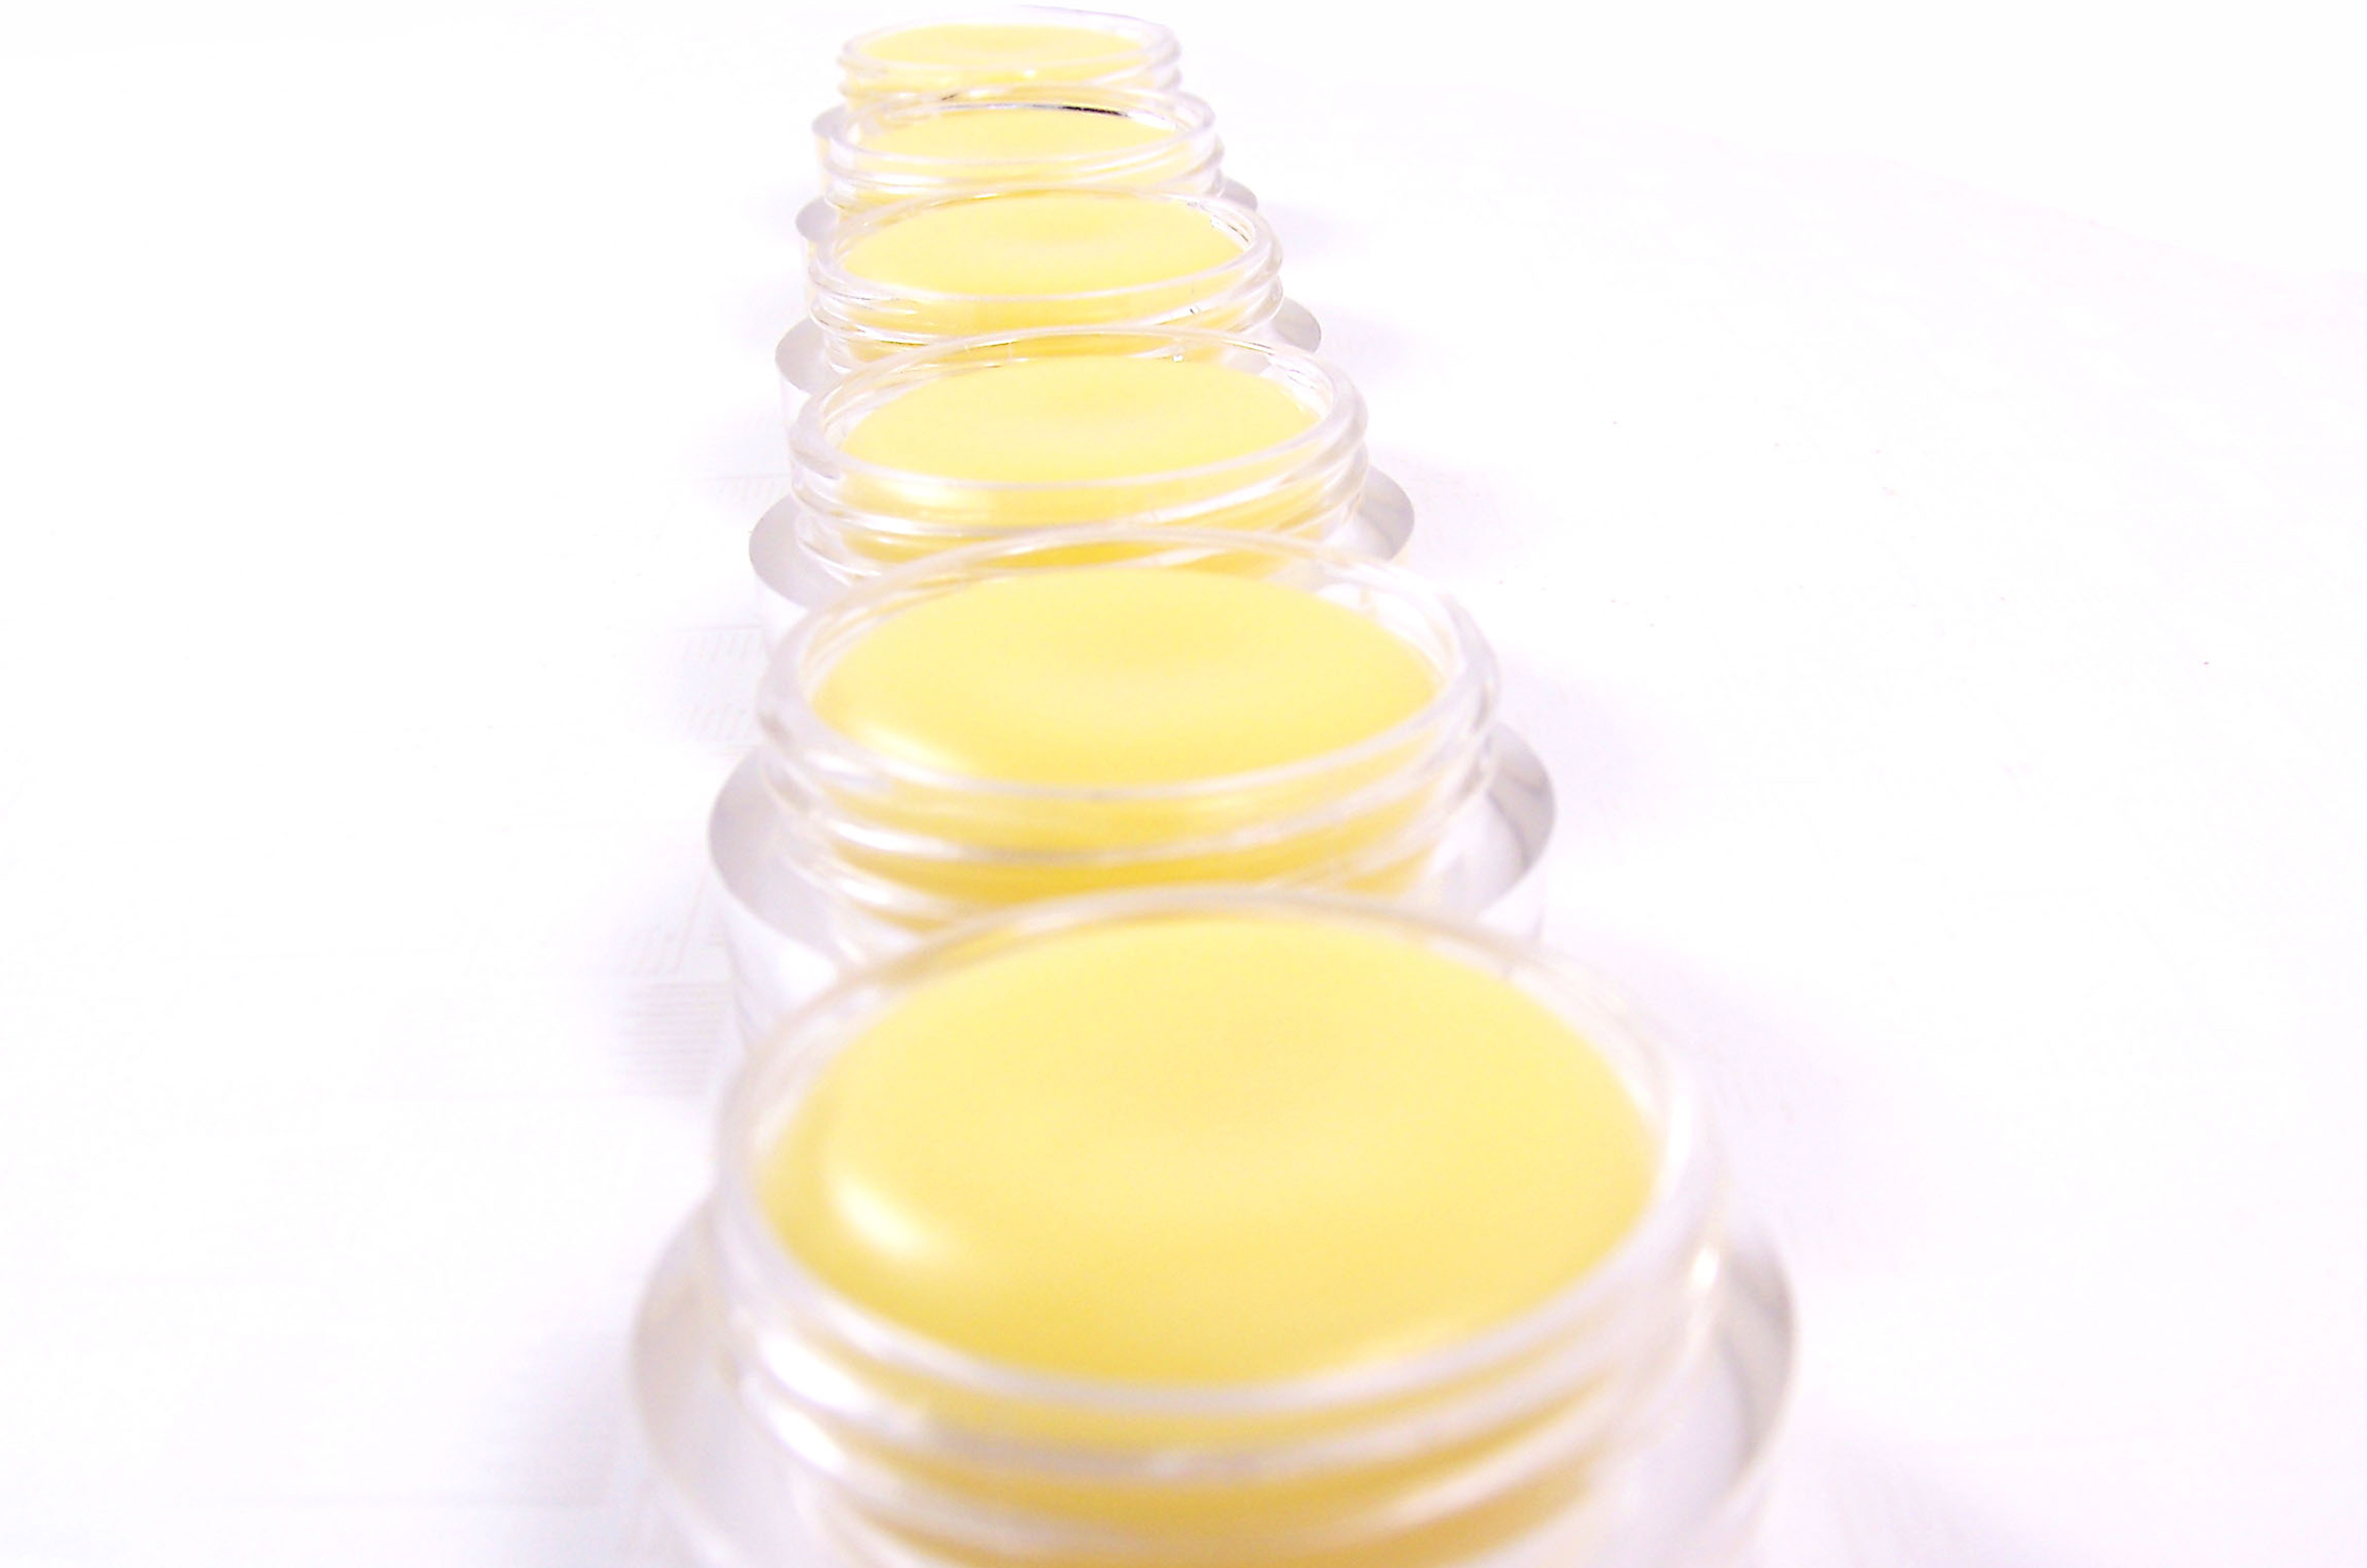
Step 1: Pre-weigh all ingredients prior to starting. You will be making a total of 2.5 ounces of cuticle balm, which will fill approximately 15 of the 3ml Polystyrene Jars.
0.87 ounces beeswax (35%)
0.50 ounces Shea butter (20%)
1.13 ounces Golden Jojoba oil (45%)
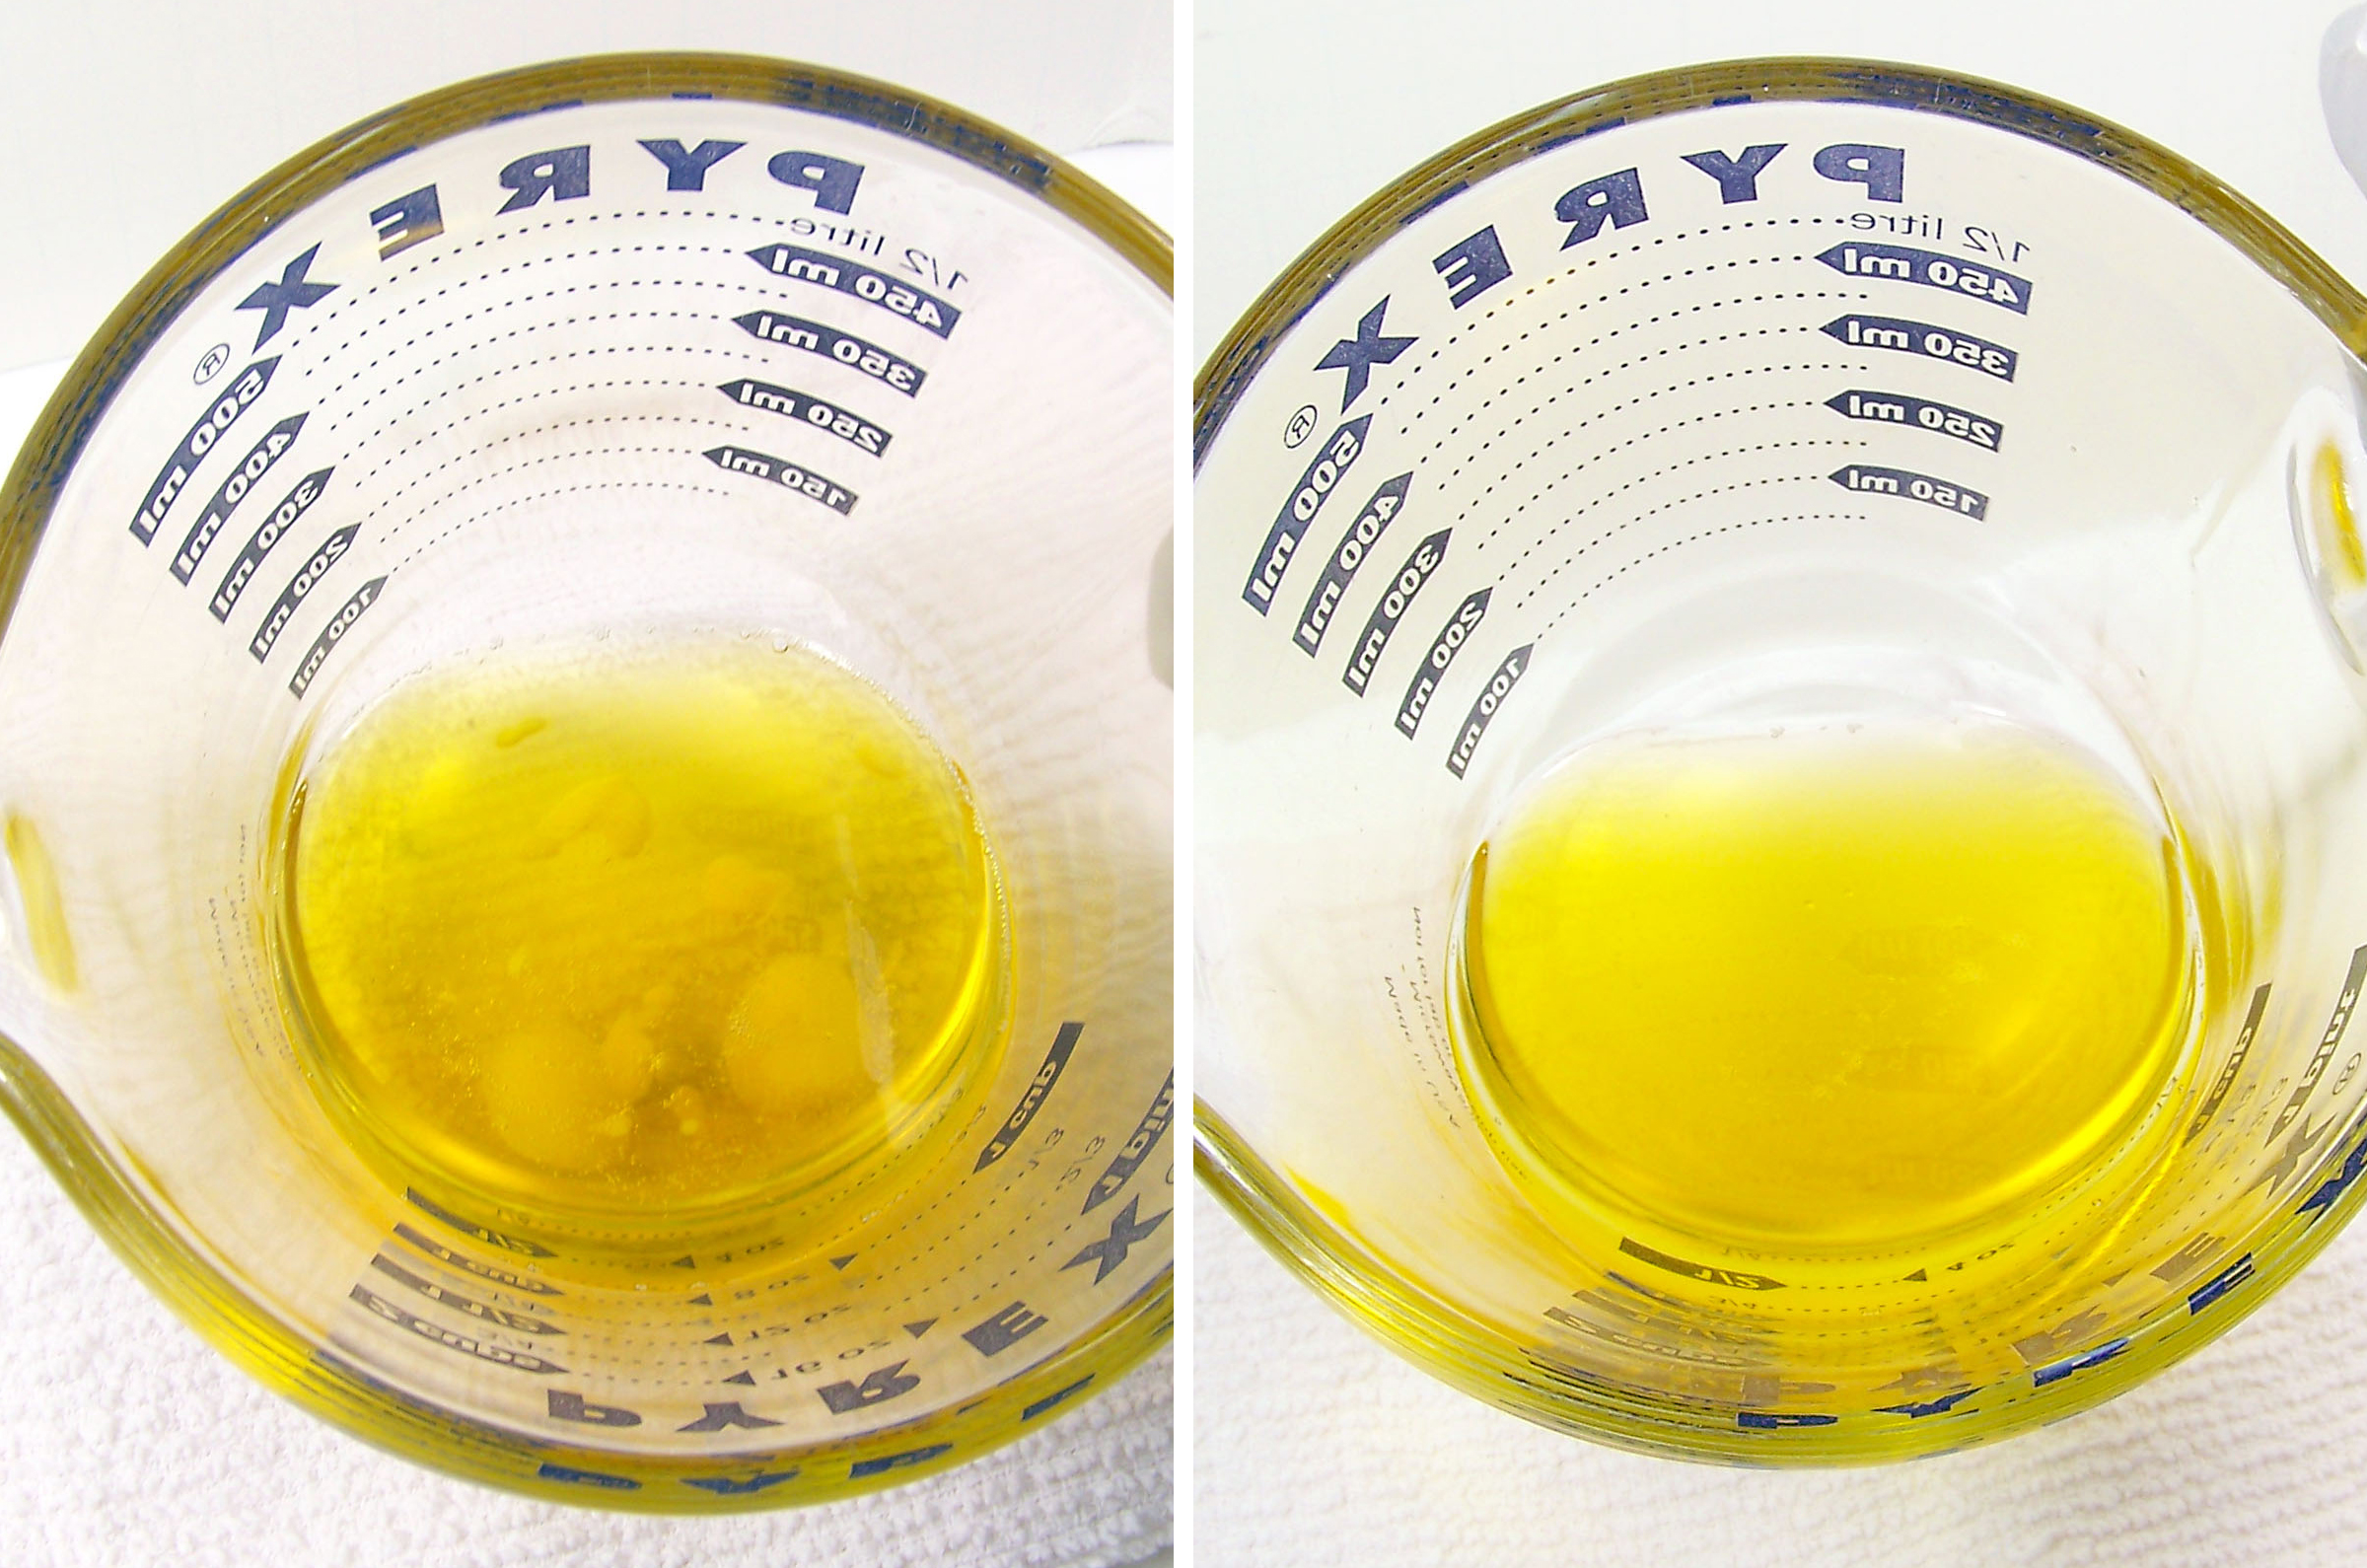
Step 2: Add the beeswax to a microwave safe glass-measuring cup and microwave for 30 seconds at a time until half way melted. Stir gently between each 30-second burst. Be careful because the glass can become very hot.
Optional: You can use a Mini Melting Pot instead of a microwave to easily melt the ingredients.
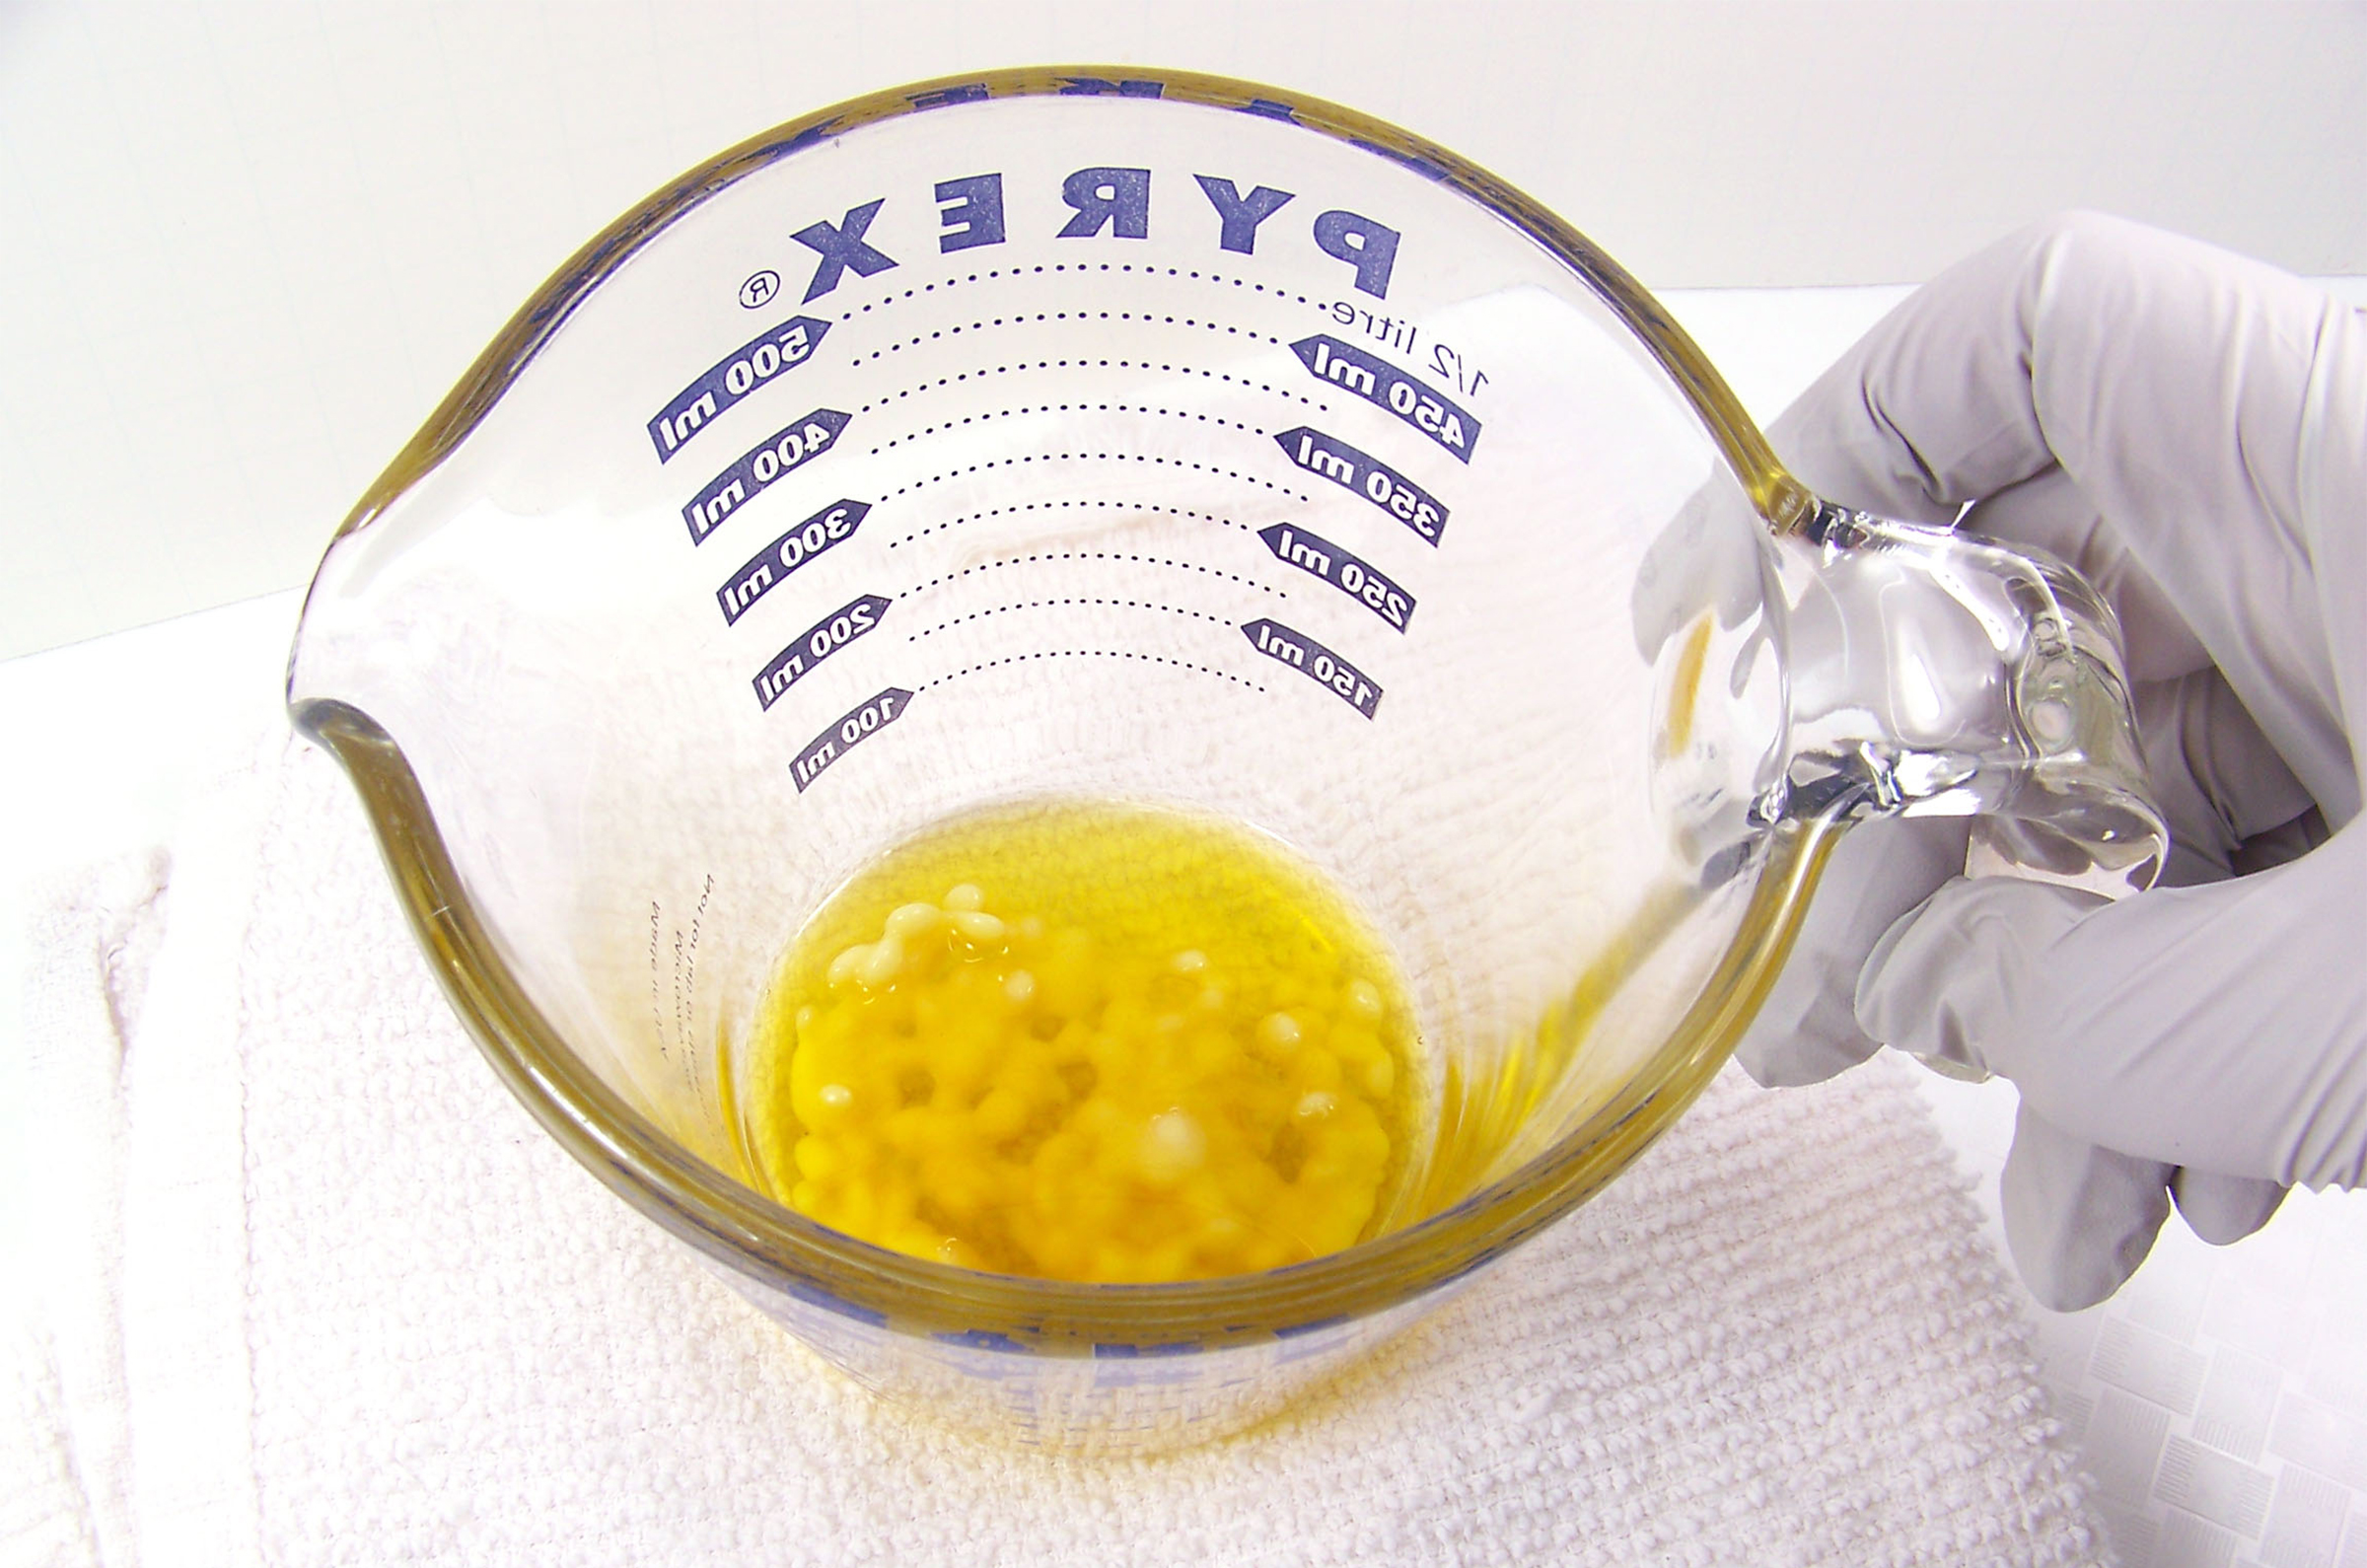
Step 3: When the beeswax is partially melted, add the Shea butter and Golden Jojoba oil to the container.
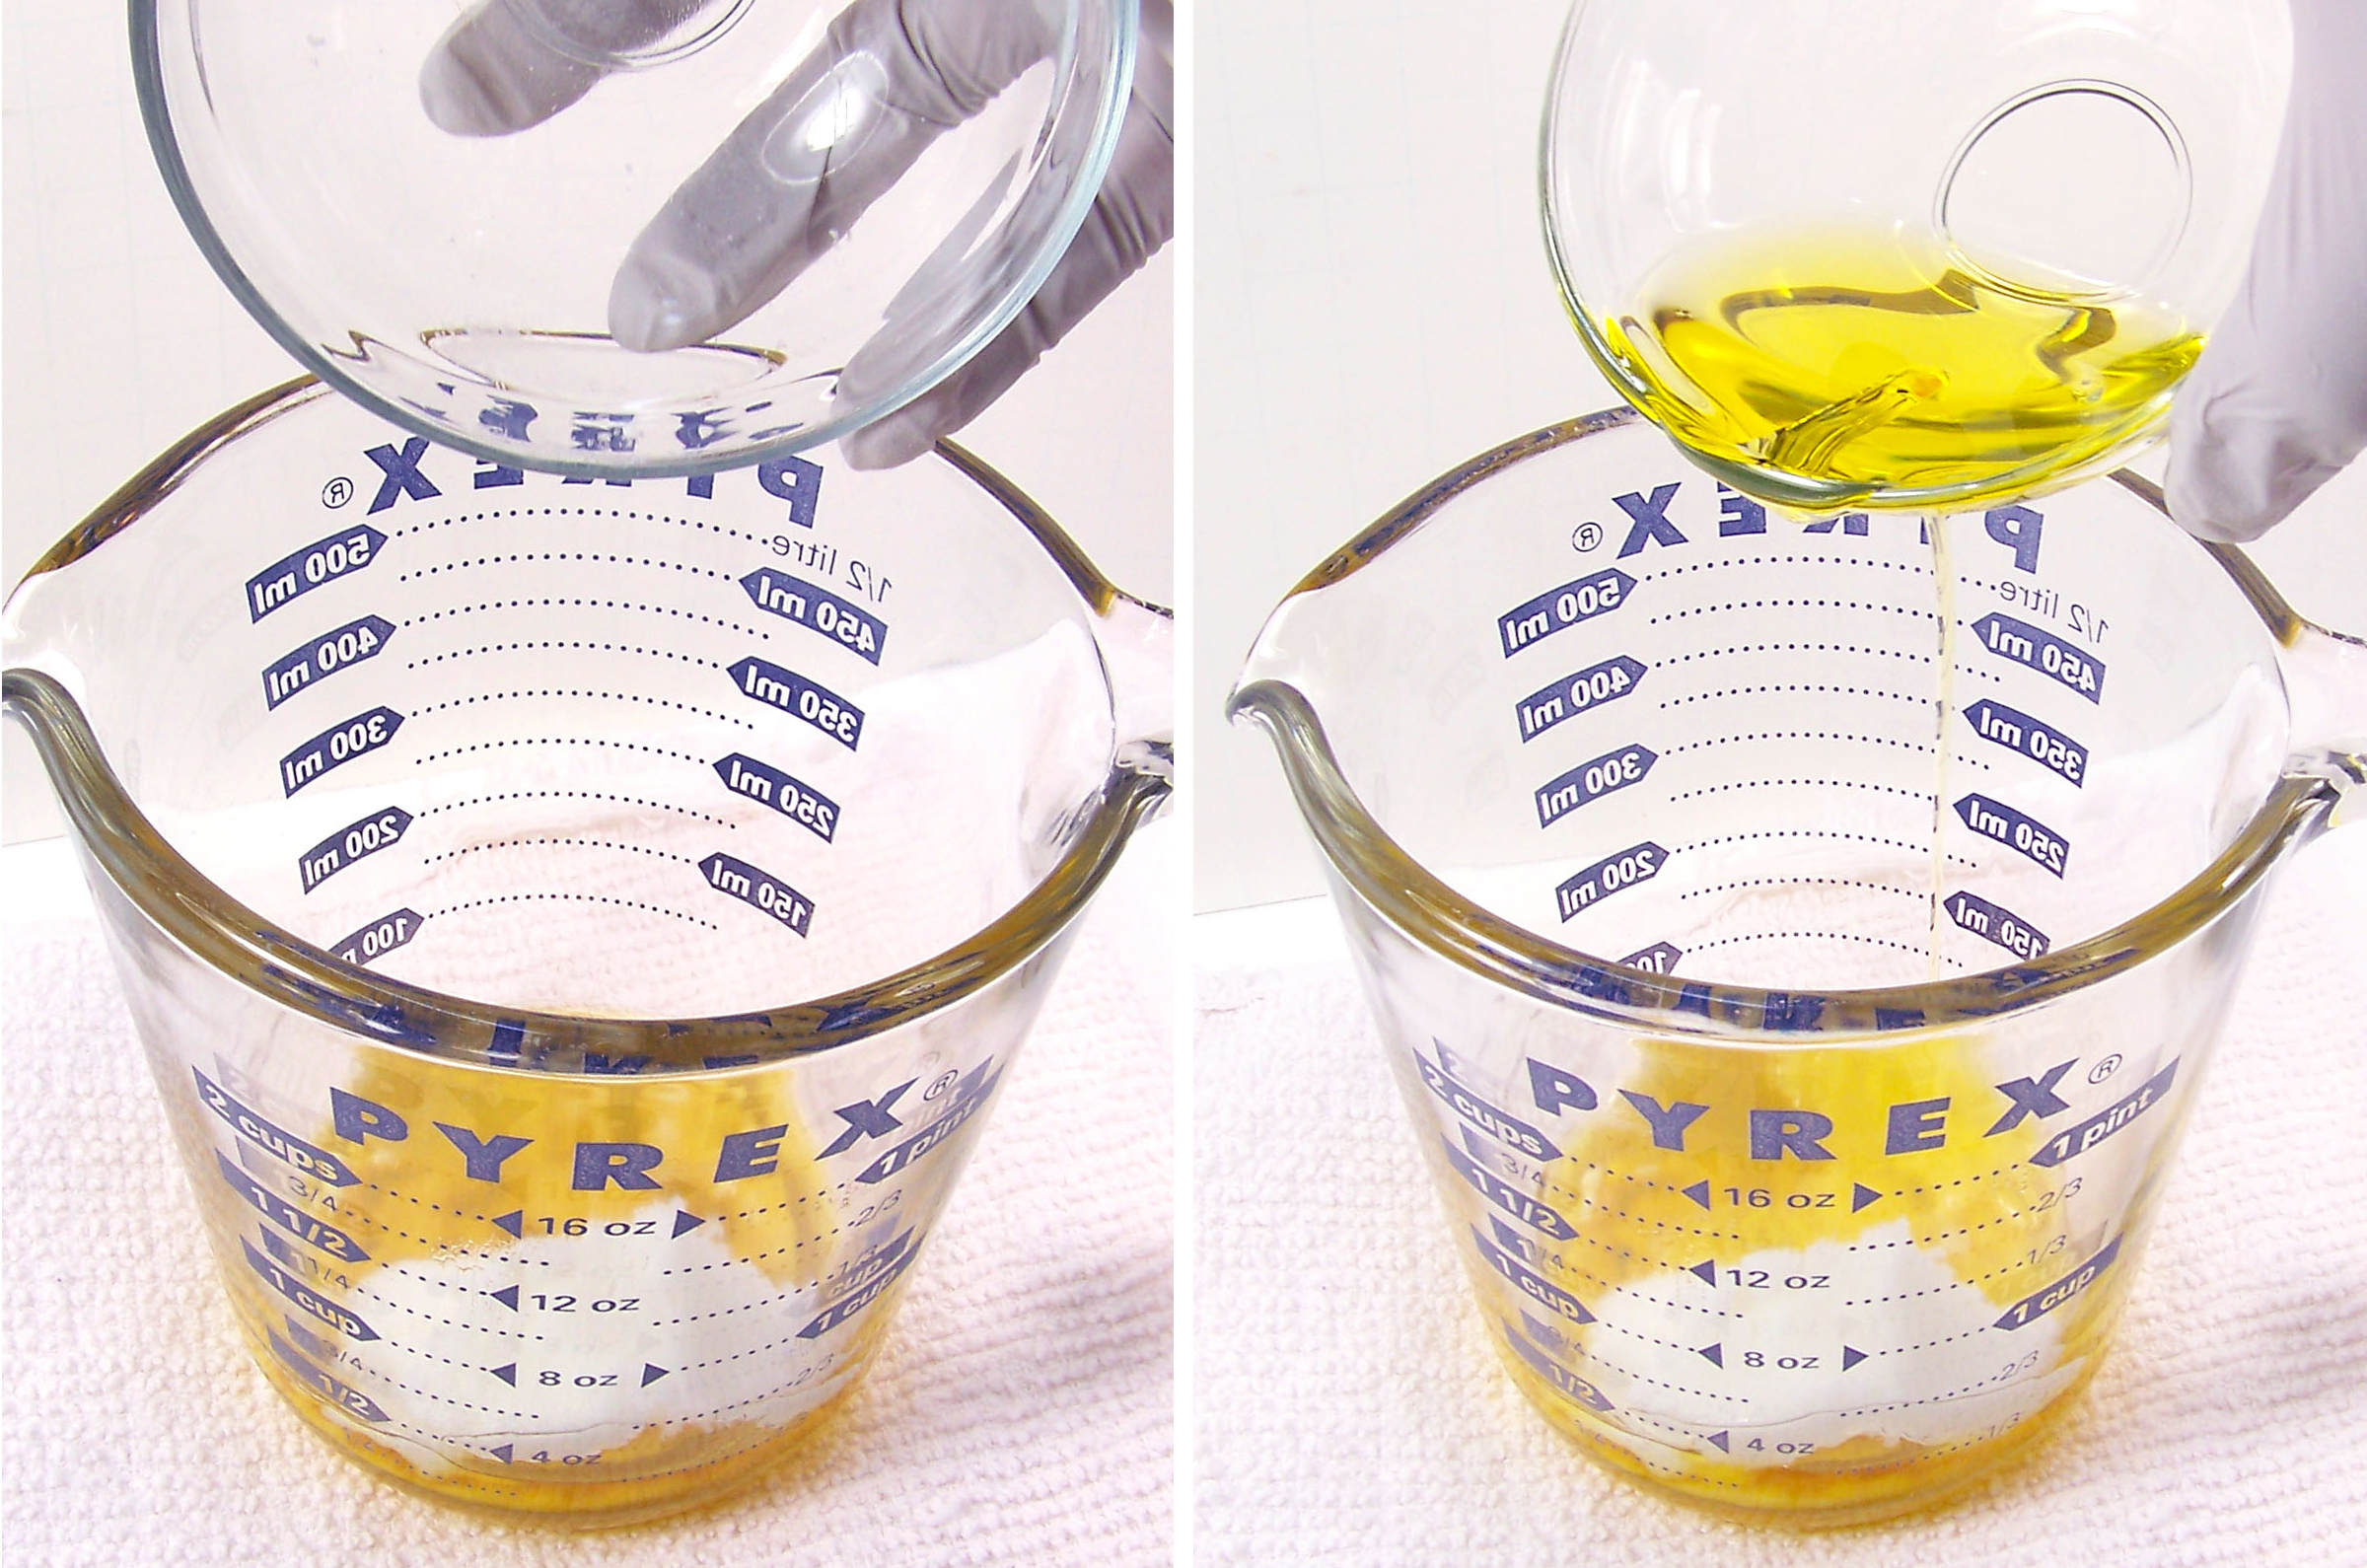
Step 4: Repeat Step 2 and microwave until you have a few small pieces of wax/butters left in the container. Remove from the microwave and stir slowly. The heat of the melted balm will melt the remaining pieces naturally. This way you won’t overheat your balms.
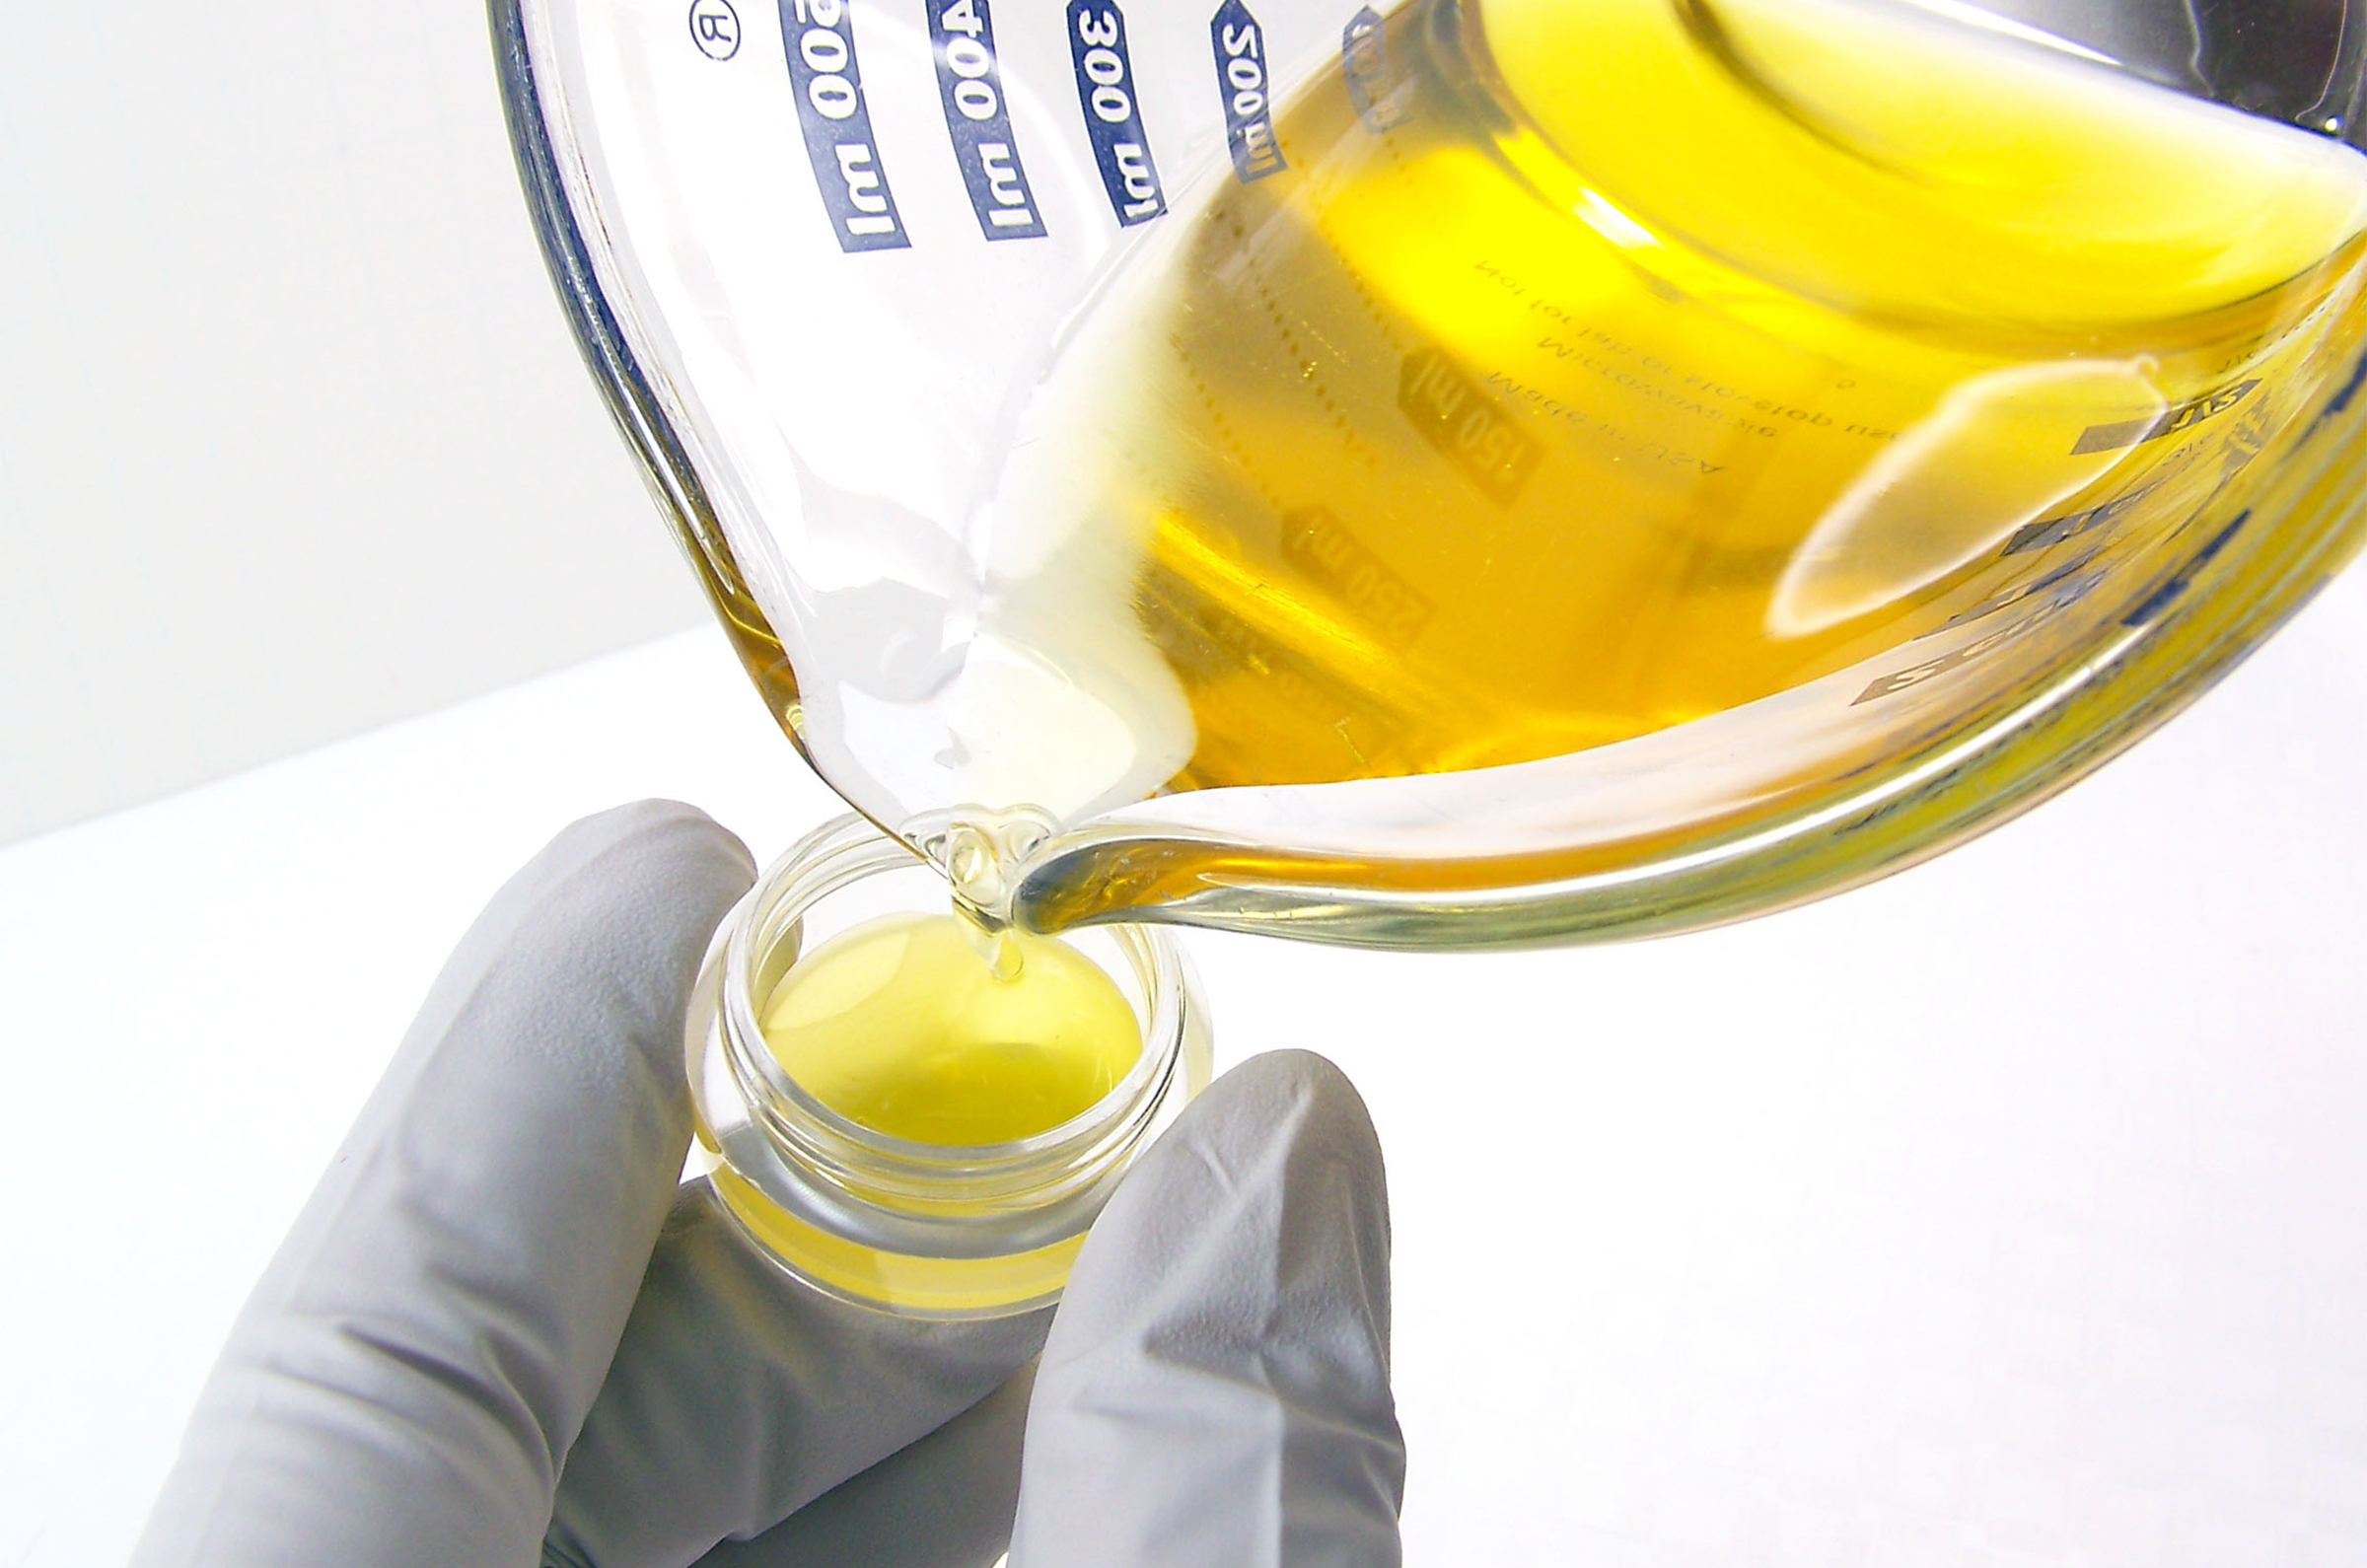
Step 5: Slowly fill each jar to the top. You can either pour directly into the jars using the measuring cup or you can use a disposable pipette.

Step 6: Let the balms set and cool completely before capping. If lids are added before balm mixture is completely cooled, condensation will form.
Like most balms, this recipe is very easy to customize to your preference. If you like the balm harder, add more beeswax; if you want it softer, add more oils or butters.
Optional: If you like, with a disposable pipette add 1% of body safe Fragrance Oil to the balm base after Step 4. Stir until fully incorporated. For 1 oz of balm, 6 drops equals 1%.