by Rustic Escentuals
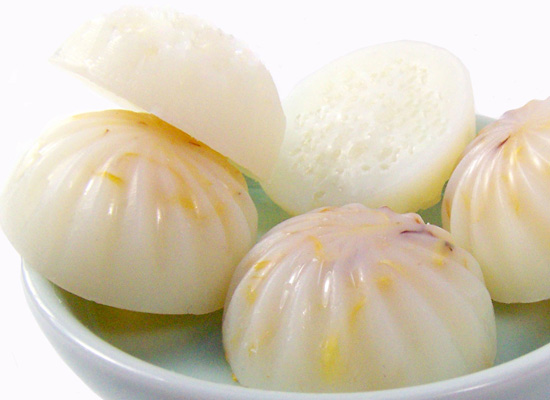
This is our second bath math tutorial because it has a slightly different twist. We’re adding Dead Sea Salts and herbs to give you an idea of some of the many things you can add to bath melts to make these a wonderful gift.
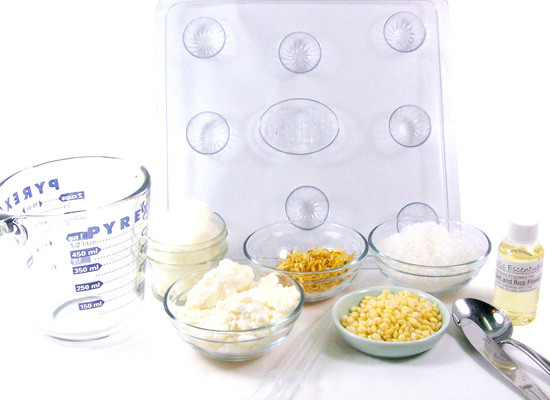
Supplies and equipment needed:
Microwave – or – Mini-Melting Pot (optional)
Microwave safe glass container
Butter knives for stirring
Spoon
Measuring spoon
Rubber gloves
Cutting Board (not shown)
Digital Scale
Disposable pipettes
Guest Size Swirl Soap Mold (8 cavities)
Cocoa Butter
Shea Butter
Yellow Beeswax Pastilles – or – White Beeswax Pastilles
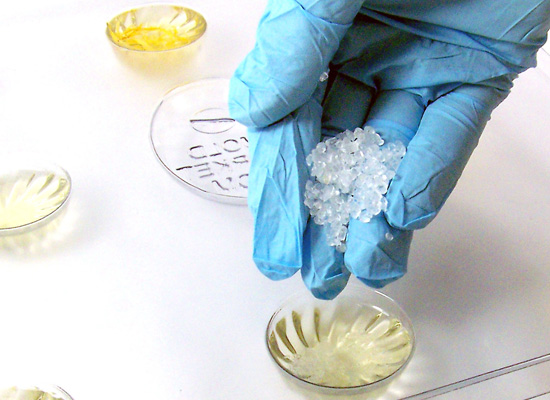
Dead Sea Salts
Body Safe Fragrance Oil
Calendula Flowers
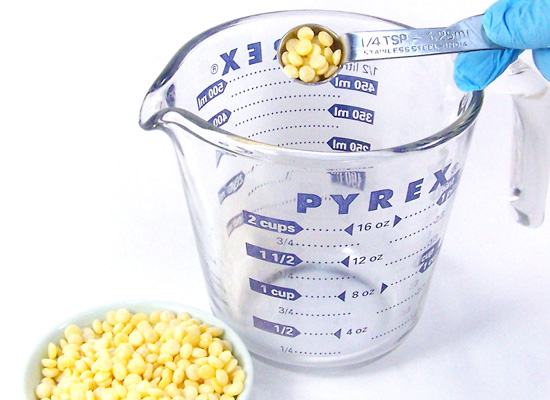
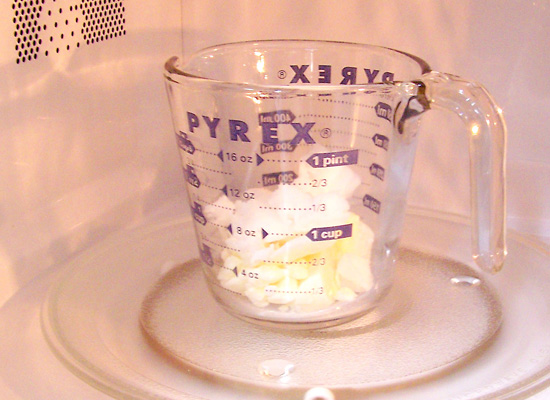
Step 1: Add 1/4 teaspoon of Beeswax Pastilles to the microwave safe container. I’m adding a little bit of wax to help keep them firmer for a bit longer outside of the refrigerator. This won’t affect the ability to melt in the bath.
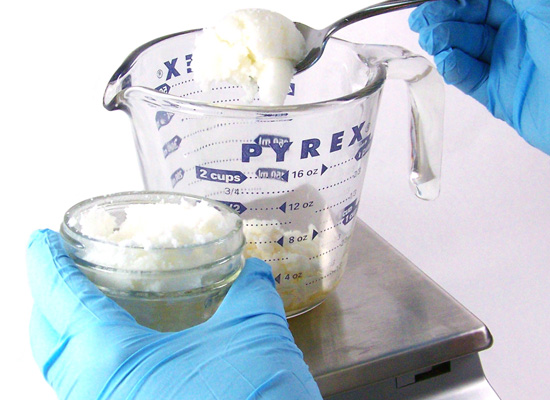
Step 2: Place your glass container on the scale and tare out the container (zero out the scale). Weigh out 2 ounces of Cocoa Butter.
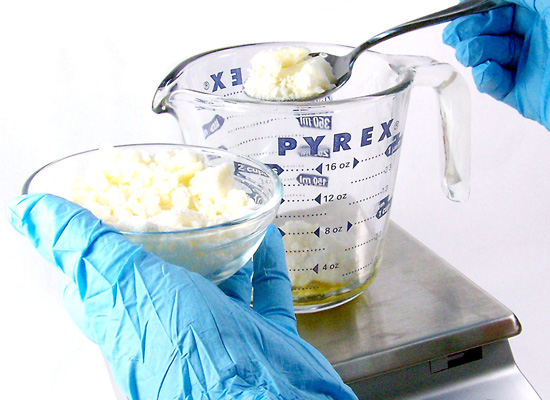
Step 3: Keeping the container on the scale, tare it out once more and add 2 ounces of Shea Butter.
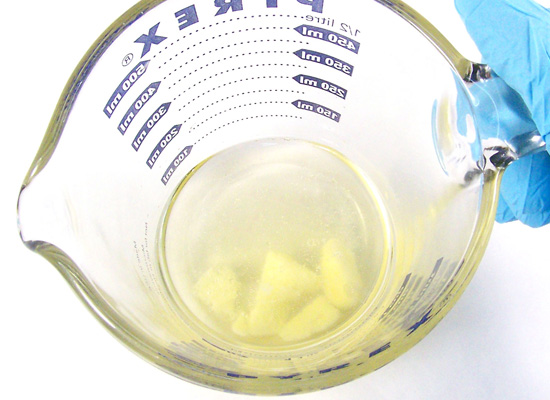
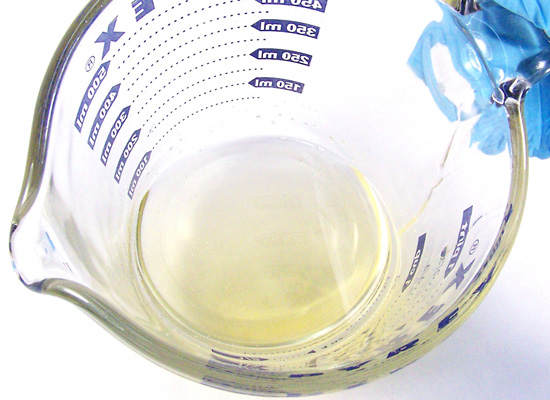
Step 4: Slowly melt the butters and beeswax in a microwave for 30 seconds at a time. The Beeswax will melt with the oils. Stir between each 30-second set. When it is almost melted and there are small chunks left in the container, remove from the microwave and stir with a knife or spoon and the remaining will melt, cooling the mixture at the same time.
Optional: if you have Mini Melting Pot, add the beeswax and measured butters to this pot instead of the microwave.
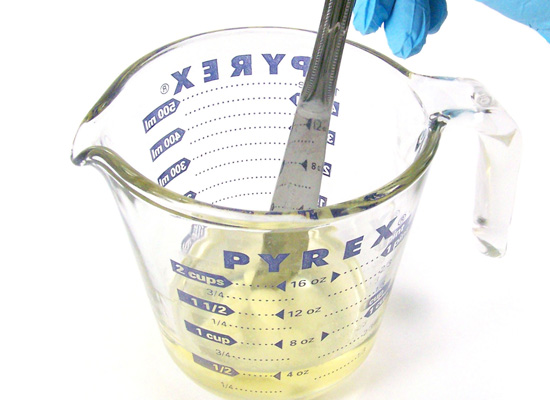
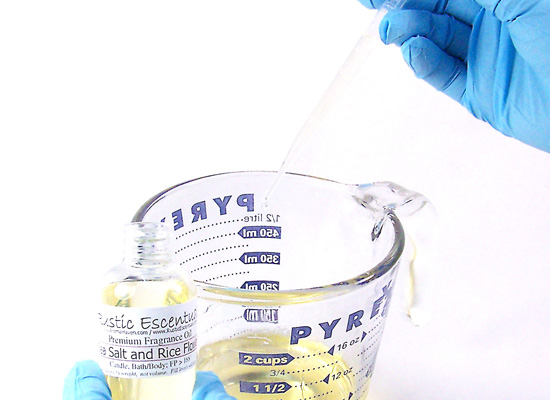
Step 5: Using a disposable pipette, add 24 drops of body safe fragrance oil to the melted butters and stir well. For this tutorial I chose Sea Salt and Rice Flower Fragrance Oil which is a clean, fresh, spa-like scent.
I will be adding approximately 1% of fragrance oil to the bath melt base.
When using a pipette to dispense your fragrance oil:
1 ounce of base: add 6 drops of fragrance oil = 1%
2 ounces of base: add 12 drops of fragrance oil = 1%
3 ounces of base: add 18 drops of fragrance oil = 1%
and so on
Important: Because we are not using a silicone mold, please make sure the melted butters are not poured too hot as it may warp the mold. Best temperature to pour is between 135 and 145 degrees. Optional: use a thermometer at this stage, however, because the butters did not fully melt and you later added fragrance oil, the melted base should be at the correct temperature for pouring.
Place the mold onto a cutting board to make it easier to carry after they’re all poured.
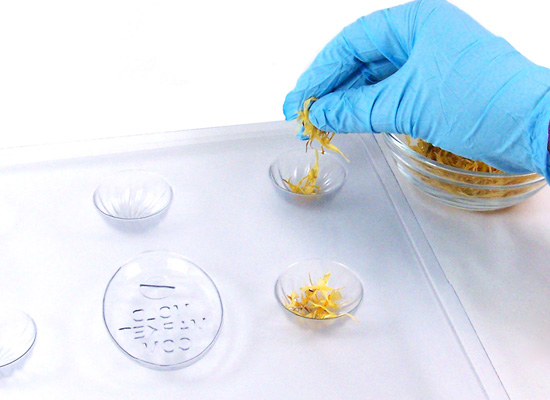
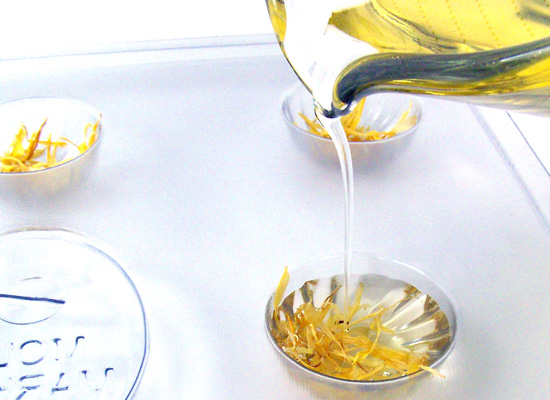
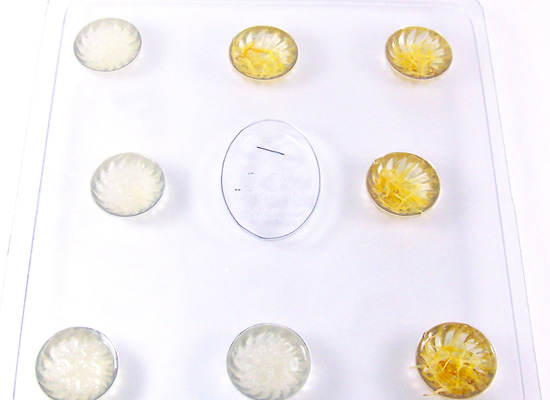
Calendula infused bath melts:
Step 6: Now is the time to get creative – take a pinch of Calendula Petals and place in the mold cavities. Slowly pour the bath melt mixture into the cavities. Experiment with different dried flowers and herbs!
Sea salt infused bath melts:
Step 7: Pour the bath melt mixture into the cavities first but do not pour to the top because you’ll need room for the Dead Sea Salts. Slowly add the Dead Sea Salts to the cavities until they are full.

Step 8: After you have poured all of the mixture, carefully place the mold into the refrigerator. This is where the cutting board comes in handy! Wait approximately 20 minutes.
Step 9: After the Bath Melts have hardened, place them in the freezer for approximately 10 – 15 minutes.
Step 10: Now it’s time to take them out of the mold. Carefully remove them and store them in a container of your choice and place in the refrigerator until you are ready to use them. One little cube is more than enough for a luxurious bath!
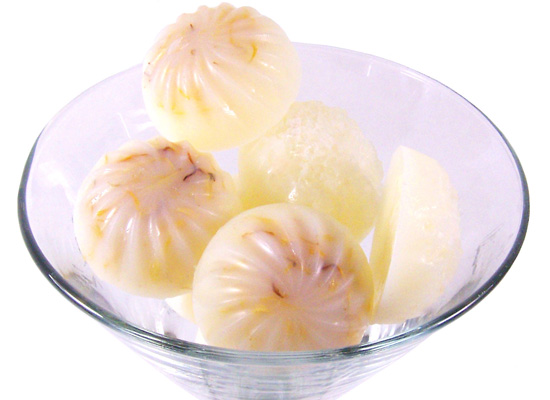
Why store in the refrigerator? When using butters, it is best to keep the items in the refrigerator to keep them firm. Even though I am adding some beeswax, it is only a small amount and these will still melt or soften if left out in warmer weather. When you are ready to use one, take one out of the fridge and pop it in the bath. You will love the scent and butter/oil mixture on your skin!
SUPER IMPORTANT: We are using butters and oil in this recipe. Your bathtub will be SLIPPERY – so be careful when getting in and out of the tub. After your bath you will need to clean it to ensure it’s not slippery when getting back in. This is very important.