by Rustic Escentuals
Making Bath Melts could not be easier! These are fast & easy to make and are a great way to soothe the skin from the upcoming summer heat and sun!
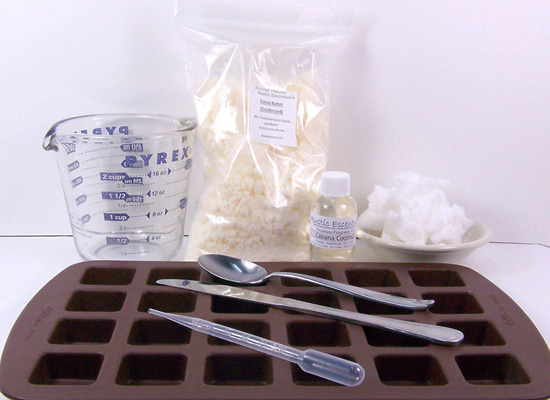
Supplies and equipment needed:
Microwave – or
Mini-Melting Pot (optional)
Microwave safe glass container
Butter knives for stirring
Spoon
Rubber gloves
Cutting Board (not shown)
Digital Scale
Disposable pipettes
Mini Squares Silicone Mold (24 cavities, .05 ounce total each)
Cocoa Butter
Coconut Oil 76%
Body Safe Fragrance Oil
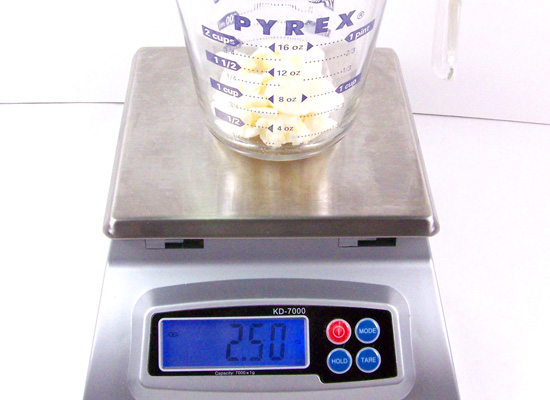
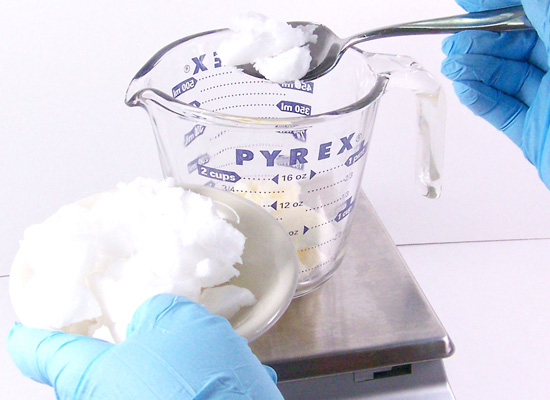
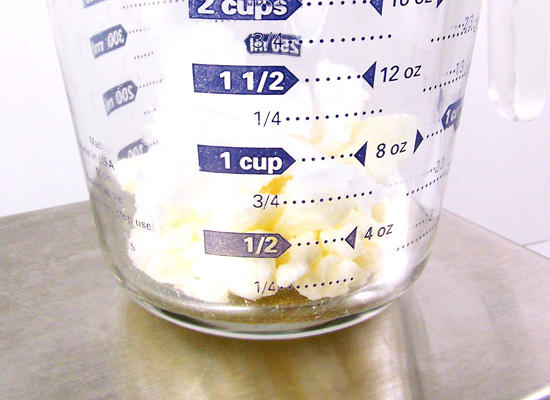
Step 1: Place your glass container on the scale and tare out the container (zero out the scale). Measure out 2.5 ounces of Cocoa Butter.
Step 2: Keeping the container on the scale, tare it out once more, and add 1 ounce of coconut oil. You will love the aroma!
Note: Coconut Oil is solid at room temperature.
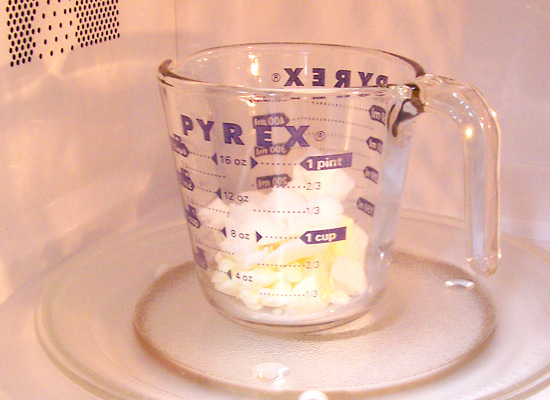
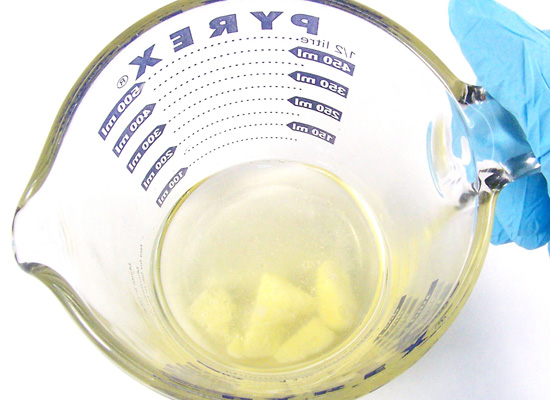
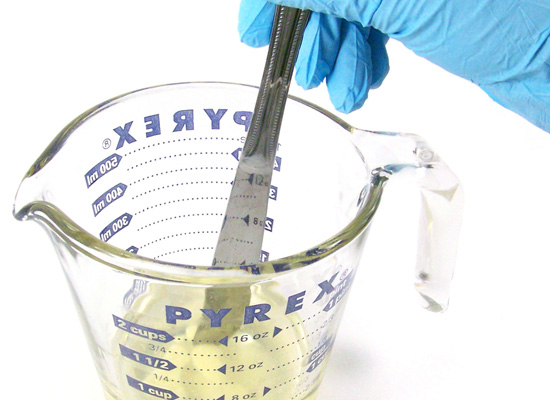
Step 3: Slowly melt the butters/oils in a microwave for 30 seconds at a time. Stir between each 30 second set. When it is almost melted and there are small chunks of butter left in the container, remove from the microwave and stir with your knife or spoon and the remaining butters/oil will melt, cooling the mixture at the same time.
Optional: if you have Mini Melting Pot, add the measured butters/oils to this pot instead of the microwave.
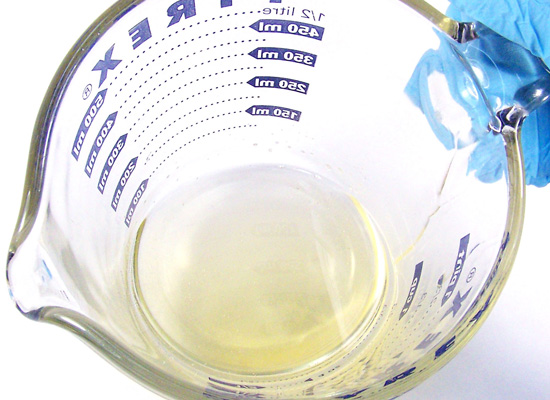
Step 4: Using a pipette, add 18 drops of body safe Fragrance Oil to the melted butters and stir. For this tutorial we’re using Cabana Coconut fragrance oil to enhance the aroma of the coconut oil and give a bit of tropical aromatherapy to the bath water.
I will be adding approximately 1% of fragrance oil to the base.
When using a pipette to dispense the Fragrance Oils:
1 ounce of base: add 6 drops of fragrance oil = 1%
2 ounces of base: add 12 drops of fragrance oil = 1%
3 ounces of base: add 18 drops of fragrance oil = 1%
and so on

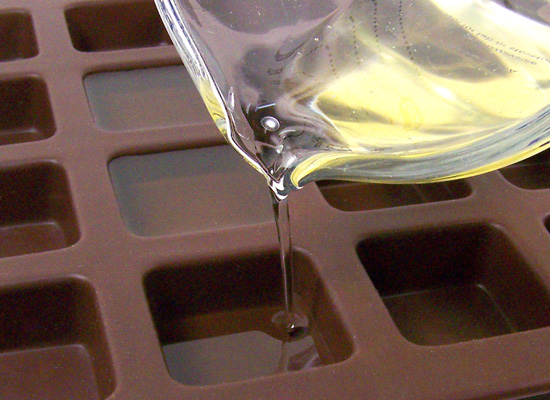
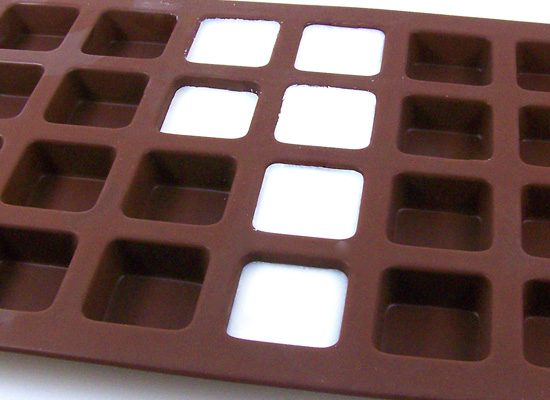
Step 5: Place the Mini Squares Silicone Mold onto a cutting board to make it easier to move later. Pour the bath melt mixture into the mini squares silicone mold. This amount of base will fill approximately 6 cavities. Increase the amount of butters and coconut oil to make more.
Step 6: After you have poured all of the mixture, carefully, place the mold into the refrigerator (this is were the cutting board comes in handy!). Wait approximately 30 minutes.
Step 7: After the Bath Melts have hardened, place them in the freezer for approximately 10 – 15 minutes.
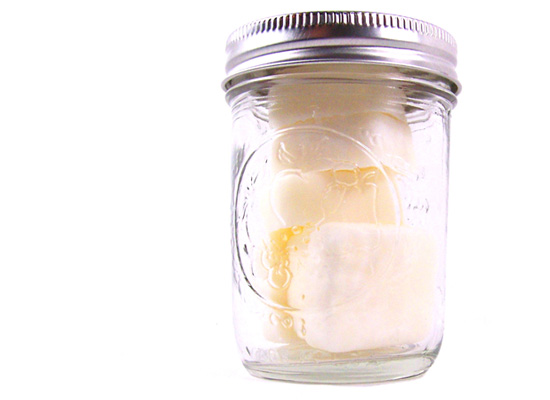
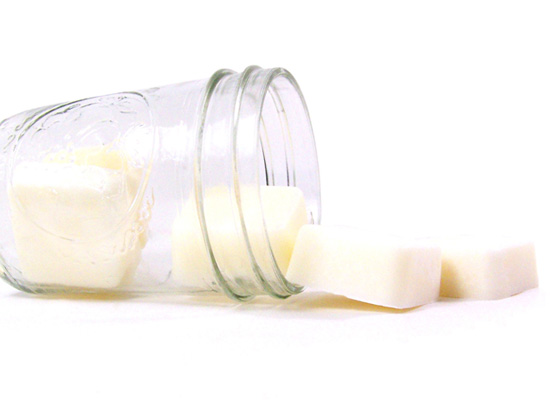
Step 8: Now it’s time to take them out of the mold. Carefully remove them and inhale the lovely scent! Store them in a container of your choice and place in the refrigerator until you are ready to use them. One little cube is more than enough for a luxurious bath!

Why the refrigerator? I have chosen to not use wax in this item, which may cause them to melt in warmer weather. When you are ready to use one, take one out of the fridge and pop it in the bath. You will love the scent and butter/oil mixture on your skin!
SUPER IMPORTANT: We are using butters and oil. Your bathtub will be SLIPPERY – so be careful when getting in and out of the tub. After your bath you will need to clean the tub to ensure it’s not slippery when getting back in. This is very important.
Now you have awesome Bath Melts to help nourish your dry skin! Stay tuned for additional unique Bath Melt tutorials coming soon!