by Rustic Escentuals
Here are some tips and tricks to help you get started learning how to use micas in melt and pour soap base. For this soap tutorial I am introducing the Blackstar micas in red, blue, green and gold. Blackstar micas are rich, deep hues that sparkle and can be used as is, or mixed with other colors. When used in clear soap bases they have a pearlescent look and sheen to them. The benefit of using micas as soap colorants is you will have no bleeding of the colors, so it’s very easy to make multi-colored soaps.
learn to incorporate Blackstar micas into your soap
Supplies and equipment needed
Microwave safe glass containers
Sharp knife to cut soap base into cubes
Spray bottle with rubbing alcohol
Butter knives
Rubber gloves
Blackstar Micas (Red, Blue, Green and Gold)
Disposable Pipettes
White Melt & Pour soap base
Crystal Clear Melt and Pour soap base
Glycerin
.15 cc scoops
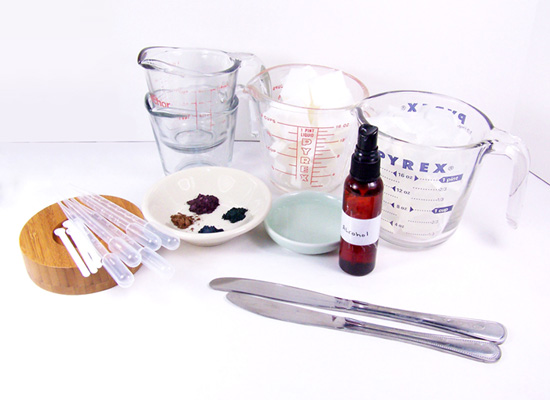
gather your supplies
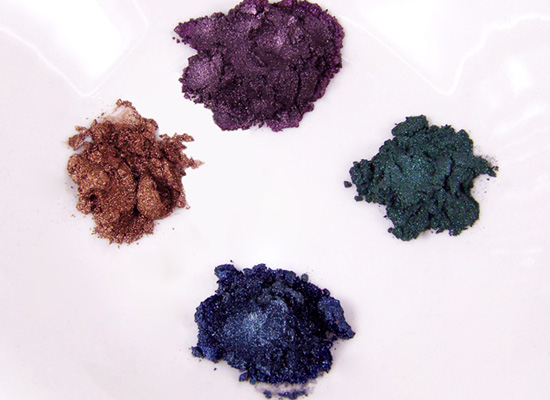
we will be using Blackstar micas in red, blue, green, and gold
Mixing micas into your Melt and Pour soap base can be tricky. While these colors are awesome in soaps, they can sometimes clump a little when mixing. Here are some tips and tricks to get you well on your way.
Note: This tutorial is using one .15 cc scoop of mica per 3 – 4 ounces of soap base. I like to use these small scoops because it allows me to add the micas in small increments. If you’re making larger batches of soap, you’ll need to adjust accordingly.
Using Glycerin:
Micas will mix in quickly with glycerin with no clumping.
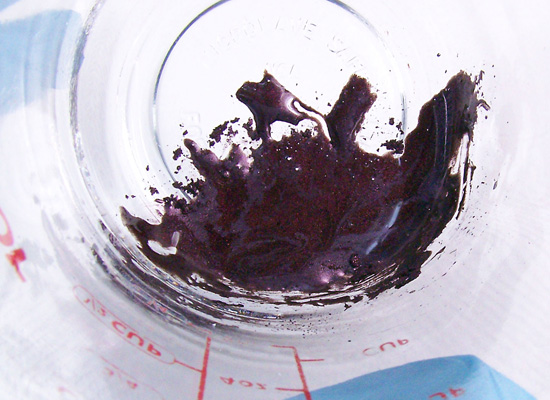
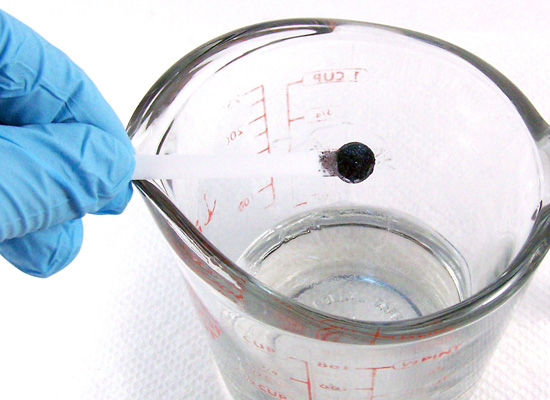
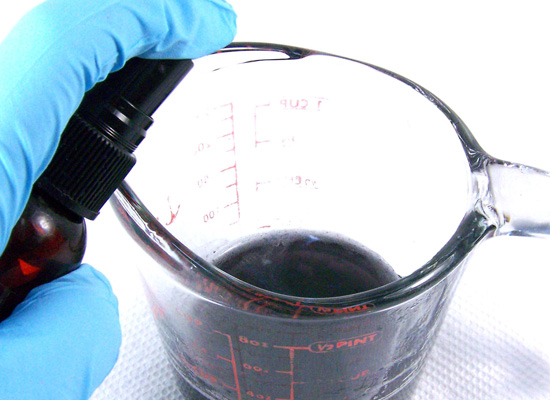
Step 1: Add one .15 cc scoop of any of your Blackstar micas into a microwave safe glass container. I’m using Blackstar red here.
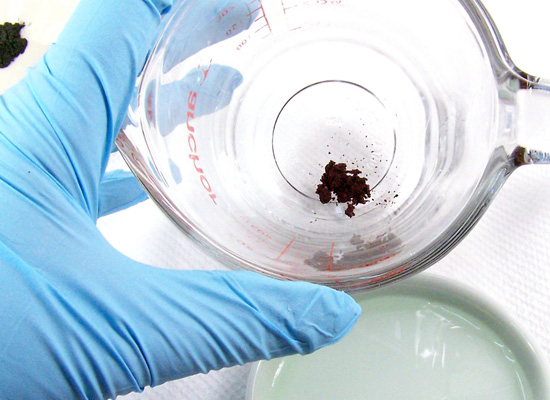
add mica to a microwave safe glass container
Step 2: Using a disposable pipette, add 1/4 to 1/2 ml of glycerin directly onto the mica.

add 1/4 – 1/2 ml of glycerin
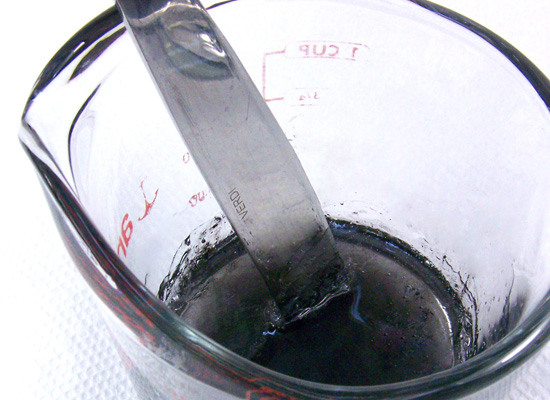
Step 3: Take a butter knife and stir together until well mixed.
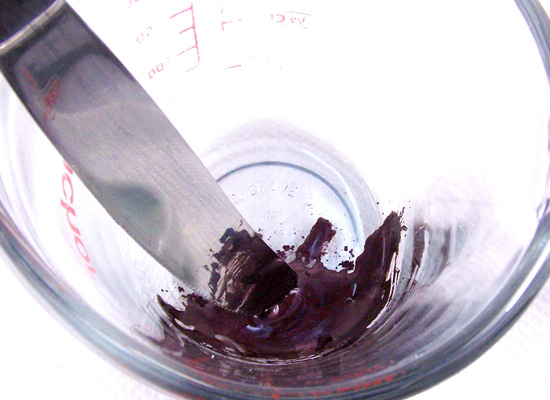
use a butter knife to stir
stir until well mixed
Step 4: Add about 3 – 4 oz of Crystal Clear Melt and Pour soap base to the mixed mica. Prepare your micas in the same container that you will be melting your soap base in – this way there won’t be any waste or mess because everything is done in the same container. Melt the soap base in a microwave for 20 seconds. Repeat if necessary.
Step 5: Stir slowly until well mixed. You’re now ready to add your fragrances and other additives. The soap is now ready to be poured into a mold.
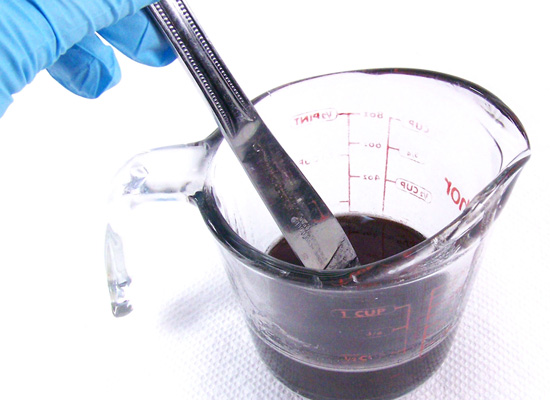
add soap and stir slowly until combined
Using Alcohol:
The steps are the same as above, but you will be using rubbing alcohol instead of glycerin. Micas mix in quickly with alcohol with no clumping.
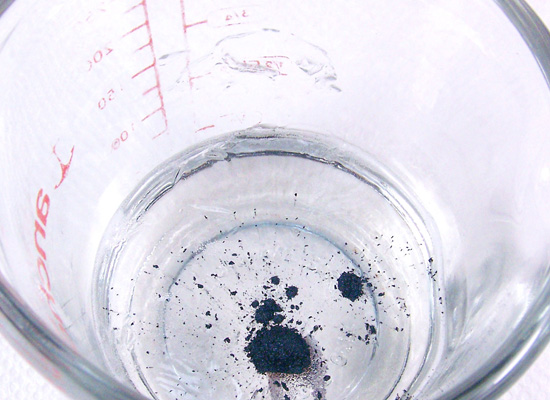
Step 1: Add one .15 cc scoop of any of your Blackstar micas into a microwave safe glass container. I’m using Blackstar gold here.
Step 2: Using a disposable pipette, add about 5 -6 drops of alcohol to the mica. Depending on how much mica you have in the container, you may need to add a bit more. Be conservative with the alcohol.
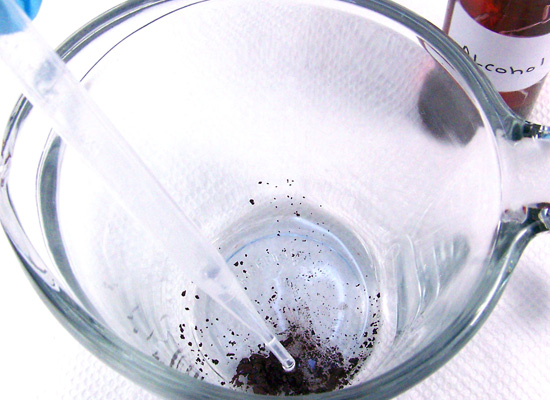
add 5-6 drops of alcohol to the mica
Step 3: Mix both items together using a butter knife. You’ll notice that it’s a much thinner mixture than the one with glycerin.
the mixture is much thinner than the glycerin version
Step 4: Add 3 – 4 oz of cubed Crystal Clear Melt and Pour soap base into the same container and melt the soap base in a microwave for 20 seconds. Repeat if necessary.
Step 5: Stir slowly until well mixed. You’re now ready to add your fragrances and other additives. The soap is now ready to be poured into a mold.
Melt and Pour Soap Base:
If you don’t want to add any additional additives to your soap (like glycerin or alcohol), follow the steps below.
Step 1: Melt 3 – 4 oz of Crystal Clear Melt and pour soap base in a microwave for 20 seconds. Repeat if necessary.
Step 2: Add one .15 cc scoop of Blackstar mica into the melted soap. I am using Blackstar blue in this step.
add mica to your melted soap
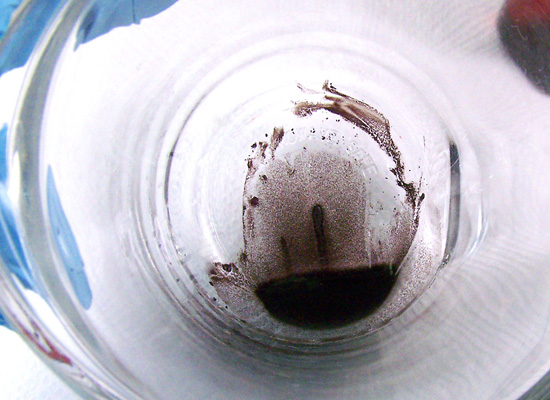
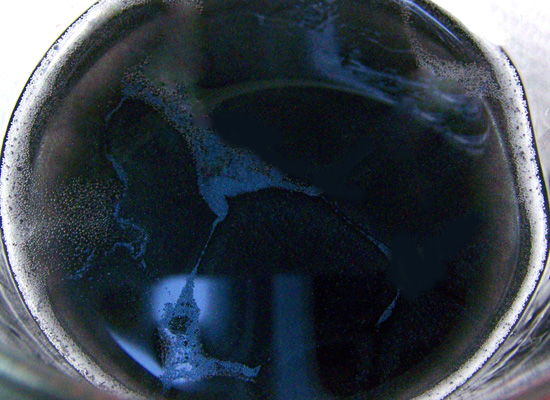
Step 3: The mica will tend to sit on top of the soap base – stir in slowly.
stir in slowly, the mica will want to sit on top of the soap
Step 4: This method tends to clump more. You will need to stir, stir, and stir to completely incorporate the mica in with the soap.
this method tends to clump more so stir, stir, stir, and stir some more
Step 5: If you see any little bubbles or spots of mica floating on top the soap (or even if you don’t) spritz the top of the soap with alcohol. You’ll see the bubbles of mica open and spread across the top of the soap. Stir in the mica and repeat this step if necessary.
spritz top of base with alcohol and repeat if necessary
mica floating after being sprayed with rubbing alcohol
Step 6: Stir slowly until well mixed. You’re now ready to add your fragrances and other additives. The soap is now ready to be poured into a mold.
Note: I personally find that the methods shown in this tutorial work the best for me in mixing micas. Some like to mix micas using favorite oils or even fragrance oils. If using fragrance oils, mix the micas in a separate container then add to the soap base after it’s melted.
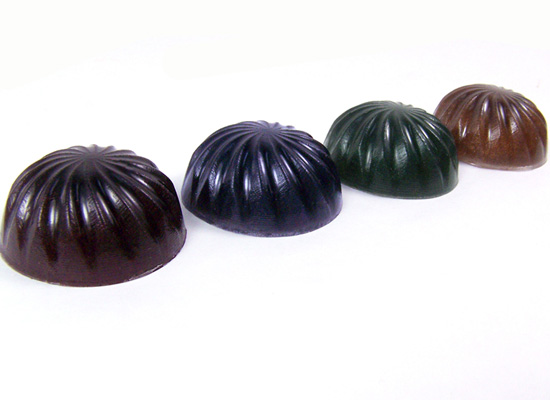
You can also use micas in a white soap base. The colors won’t be as bright and shiny, but they’re just as pretty. The picture shows from left to right: Blackstar Red, Blackstar Blue, Blackstar Green and Blackstar Gold.
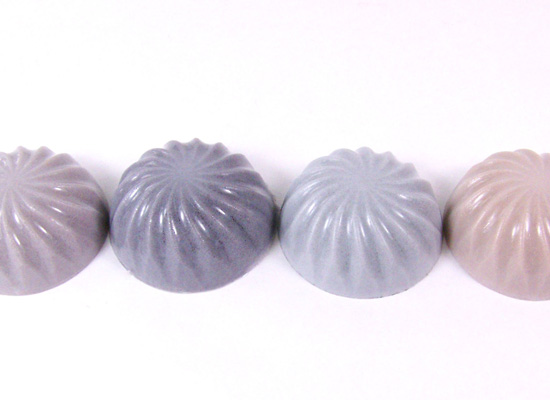
micas in a white soap base – not as bright and shiny, but just as pretty!

L to R: Blackstar Red, Blackstar Blue, Blackstar Green, Blackstar Gold
Have fun and experiment with micas! You’ll enjoy the different looks you can achieve with these colorants.
Keep an eye out for more tutorials featuring micas!