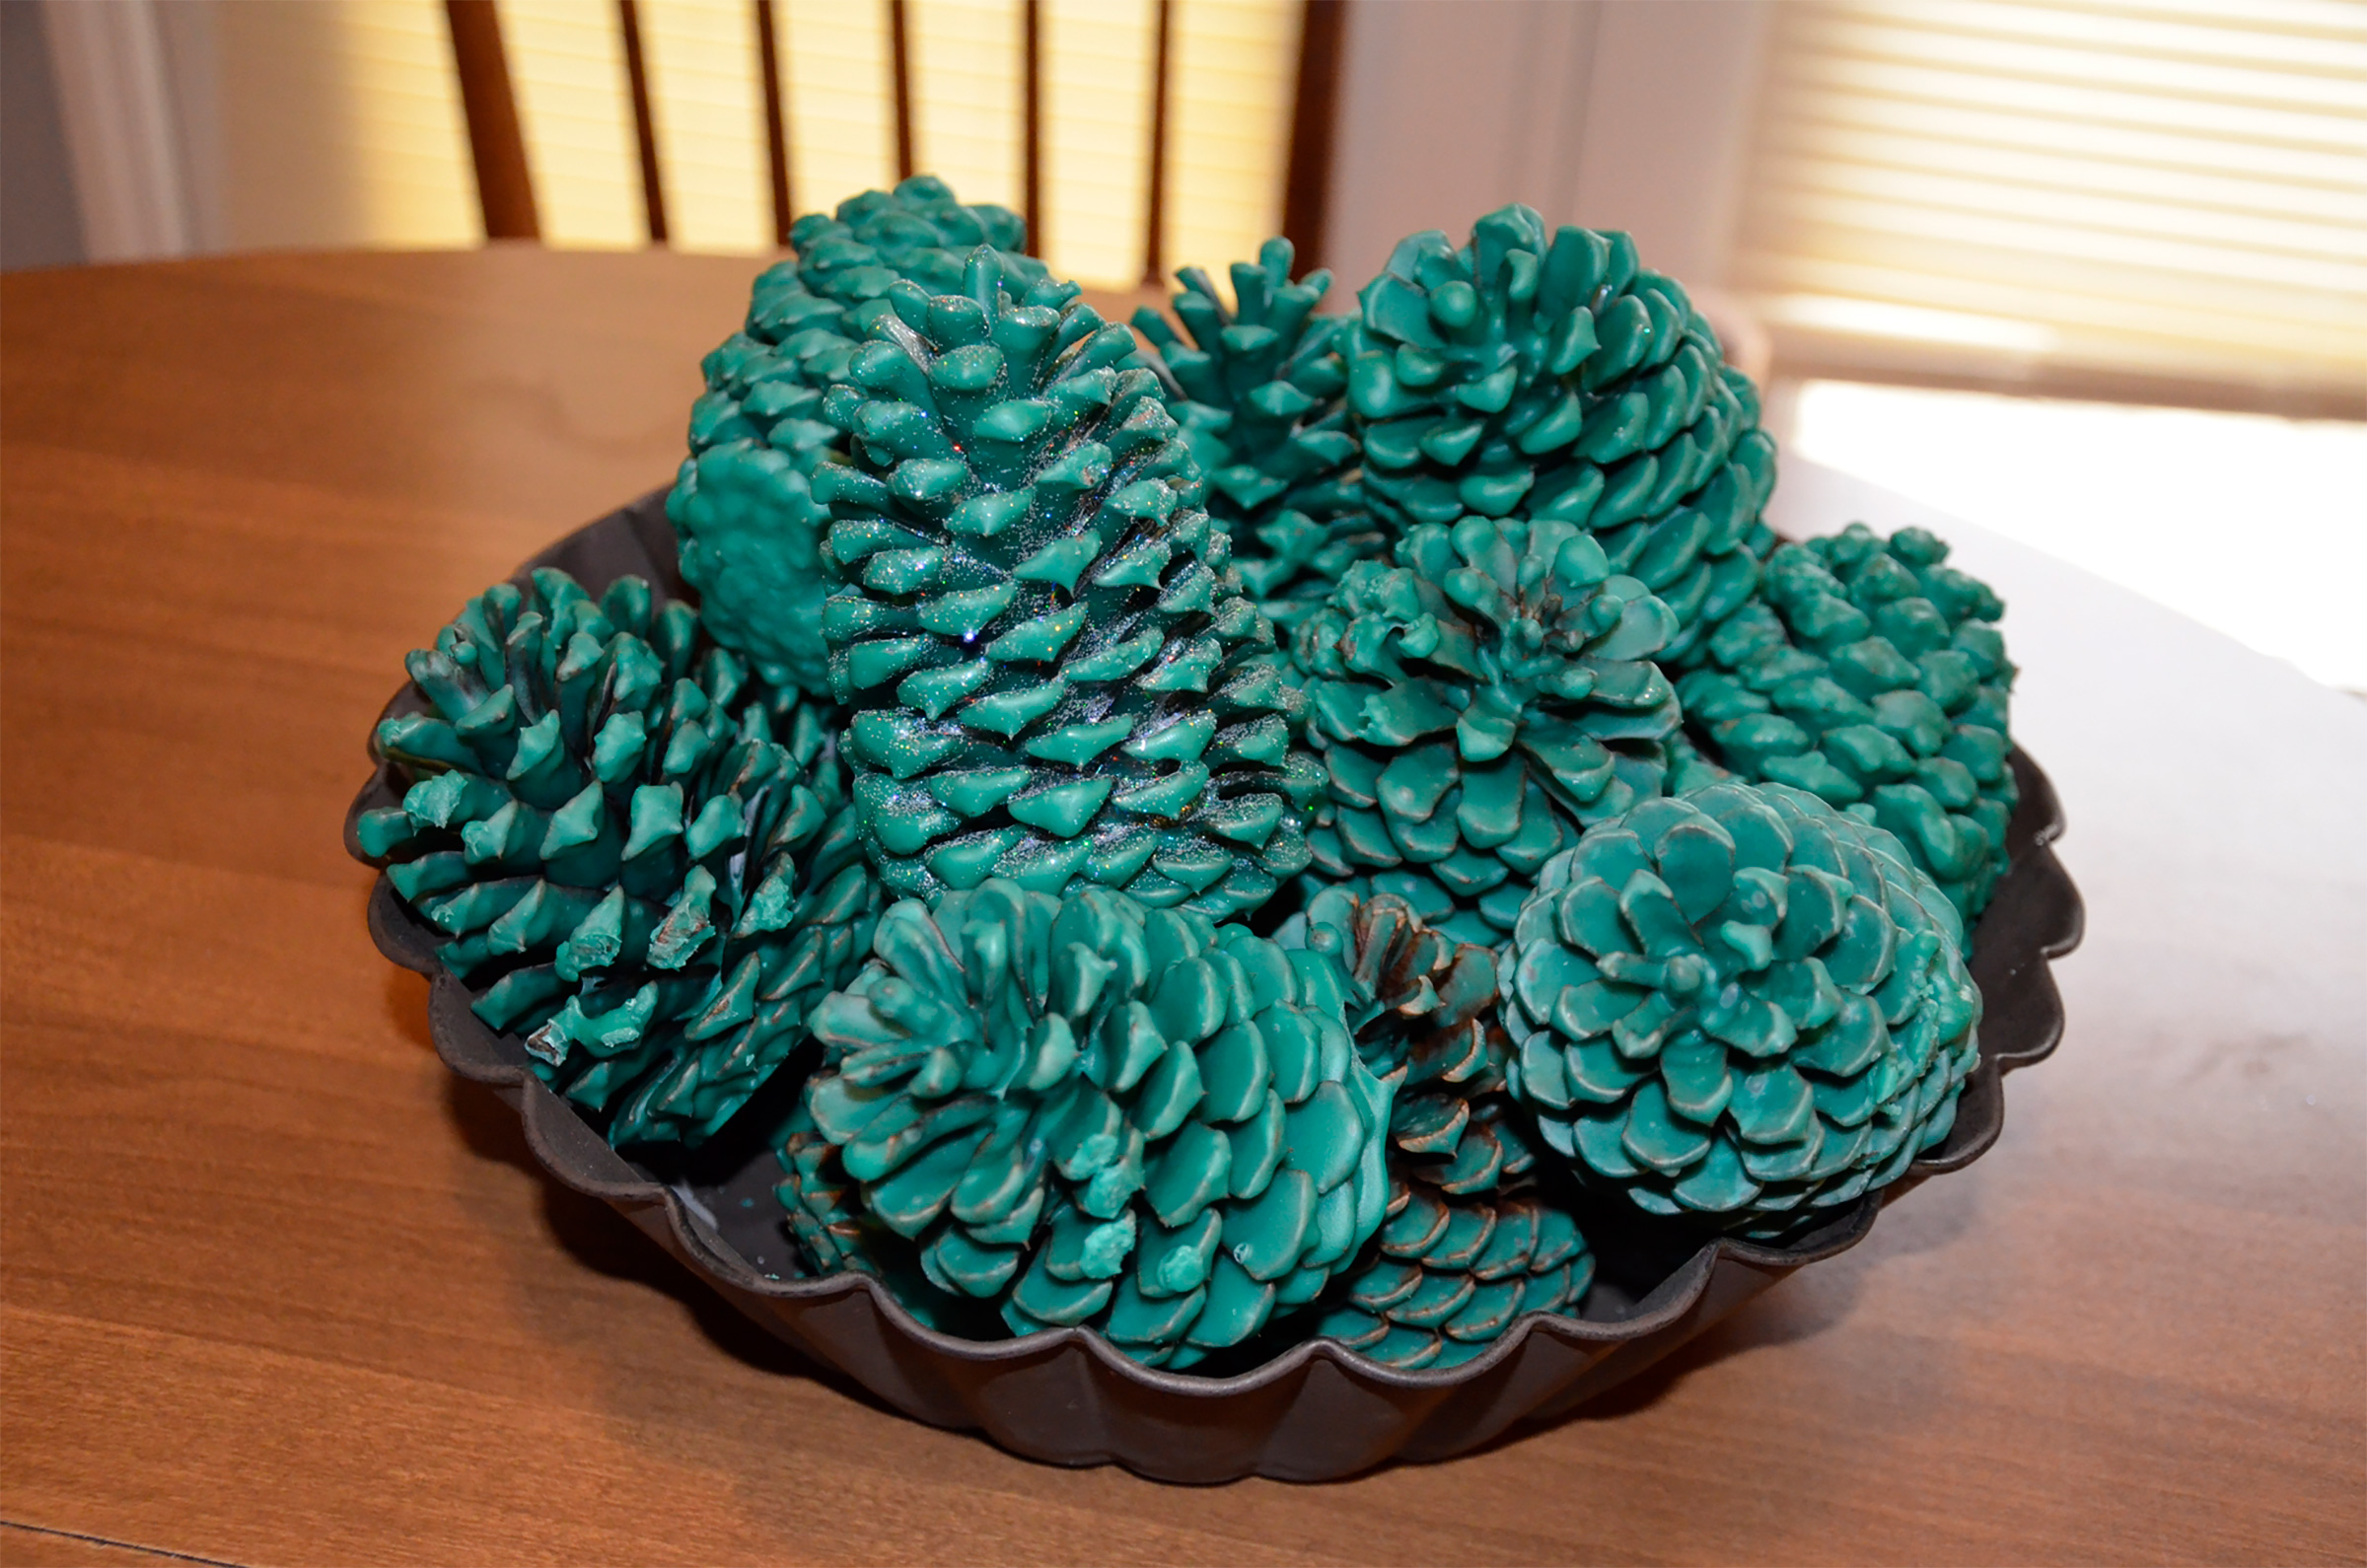
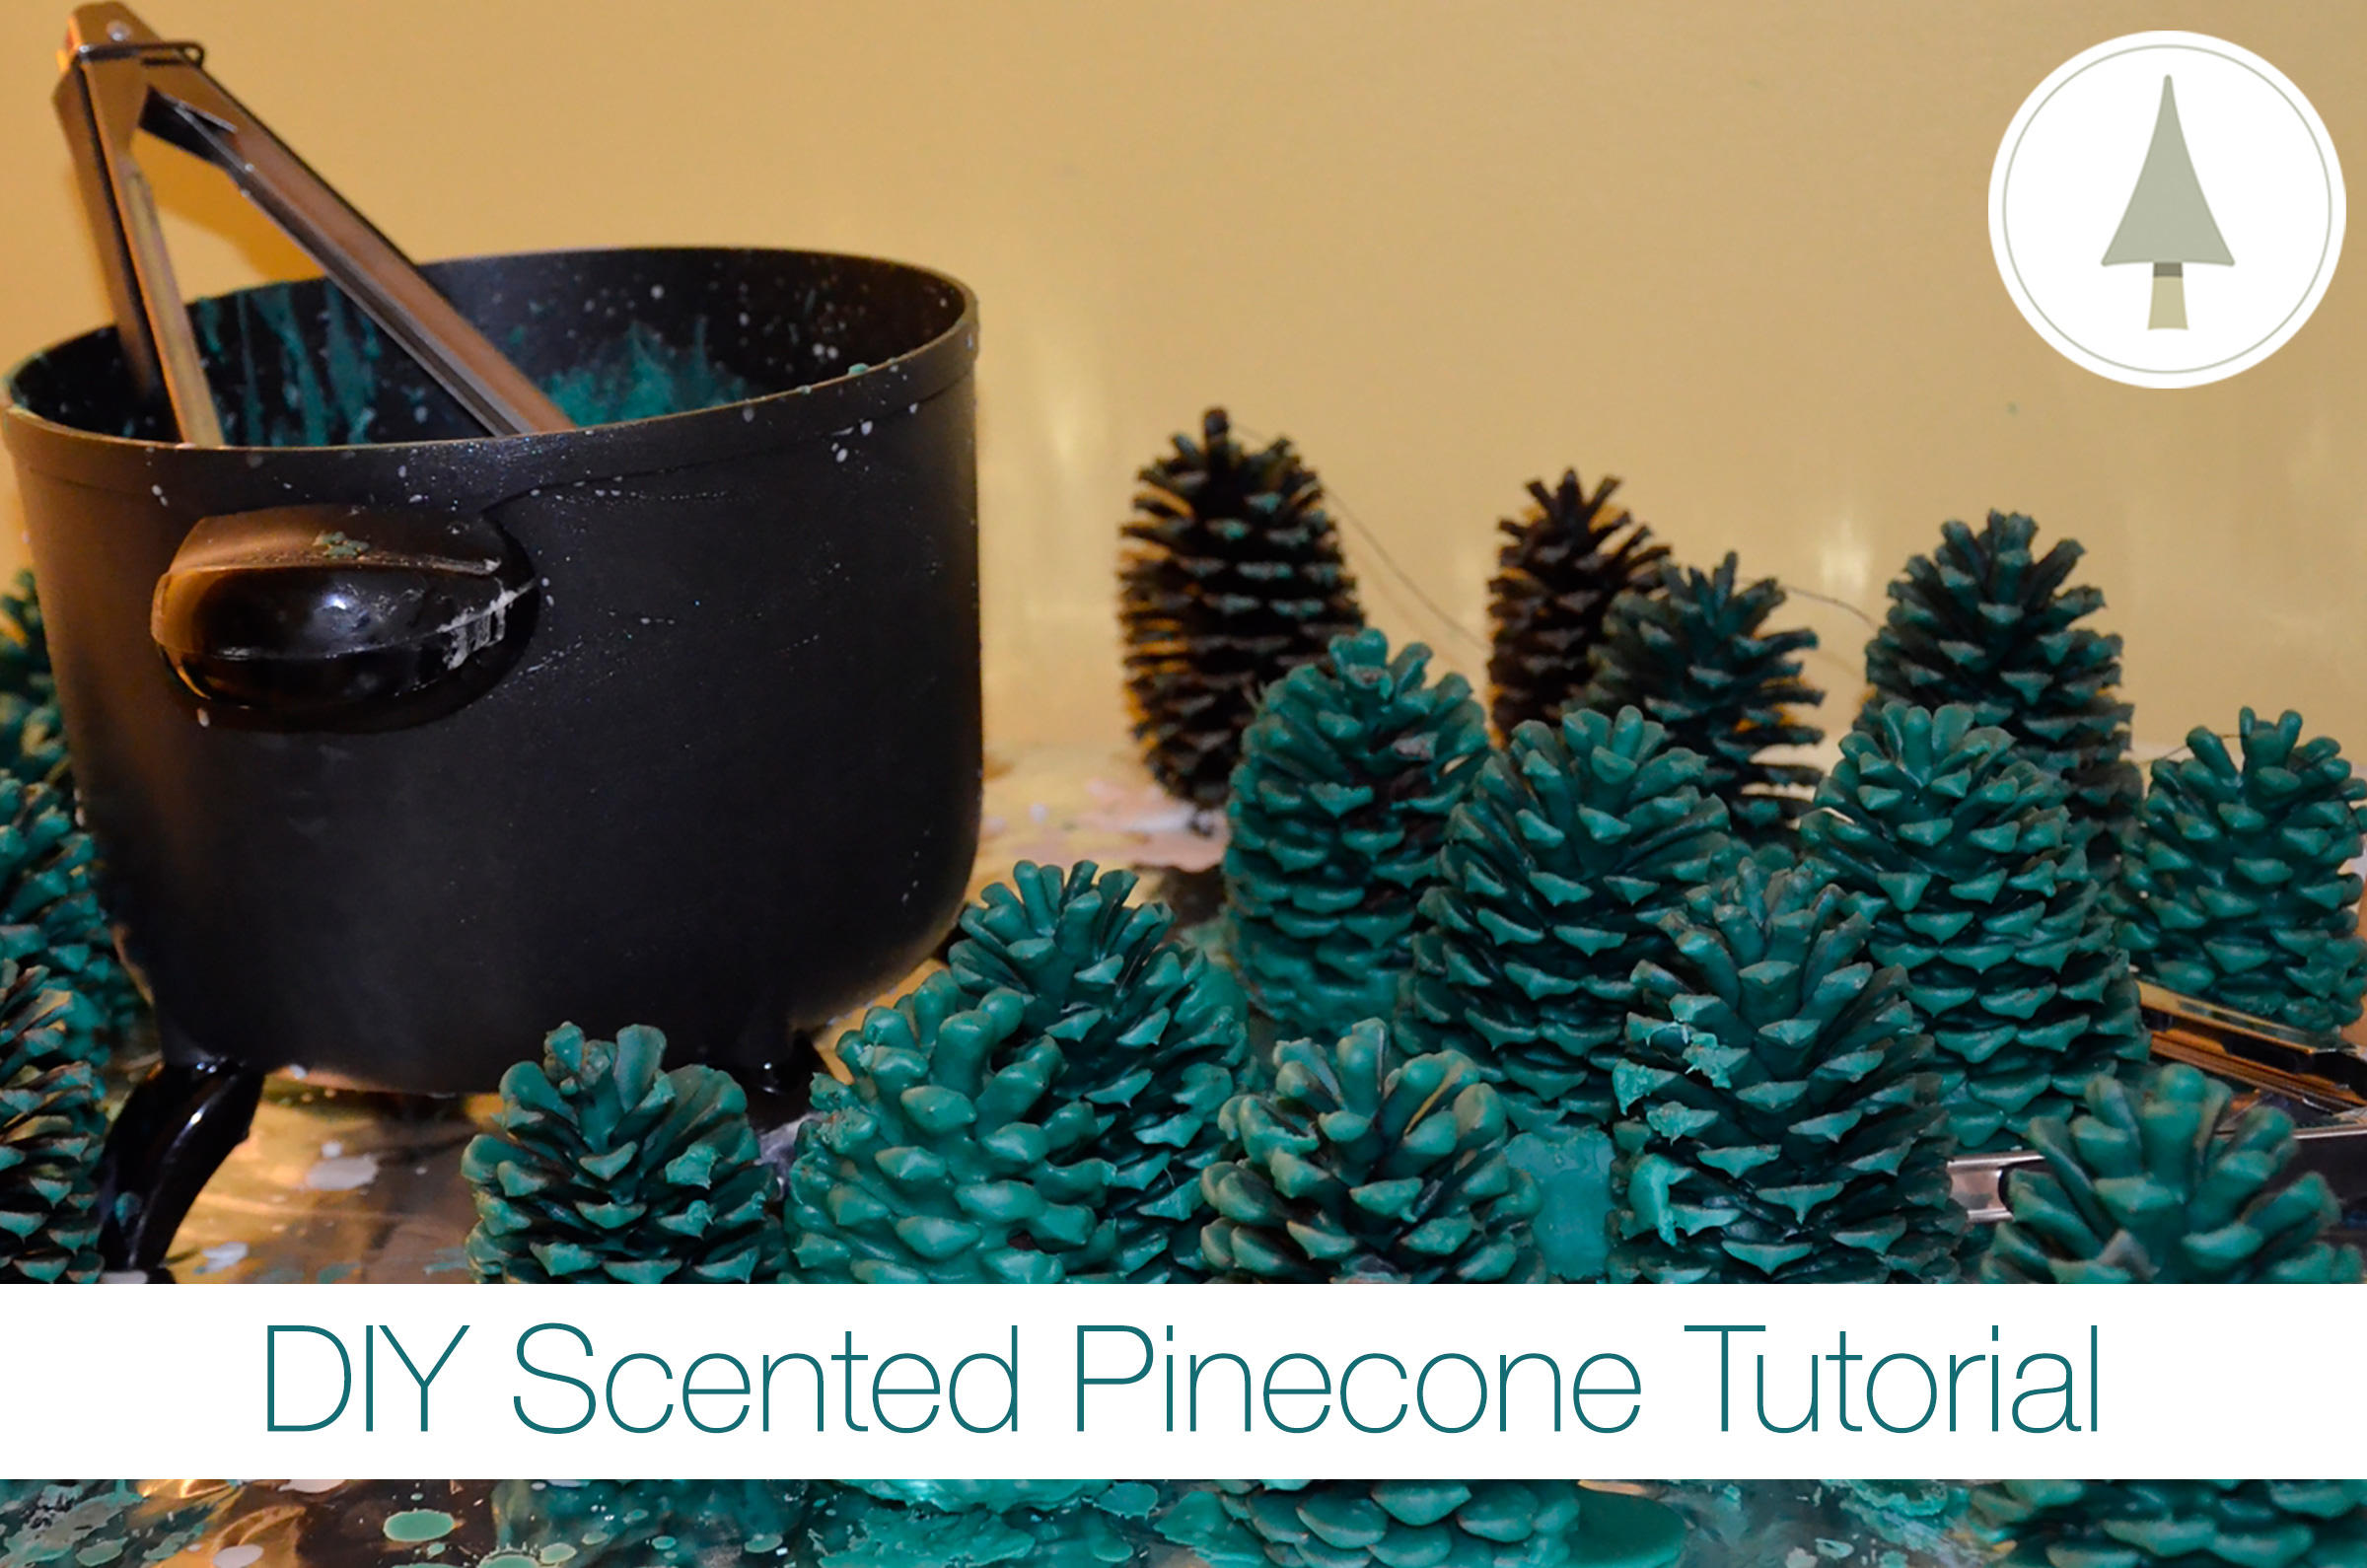
Use dried pinecones and scented wax to create these fragrant, beautiful wax-dipped pinecones! Pile into a dish on your table, set a few in the bathroom, decorate your office desk, and more with these versatile “scenter-pieces”. Switch up the color and fragrance to create themed seasonal treats!
Items needed:
Presto Kettle or double boiler to melt wax
Digital scale
Ky 133 Versatile Paraffin Wax
Fragrance Oil ( 2 oz. per pound of wax)
Candle dye, if desired
Glitter, if desired
Pine cones from your yard
Tongs for dipping
Aluminum Foil to cover work surface (makes job easier as well as quick & easy clean up)
Step 1
Melt wax, add fragrance oil and candle dye, and mix well. Turn off melter so wax does not continue to heat once fragrance oil has been added. I suggest using very strong candle fragrance oils for best results.
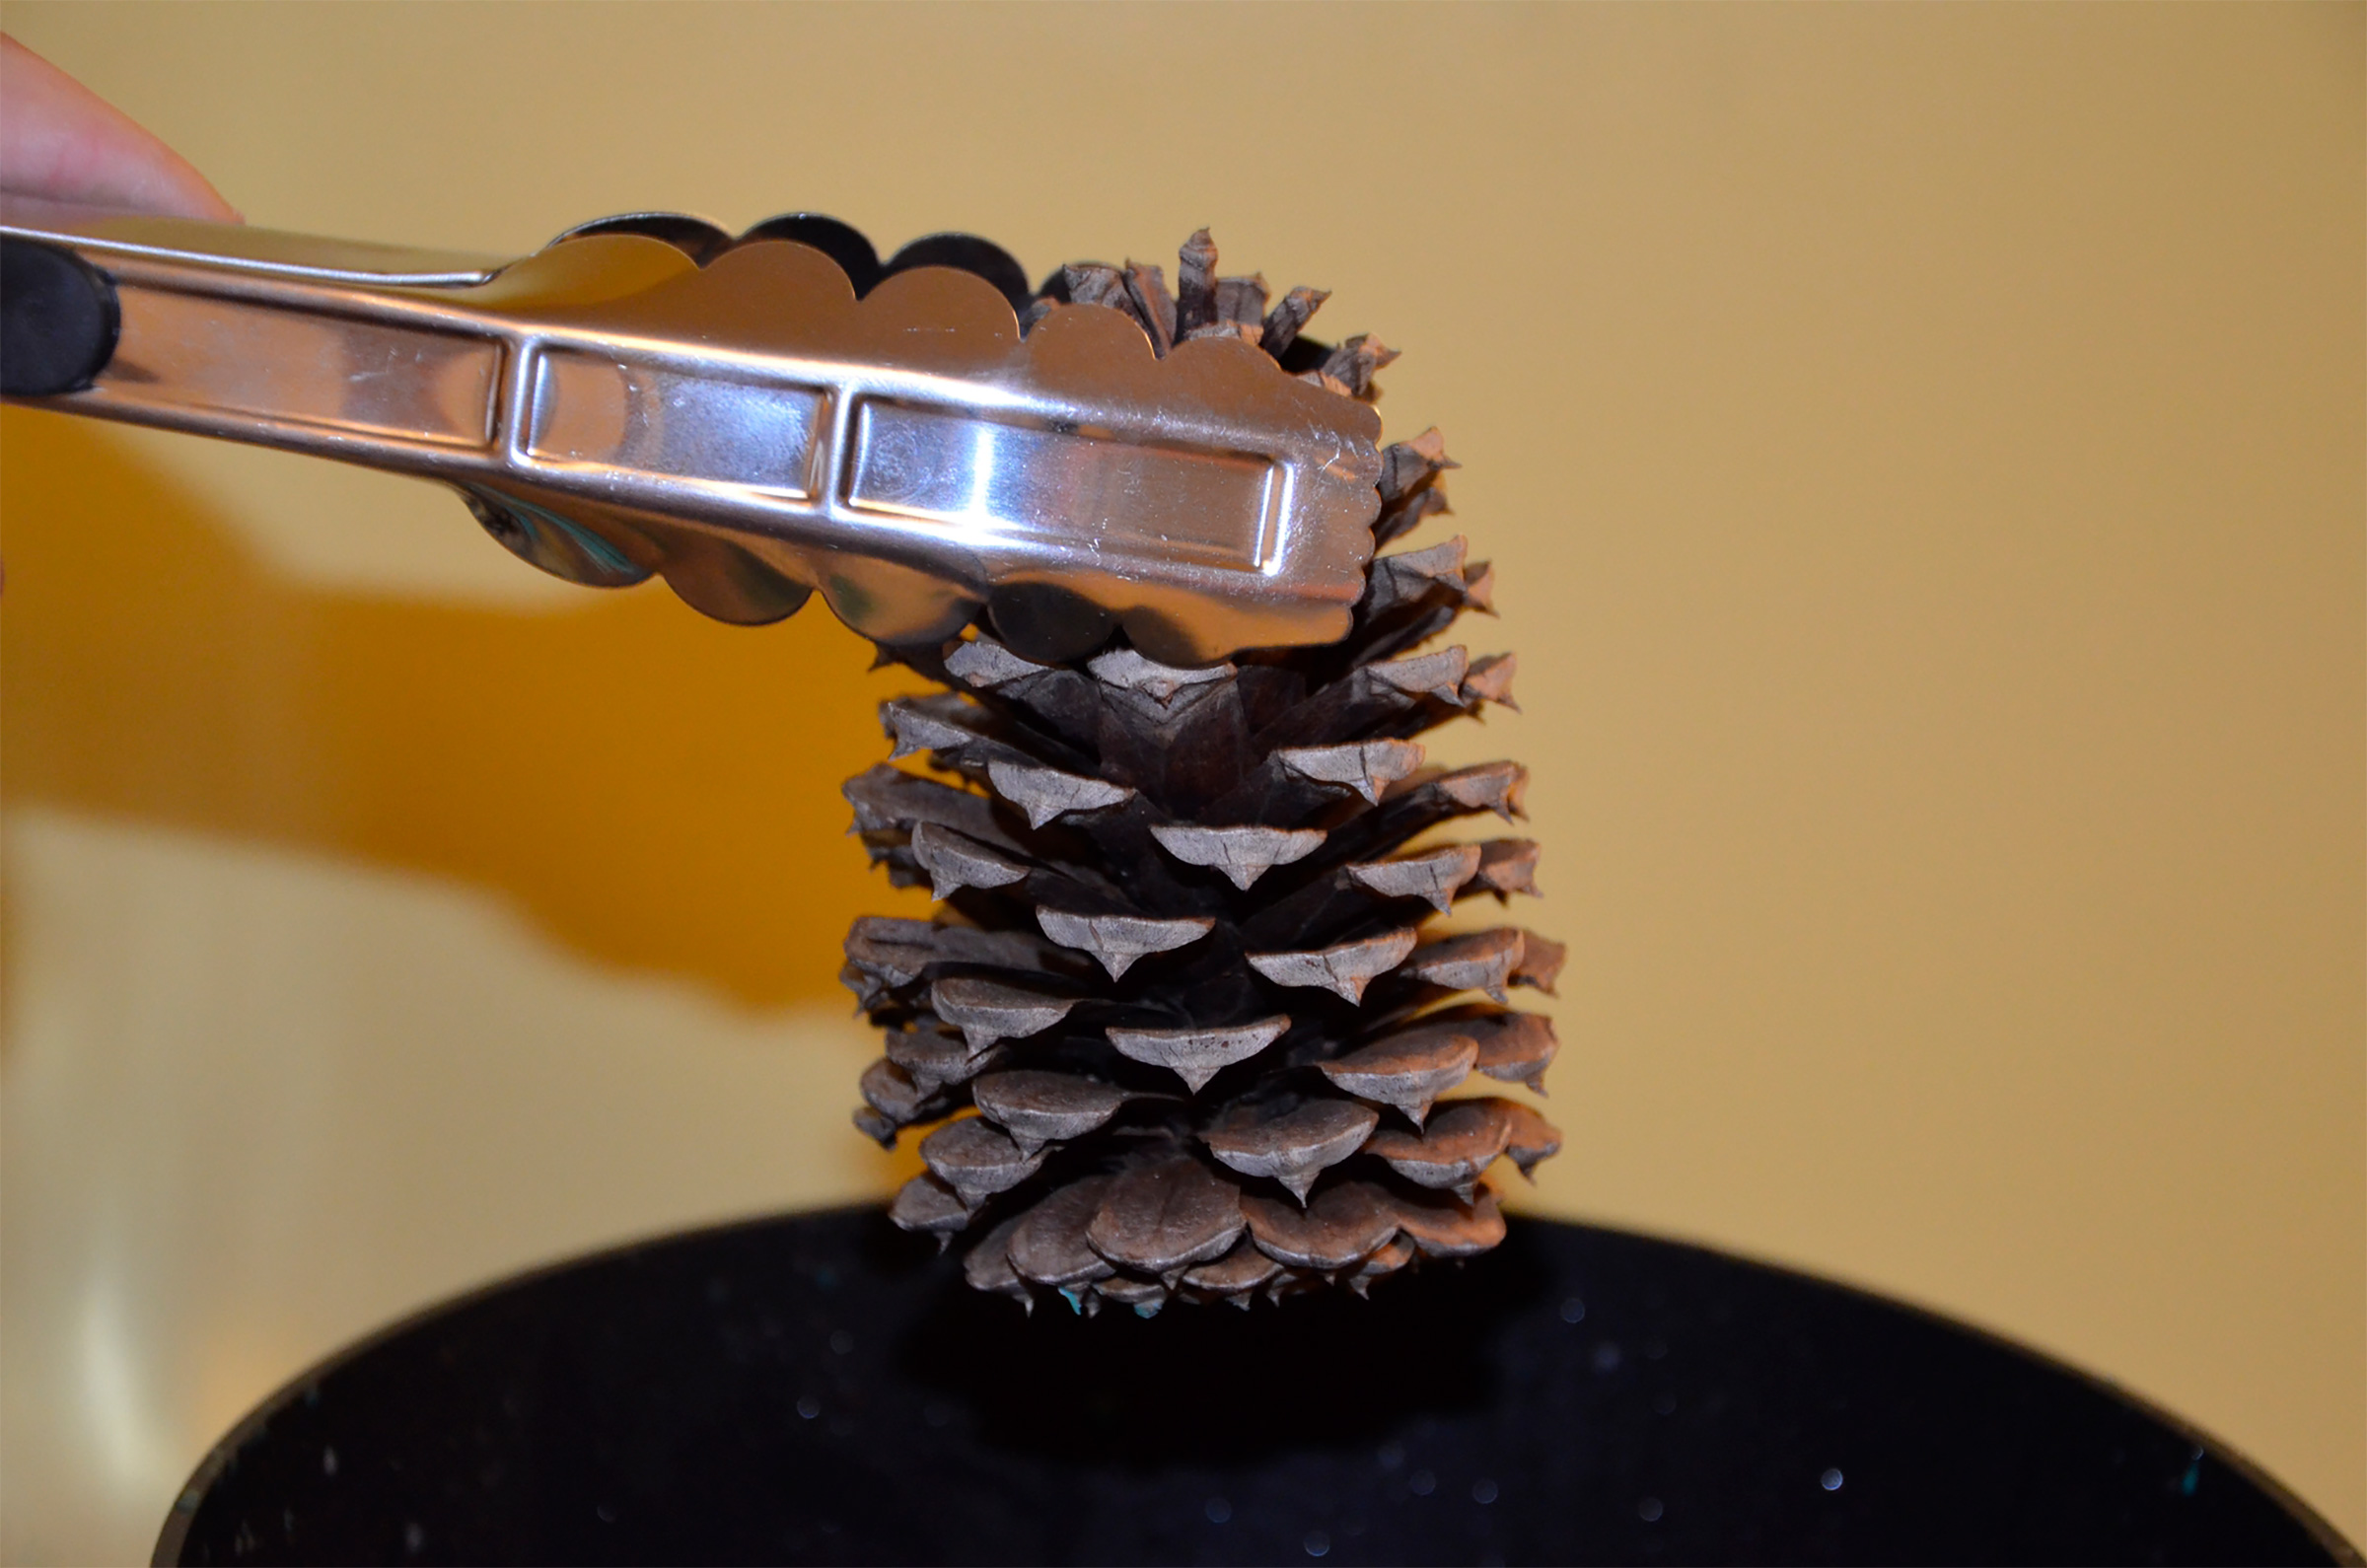
Step 2
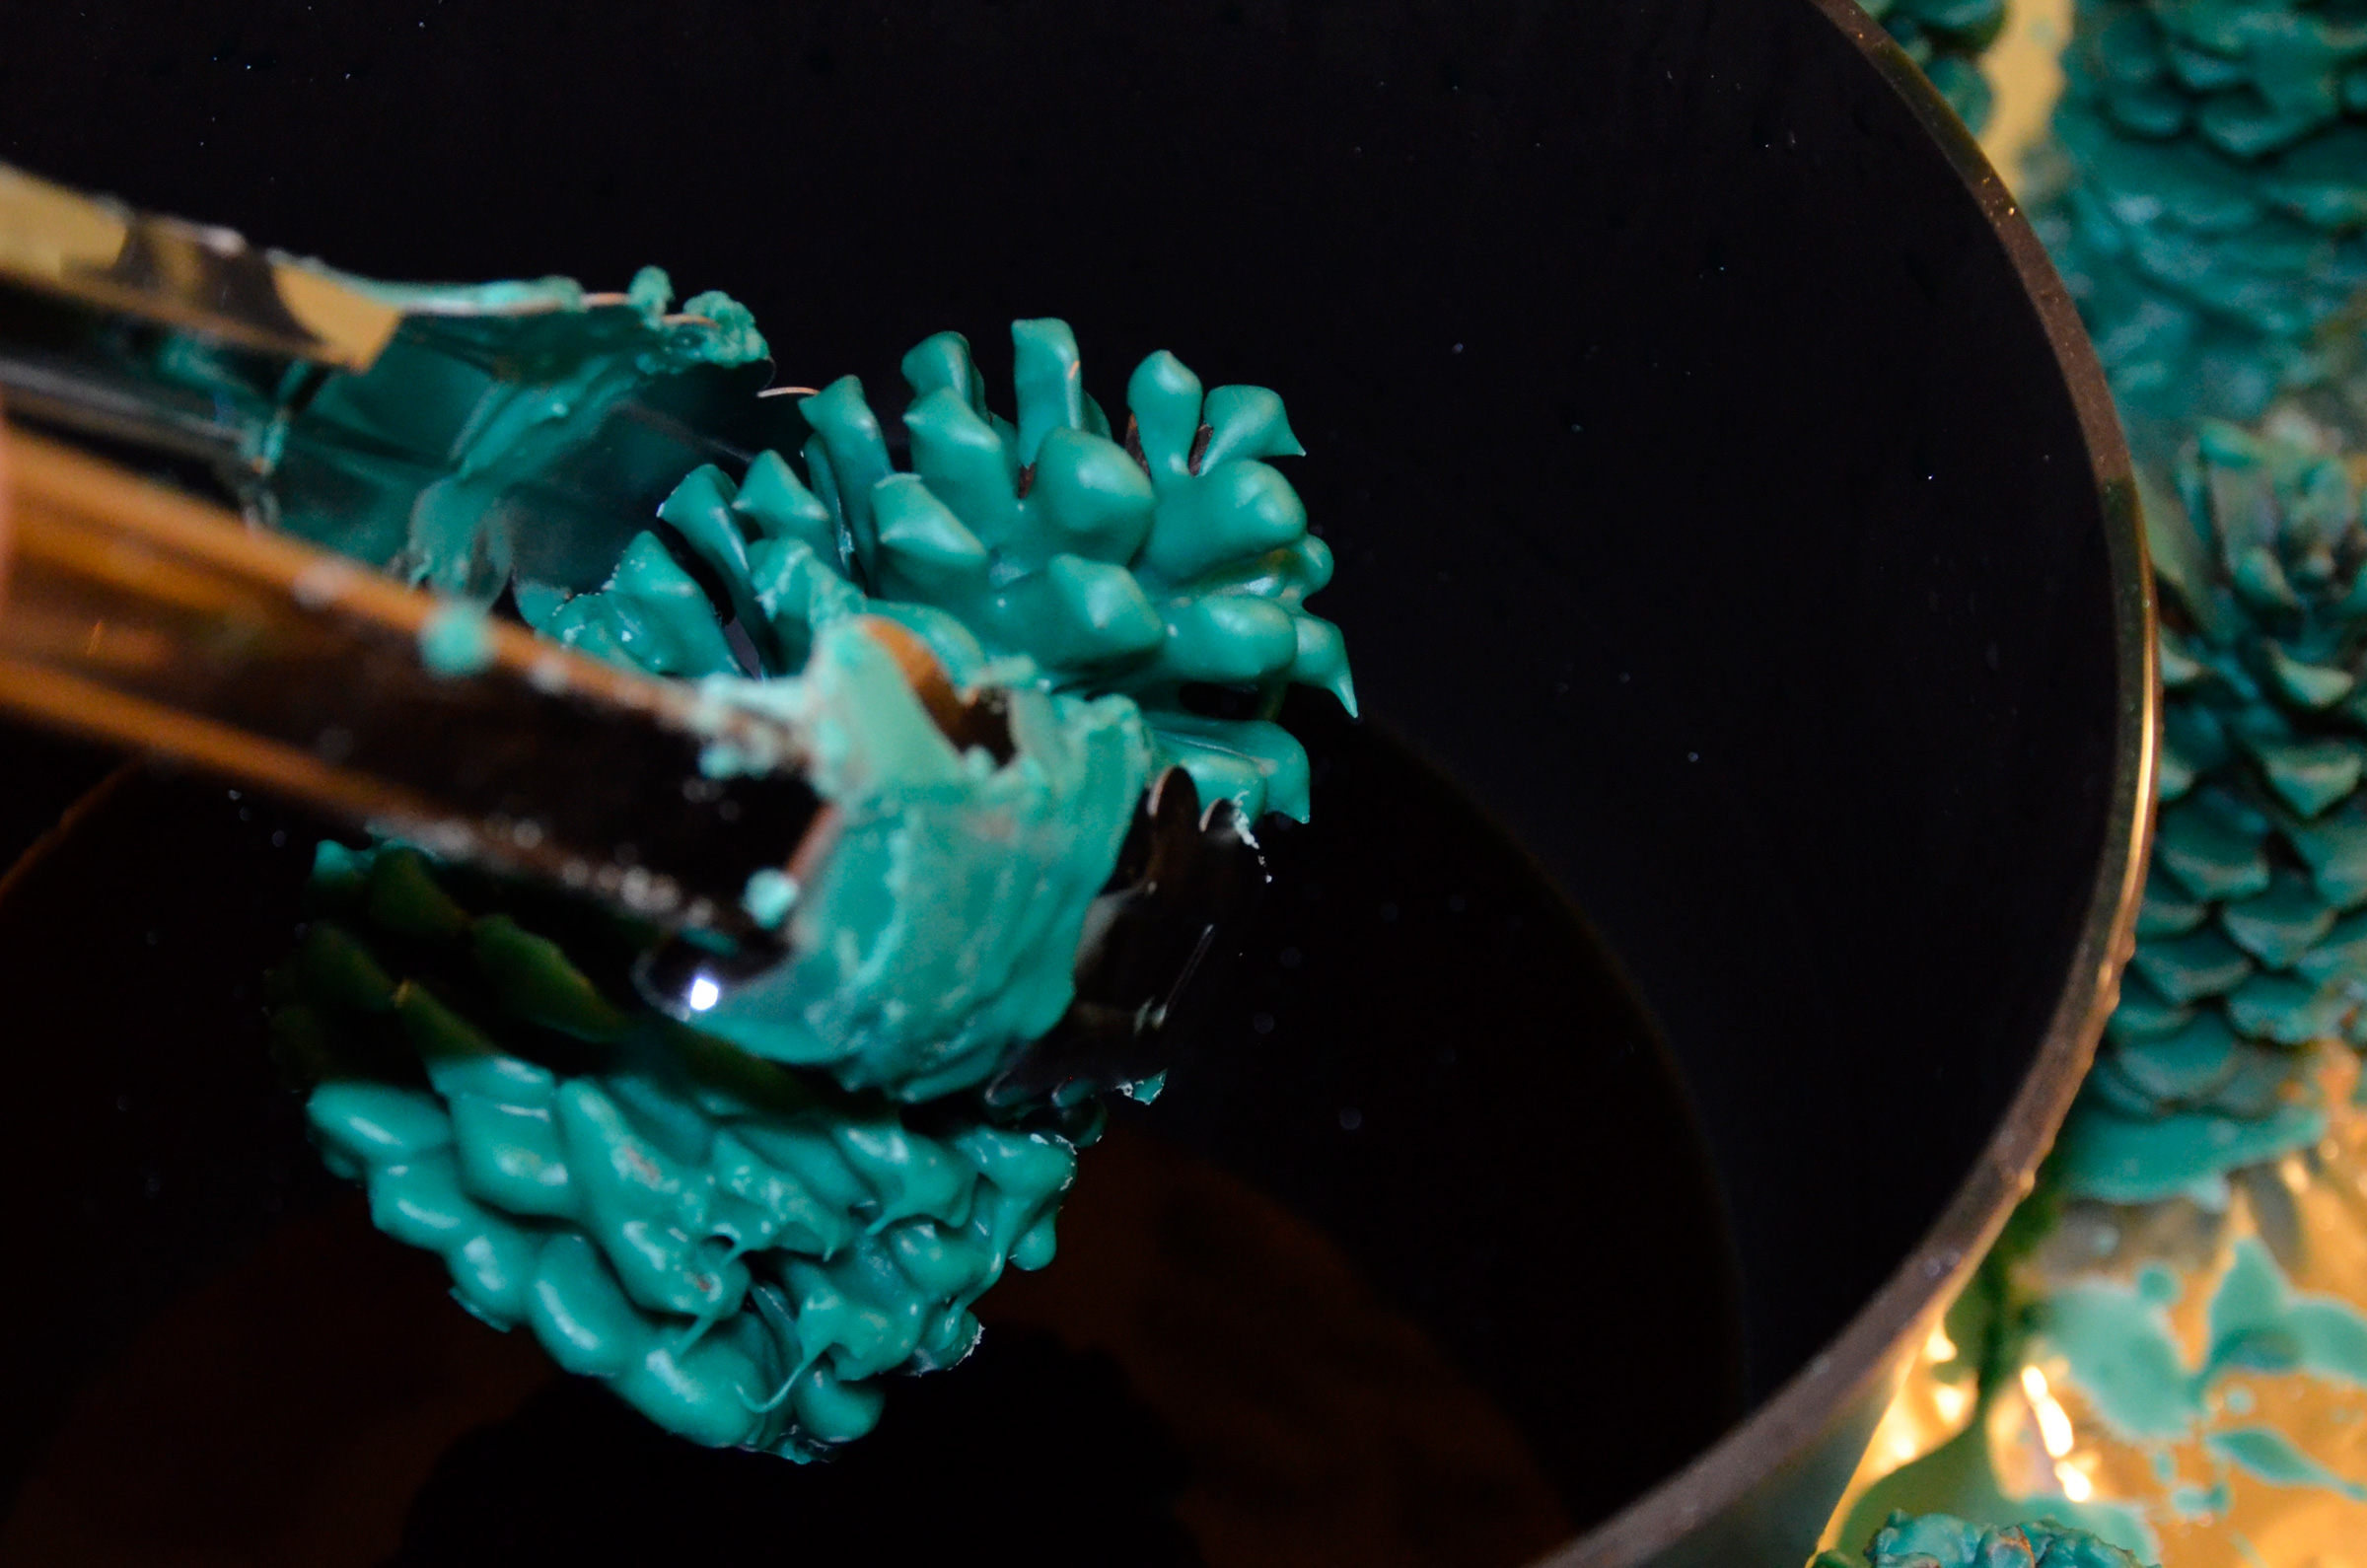
Take pine cone in tongs and dip in wax. Roll around in wax to get a thorough coating.
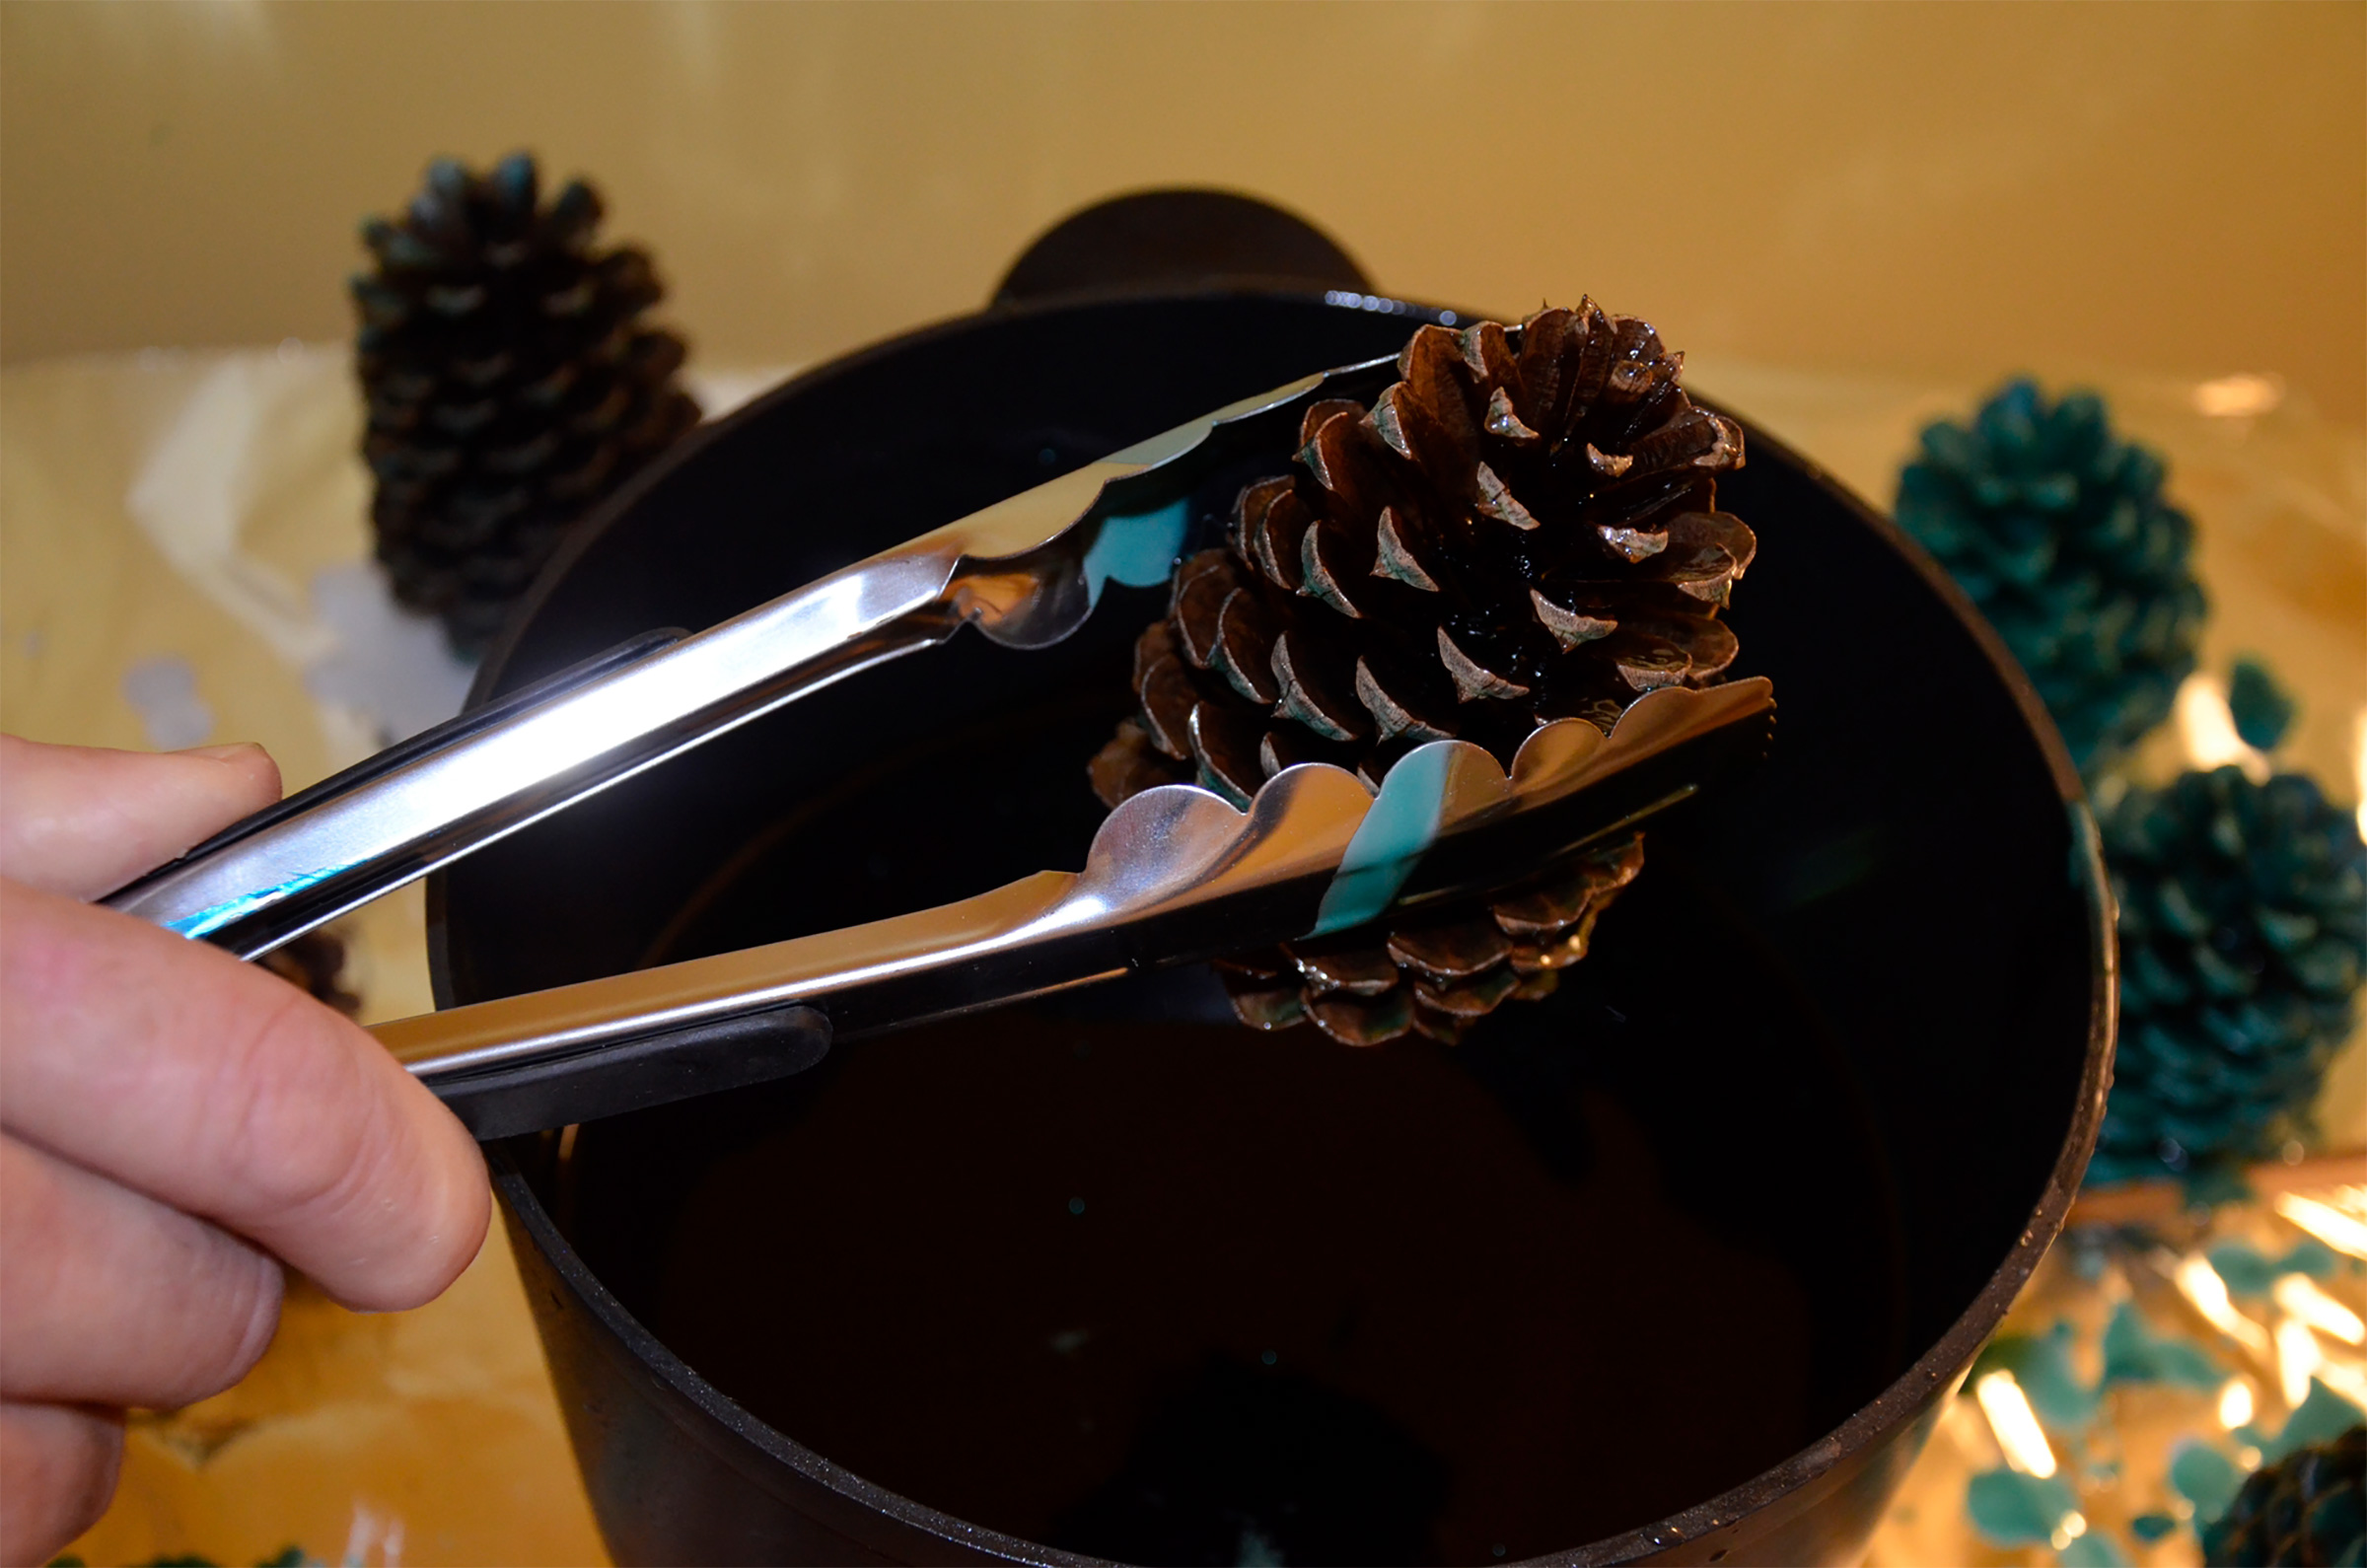
Step 3
Place on foil to dry.
If you want your pine cones to be heavily coated, let the wax cool down until just before it begins to form a skin on top.
You will only need to dip once or twice if your wax has cooled enough. This will take a little practice to get it right. If your wax begins to set up too much, simply turn on the melter for a minute or two to warm it back up again. Place pine cone again on aluminum foil to cool.
Tip: Because the wax is pretty cool at this point, you’ll want to work fast so the wax coated pine cone doesn’t stick to the tongs.
Step 4
At this point, you can sprinkle with glitter of your choice before it dries all the way. I like using the iridescent Diamond Dust because it’s so reflective and sparkly.

Step 5
Finished product can be used as potpourri in a basket or pretty rustic pan. A pretty pine cone forest!