by Karla Gragg
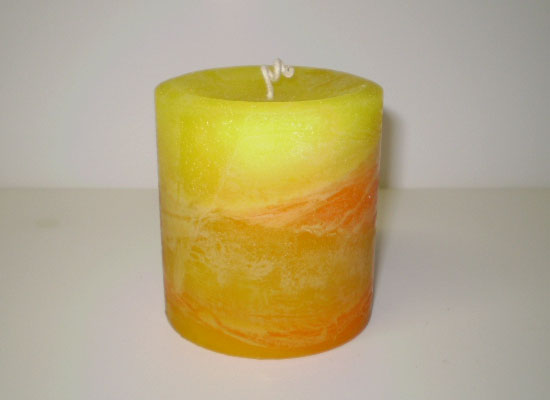
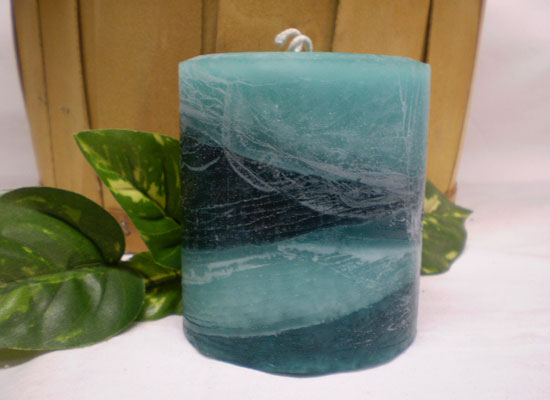
Equipment, wax, dyes, and fabulous fragrances are available at Rustic Escentuals! Just use the handy links below.
First — Gather everything you will need:
Candle wax
Digital Scales
Fragrance Oil
Candle Dye(s)
Pour Pots (will need one for each color you intend to use)
Thermometers
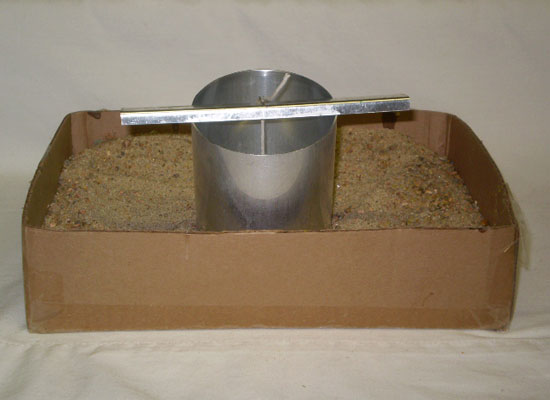
Candle Mold (set up with wicking)
Box/tray with sand (can use beans, etc)
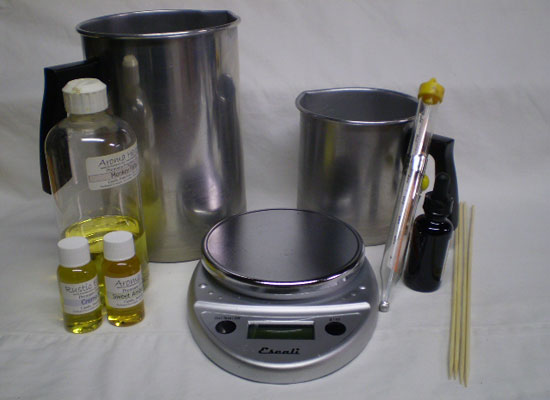
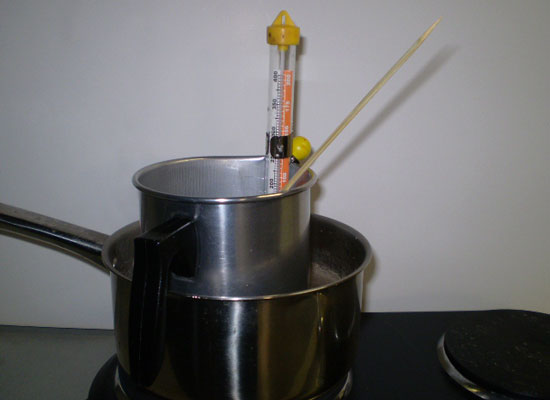
Using your selected method for safe wax melting (Presto Pot and/or double boiler), melt your choice of wax and heat to manufacturer’s suggested temperature. In this demo we’re using a paraffin pillar wax which we’ll heat to approximately 190°.
Set pour pot on digital scale and tare. Transfer needed amount of wax to pour pot — in this demo we’re making one 3X3.5” pillar so we’ll need 12oz total. We have transferred 11.5 oz of wax, and added .5oz of FO. Stir well (approx 2 min).
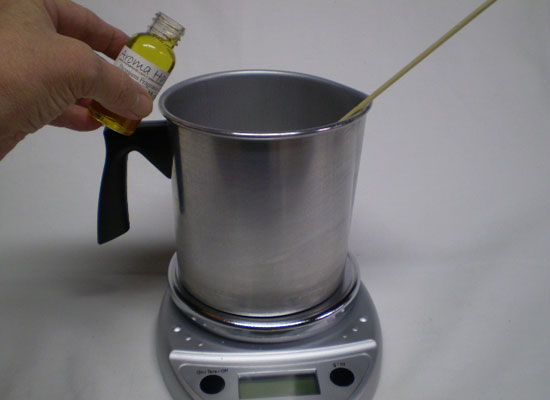
In this demo we are using two colors, so we transfer 6oz of the scented wax to the second pour pot. Check temperature, you may need to use double boiler to reheat wax to approx 185°. Add choice of dye to each pour pot and mix well.
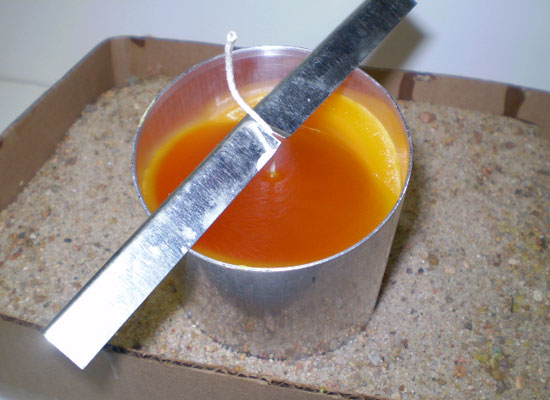
When mixture has cooled to approx 160° pour first layer into tilted mold. Note — for ‘rustic’ look, do not preheat mold. We then “slosh” the wax around, just a bit, in the mold. This will result in less defined layer lines, adding visual appeal.
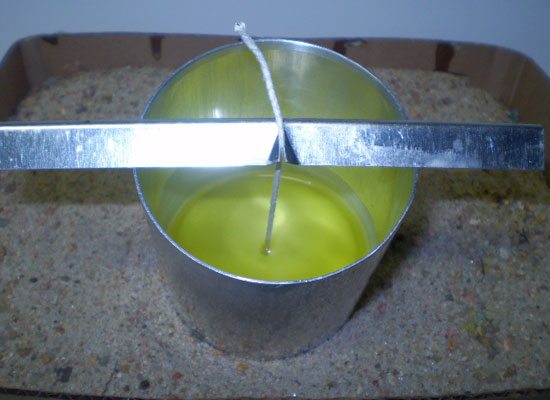
Keep second color heated to approx 160° while monitoring the first layer. Here’s the tricky part. Before pouring the next layer, the existing layer needs to cool enough to form a skin that will not ‘blister’ when you turn the mold for the next layer. If it does form a bubble when you turn it, and you pour anyway, the hot wax will melt the blister and the colors will bleed. So, be patient.
Here, you can see the bubble or blister forming on the right side…
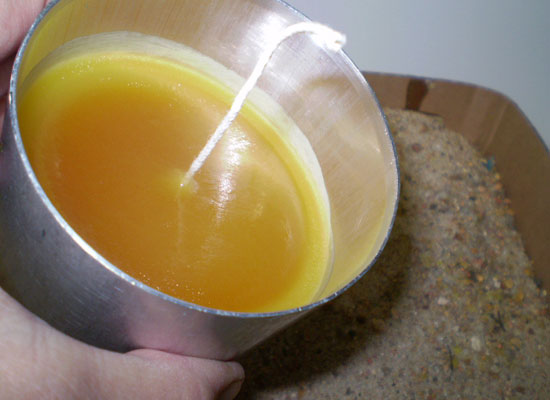
Repeat this process for however many layers you prefer. Don’t ‘regulate’ how far you tilt the mold, or how far you turn it between layers, or the thickness of your layers. With this technique, the unevenness of your layers will result in more visual appeal.
For the final pour set your mold upright, let it set up, poke your relief holes, and do your re-pour. Once completely cooled, un-mold and enjoy your latest work of art!
