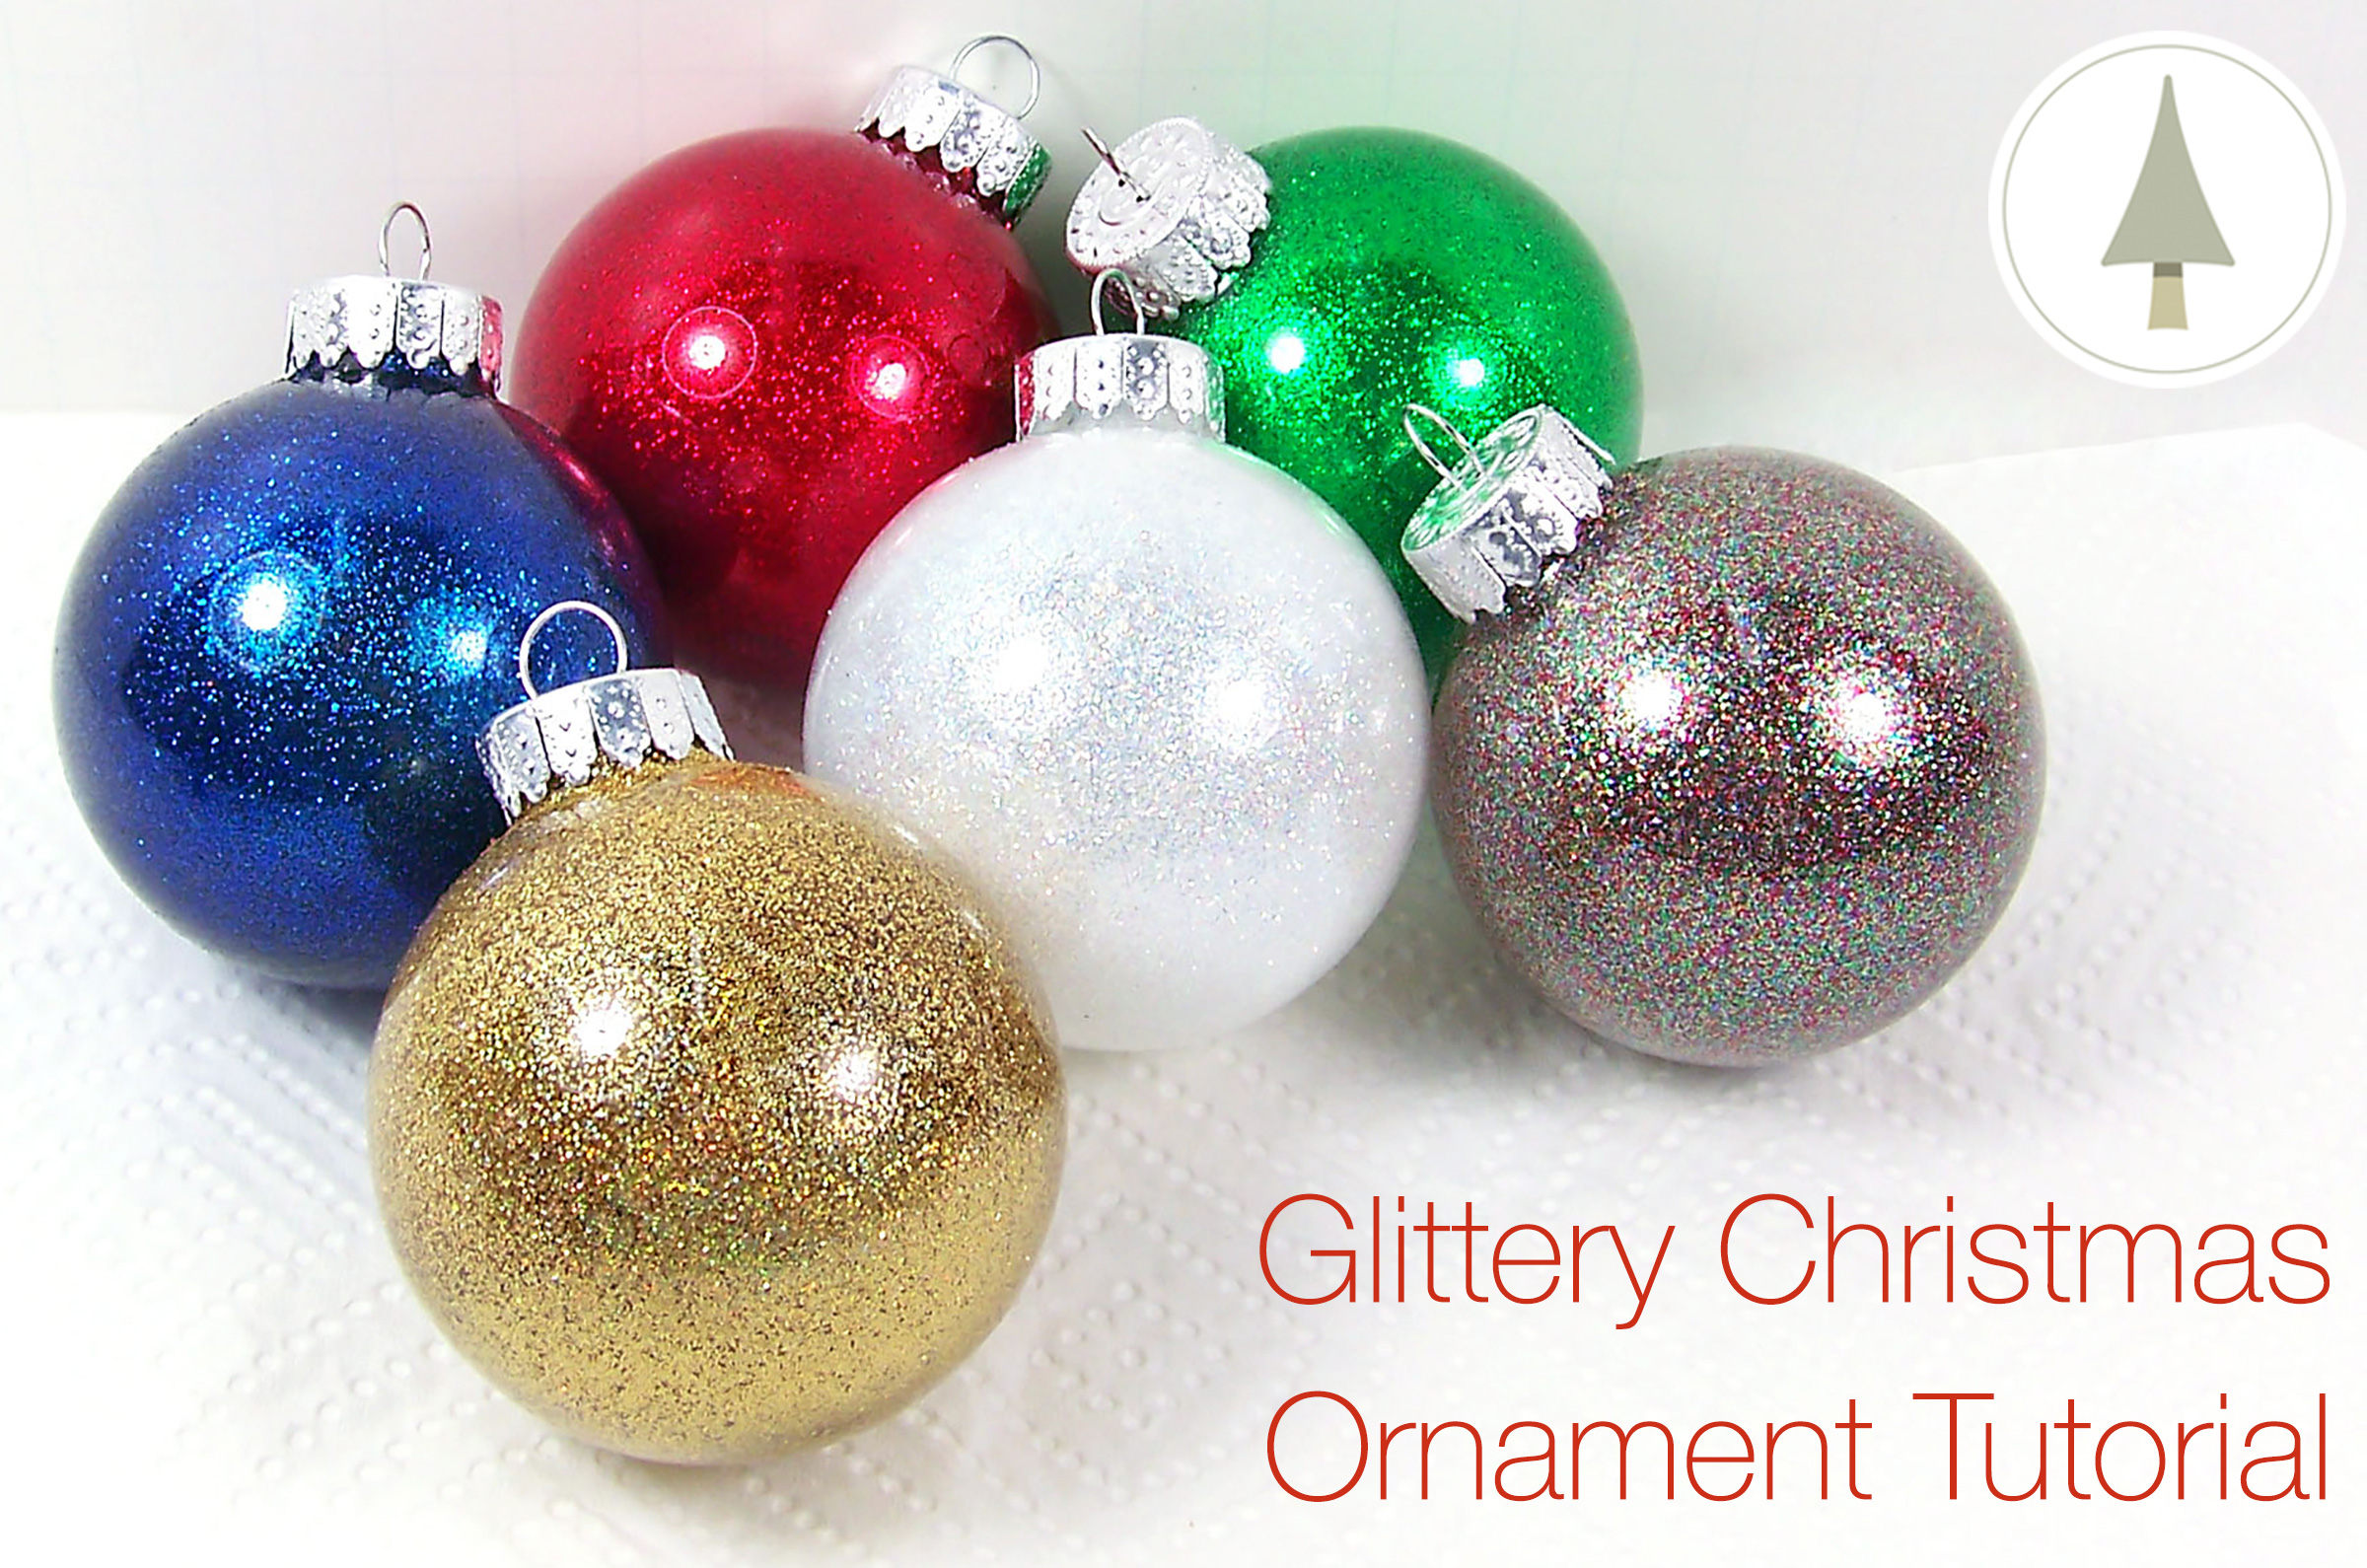
Here is a different slant on the Glitter Jar Tutorial using Christmas tree ornaments. These are so beautiful you’ll want to make enough for your entire tree! Be creative with the glitter colors. You can make seasonal ornaments (like Easter or July 4th) or color coordinate for football team colors, birthday parties, baby showers, or simply to match your home’s decor. Have fun with being creative!

Supplies and Equipment Needed
Shimmer Dust Glitter in Bright Red
Shimmer Dust Glitter in Celestial Gold
Shimmer Dust Glitter in Diamond Dust
Shimmer Dust Glitter in Kelly Green
Shimmer Dust Glitter in Sapphire Blue #1
Rubber gloves
Glass Christmas Ornaments – set of 6 (found at any hobby store)
Floor Finish for hardwood, tile, vinyl or stone
3 disposable containers / paper cups
.15cc Scoops (3 to 5)
Paper Towels

Note: Any floor finish will do for this project; just make sure it is a Quick Shine, or Shine floor finish. You really don’t need 64 ounces for this project, it’s what was on hand, and you will only need a small amount. This item was purchased at a hardware store.
Step 1
Remove all of the caps from the glass ornaments.
Step 2
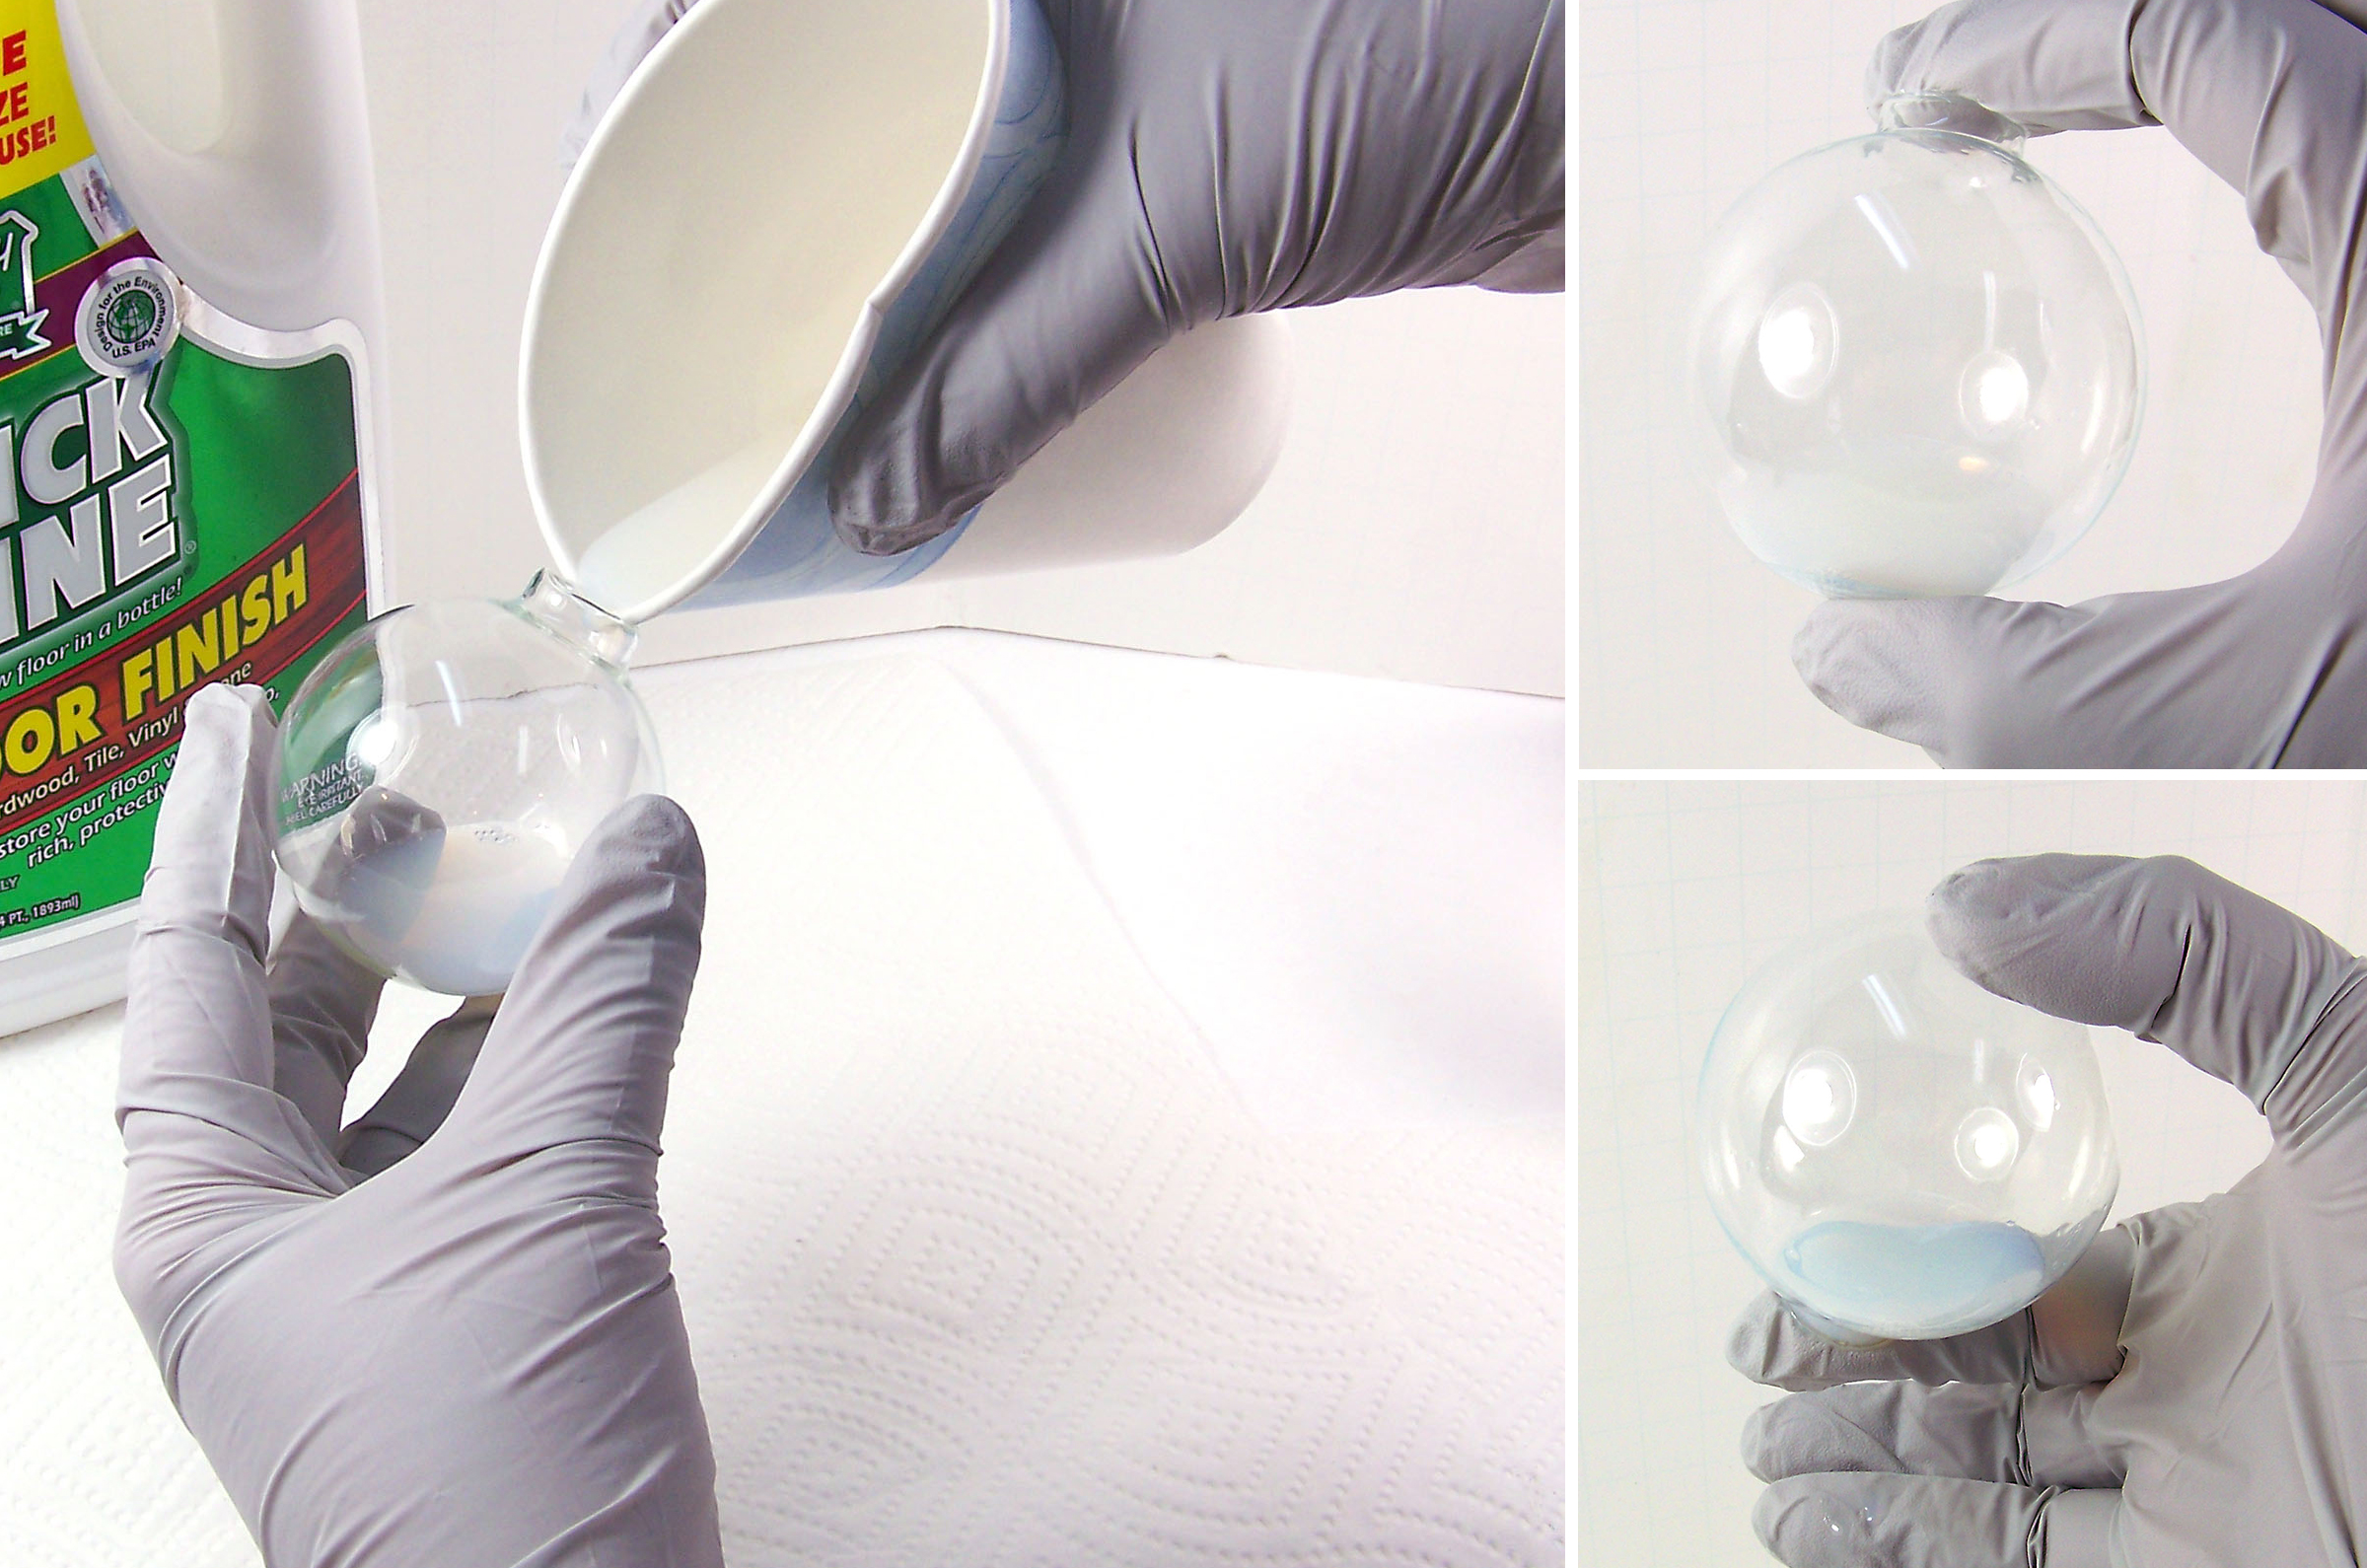
Pour a small amount of the Floor Finish into a paper cup (makes it easier to pour into the small opening). Taking one ornament, pour approximately 1/2 inch of Floor Finish into the bottom of the ornament.
Step 3
Slowly swirl the Floor Finish all around the inside of the ornament until the inside is fully coated. Do this slowly because the Floor Finish tends to bubble. Don’t forget to coat the top by inverting the glass ornament (using your finger to cap off the opening).

Step 4
Pour the remaining into an empty container or cup – this can used for the next ornament – no waste here!
Step 5
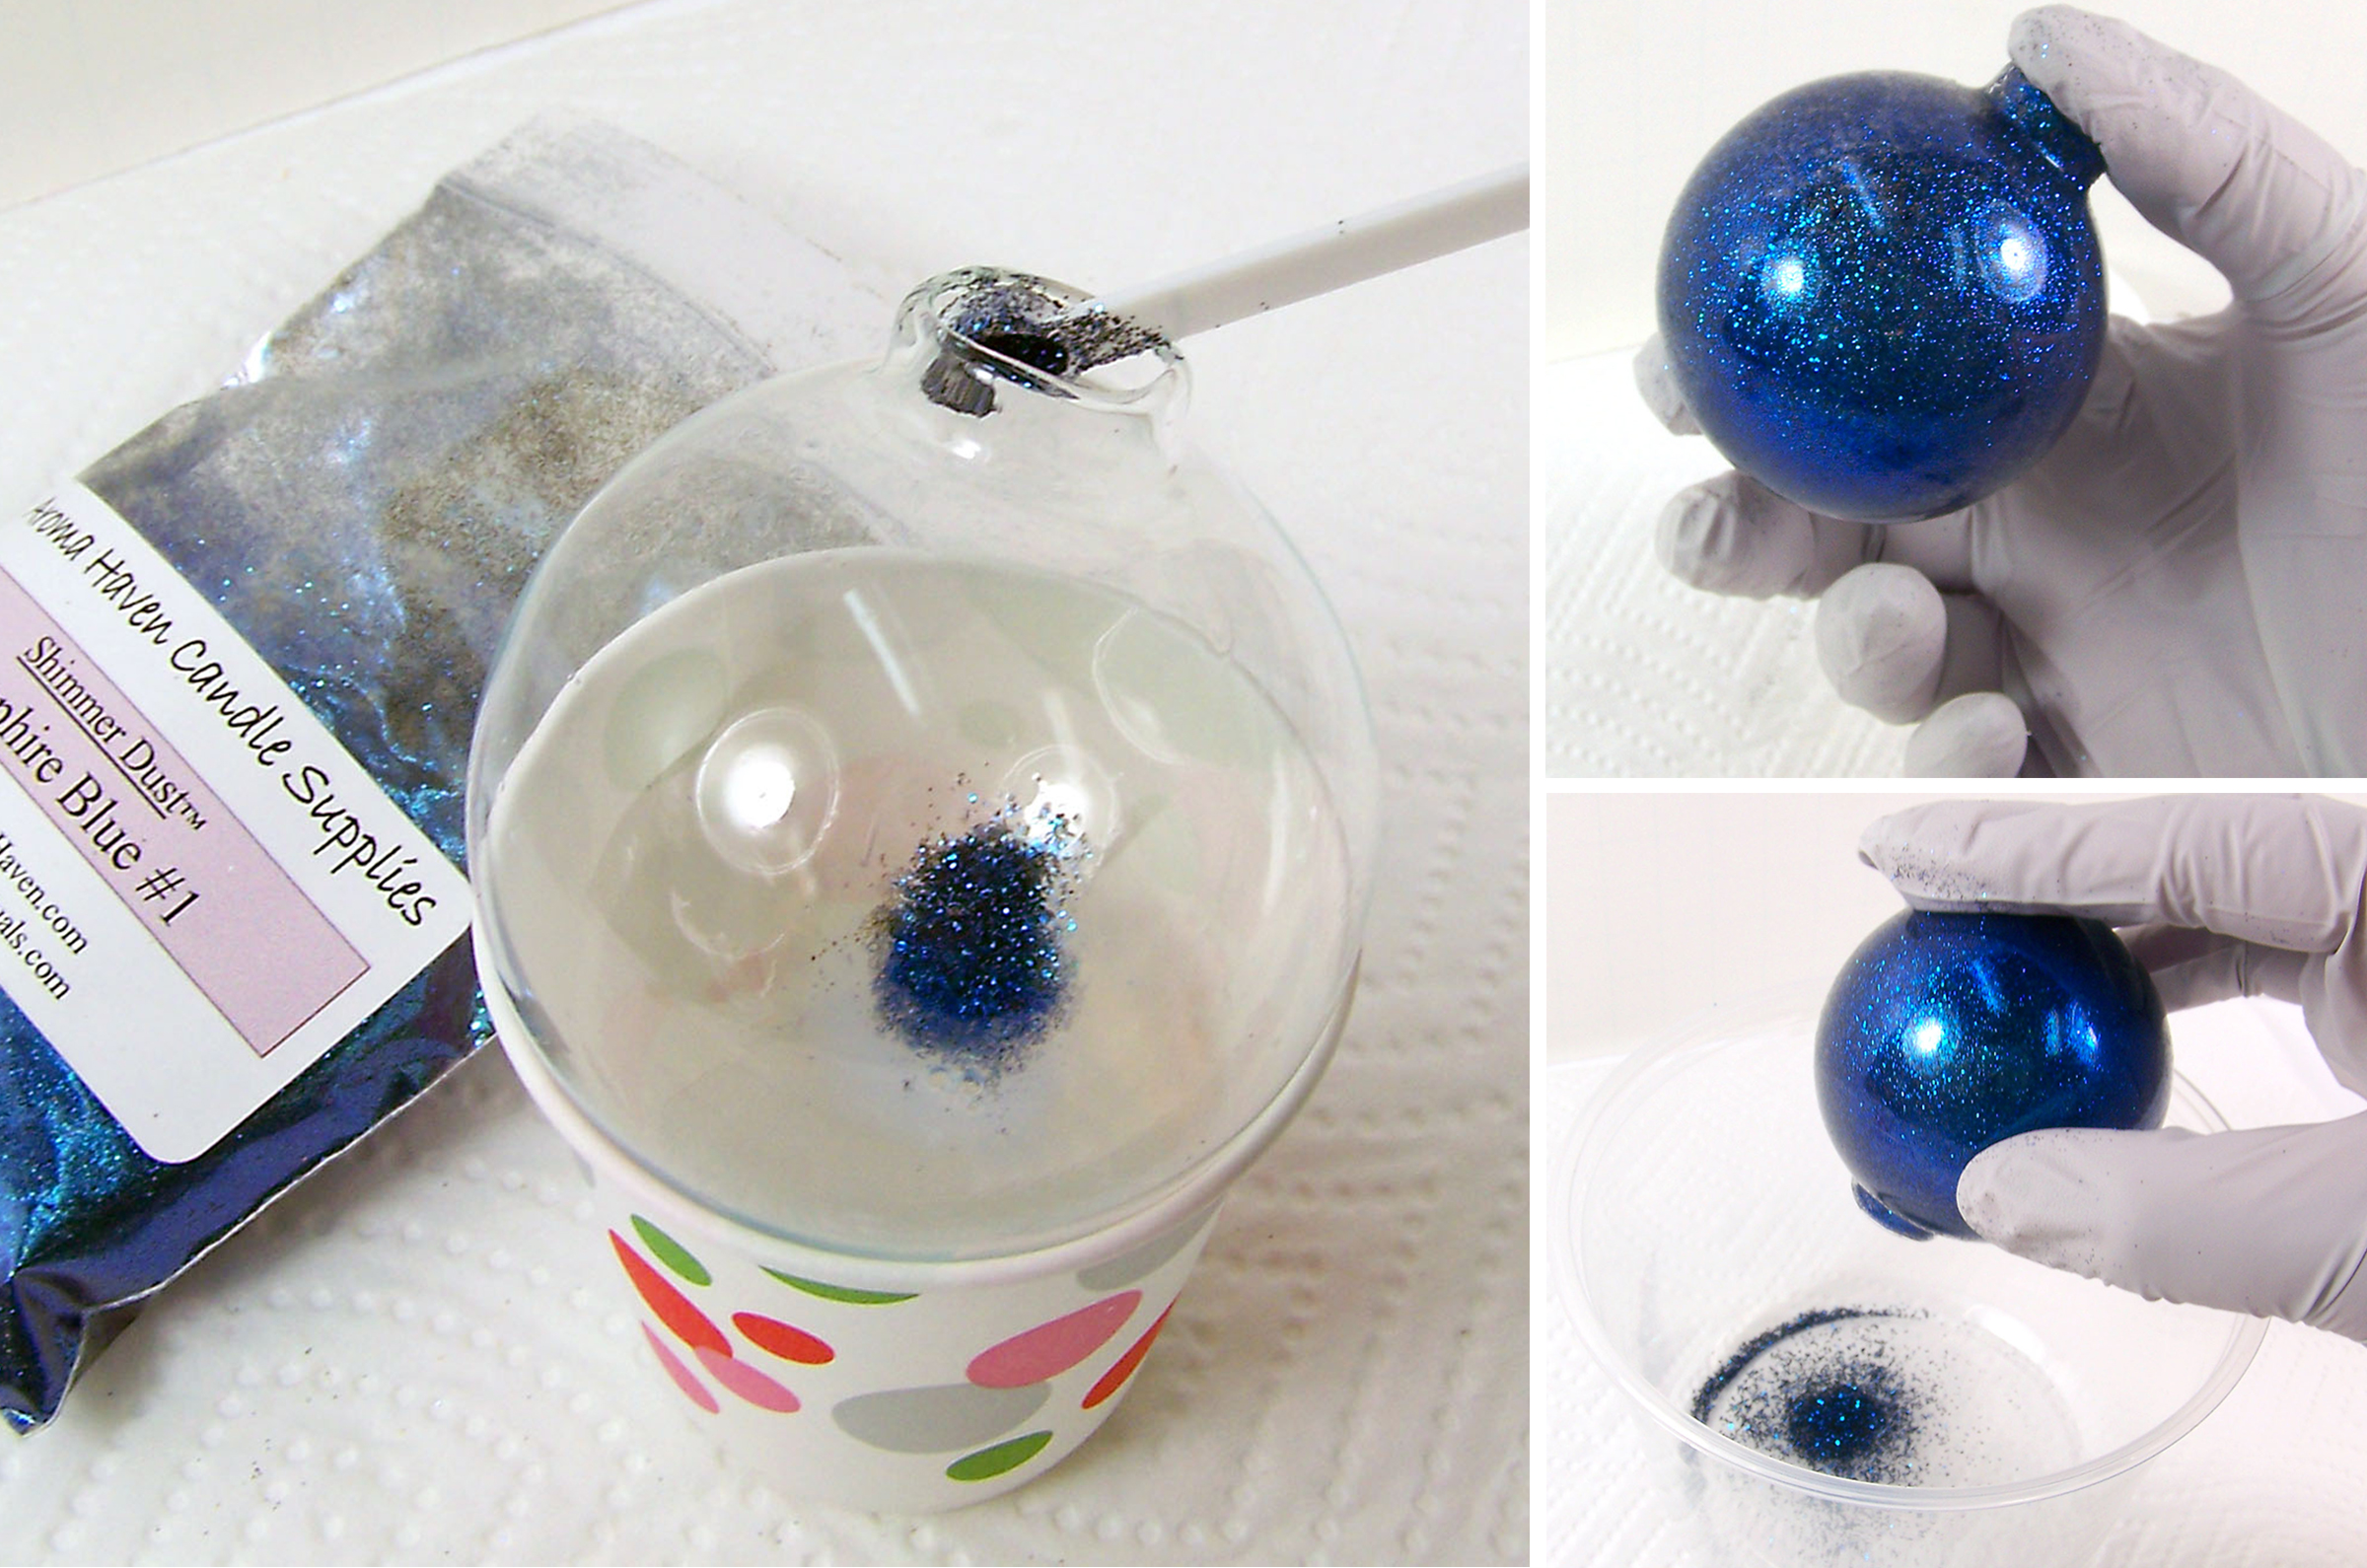
Add approximately 15 to 20 scoops of the Sapphire Blue glitter to the ornament. You will need to make adjustments for the size of the ornament – if the ornament is large, it will need much more glitter.
Step 6
This is the fun part, it’s like magic! Using your finger to cap the opening, shake and turn the ornament until it is completely covered inside with glitter.

TIP: If you see gaps were the glitter doesn’t cover everything, just add a bit more glitter and shake. If all else fails, set aside and let dry and repeat the Steps 2 – 6. Fixes like a charm!
Step 7
Using a 2nd container, turn the ornament upside down and gently shake out the excess glitter. You will be using the excess for one of the last ornaments.
Step 8
Place the ornament to the side and repeat Steps 1 through 7 with glitter in Bright Red, Celestial Gold, Diamond Dust and Kelly Green. Shake out the excess into the same container and save the last ornament for a multi-colored sparkler!
Step 9
For the multi colored Christmas ornament, repeat Steps 1 to 7 using the leftover mix from Step 8.
Step 10
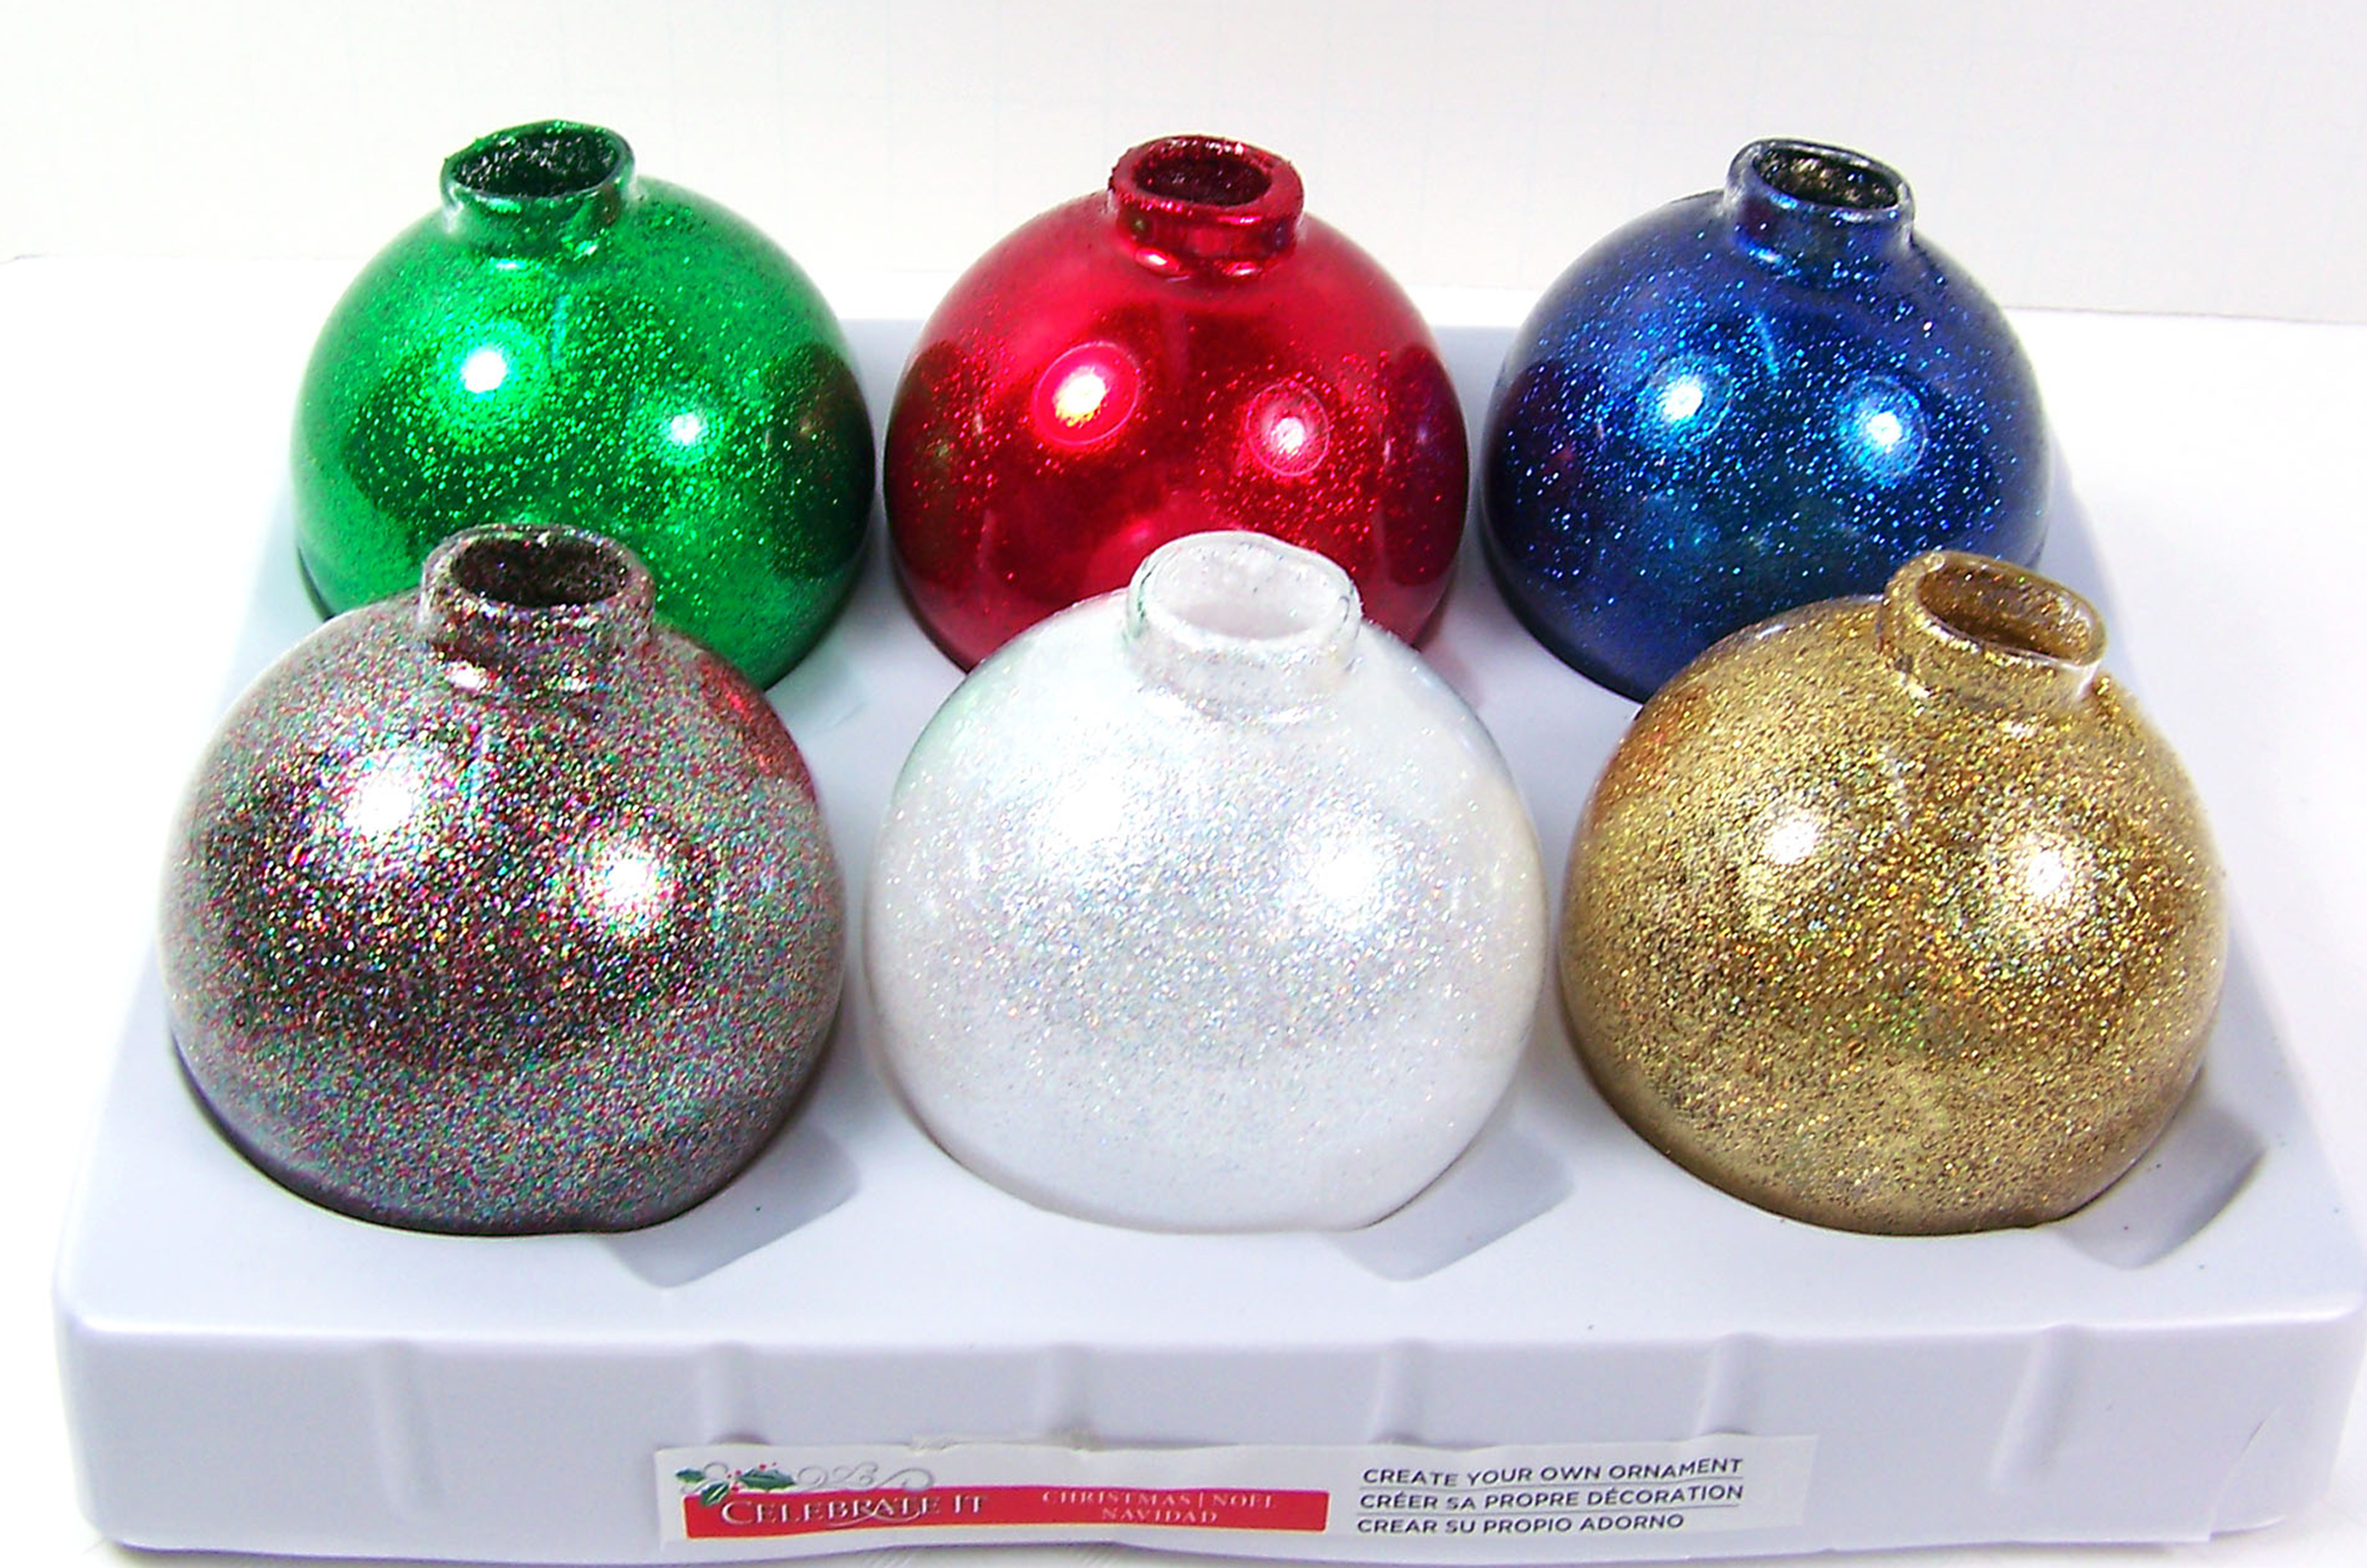
Set all the ornaments aside and let dry for approximately 1 to 2 hours.

Step 11
Once ornaments are dry, replace the cap.

Use ornament hooks or even pretty ribbon to hang the ornaments. Just beautiful!

NOTE: Please remember – any leftover glitter from this project is coated with floor finish and should not be used for any other project. Save it for more glittery ornaments!
