by Rustic Escentuals
Making different shaped crayons is a fun project to do with your children or to make perfect gifts for the little (and not so little) ones. This one brings out the kid in all of us!
a fun tutorial to do with children (or for those that are young at heart!)
Supplies and equipment needed:
Oven
Cutting Board
Old baking sheet
Aluminum foil
Sharp knife
Crayons
Centipedes Silicone Soap Mold
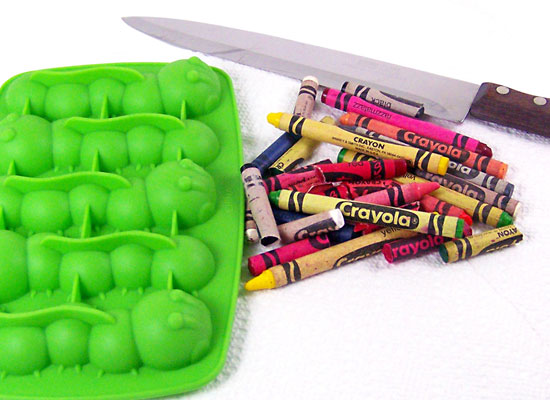
gather mold, crayons, knife
Step 1: Go on a hunt to find those bits and pieces of crayons hiding around your house. I searched and found some that I still had left in my house… and my son is graduating from college! Don’t ask yourself why you kept the crayons – just go find them!
Step 2: Pull off the wrapping from the crayons. Sometimes the older pieces of crayon will be a little bit harder to unwrap – just soak these in warm water for a bit and the wrappings will come right off. TIP: If at all possible, keep same brand crayons together. Different brands of crayons may have different melting points.
Step 3: Break apart or cut into small pieces using a sharp knife. Safety first! No little ones near the knife.
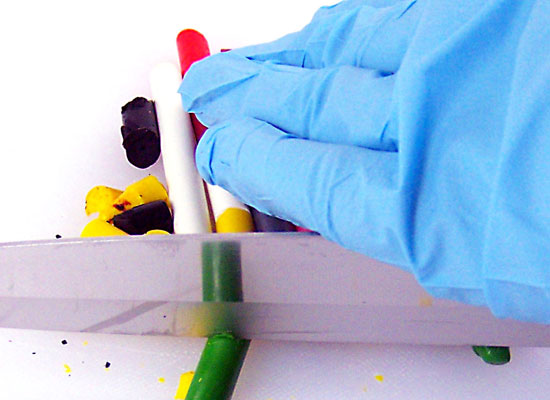
chop or break crayons into small pieces

chopped and ready to be melted in your mold(s) of choice
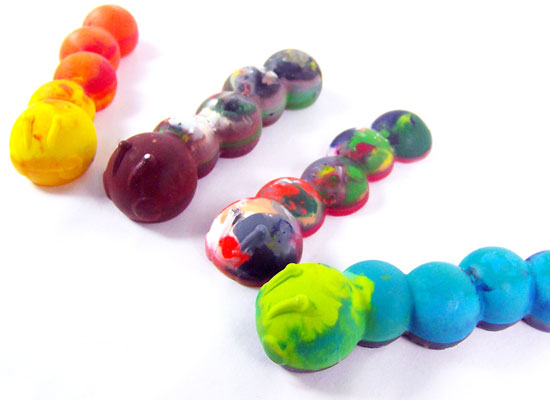
Step 4: I used the Centipedes Silicone Soap Mold because it makes a nice chunky crayon. Easy for little ones to grab onto. Begin sorting the crayon bits into the mold cavities. Use your imagination and pick different color schemes!
TIP: Choose a silicone mold because your project will be near to impossible to remove from a regular tin.
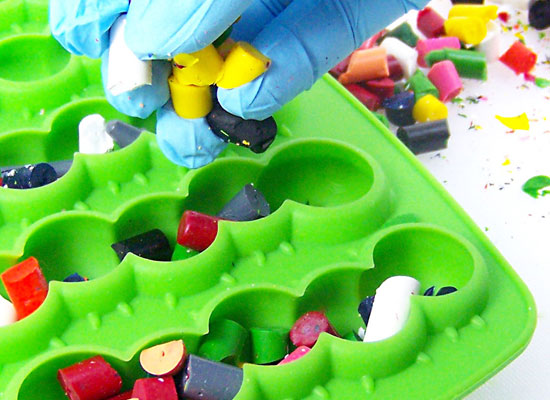
grab a few chunks and add them to your mold
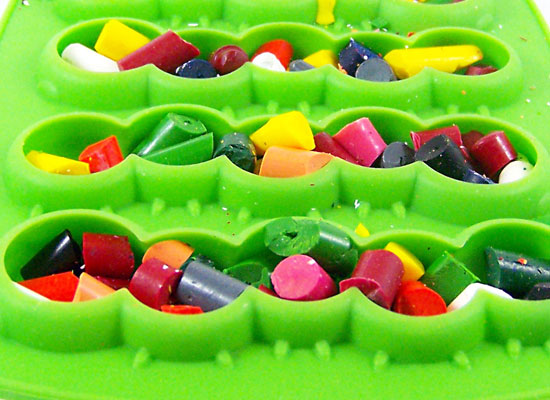
combine colors to make a groovy centipede
Step 5: Place the mold onto an old baking sheet and place into the oven. Use an old baking sheet or one covered in aluminum foil in case the melted crayons spill over.
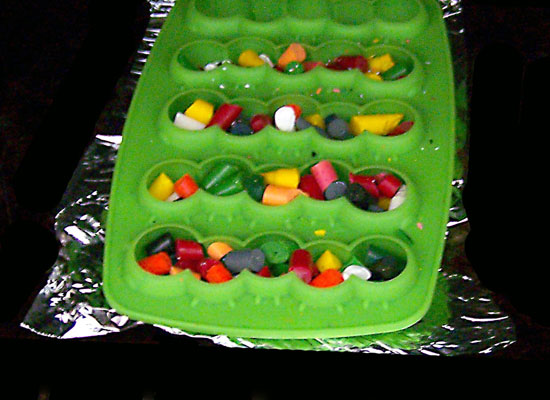
place into the oven and bake for 30-45 minutes
Step 6: Turn your oven on to 175 – 200 degrees and leave the project in for about 30 – 45 minutes. You don’t want to melt at a higher temperature. If the melting crayons get too hot this may separate the color pigments from the wax. After about 15 minutes, check your crayons every 5 minutes until all chunks are gone.
Step 7: Turn off the oven and carefully remove the baking sheet from the oven. Be careful that you don’t mix up the colors when handling the baking sheet.
Step 8: Allow the crayons to completely set for 1 to 2 hours. Very carefully, flex the edges of the mold and carefully pull out the molded crayon.
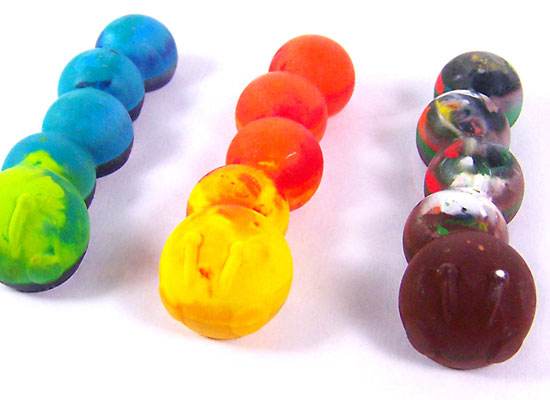
flex the edges of the mold and pop to your finished crayon
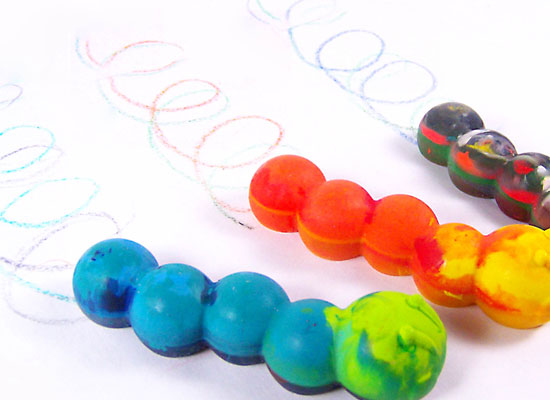
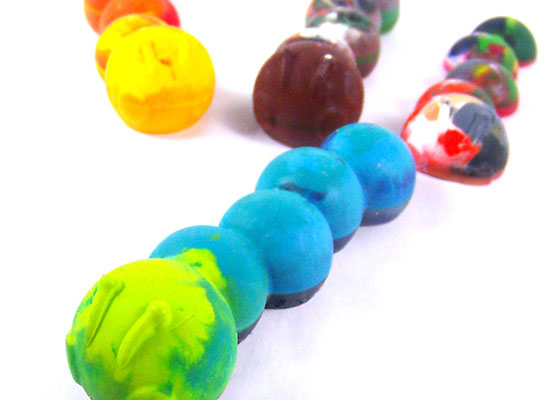
your centipedes will cover every shade of the rainbow in one stroke
Step 9: Use all different kinds of silicone molds for a variety of crayon shapes. Check out other Silicone Molds for many different shapes and ideas!
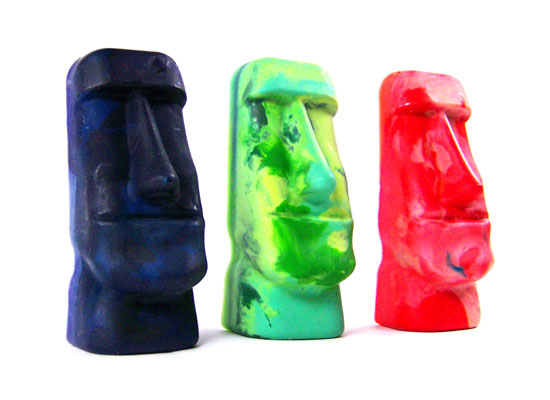
another idea for shapes – big heads, cool!
Step 10: Step back and enjoy. Now go hunt for more crayons!
what fun and what a great gift idea. Now where are more crayons?!