by Rustic Escentuals
Silk Soap Leaves are an easy, beautiful fall soap tutorial. These are so fun to make, you won’t be able to stop!
“Use like a bar of soap. Lather, rinse, toss and go!” – unknown
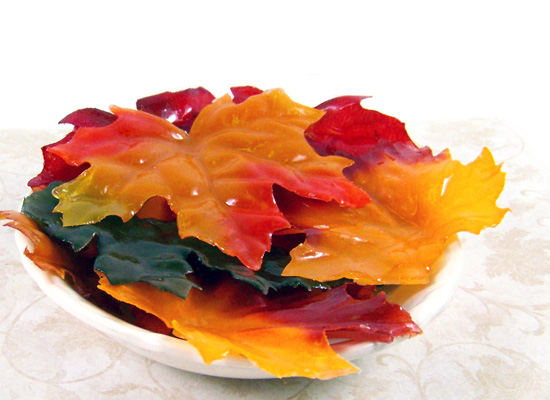
Use like a bar of soap — lather, rinse, toss, and go!
Supplies and equipment needed
Microwave safe glass container
Sharp knife to cut soap into cubes
Spray bottle with rubbing alcohol (not shown in supplies)
Butter knife (not shown in supplies)
Rubber gloves
Tweezers
Wax paper
Silk fall leaves (or rose/flower petals if you have them)
Crystal Clear Flat Polypropylene Bags
Disposable pipettes
Natural Melt & Pour soap base
Sweet Pumpkin fragrance oil
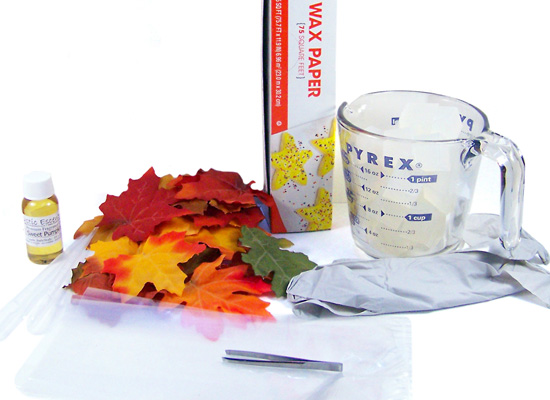
gather your supplies and equipment
Step 1: Cut up approximately 4- 5 ounces of Natural Melt & Pour soap base into small cubes using a sharp knife. Place the cubed soap in a microwave safe glass container.
Step 2: Place container in the microwave and melt using 30-second bursts. Be careful, soap can easily boil which will result in a poor quality rubbery soap.
Step 3: Using a disposable pipette add 2 ml of Sweet Pumpkin fragrance oil and stir slowly until mixed well. Sweet Pumpkin is a wonderful scent with notes of pumpkin puree, buttered rum, nutmeg, warm ginger and creamy, sugary vanilla. A perfect scent for these soaps! No colorant is needed.
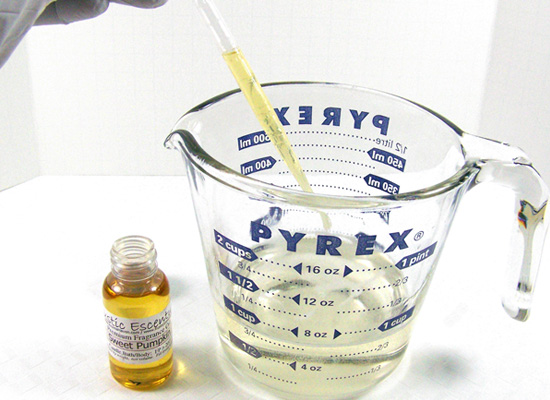
use your disposable pipette to add your fragrance oil

stir slowly until mixed well
Step 4: Because the fall season is coming up, I decided to use fall colored silk leaves instead of the usual rose petals. The leaves can be found at your local craft store or the nearby dollar store. Using tweezers, dip one of your leaves into your soap and make sure to submerge it.
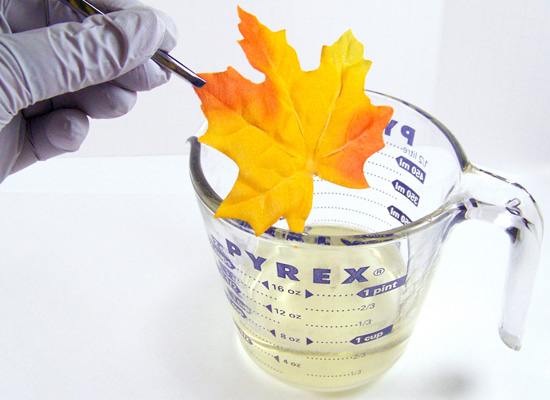
use your tweezers and dip the leaf into your soap
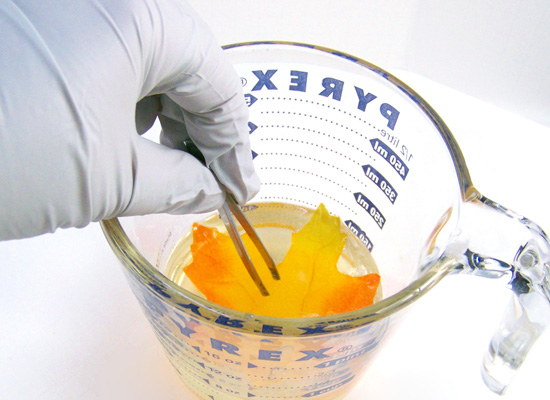
be sure to submerge it!
Step 5: Pull the leaf out of the soap with the tweezers and let the excess soap base drip back into the container. You can even give the leaf a little shake to make sure. This makes for a smoother looking soap.
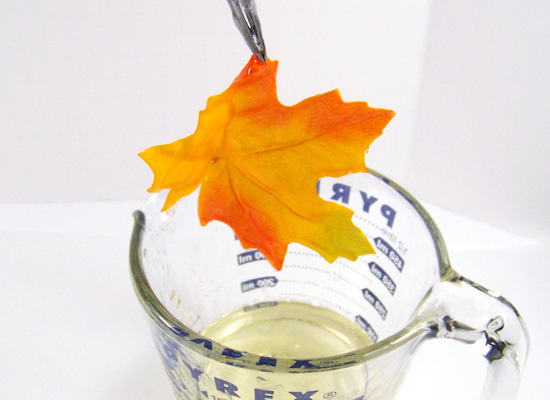
give the leaf a little shake to remove excess soap base
Step 6: Place the soap leaf onto a piece of waxed paper to dry. Make sure to place the leaf right side up.

place on waxed paper to dry
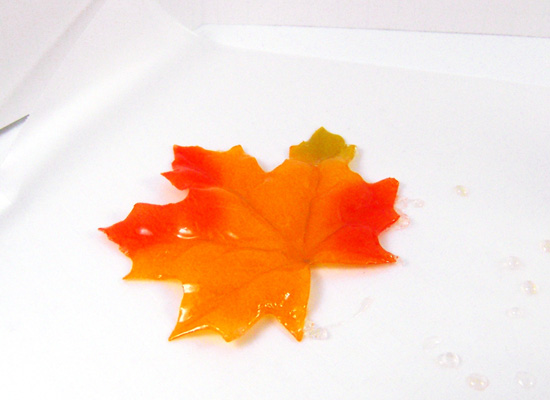
make sure the leaf is right side up
Step 7: Repeat Steps 4 – 6 for the remainder of the leaves. You may have to re-melt the soap from time to time, depending on how many you’re making. Try to work fast – you want to limit the number of times you have to re-melt the soap base.
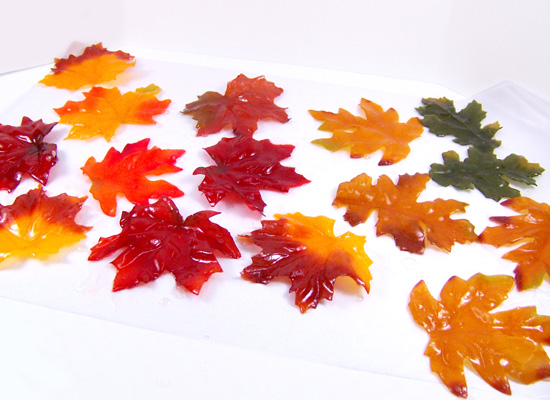
it’s fall in your kitchen!
Tip: Once you get comfortable making these, you can add several petals/leaves to the melted soap base at the same time, stir slowly, and then remove one petal/leaf at a time. Also, bubbles will form in the soap base because of the dipping and removing, so keep a bottle of rubbing alcohol nearby to spritz the soap to remove bubbles.
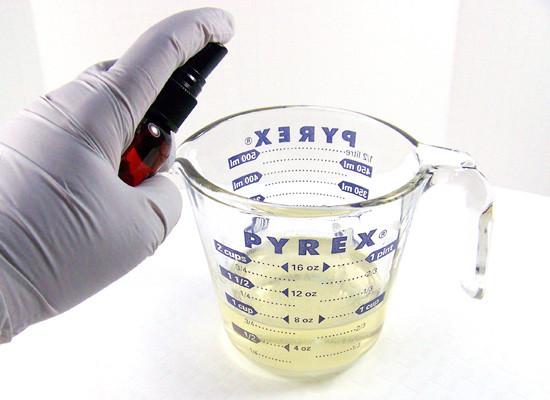
if soap bubbles form, spritz with rubbing alcohol to remove
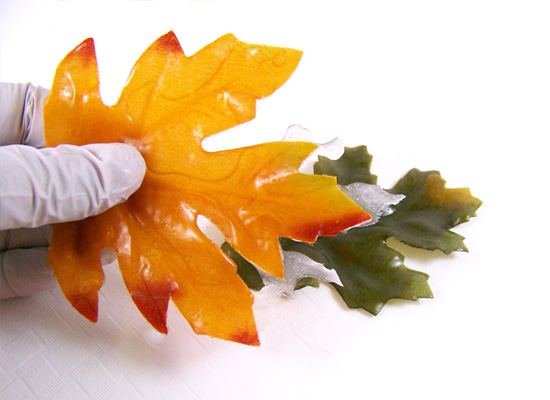
Step 8: When the leaves are dry, slowly peel off the wax paper. Store in an airtight container until ready to use.
peel leaves from wax paper once fully dry, store in airtight container until ready to use
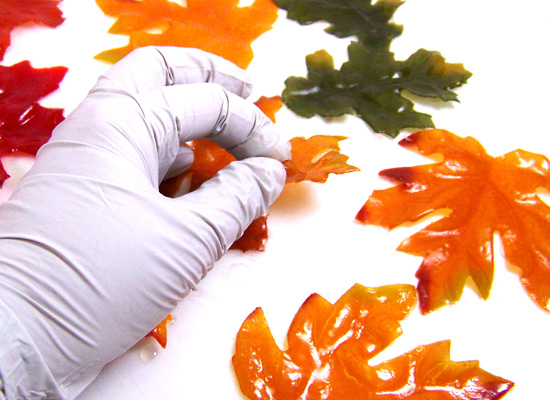
Step 9: If you didn’t let the petal/leaf drip off any excess soap after you removed it from the soap, some of the pieces will have soap hanging off the edges. They’re easy to clean up – just pinch, rub or cut off. Smooth the edges with your fingers. Practice makes perfect!
pinch, rub, or cut off any excess soap and smooth edges with your fingers
Packaging Idea
An easy way to package these up for gift giving is to place several soap leaves in a Crystal Clear Flat Poly Bag. Fold over the top of the bag. Place a folding tag with the ingredients, scent and instructions over the top of the bag and staple it into place. Easy!
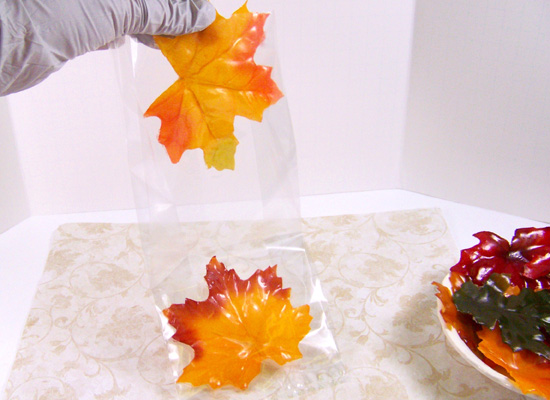
drop a few into your bag and fold the top over
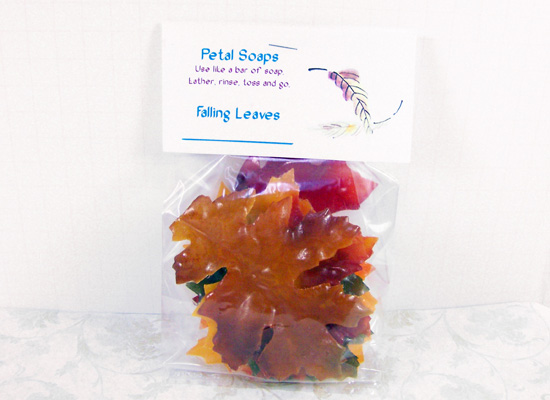
add folding tag with ingredients, scent, and instructions and staple into place
Make sure you include instructions with each package on how to use these. The little poem at the top of the tutorial is a nice way to do this. I also include a disclaimer on the back of the tag which says these are not meant for children under the age of 5.