by Rustic Escentuals
Convenient travel soap in a tube. These little personal portable soaps are perfect for traveling. Keep one in your purse or gym bag, you’ll never know when you’ll need some soap! Each one is about 1.2 ounces of soap. A perfect size for those on the go. These also make ideal stocking stuffers or additions to gift bags and baskets.
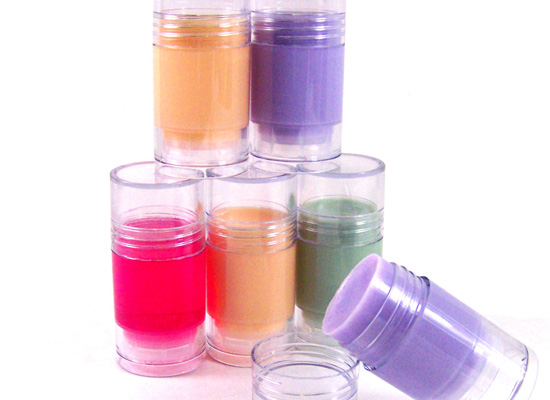
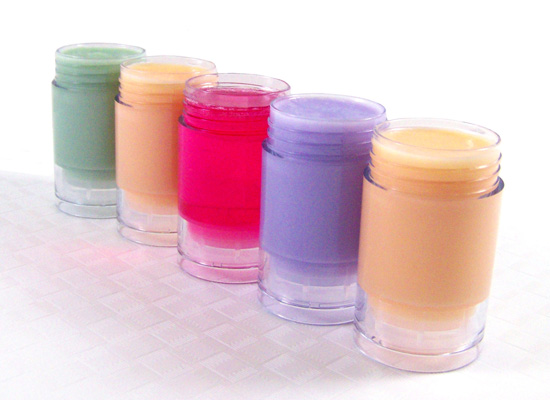
portable soap sticks are perfect for traveling!
Supplies and equipment needed:
Microwave
Microwave safe glass containers
Sharp knife to cut soap into cubes
Spray bottle with rubbing alcohol
Butter knives for stirring soap
Rubber gloves
Disposable Pipettes
1 ounce Clear Push up Tubes
Thermometer to monitor soap temperature
Melt & Pour soap bases of your choice (Natural, White, Ultra clear, Goats Milk, Shea butter)
Frosted Winter Berry Fragrance Oil
Gel Soap Colorants of your choice
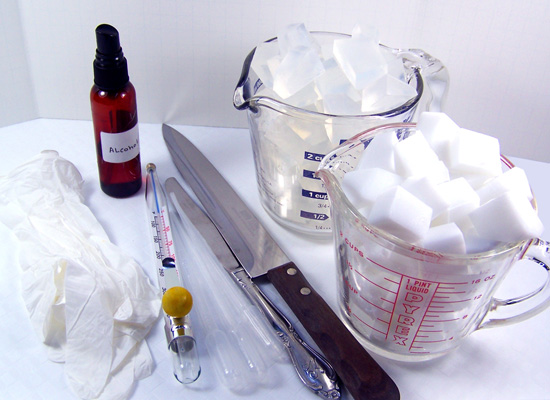
gather your basic supplies
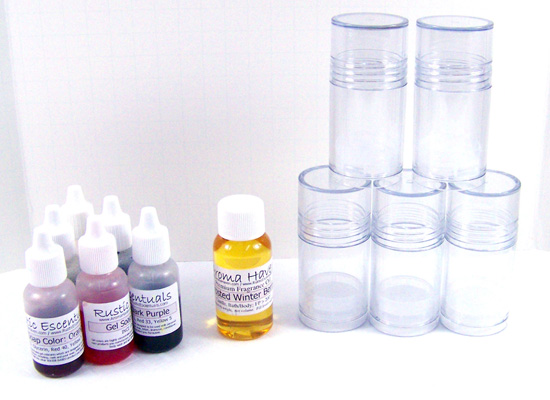
choose your gel colors and get your containers ready
Get your tubes ready:
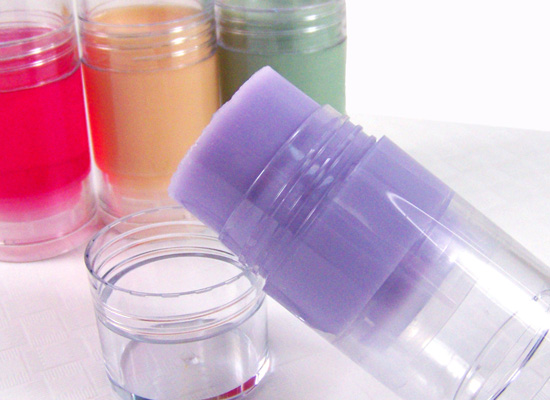
Step 1: Take the caps off each tube and make sure the “push-up” mechanism is all the way down as far as it will go. Gently push down with your finger until it stops moving.
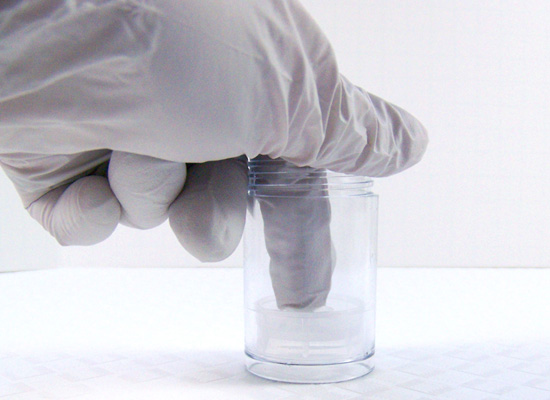
push down to make sure the push-up mechanism is fully down
Each tube takes approximately 1.2 ounces of soap.
Step 2: Pick your favorite melt and pour soap base (or pick a variety, like me!). With a sharp knife, cut up enough soap base to fit the amount of soap sticks you are going to be making. Add a bit more to take into account that there will be some soap loss due to the soap sticking to the pouring container.
Step 3: Melt 3 ounces of soap base (will make 2 portable soaps) in a microwave safe container. Melt using 15 second bursts until melted. This is not a lot of soap and may boil if overheated. Do not burn or boil, this will result in a poor quality rubbery soap. If there are any small chunks of soap left, stir slowly; the heat of the soap will melt these small chunks.
Step 4: Mix in 5 drops of your favorite Gel Soap Colorant. Stir slowly until mixed well. Always stir the soap base slowly to avoid forming bubbles in the soap.

mix in 5 drops of your gel color and stir slowly until mixed
Step 5: Using a disposable pipette, add 2 ml of Frosted Winter Berry Fragrance Oil. Stir in slowly until fully incorporated.
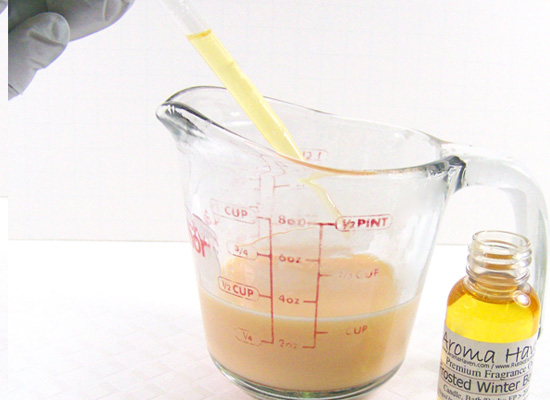
drop in your fragrance oil and stir slowly until incorporated
Step 6: With the thermometer make sure the soap base temperature is around 135 degrees before pouring the soap into the tube.
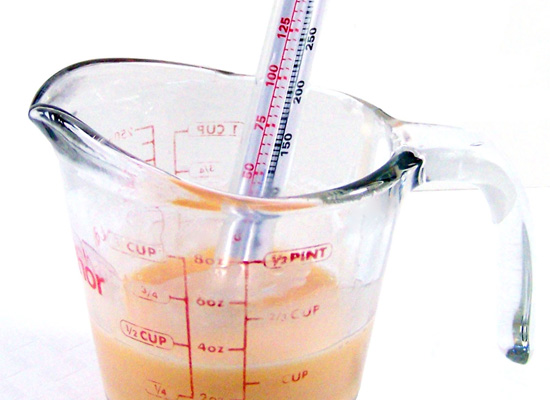
take the soap’s temp – it should be around 135F before pouring into the tube
Step 7: Spritz the inside of each tube with alcohol to help the soap pour evenly into the tube. This will also help prevent bubbles from being trapped on the sides.

prevent bubbles by spritzing with alcohol before pouring soap
Step 8: Slowly pour the soap almost to the top of the Push Up Tube.
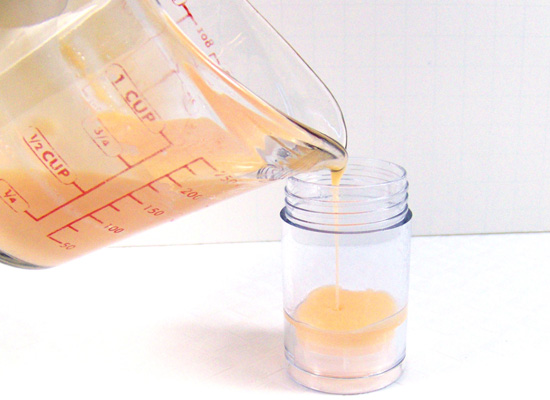
pour soap almost to top of tube
Step 9: After pouring, spritz with alcohol to get rid of any stray bubbles.
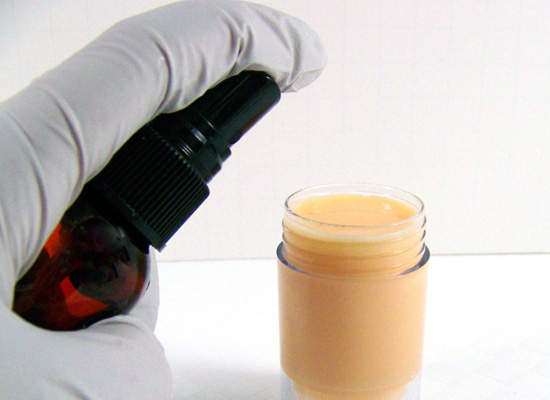
finish with a spritz of alcohol to get rid of any stray bubbles
Step 10: Wait overnight for the soap to set. The soap will shrink a bit after completely set and this will help you push up the soap. If the soap won’t push up, stick it in the freezer for about 5-10 minutes, take out and let stand for about 5 minutes, then push up. You only need to do this once to help break the seal that forms.
TIP: Optional – Instead of spritzing with alcohol in Step 7, you can spray a bit of Pam cooking spray. This can help the soap “push up” and break the seal.
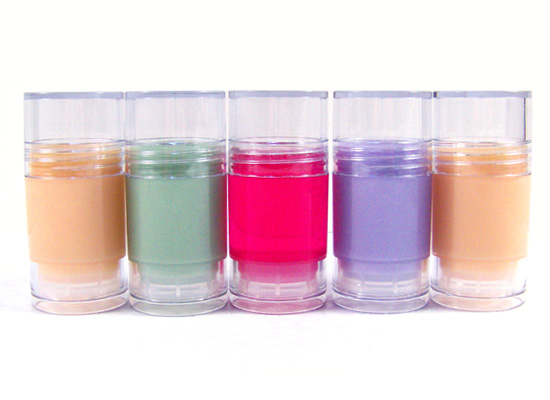
all poured and waiting until fully set
portable soap – so pretty!
Step 11: When finished, cap the soaps and they’re ready for travel and gift giving!
ready for travel and gift giving!