by Rhonda Gaylord
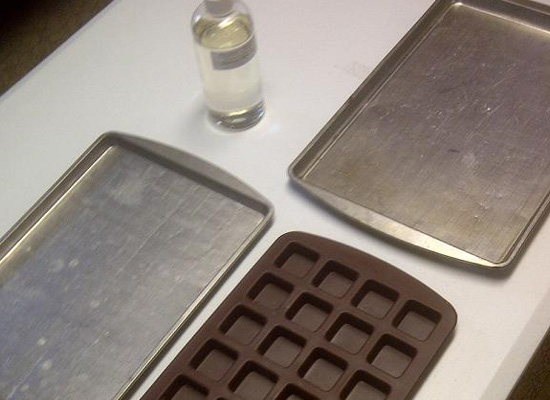
Supplies needed to make chunk pillar candles:
Pillar Molds / Wick Pins
Mold Sealant
Paraffin Wax
Scales
Fragrance Oil
Knife to cut wax into cubes
Melting Pot
Spoon to stir
Coloring / dye
Cookie Sheet
Before starting, decide what color chunks and overpour you want to use with your fragrance choice. You need to remember that when the colors melt they will combine together so make sure you use colors that will complement each other. For example, if you use red and green chunks, when they melt they will make brown. Is brown a color that you REALLY want to show up in your pillar? If you want to do a dark over pour make sure your chunk colors are really light and bright. In my opinion, the darker chunks look good with lighter overpour.
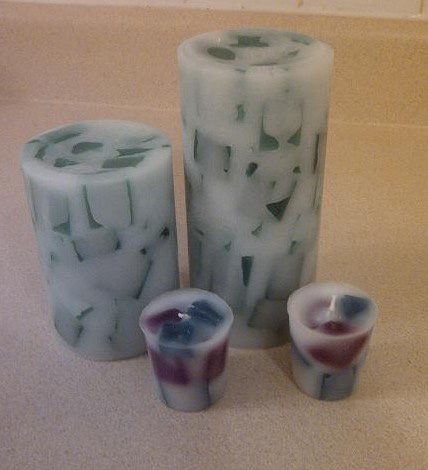
My customer asked for green chunks with white overpour and Rosemary Mint fragrance.
Start melting the candle wax as you would normally. While your wax is melting, get out your cookie sheets or molds that you’ll use for chunks. I use 9 x 13 cookie sheets that I purchased from the dollar store. I use 25 oz. of candle wax in each pan. You can add a little more for thicker chunks. You can also use silicone/flexible molds in different shapes and sizes – just make sure the chunks will fit into your pillar mold. You can also use cookie cutters to make shapes!

After your candle wax has melted, add candle dye (and fragrance oil if you want). I don’t scent my chunks just so I can use the extra chunks in other chunk candles.
On the other hand, I do make chunk votives/pillars with 2 complimentary scents. For example: strawberry chunks and chocolate overpour or candy cane chunks with chocolate overpour, wine chunks with rose overpour, etc. It is totally up to you and your imagination!
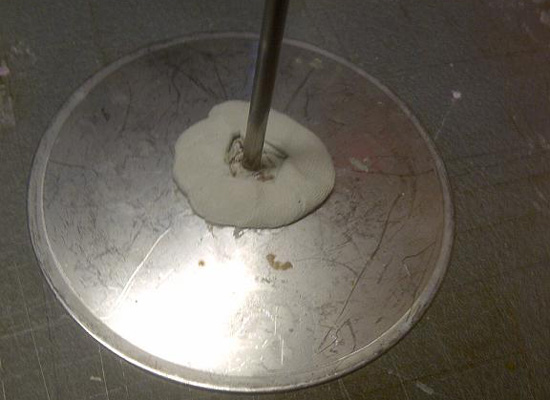
Start getting your pillar molds ready too. Use mold sealant around the wick pins then push the wick pin through the pillar mold making sure that it’s nice and secure (you don’t want any leakage from the bottom).
After your candle wax has melted and you’ve added the candle dye (and scent, optional) pour the wax onto the cookie sheet. If you want to do several colors, go ahead and start melting your second batch while your first pan is starting to cool. You can also layer colors in your pan.
Melt 13 oz. of wax in a color, pour in pan, let cool. Pour the other 13 oz. of wax on top. Just make sure the first color has hardened enough.
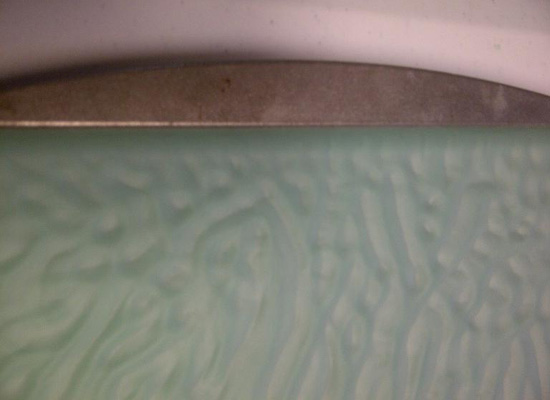
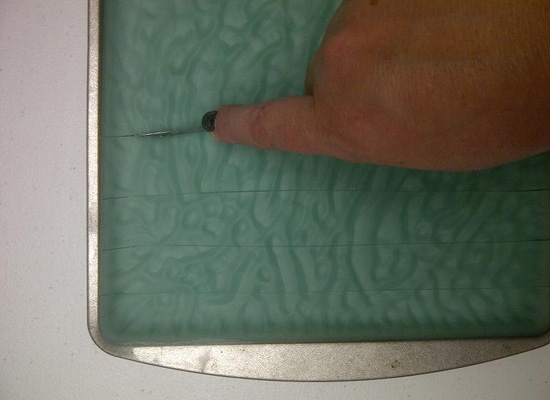
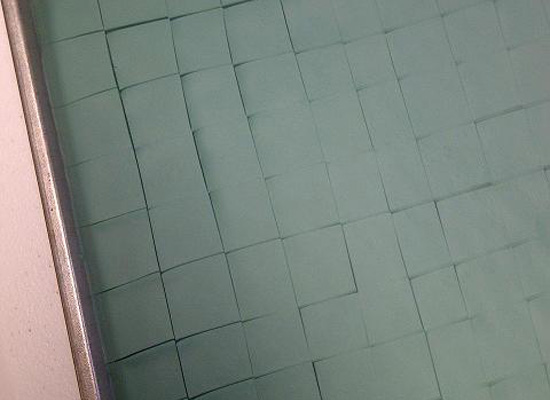
Once the wax starts to cool you’ll notice a darker rim around the outside edge of the wax, this is the time that I take a table knife and start cutting my chunks. Don’t wait until it’s completely cool or you won’t be able to get a knife through and if it’s not set/hard enough, it will not hold the cut. If it’s not hard enough, just wait a bit longer – after awhile you’ll be able to eyeball it and know when it’s time to cut.
Cut the wax chunks any size you want.
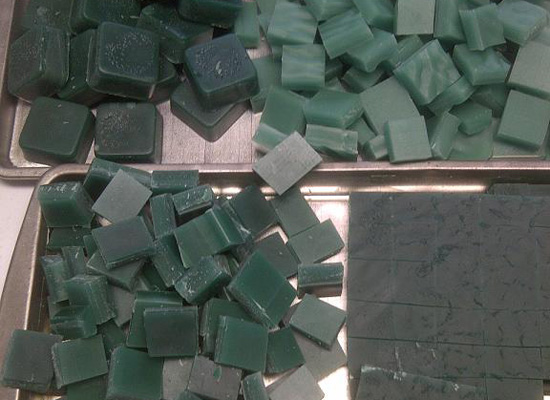
After you cut the wax into chunks, let them cool completely. Don’t try to take them out or they’ll fall into a mess and you’ll ruin the chunks. You will notice that they start to pull apart from each other once they’re cooled.
Turn the pan over and pop out the wax chunks, breaking them apart. After your chunks are broken up, start melting your overpour wax, adding the candle dye and fragrance oil.
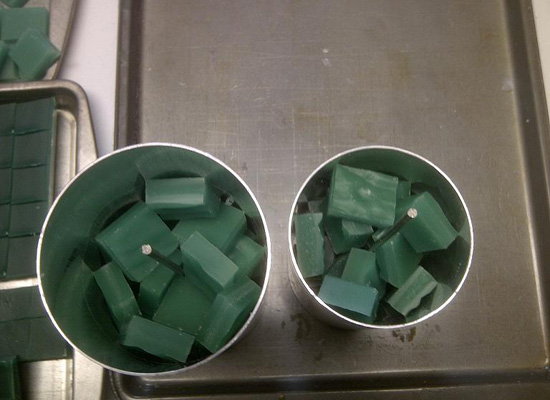
Start packing your pillar molds with the wax chunks – pack them in tightly. If you’re doing multiple colors, mix up the colors or layer the colors, but remember to pack them in tight. Fill the wax chunks to the top of the mold. If you want to have chunks sticking out from the top, that is fine. Just remember that the top of the mold now, is actually the bottom of the candle. But you can reverse it and use the bottom for the top!
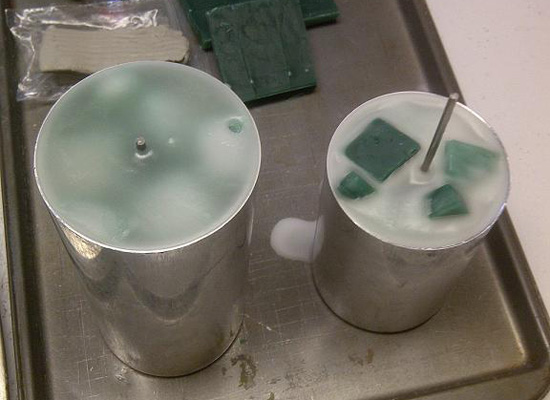
After your overpour is melted and ready to go, pour over the top of the wax chunks. Tap the sides of the mold with a table knife to make sure you get out all of the air bubbles.
Let the pillars sit overnight to make sure they cool completely before removing from the mold. Wick, package and sell!
The possibilities are endless with these candles, so use your imagination! You can add Dazzle Dust or glitter to the outside of them to make them sparkle! Make chunk style wax melts, votives and container candles by using your chunk pieces and your container wax for the overpour. You can also use gel wax for chunks in your container candles.
Some of my customer favorites are:
Pearberry: using orange, red, yellow and light green chunks with a light peach overpour.
Moonlight Path: using white chunks cut out in shapes of the crescent moon & stars (using cookie cutters) with navy overpour or vice versa (navy & purple moon/stars with white overpour).
Nag Champa: different shades of brown with an ivory overpour.
Candy Cane: red chunks with white overpour.
Love Spell: pink, purple, red chunks with light purple overpour.