by Dreaming Tree Soapworks
CP/OP is the common soaper abbreviation for Cold Process/then Oven Processing the batch. It’s actually a very simple procedure, but what’s more important is understanding the pros, cons, and precautions of this method. How CP/OP works is unlike regular Cold Processing (where the soap is left to fully saponify over a long period of time); putting it in the oven with a low heat applied with the extra insulation of the oven itself, speeds the saponification process a long, rendering the lye null much faster.
The obvious and main pro is that unlike traditional cold process soap, it does not require a 6 week cure time. Although the soap is technically safe to use once it has completed its full time in the oven, we still recommend at least a two week cure time to ensure harder, longer lasting bars, and to always PH/zap test before distributing! This makes CP/OP soap particularly appealing if you are on a deadline, running out of stock faster than you anticipated, or do a lot of craft shows and like to manufacture fresh to order.
There are, however, a few considerations. First, I don’t recommend this process for new recipes, new fragrance oils, and new essential oils – essentially anything you haven’t worked with before. It’s important to know how the particular recipe/blends behave because some ingredients tend to super heat, such as honey, spice based fragrance oils or essential oils, white florals, and several others. It could result in a soap volcano going off in your oven, or worse (we know from experience, trust me).
Another consideration important to the success of the CP/OP batch is the flash point of your fragrance oil/essential oils. Since the soap will be exposed to high temperature longer (between 175-200 degrees for several hours), fragrance oils and essential oils with flash points lower than this tend to “burn off” resulting in soap that either doesn’t smell at all, is very faint, or morphs into something unpleasant (burnt tire anyone?).
Lastly, consider your color scheme. If you use a bunch of lab colors, and even some oxides, with a complex design that is your signature or you’re married to, this process may not be for that soap. The extended exposure to heat can cause colors to morph (we’ve had a few blues go florescent pink), fade, or bleed, and anything with vanilla, amber, or certain other resins will go dark, dark brown and bleed into everything else. Don’t get too discouraged, if there is one thing I’ve learned in my eleven years of soaping is there are always exceptions and happy accidents!
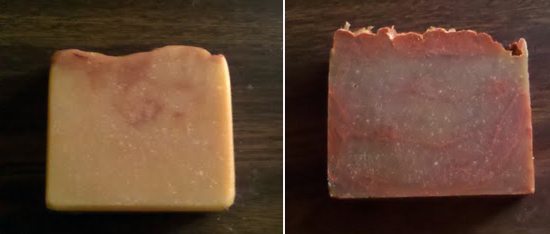
Example of appearance of CP soap vs CP/OP : Renaissance (the lighter colored soap is regular CP and the dark one is CP/OP).
A few more things to go over before hopping to it:
1. If you have an older oven make sure you get an auxiliary oven thermometer so you have an accurate oven temperature. For this process you want to make sure it’s between 175 and 200 degrees – at lower temperatures the process won’t complete, higher you’ll either have a soap explosion or soap puffs.
2. You want to make sure your mold is heat safe for these temperatures. If you are using a wooden mold you want to be sure it’s made with untreated lumber.
3. Always remember to wear safety gear when handling lye!
On to soaping!
Measure out your oils & butters and set them aside in a pot ready to be turned on midway through the lye & water mixture’s cooling process (we’re a little kooky, we’ve got it down to a timed science)
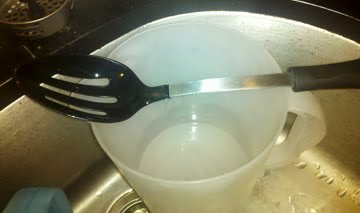
After you measure your water content & lye, slowly pour the lye into the water. Never pour liquids into the lye, as this could cause an explosive reaction, which is clearly unsafe. Remember: always add lye TO the liquid!
Stir the lye/water mixture until you notice the color becomes clear.
At this point it’s a good idea to set a timer to remind you to turn on the heat for your oils & butters.
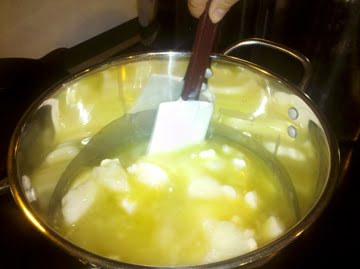
Once the lye & water mixture has cooled off to between 100 and 120 degrees, depending on your fragrance(s), and your oil & butter mixture has completely melted and cooled to approximately the same temperature, you’re ready to start mixing your soap!
* Note – an important tip to keep in mind, the higher the flash point of your fragrance(s), the less likely they are to “lose the scent” during & after the curing process.
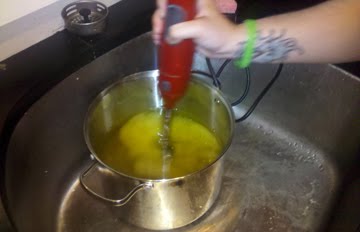
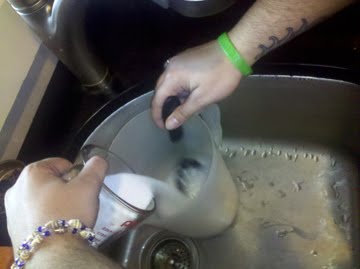
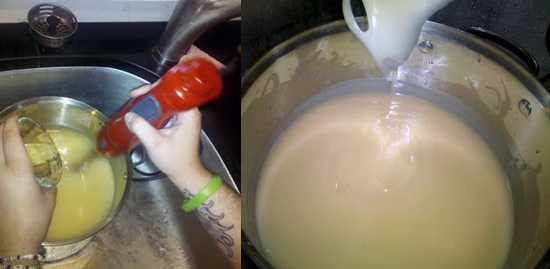
After the pot is set into the sink, we pour the lye and water mixture into the pot, slowly hand-stirring with our mixer. We then use the hand-held mixer to get the mixture to a light trace, almost like a very soupy pudding.
Next, we add our fragrance oil, hand-stirring as it is poured into the pot to help avoid fussy behavior, then use the mixer to thicken into a thick pudding consistency.
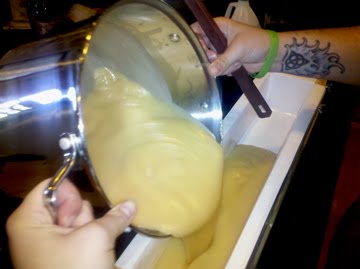
Once you’ve reached this point, you are ready to pour your soap into the mold! (Remember to line your molds! Freezer paper works wonders)
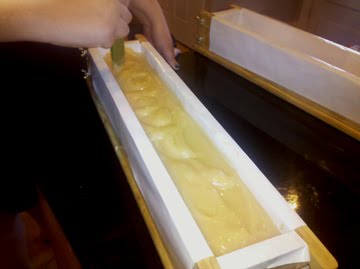
If you choose, you can create “fluffy top” effects, whether it is swirls, lattice style, or any other design you can think of (we have no method for this, we just play with it until we yell at each other to leave it alone).
Now it’s time to set the temperature and timer on the oven! You’ll want to set the temperature between 175 and 200 degrees (whichever is the lowest your oven can handle), and let it ‘cook’ for 2 hours. After the 2 hour mark, turn off the oven and let your soap stay inside for another 12 hours.

After all is said & done, carefully remove your soap from the oven; then remove it from your mold. It’s ready to be cut into bars of soapy awesomeness! Once again, we recommend giving the bars a two week cure and a Ph/zap test before distributing.
There you have it! Dreaming Tree’s CPOP Tutorial!