by Karla Gragg
Candle making equipment, candle wax, candle dyes, and fabulous fragrance oils are available at Rustic Escentuals! Just use the handy hyperlinks below.
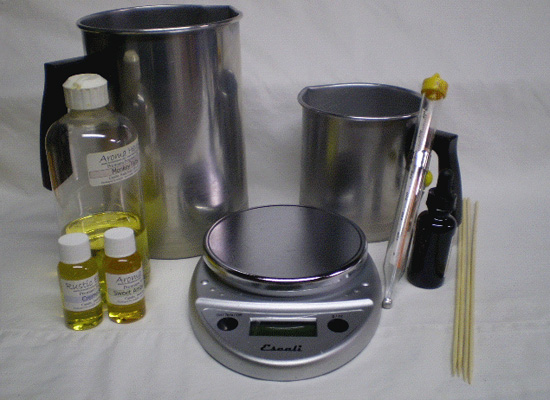
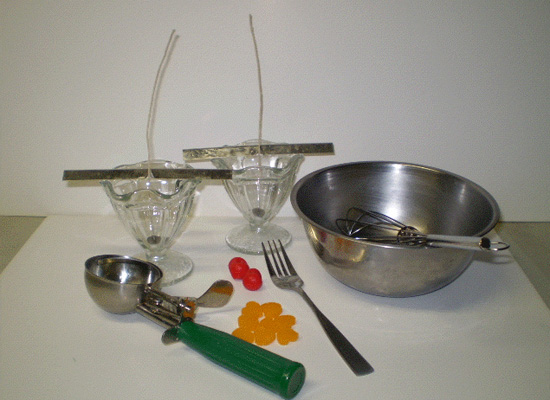
First – Gather everything you will need:
Candle Wax
Stainless Steel Bowls
Digital Scales
Ice Cream Scoop
Fragrance Oil
fork
Pour pots
Whisk
Thermometer
Sundae dishes
Wick
wick bars
Candle Wick Stickers
Heat Gun
Candle Dye
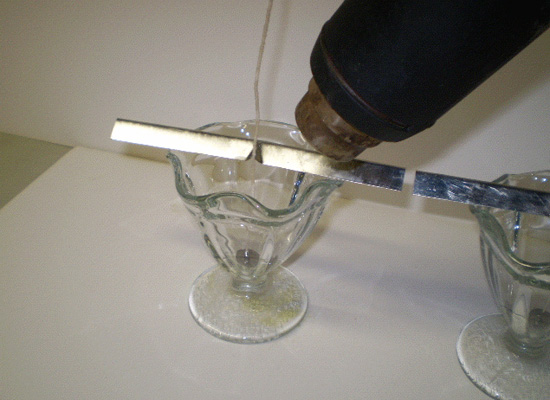
Using your preferred method for safe wax melting (Presto Pot and/or double boiler), melt your choice of wax and heat to manufacturer’s suggested temperature. In this tutorial we’re using paraffin wax which we’ll heat to approximately 190°. We’re making orange sherbet, but the same instructions would apply for strawberry, chocolate, etc. While the candle wax is heating up, prepare your sundae dishes. Ensure they are clean, and wick them appropriately for your wax. Note how long I leave the wick in the picture — you’ll see why later.
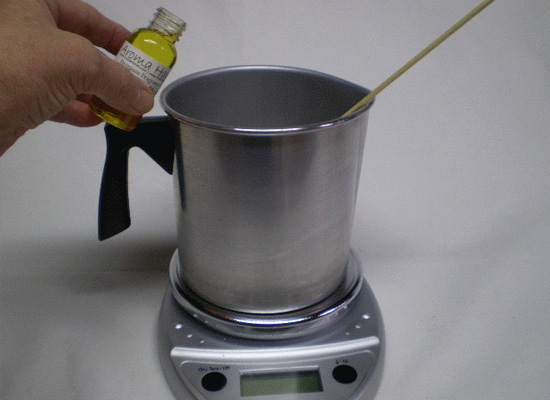
Set pour pot on digital scale and tare. Transfer needed amount of wax to pour pot — in this tutorial we’re making two 6-oz sundaes, so we’ll need 12 oz total. However, when making “ice cream” there will be some waste, so I always make an extra ounce or so. You don’t want to get to that point and find you don’t have enough! So, we have transferred 13 oz of wax, and added .6 oz of Rustic Escentuals Orange Sherbet candle fragrance oil. Stir well (approx 2 minutes). We have also added Rustic Escentuals Orange Premium Liquid candle dye. Note: start sparingly with the dye — you’re going for an ice cream tint, not a deep orange!
While mixture is cooling to approx 160°, I ‘take the chill off’ my sundae dishes with a heat gun. They don’t need to be overly heated, just room temp or slightly higher.
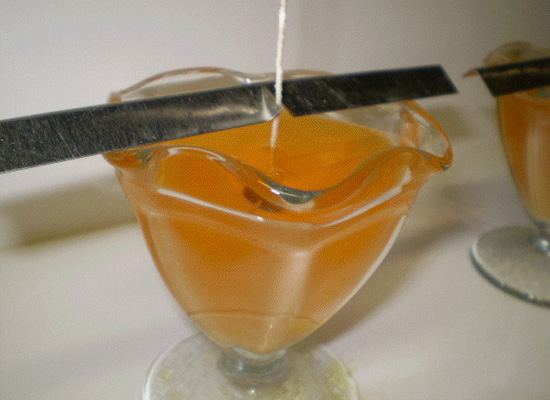
When filling your dishes, be sure to leave room for the ice cream scoop you’ll be adding, so don’t fill to the very top.
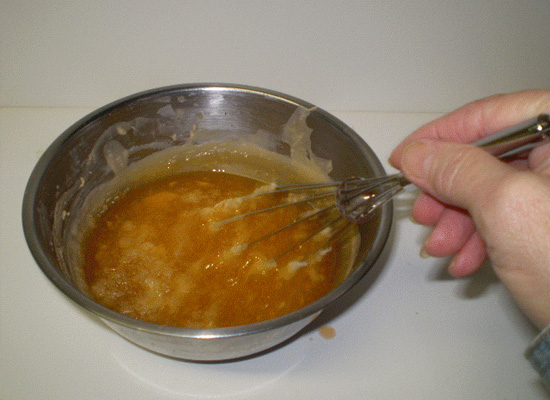
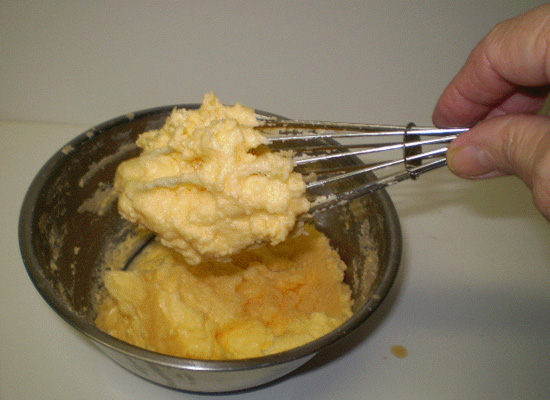
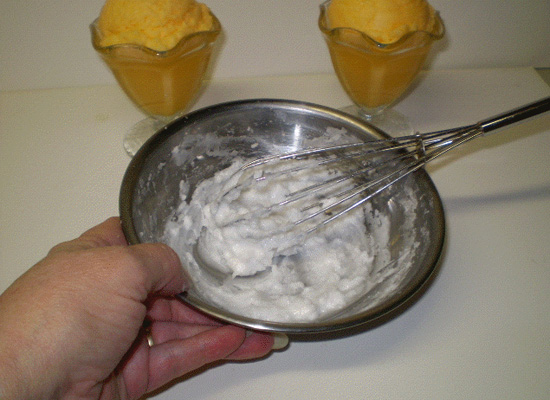
Now comes the tricky part! While the base pour is cooling, you need to prepare the ice cream scoops. Pour your mixture into a stainless steel bowl, and begin whipping with a wire whisk. Scrape the sides of the bowl often, working the hardening wax into the mixture.
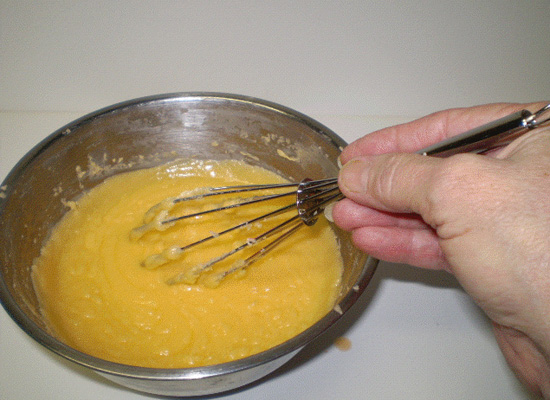
Continue to whip the wax until the consistency is similar to ice cream. The candle wax will stick to the whisk and be able to hold form on its own. This takes a while, so be prepared to work steadily so the wax does not form clumps.
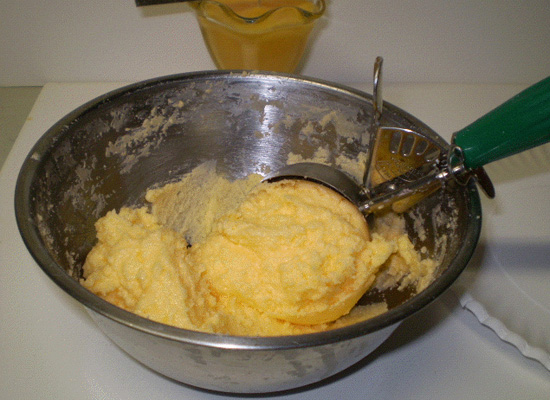
Now use the ice cream scooper to make scoops of ice cream.

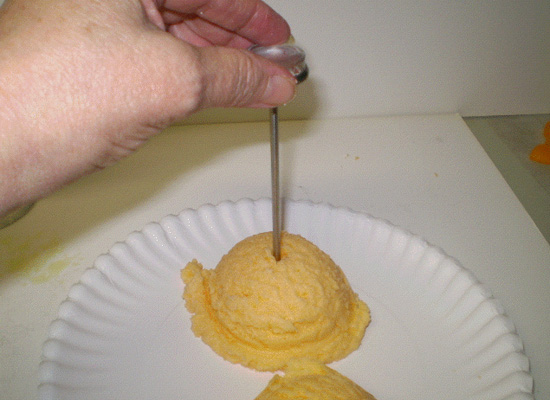
You’ll need to poke a hole in the center of each scoop for the wick. I use a meat thermometer.
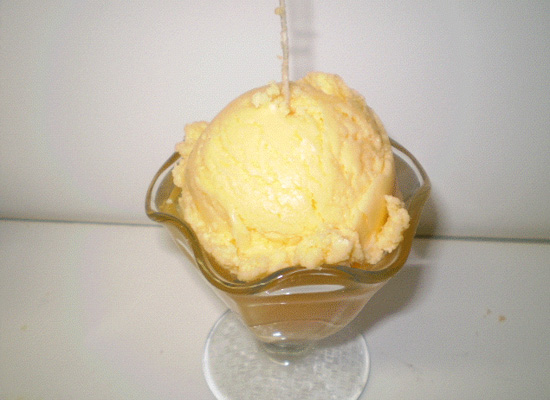
You should accomplish all of this to coordinate with when the wax in your dish is ready to have the scoop added. It should have a skin formed, thick & strong enough to support the ice cream you’ll be placing on top. Carefully thread the wick through the hole you have made, and set scoop on top.
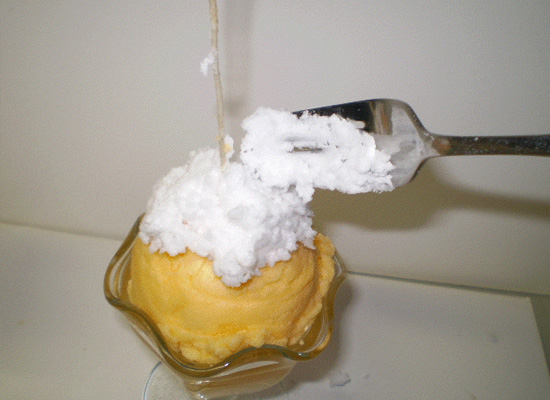
Now take about 1 1/2oz of plain wax (I use unscented/uncolored wax because the FO will slightly discolor the wax even without dye), and begin whipping again.
When it’s the proper consistency, use a fork to transfer a dollop on each scoop.
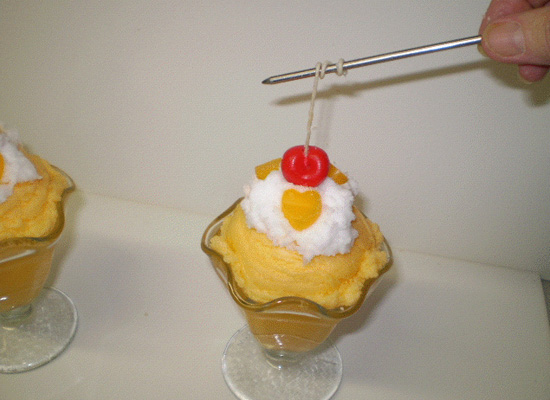
Working quickly, add preferred toppings. I’m using small wax hearts and a wax cherry.

Now I use the meat thermometer again to twist the long wick around it to make a cute curly!
(Please note that I have warnings in three different places when these are packaged to ensure consumers understand the absolute must about trimming this wick prior to burning.)
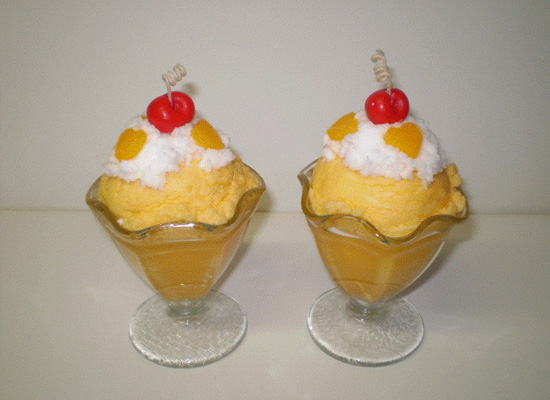
Enjoy your masterpieces!!