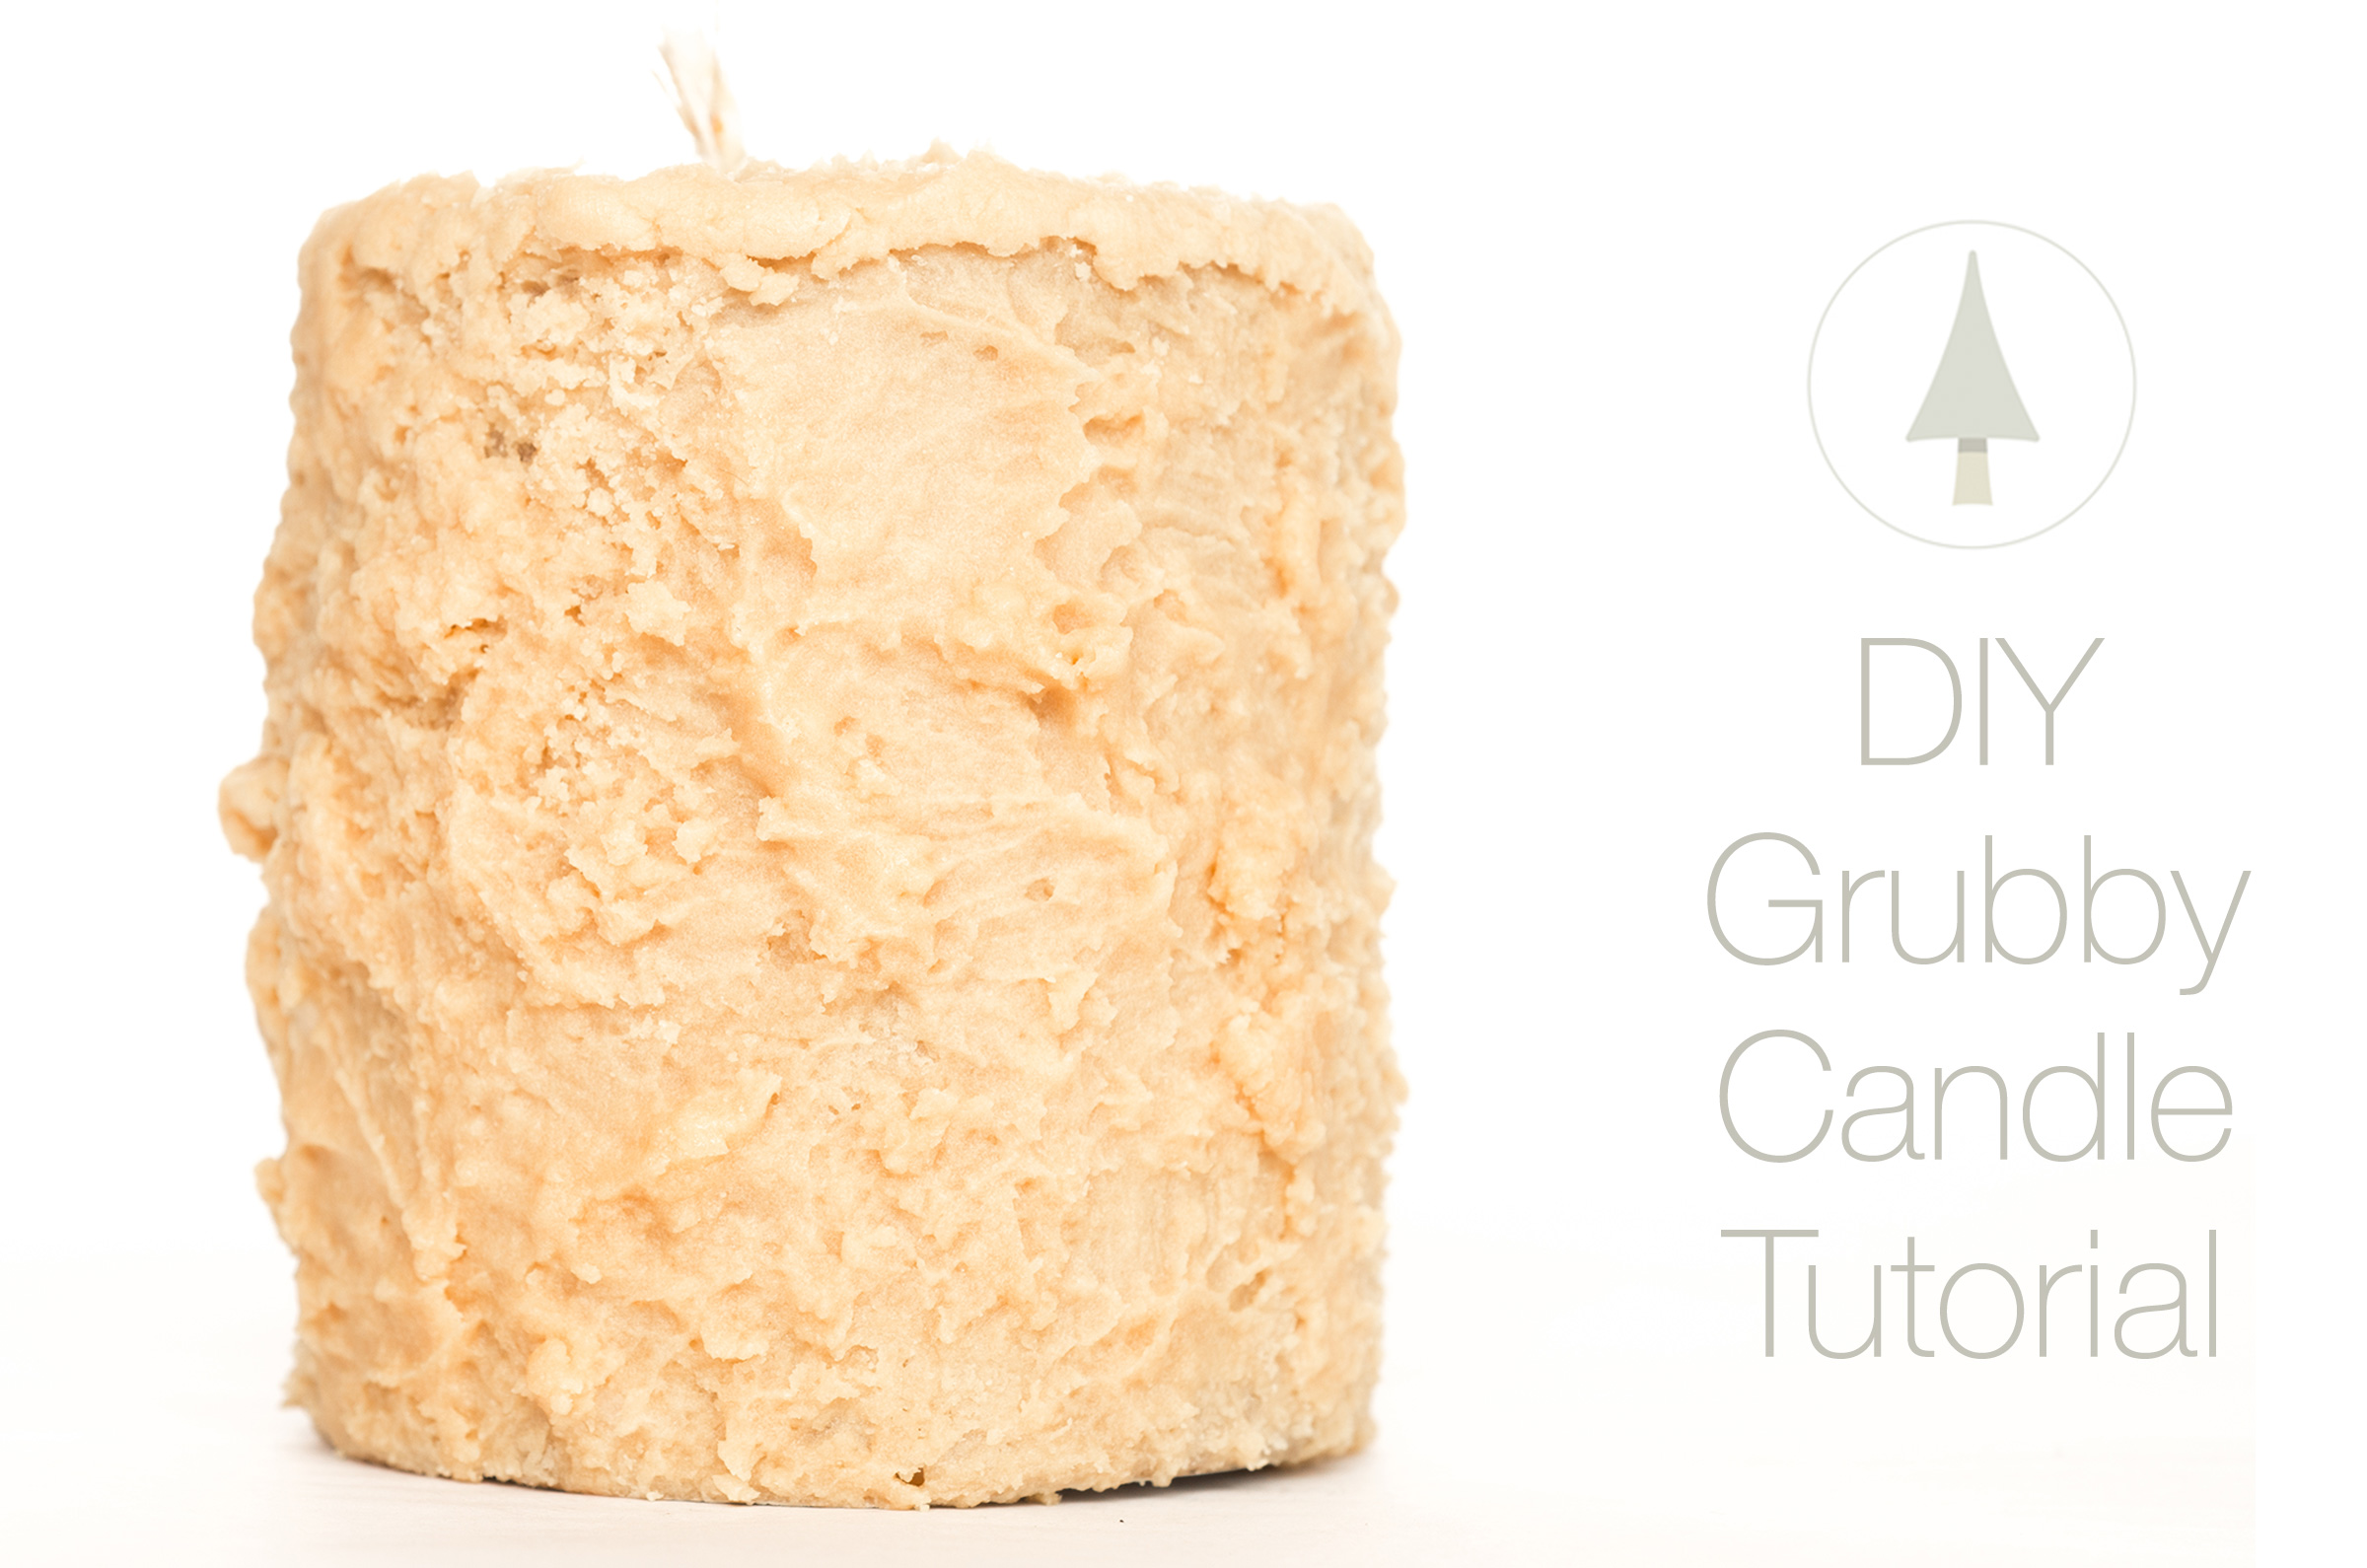
Grubby candles are fun to make and give a unique textured finish to the outside of your pillar candle. This is a great way to use up your “not so perfect” candles. If you don’t want to pour a pillar candle to make for this project, you can easily use a store-bought candle and give it some extra pizzazz with a little creativity. Have fun experimenting with candle making and add your own touches!
Materials Needed:
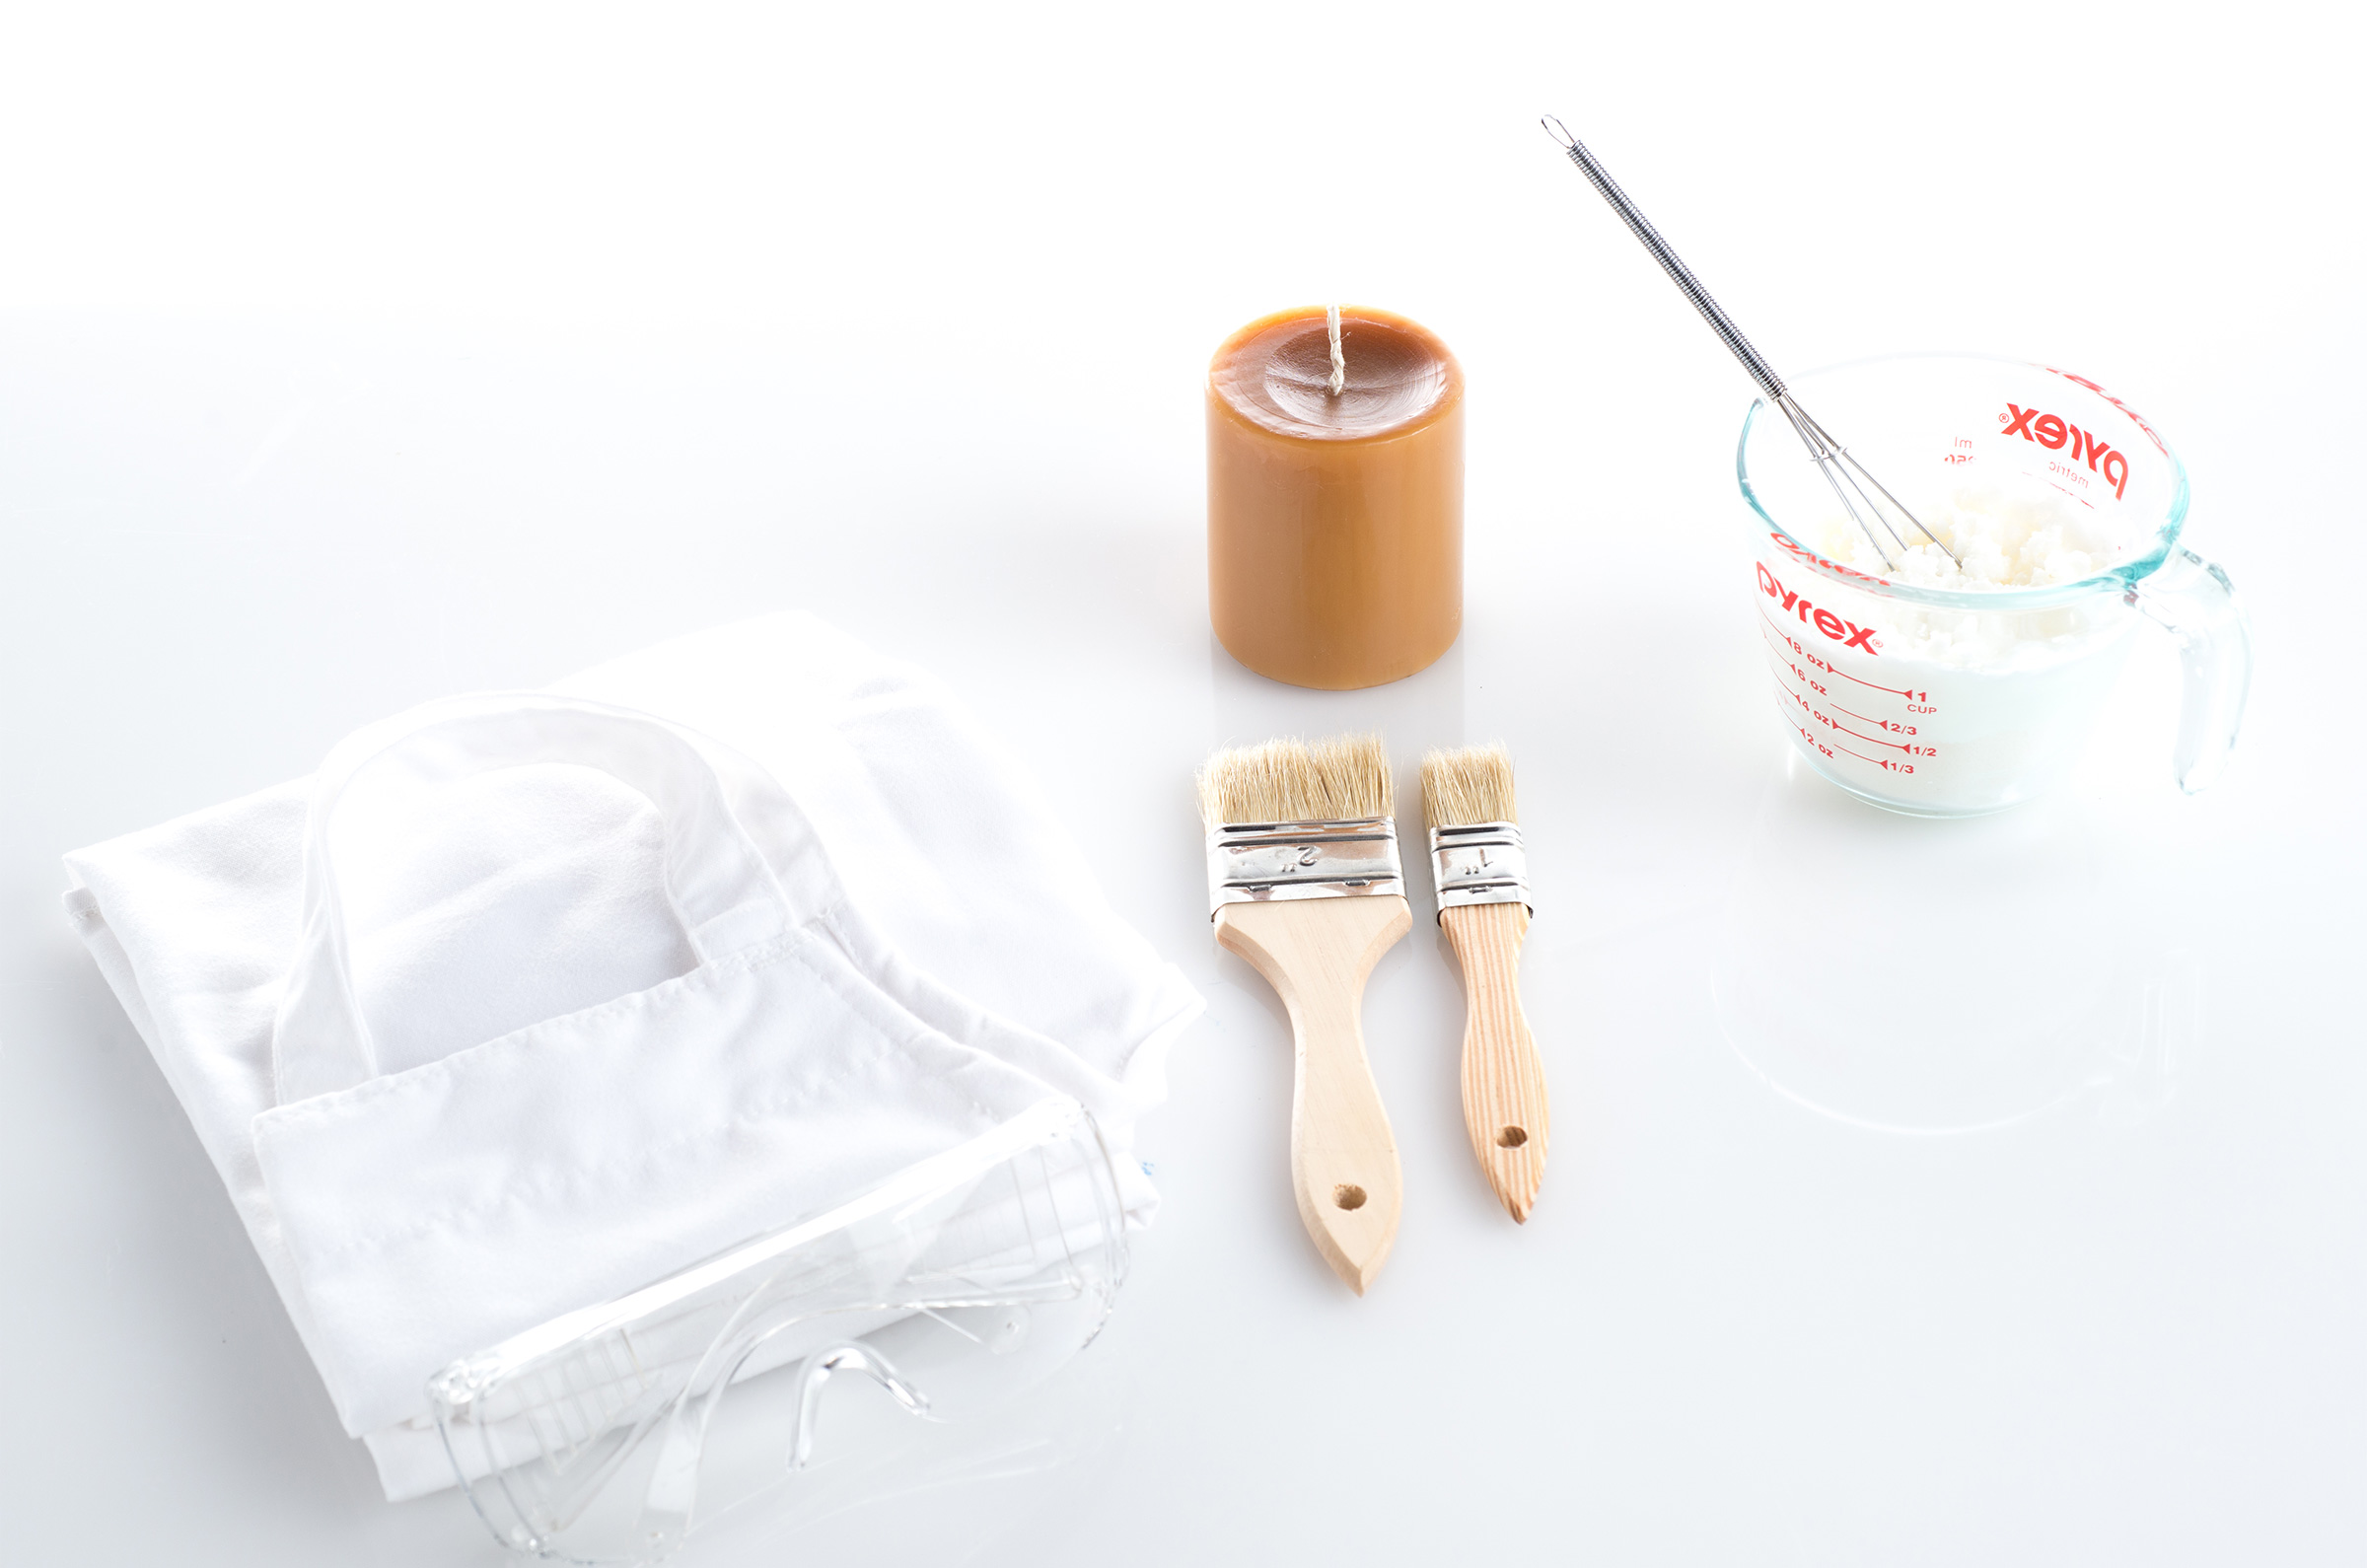
Pre-poured Pillar Candle (any size)
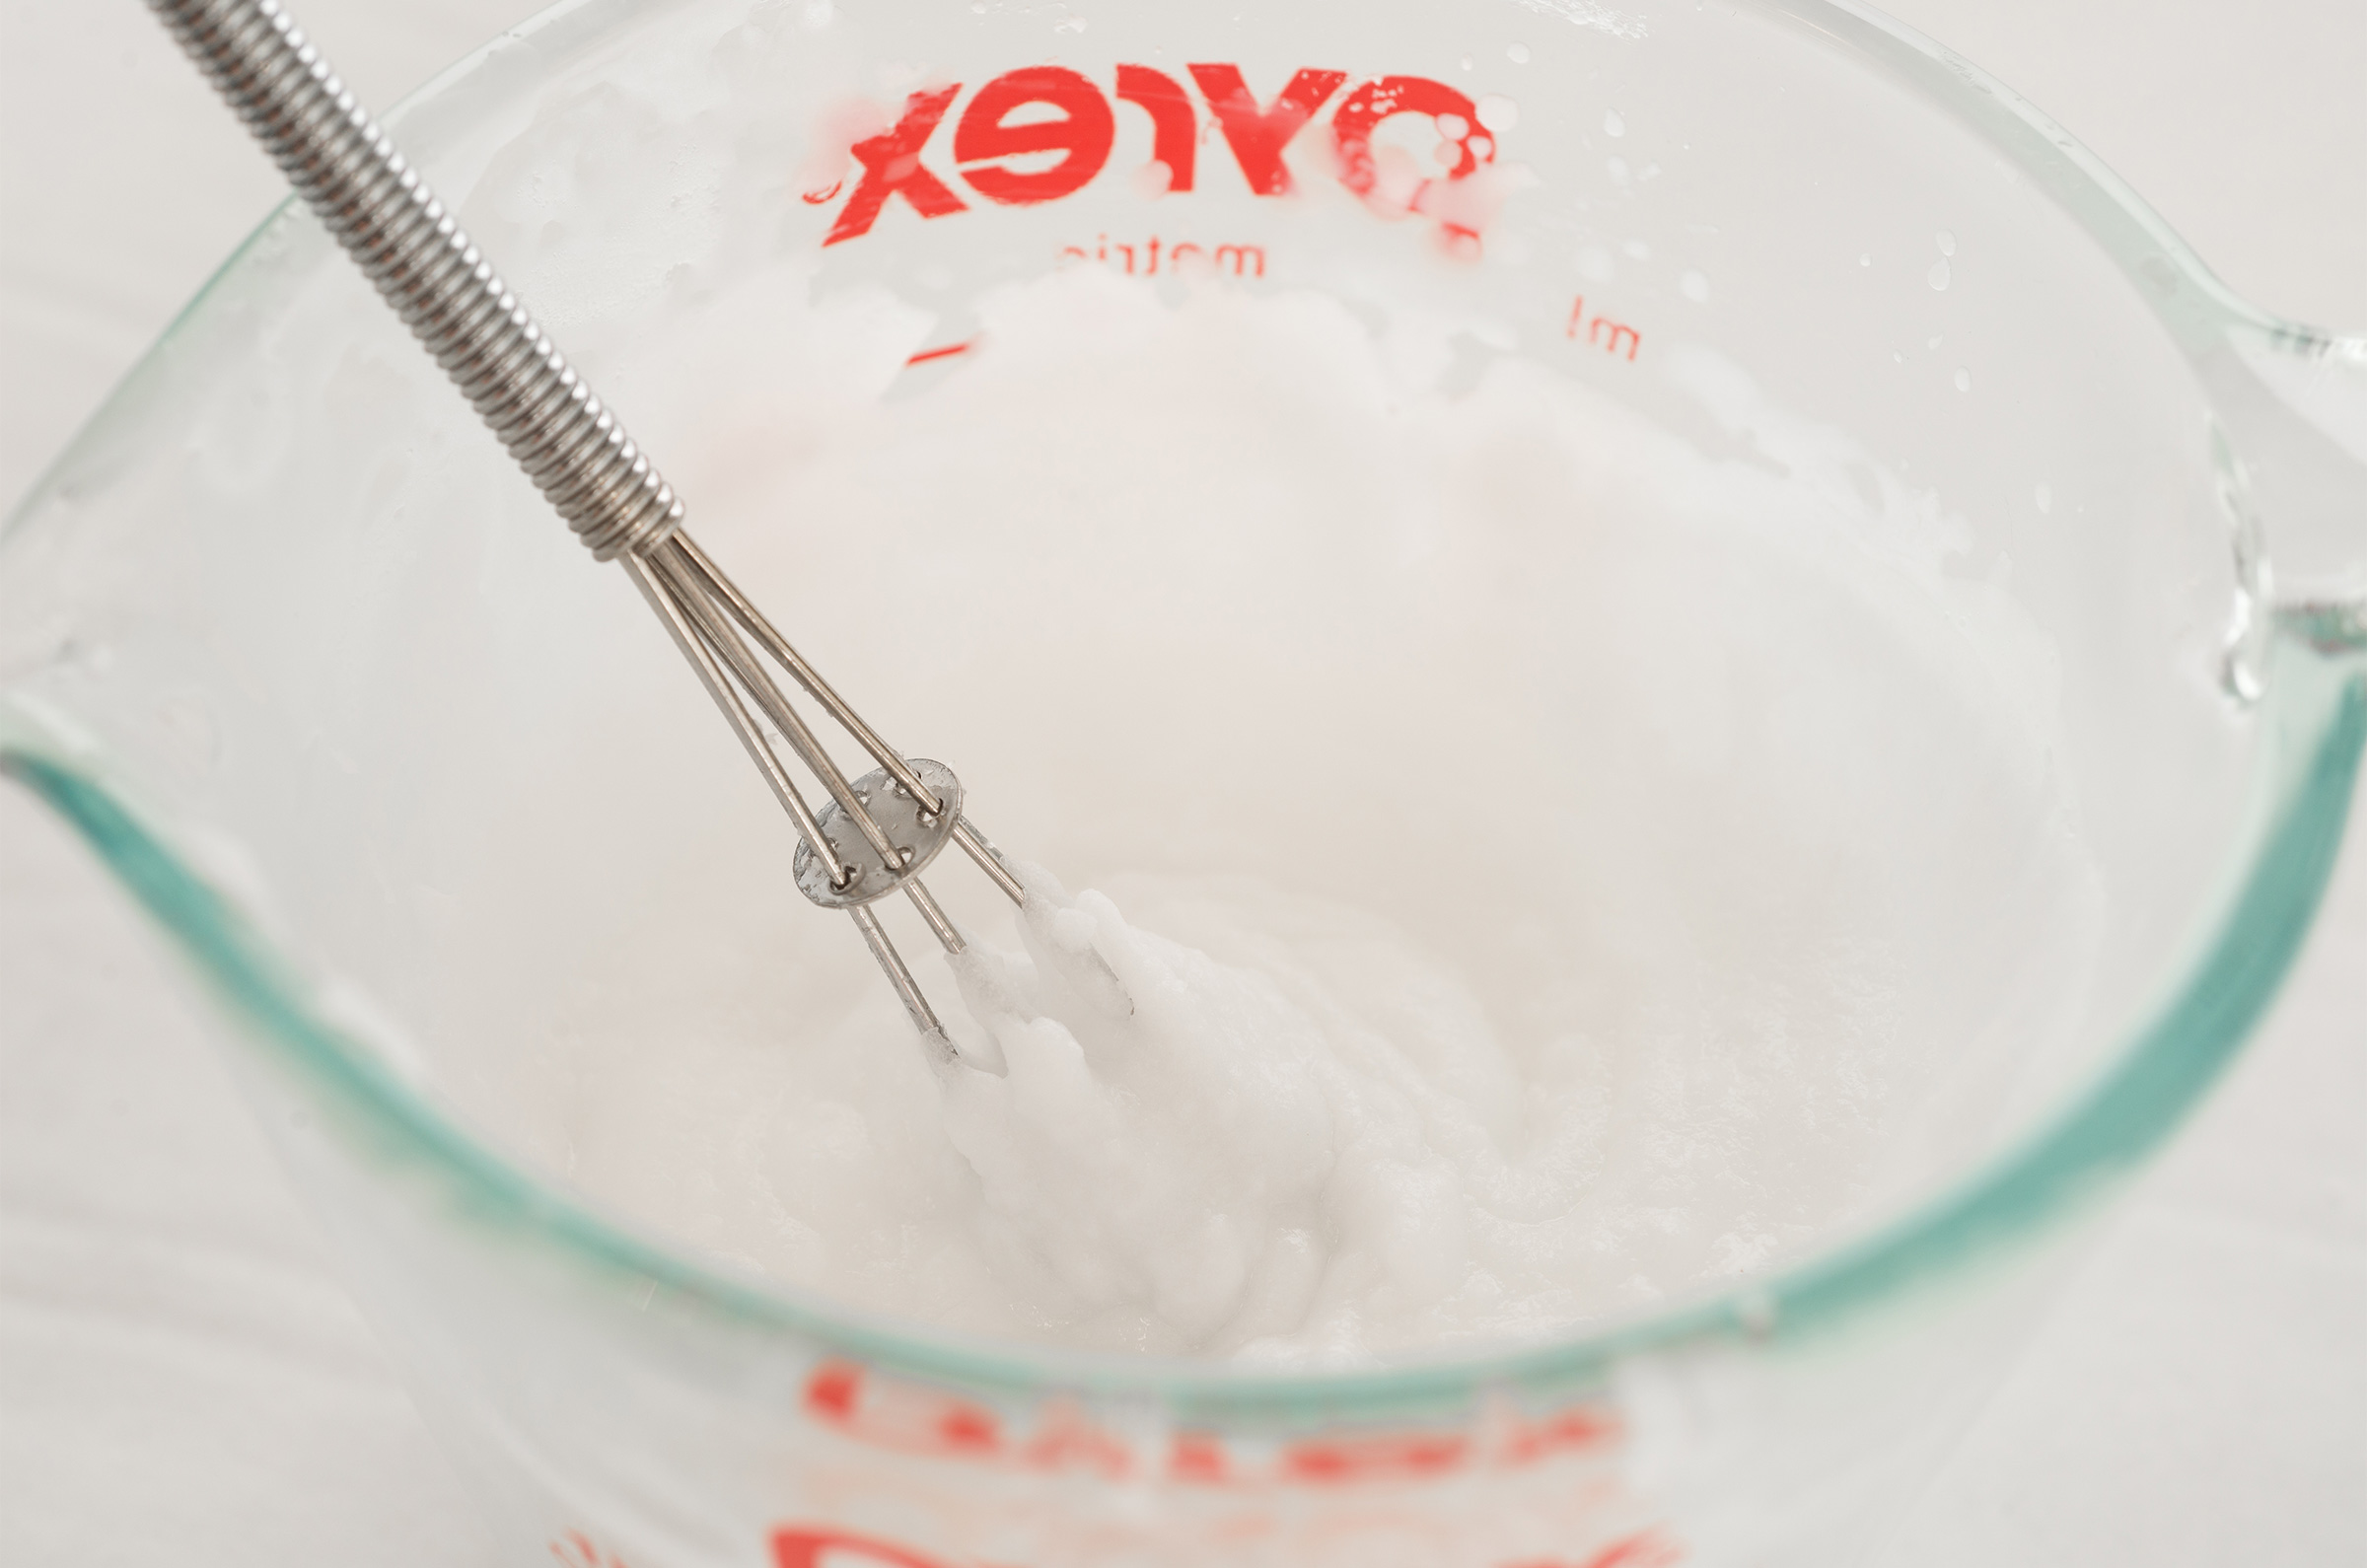
Whipped Wax – refer to Whipped Wax tutorial
1-2″ Bristled Paint Brush
Newspapers, wax paper, etc. to cover work area
Step 1
Using newspaper, wax paper etc. cover your entire work area. This candle making project can and will get messy!
Step 2
Refer to the Whipped Wax Tutorial and have the whipped wax ready to go.
Tip: Because the whipped wax is such a thin layer on your finished candle, there is no need to scent this wax with candle fragrance oil.
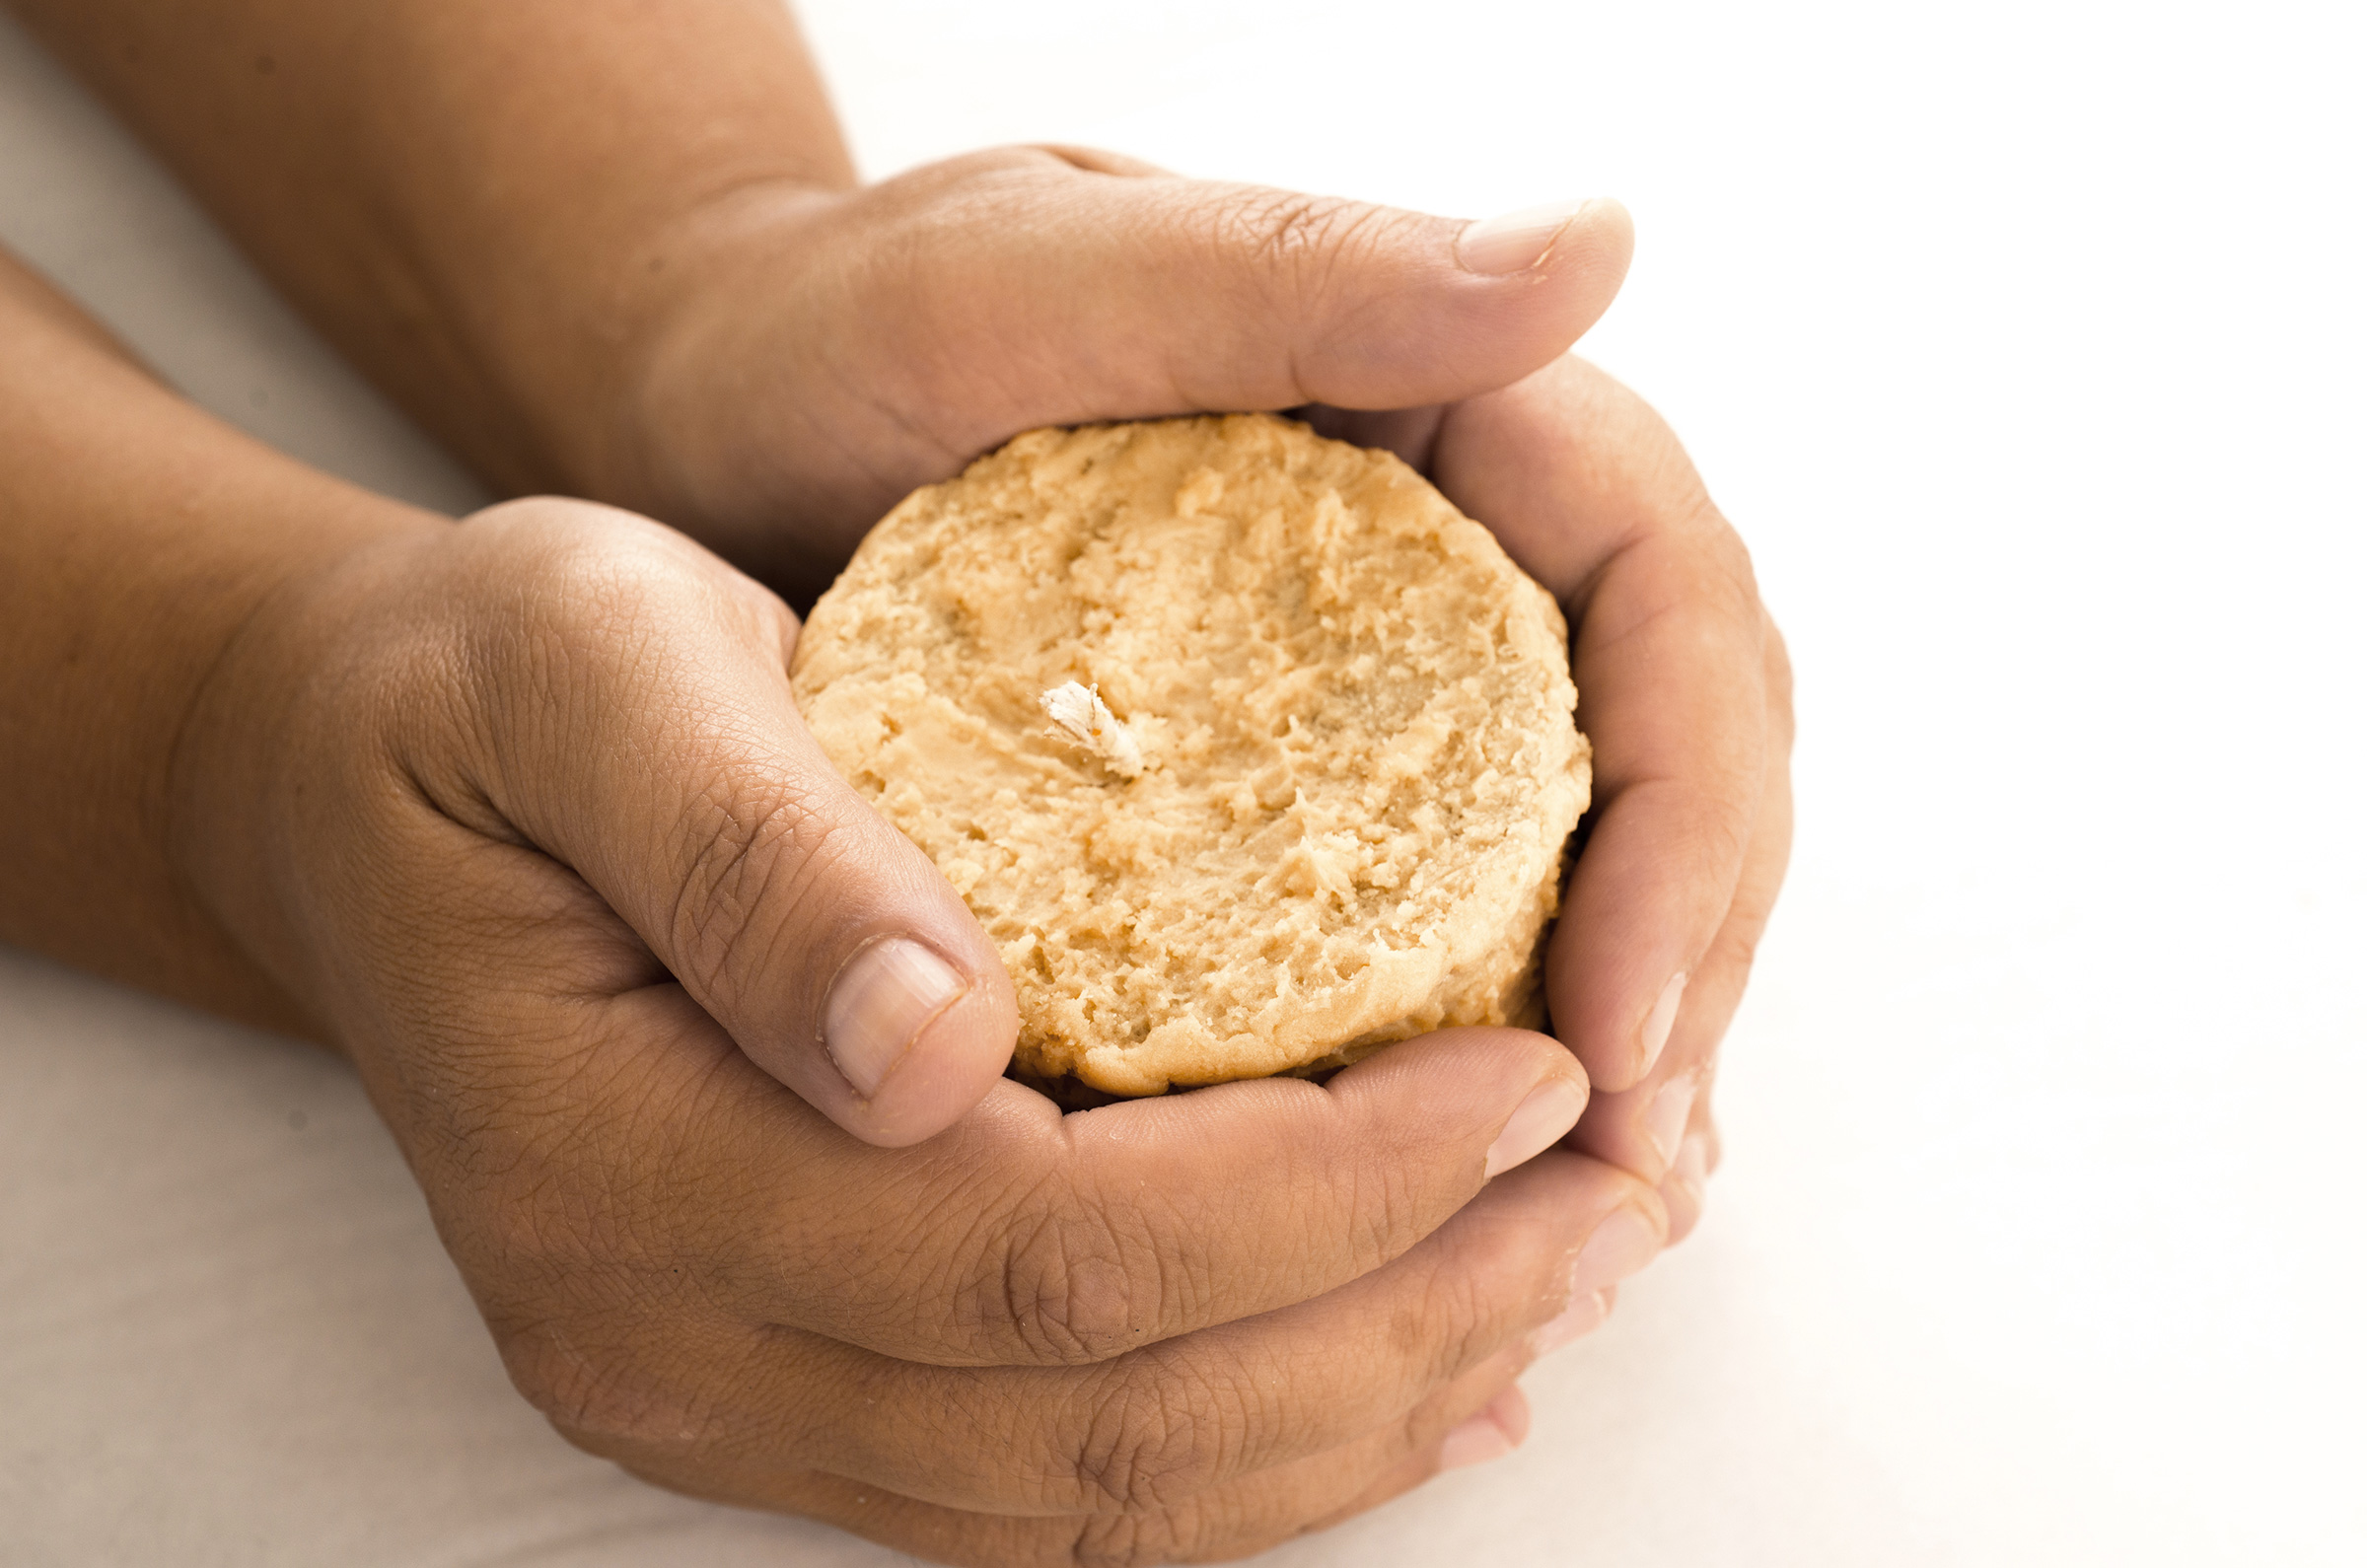
Step 3
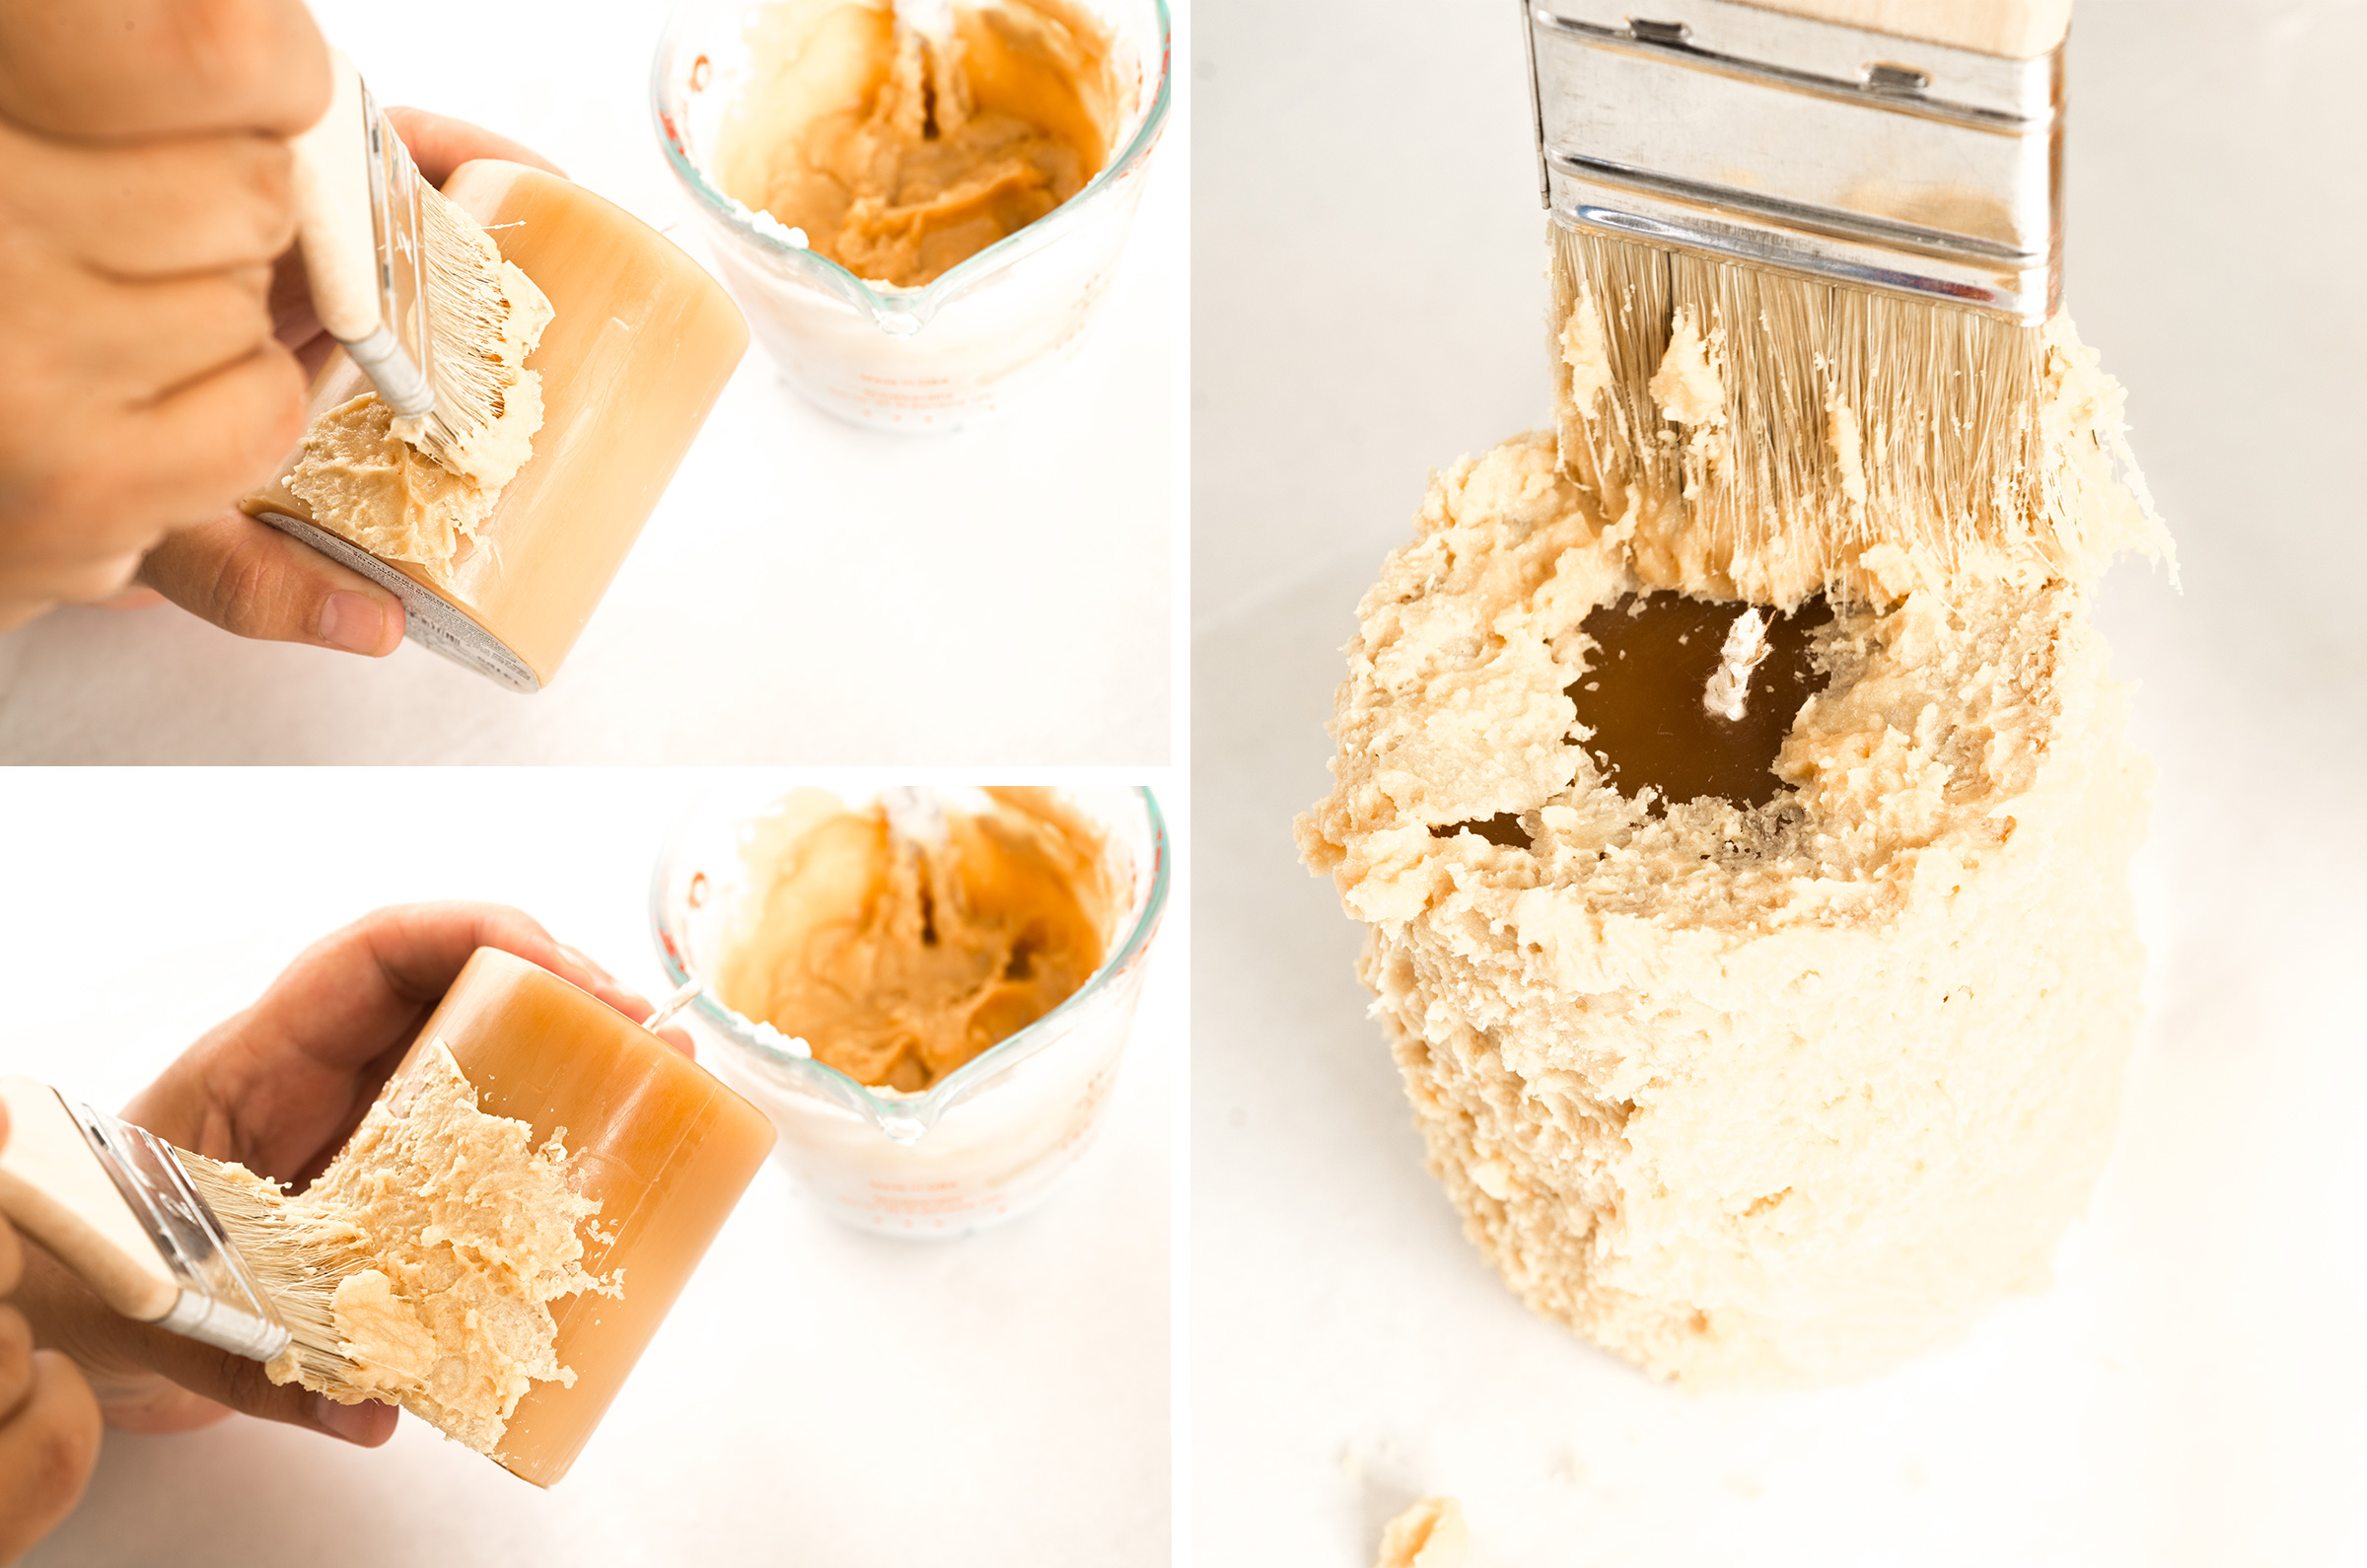
Hold the pre-poured pillar candle with one hand at the top & bottom of the candle. Smaller pillars are easier to maneuver throughout the process but any size pillar can be used.
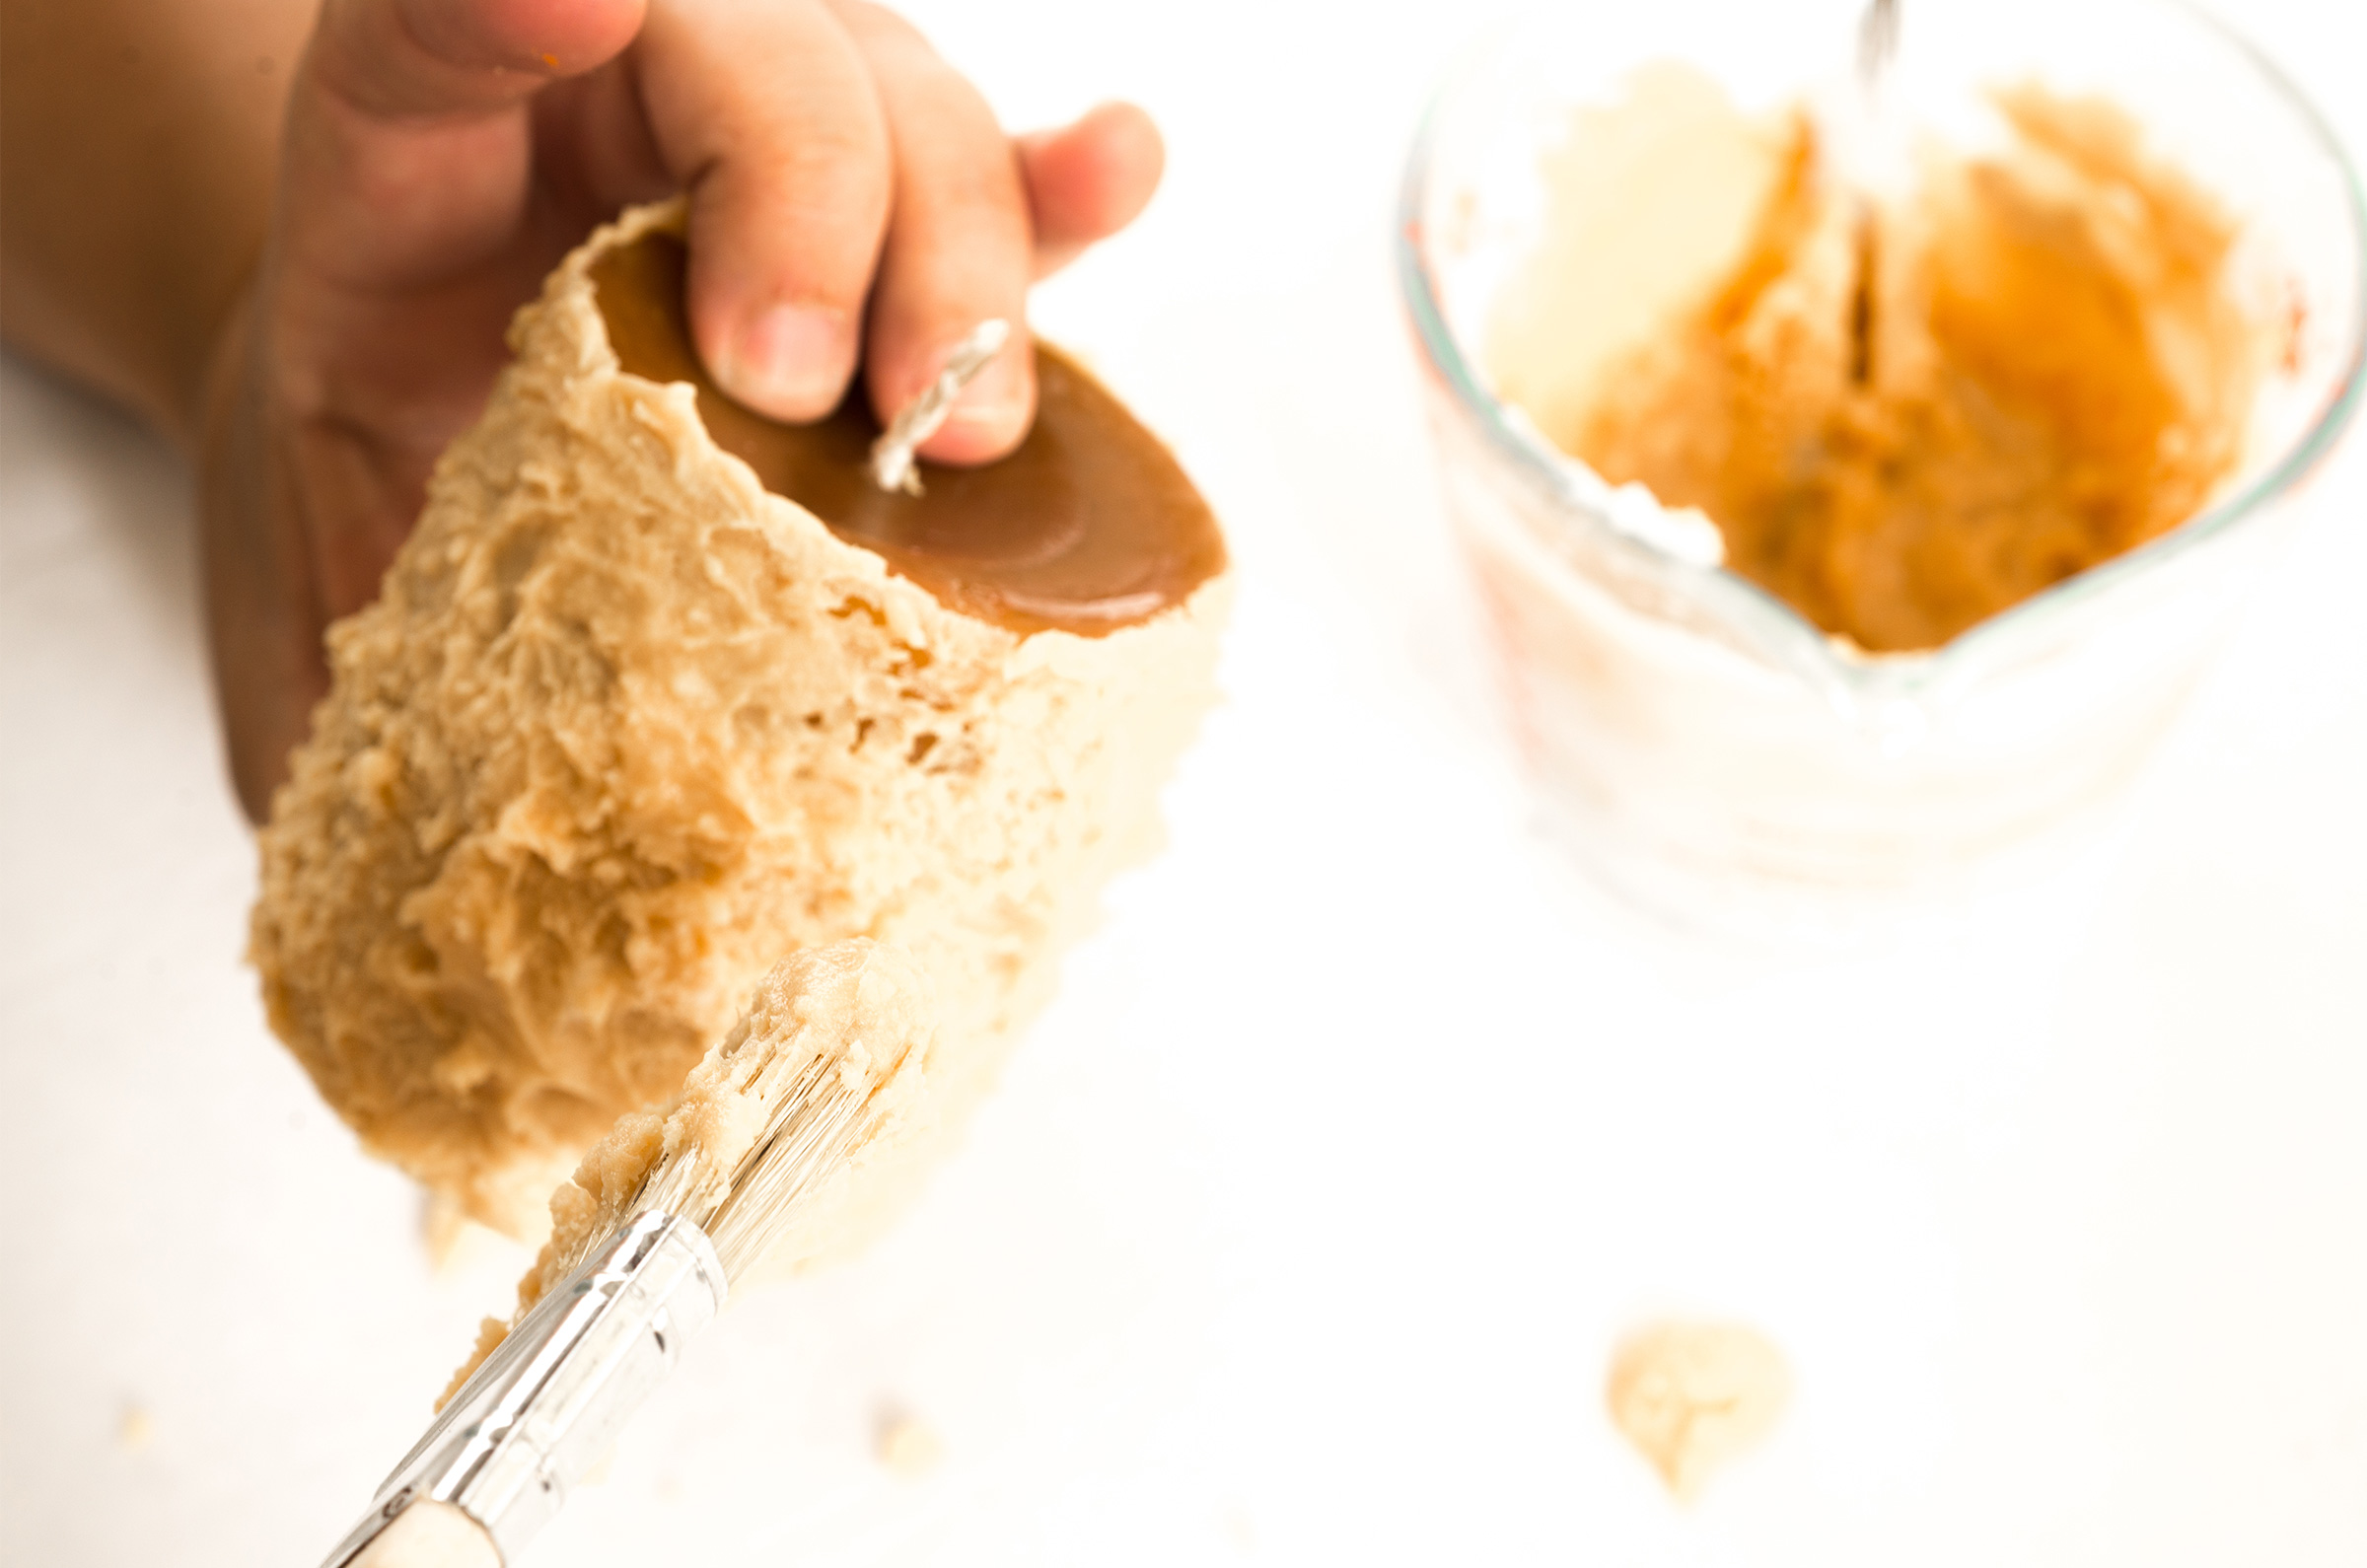
Step 4
Dip the paint brush into the whipped wax getting a good amount of candle wax on the bristles. Start at the bottom of the candle and quickly dab the wax from the paintbrush onto the surface of the candle, re-dipping in the whipped wax as needed working upwards and across in a random pattern. Repeat this process until entire surface of candle is covered.
(For a visual reference on how to apply whipped wax, check out the technique on our video for applying wax to a Snowball Candle.) No need to grubby the bottom of the candle because a smooth surface is needed to keep the candle level when burning. This process can be repeated as many times as necessary until the desired look is achieved. When the surface is coated, place candle on the prepared, covered work area. Repeat the process for the top of the candle, working from the outside in. Let cool and harden completely, then enjoy!
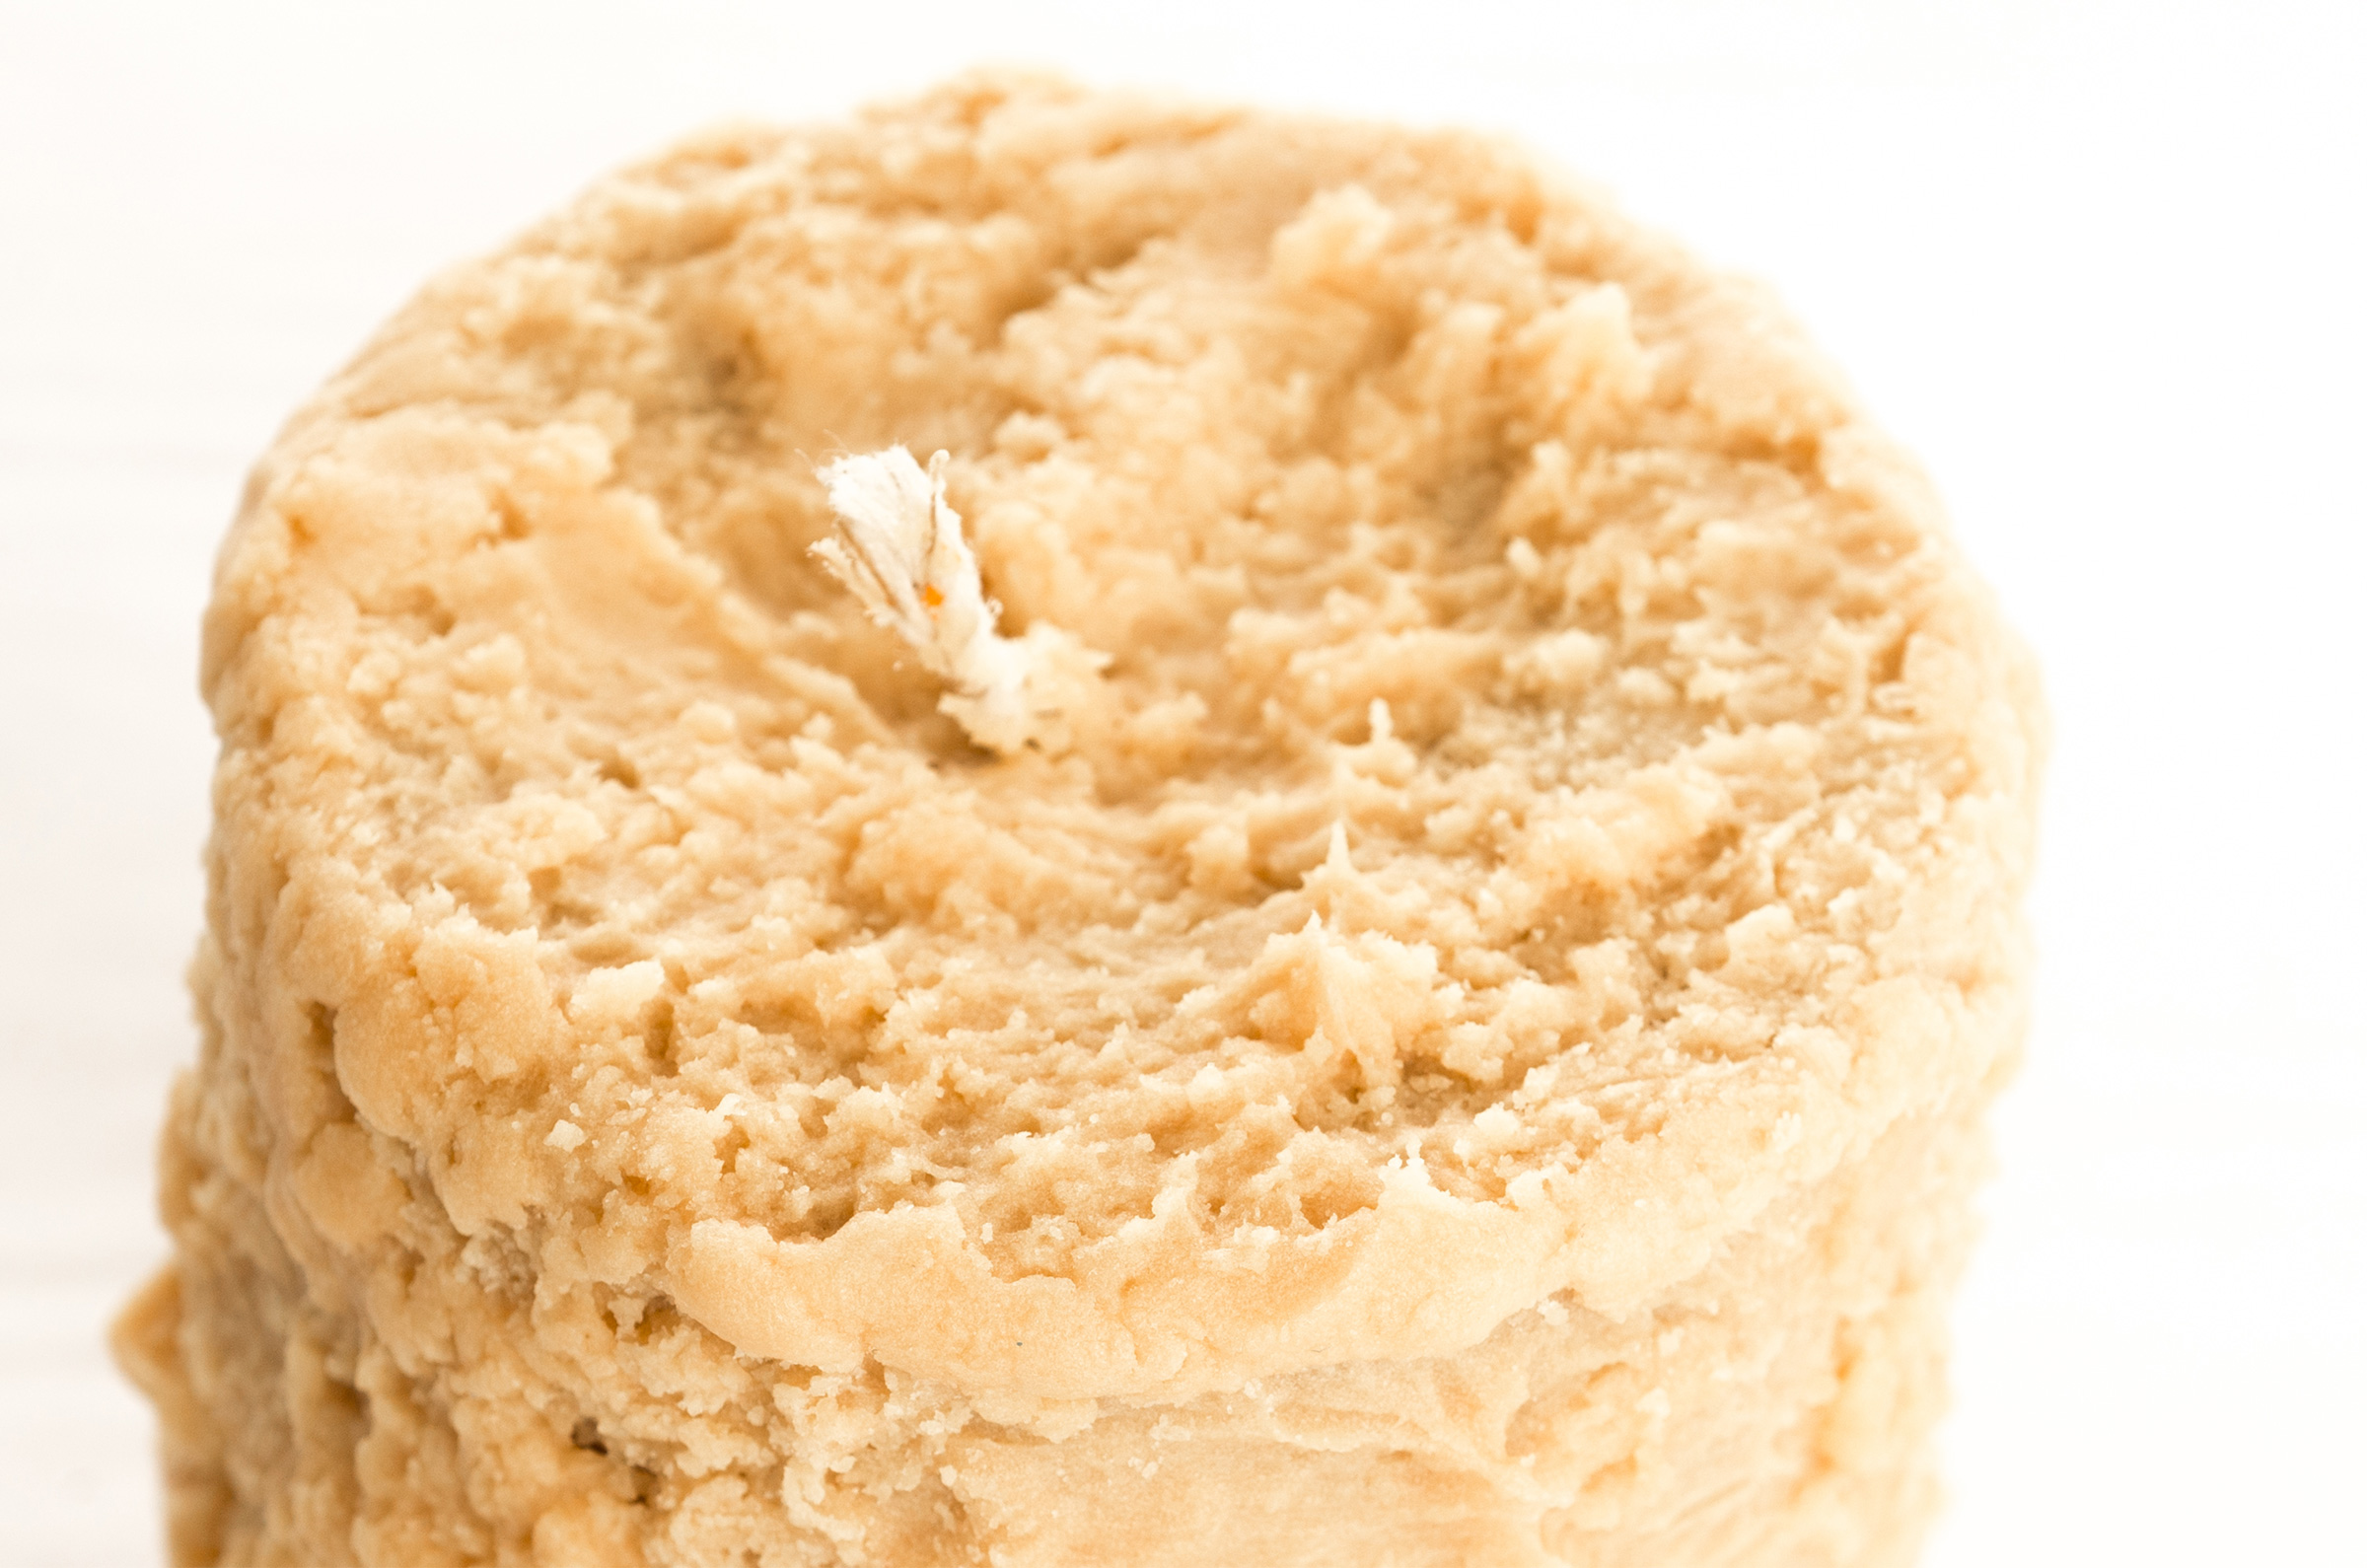
Tip: For a smoother grubby look, run your hands up, down and around the whipped wax to smooth out bumps.
SOME SAFETY PRECAUTIONS
- Cover counter with wax paper, old newspapers or aluminum foil to make clean up easier.
- Be sure to wear safety goggles for eye protection. You do not want to be splashed in the eye with hot wax! Remember with wax – safety first.
- Waxes used in making candles are very similar to cooking oils – they are flammable and they are poured at high temperatures, but with certain precautions, accidents may be avoided. NEVER HEAT WAX ABOVE 210°F.
- For safety, wax should be melted in a double boiler. Wax should NEVER be heated directly over an open flame or burner. Direct heating can cause wax to explode and result in serious injury.
- Use of a thermometer is advised to ensure proper wax pouring temperature.
- Never leave hot wax unattended. Keep children and pets away from the area where wax is being melted and poured.
- Never pour water in a wax fire. Water will cause the fire to spread. To extinguish a fire in a pan, cover the pan with its lid. Use a dry chemical fire extinguisher.
- Never pour melted wax into the sink or other drains.