Emergency candles should always be in your cupboard for when there is a power outage. Power outages are unpleasant and can come at bad times – like during winter storms. Knowing you have a stash of go-to emergency candles is very helpful. Emergency candles can provide you with plenty of light, and because they’re purposefully unscented, they’ll not disturb closed off areas or rooms with strong aromas. Emergency candles are great for gift giving or just to have on hand for yourself. Be sure to make these when you have time – you’ll be glad you did!
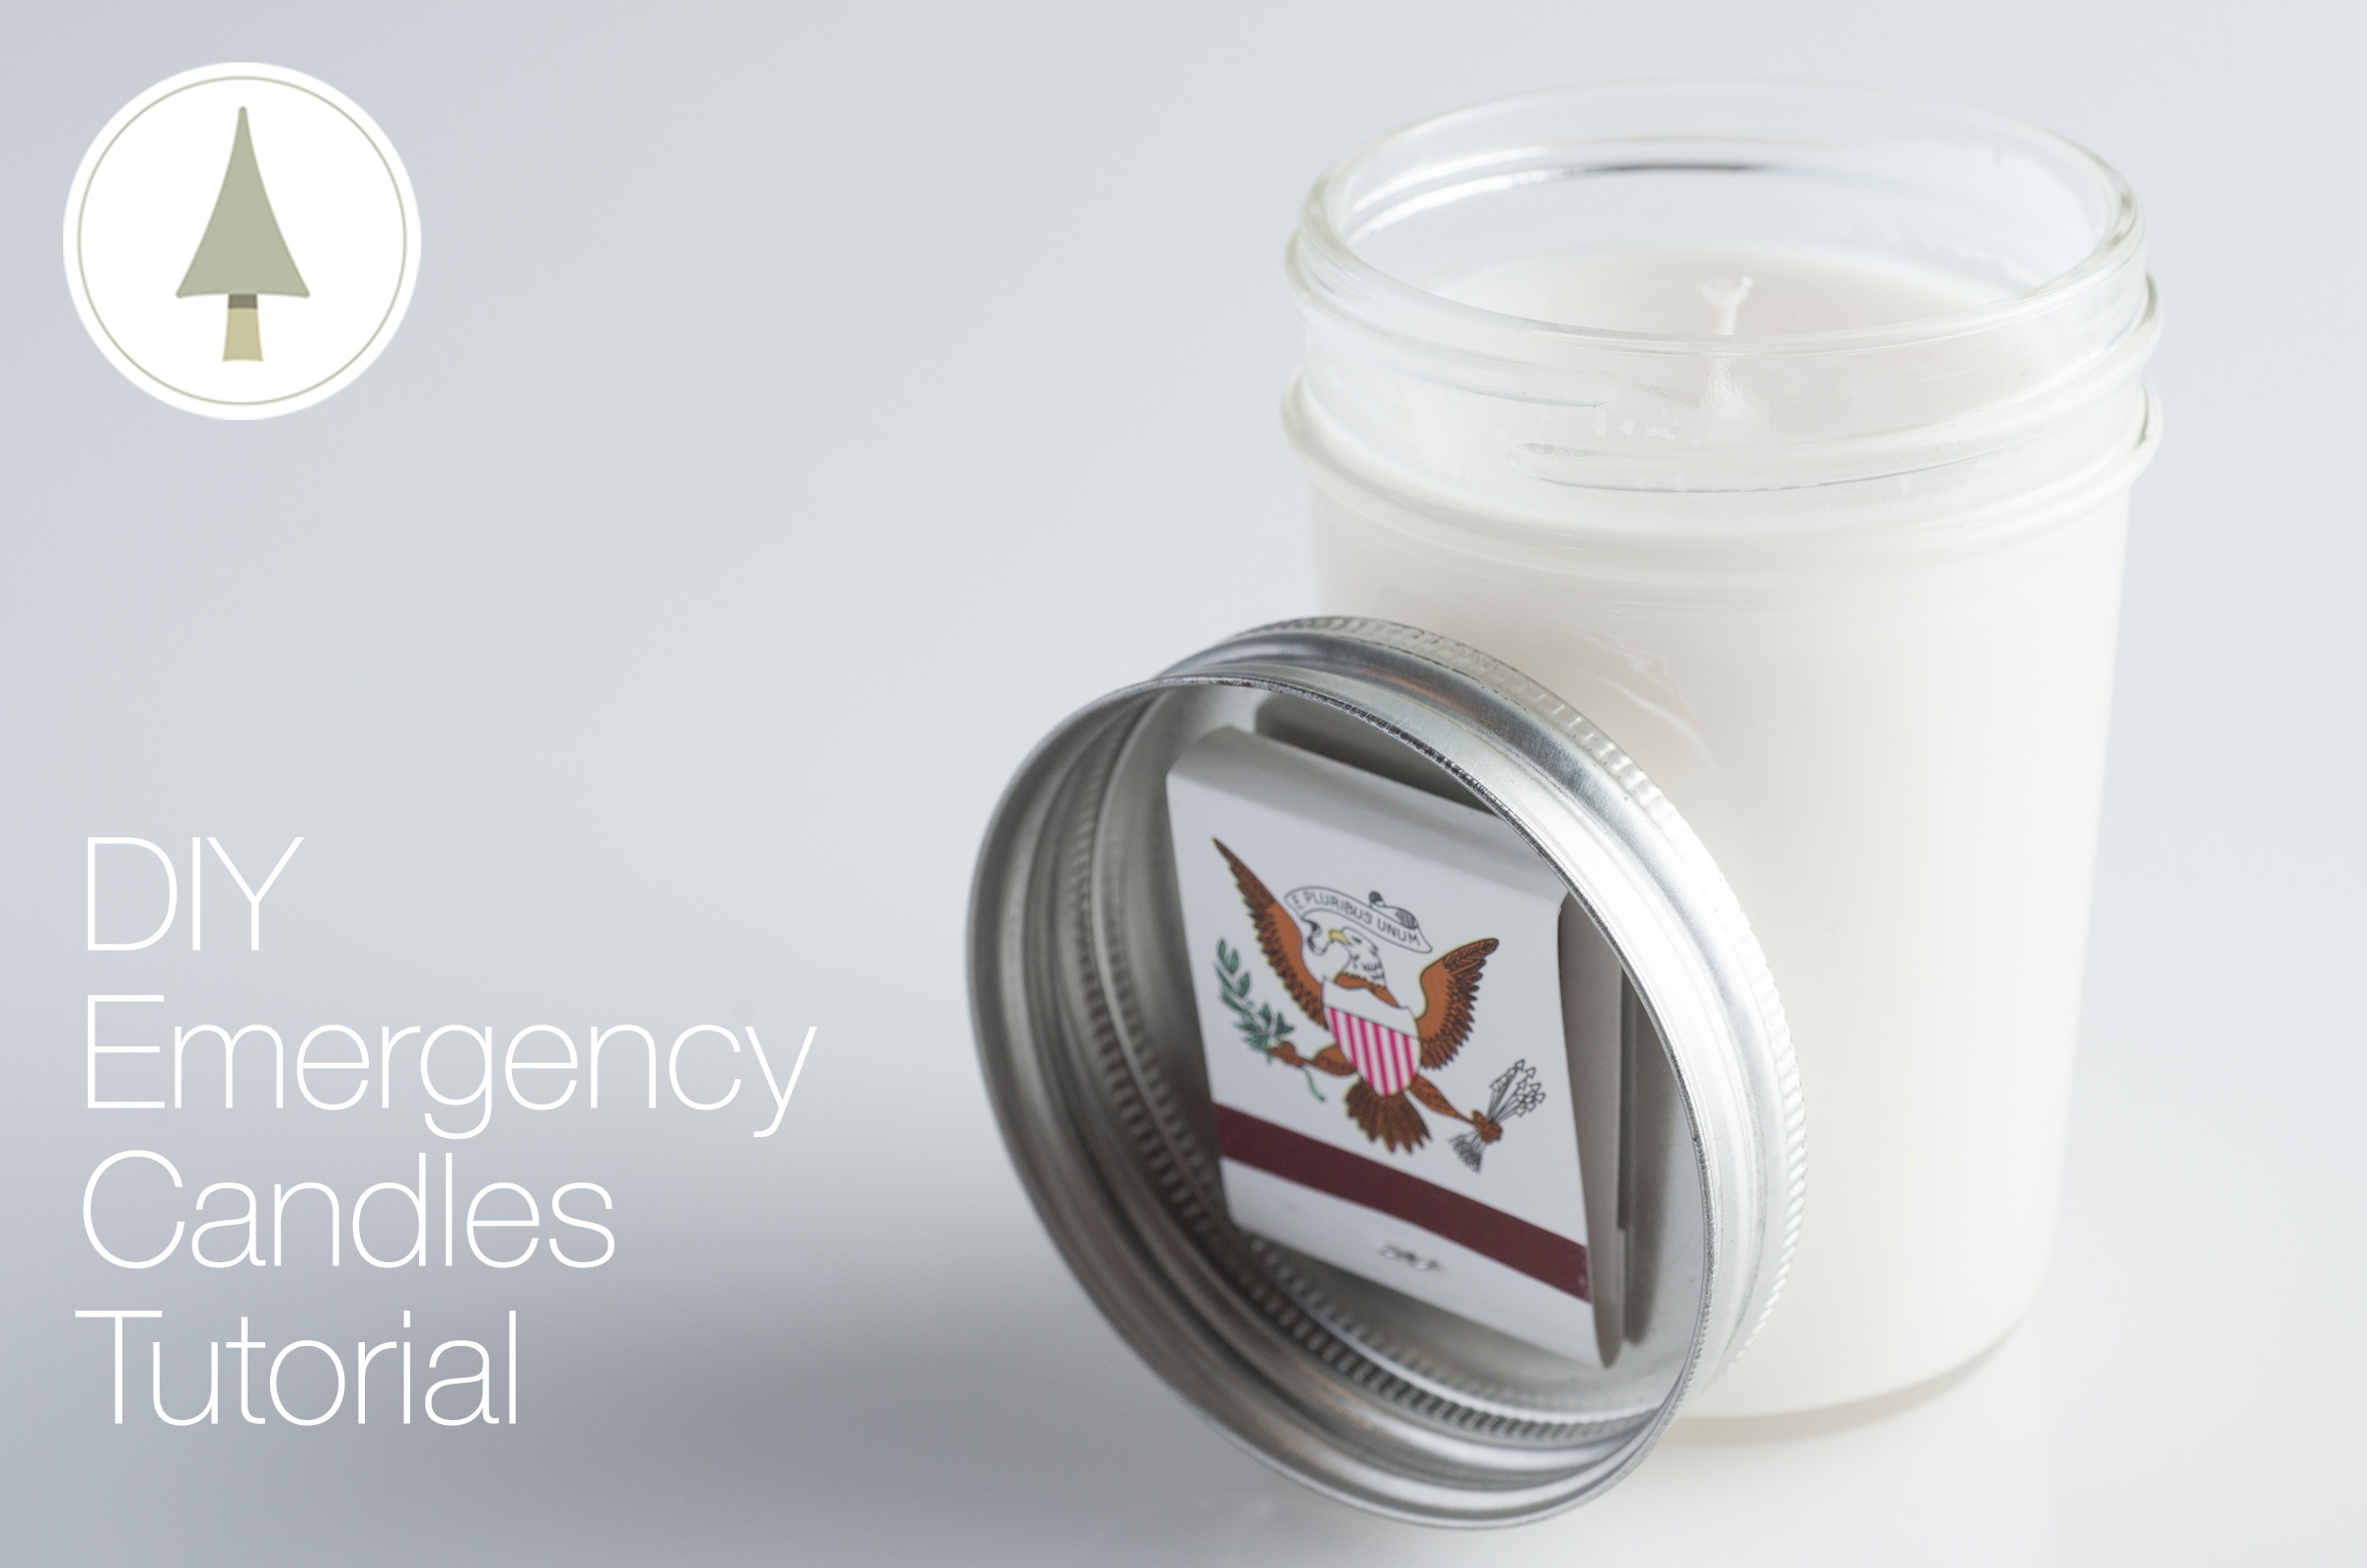
This is a beginner level candle making tutorial. We have taken the guess-work out for you and provided exact size containers, wicks, and waxes to give you a finished candle that will offer a long-lasting, clean burn.
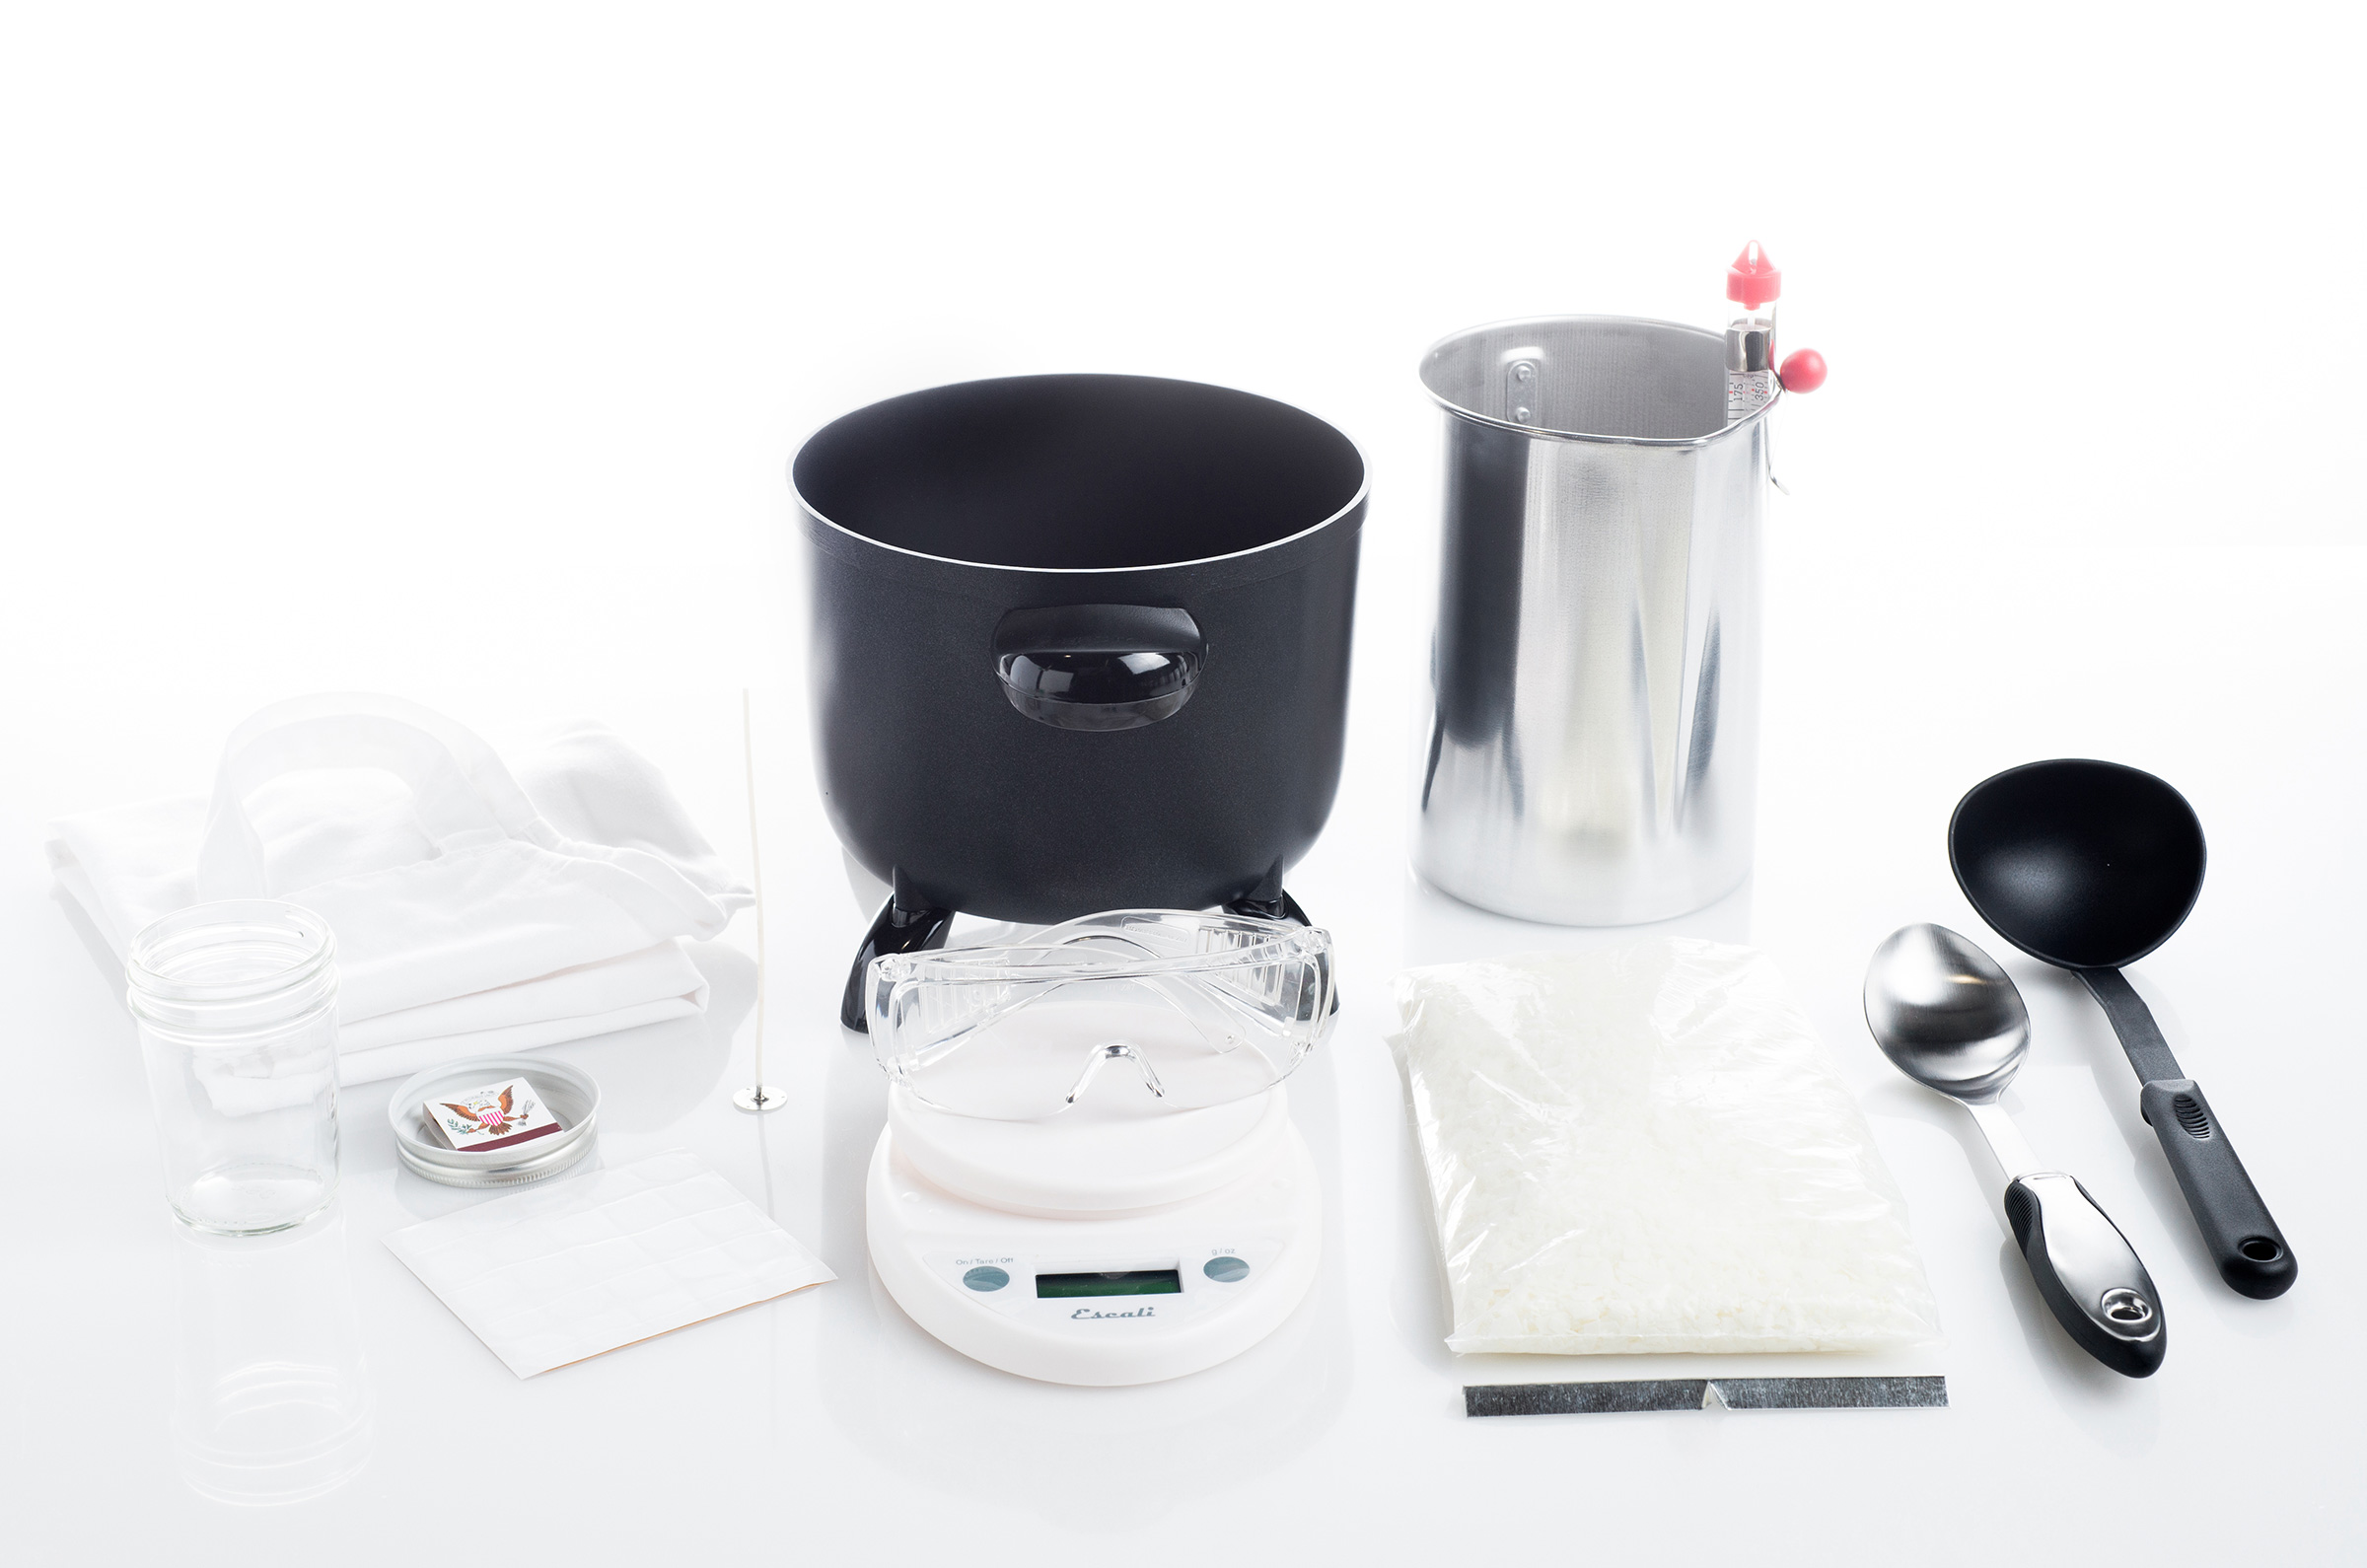
Materials List:
25 oz of Container Soy Wax (or paraffin container wax)
• Golden Wax 415
• Golden Wax 464
• KY PureSoy 100% Soy Wax (used in this tutorial)
• KY Soy 115
(4) 8oz Smooth Jelly Jars with lids
(4) Books of matches
(8) Wick Stickers
(4) 51-32-18C Pre-Tabbed Cotton Candle Wicks
(4) Wick Bars
Digital Scale
Pour Pitcher
Thermometer
Presto Pot or double boiler to melt wax
Metal Spoon to stir wax
Safety goggles
Apron to protect clothing
Wax paper, old newspapers or aluminum foil
Step 1
Prepare work surface. Cover counter with wax paper, old newspapers or aluminum foil to make clean up easier.
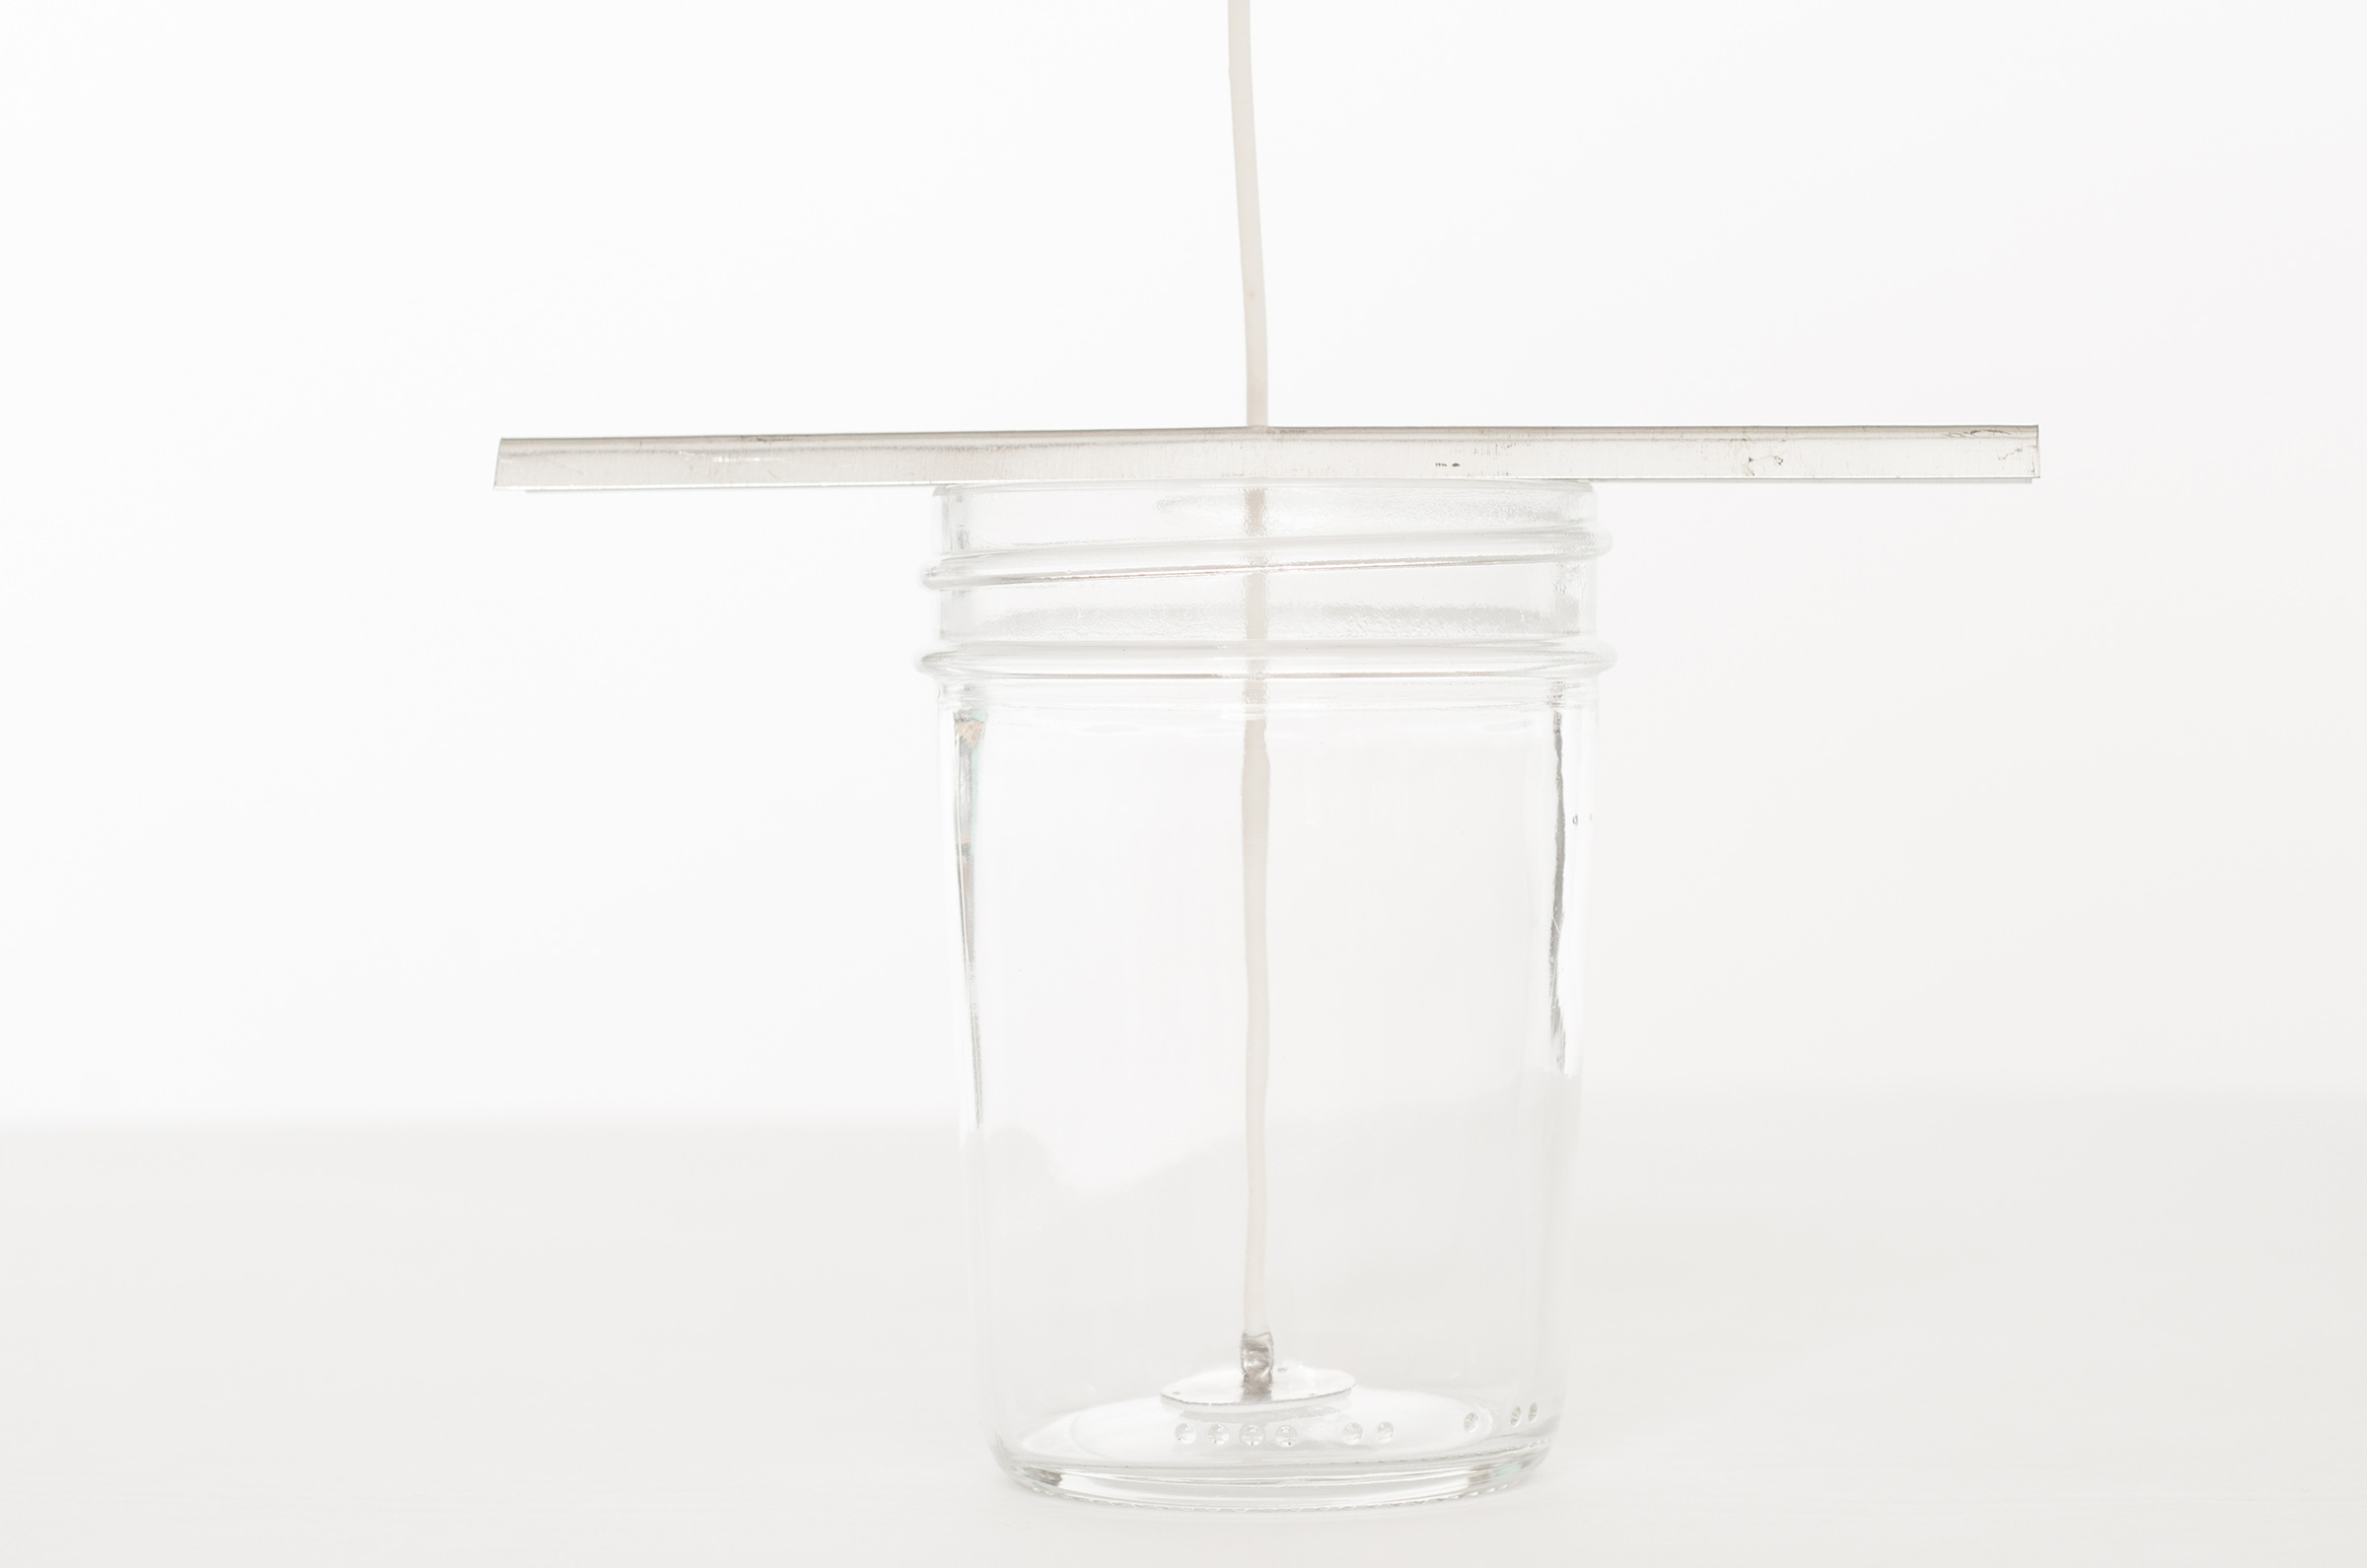
Step 2
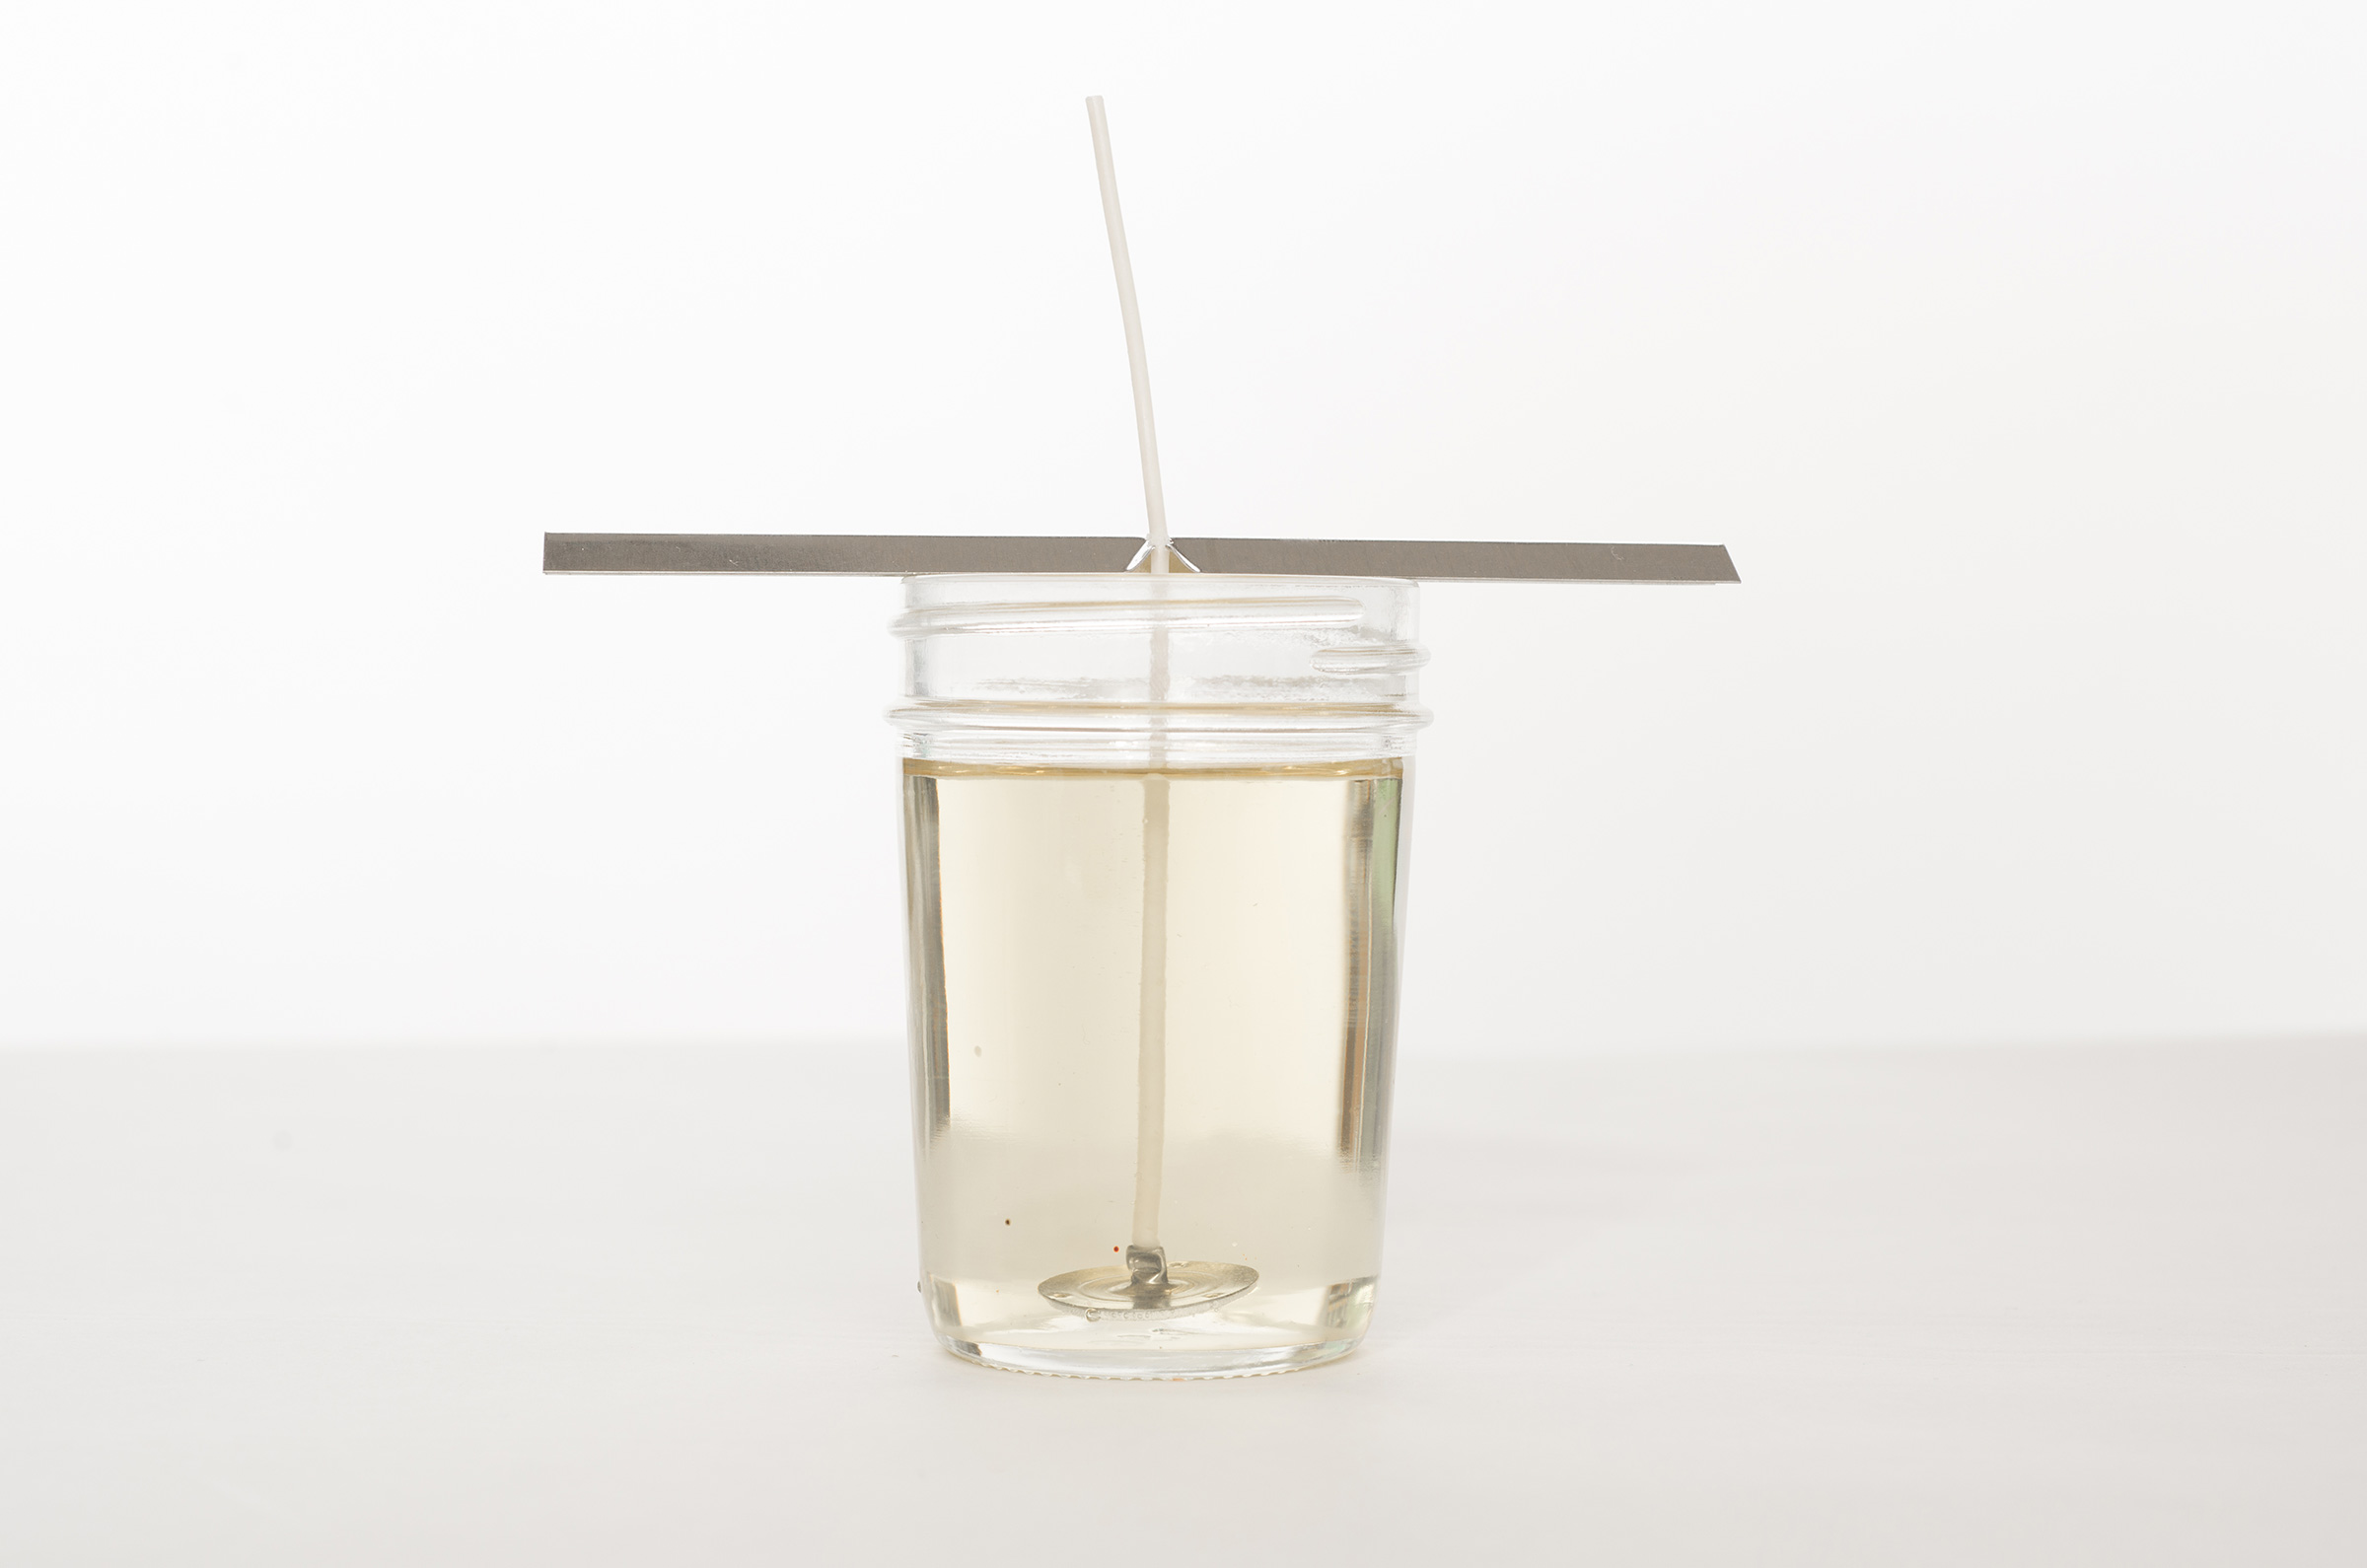
Prepare the jars by using the wick stickers, attach the wick onto the bottom center of the inside of the jelly jar. Use some pressure to ensure a good adhesion. Use the wick bar to keep the wicks straight & centered in the jar.
Step 3
Melt the soy wax in a double broiler or Presto Pot utilizing a thermometer to ensure accurate temperature. Follow manufacturer’s guidelines for correct melting temperature. Occasionally stir wax to ensure it melts completely and evenly.
Step 4
Place pour pot on digital scale and tare. Once wax is completely melted, transfer 25 oz of wax to the pour pot.
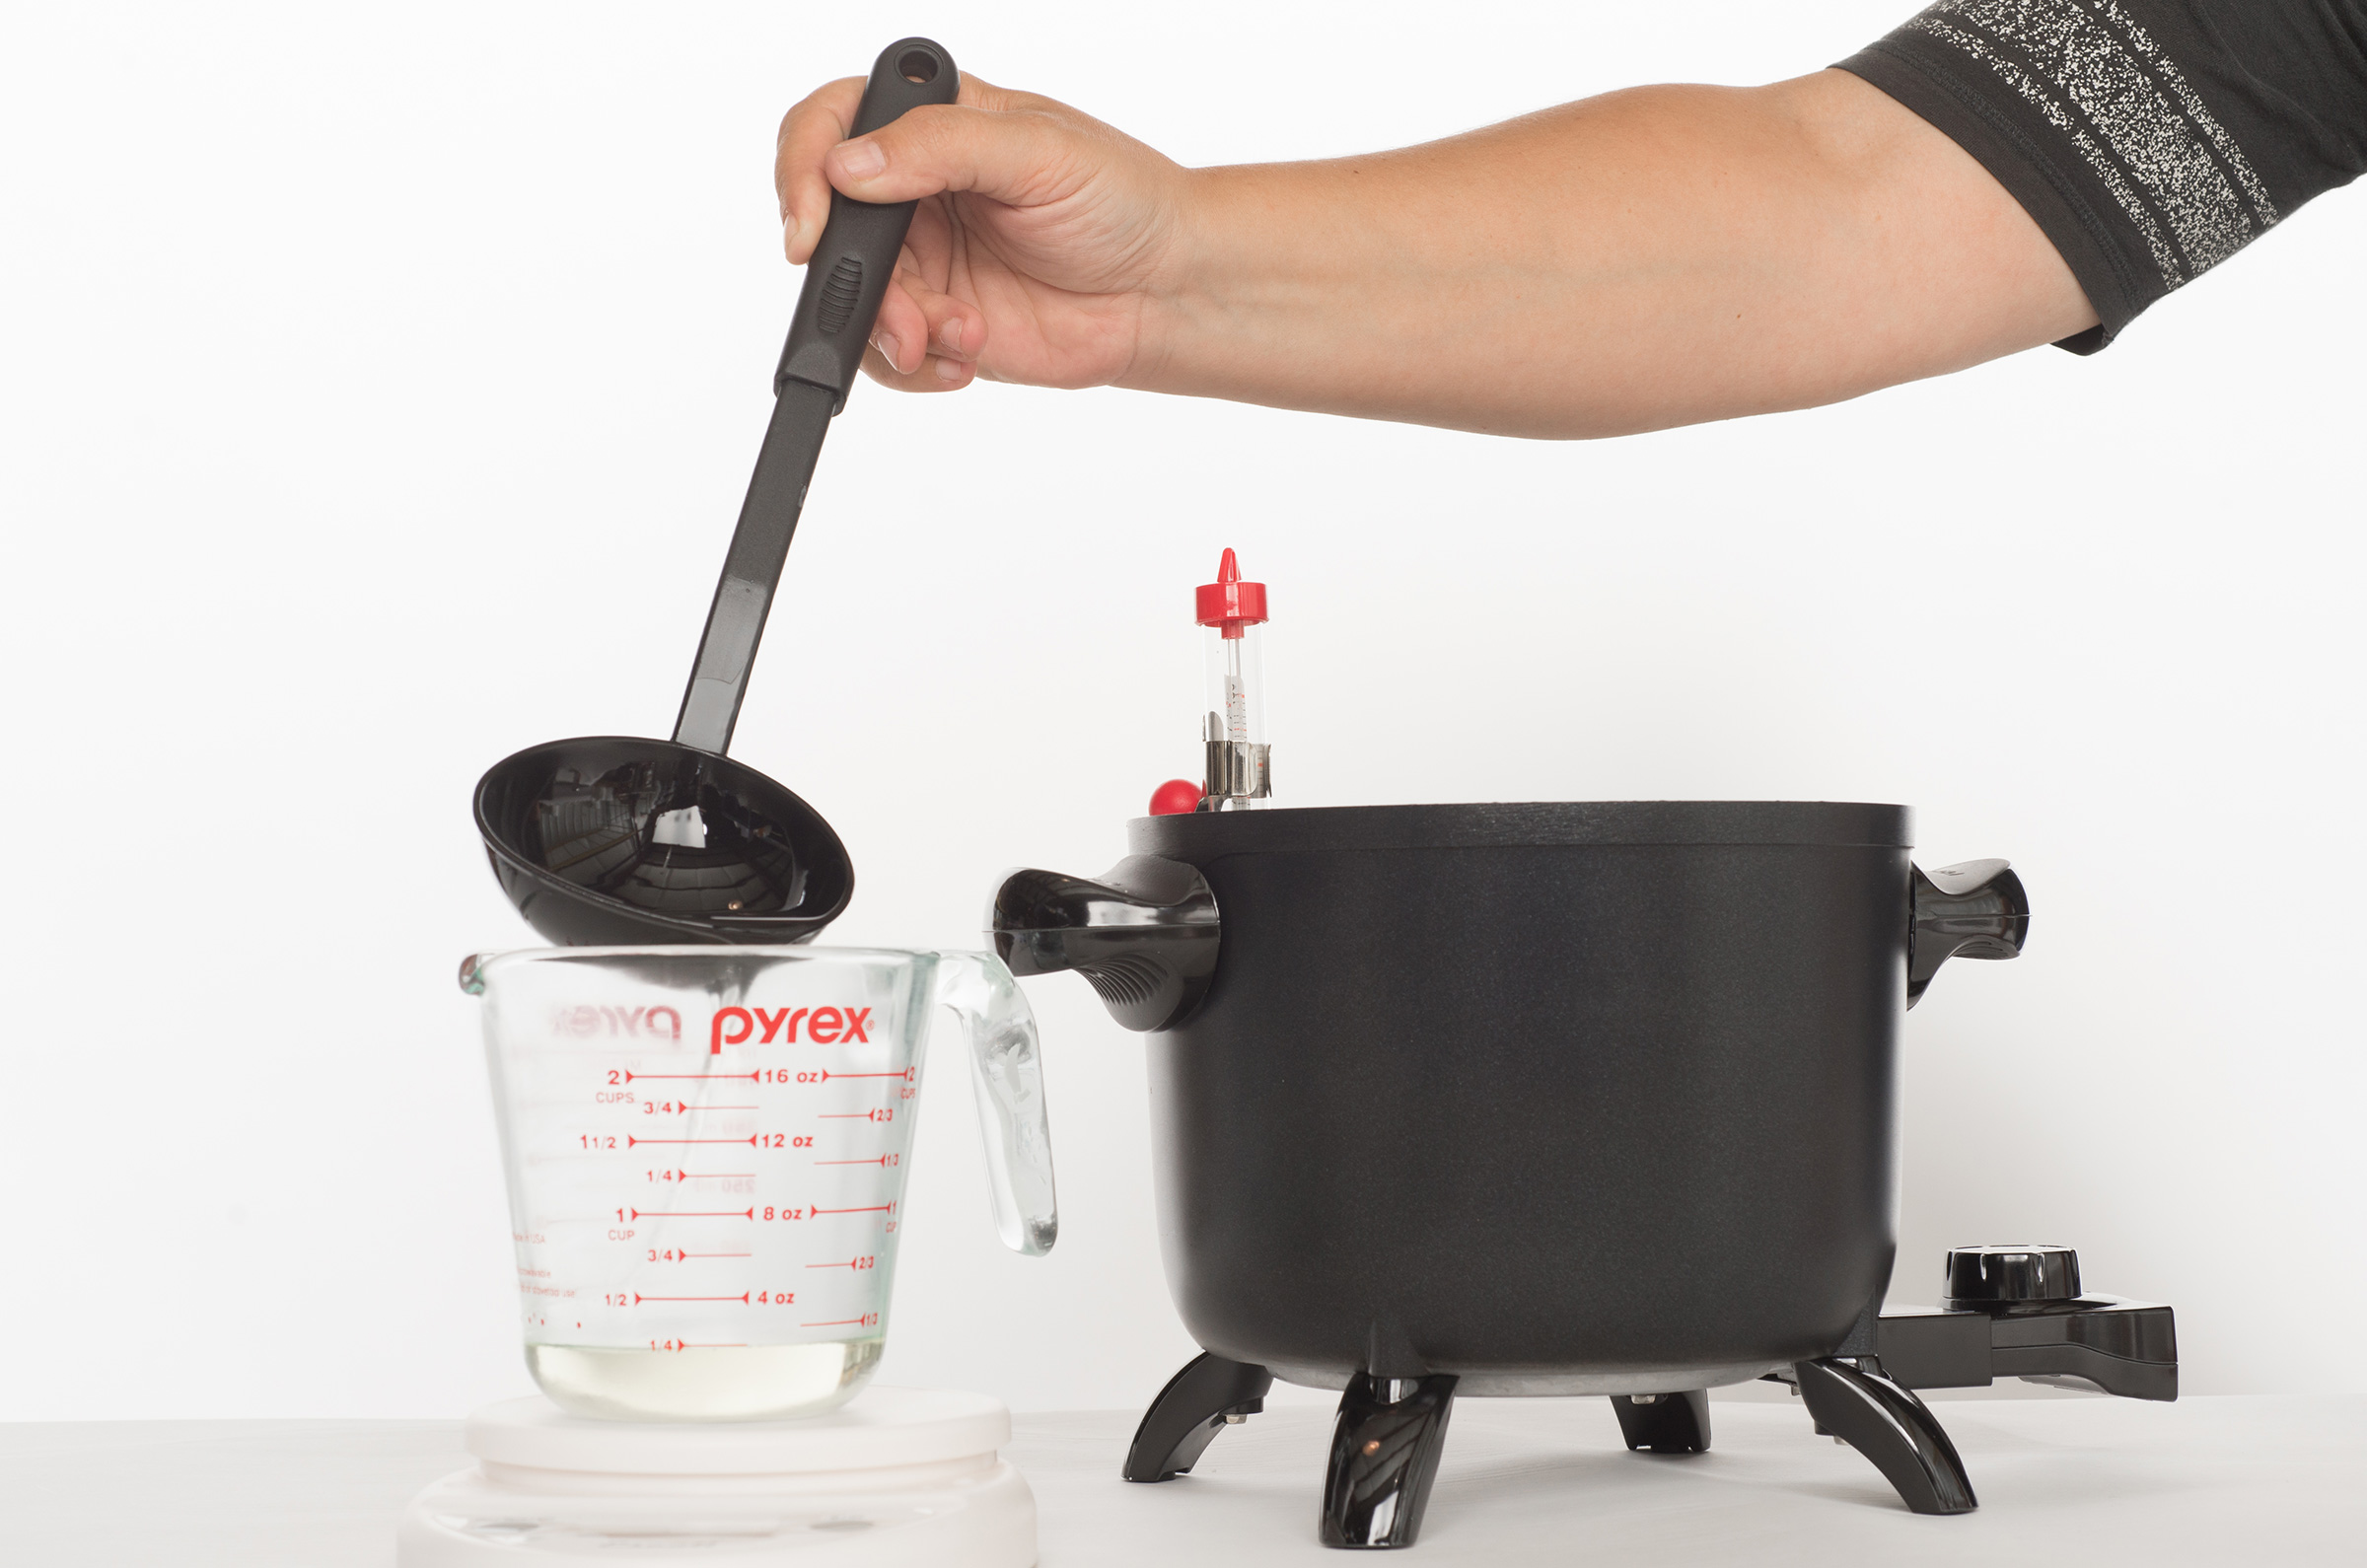
Step 5
Fill pre-wicked jar to the fill line, approximately 6.2 oz. Place off to the side to cool.
Step 6
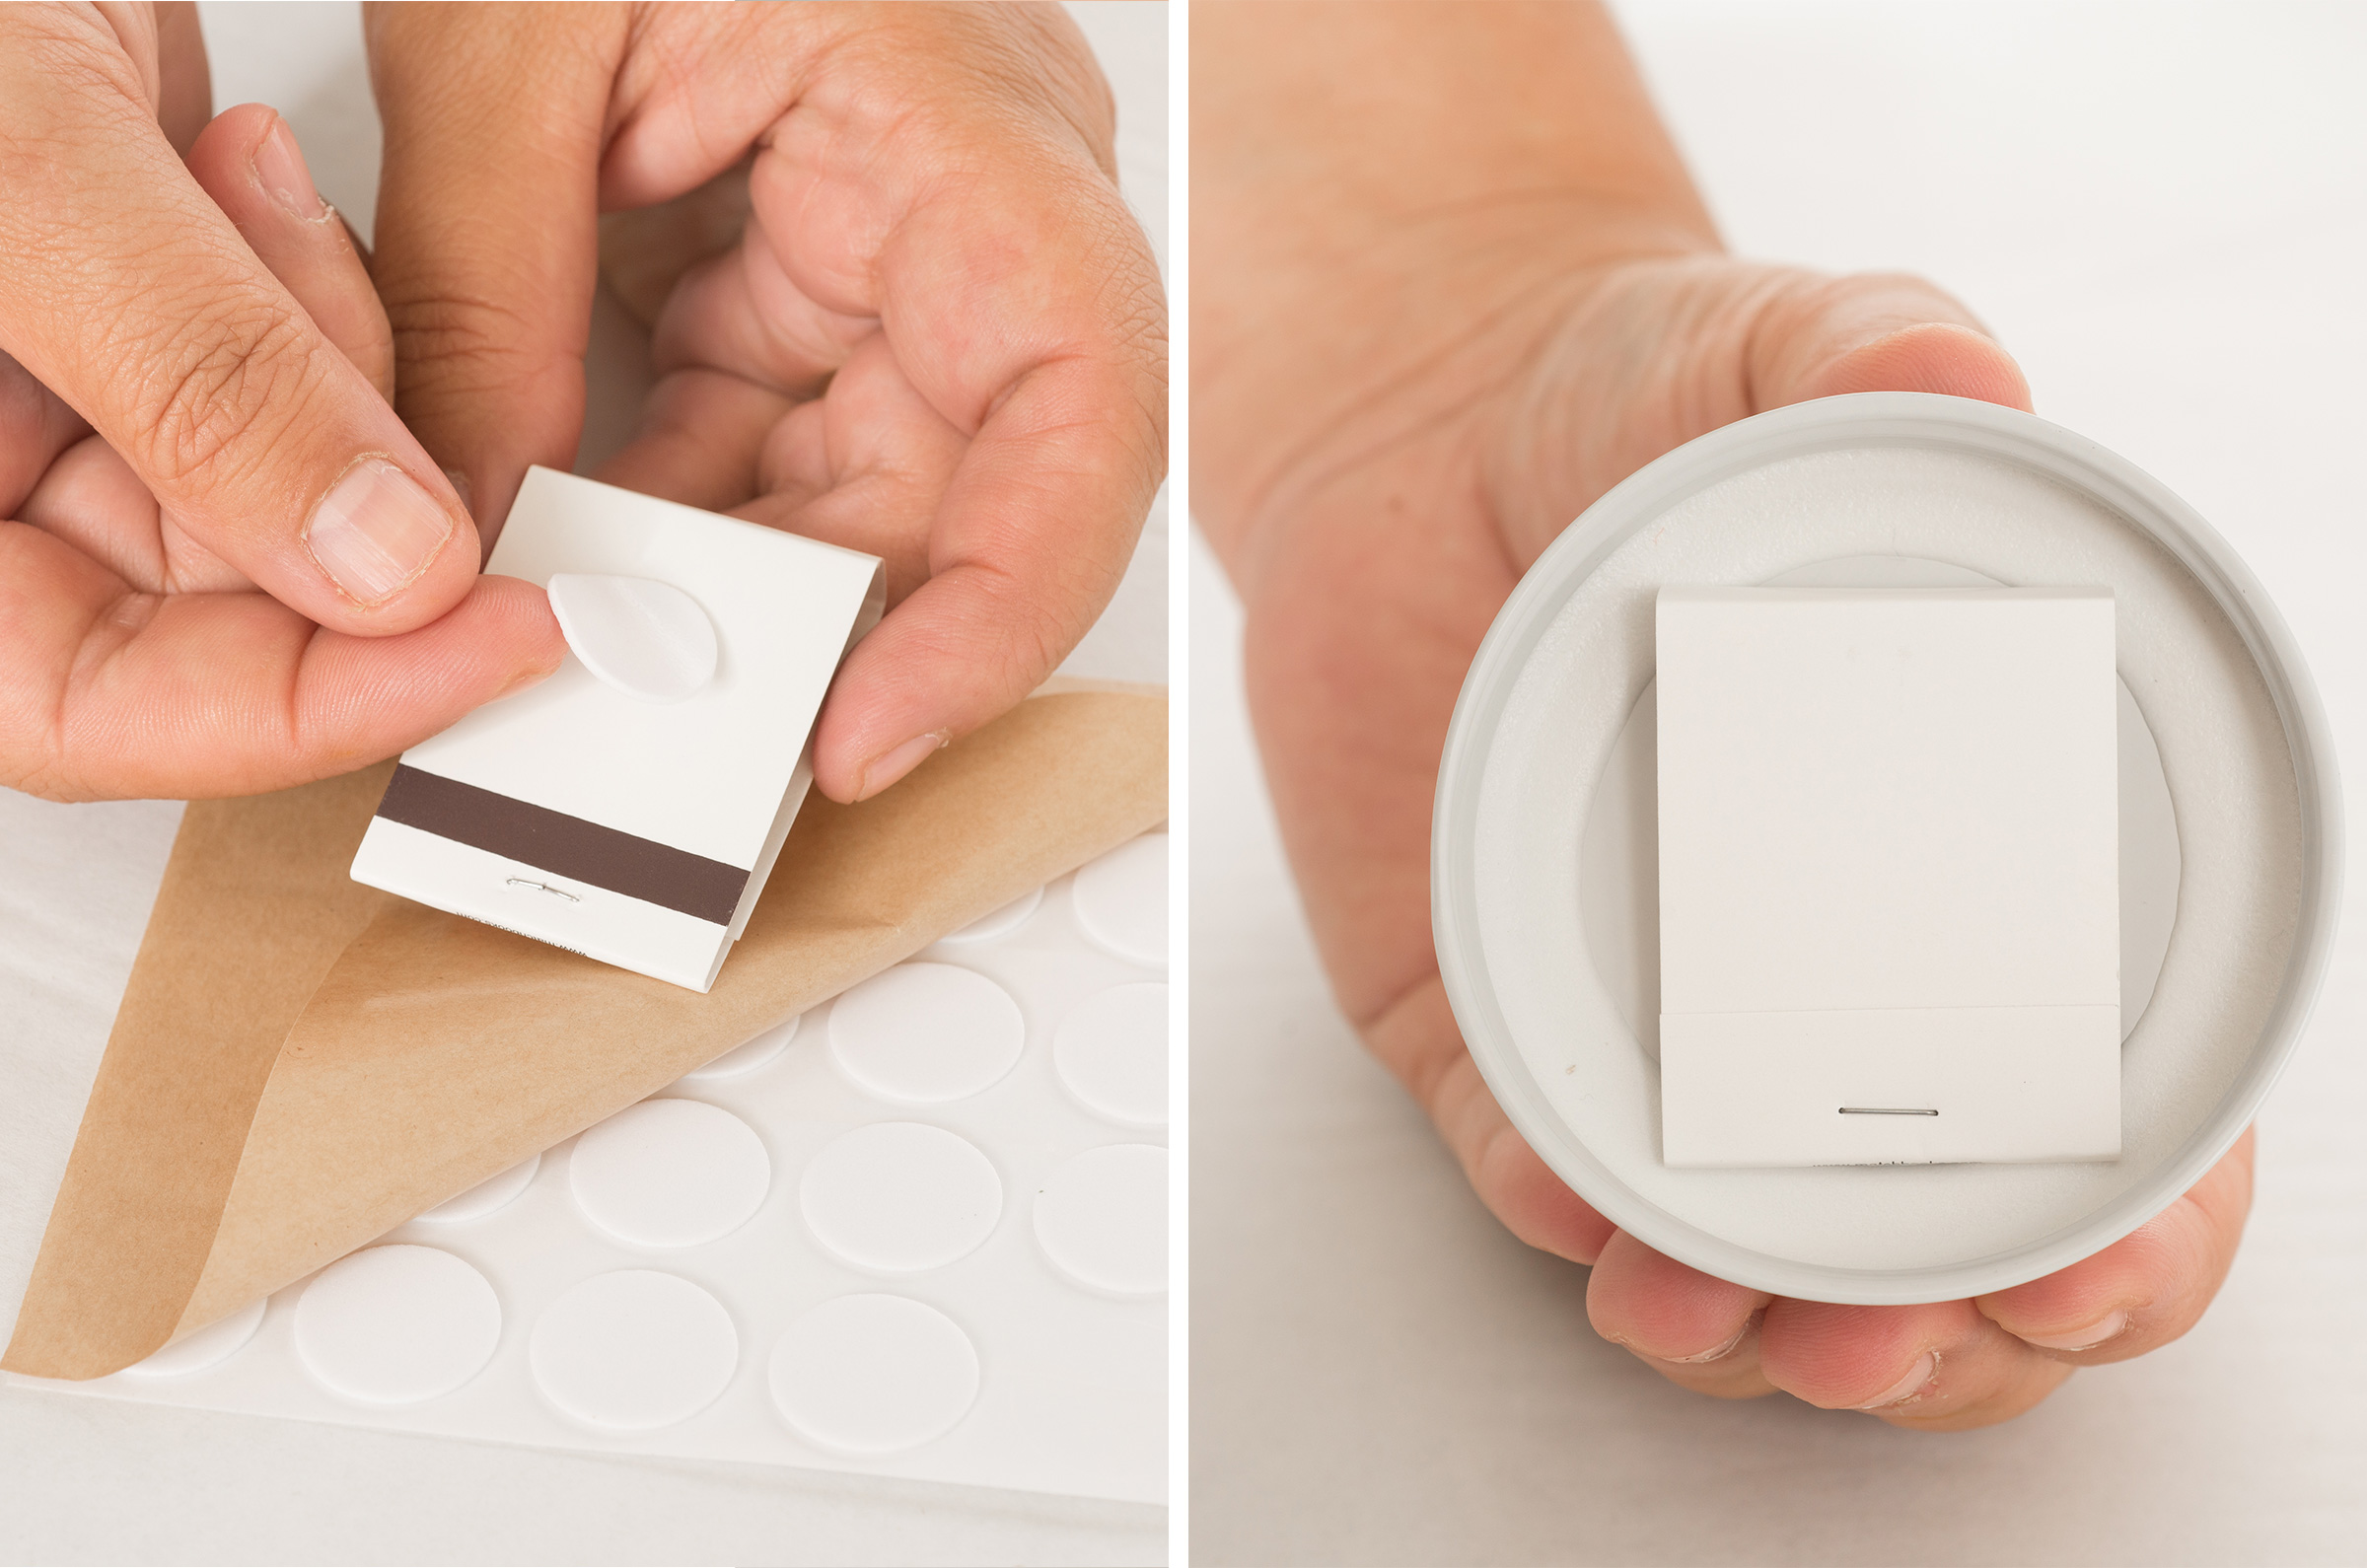
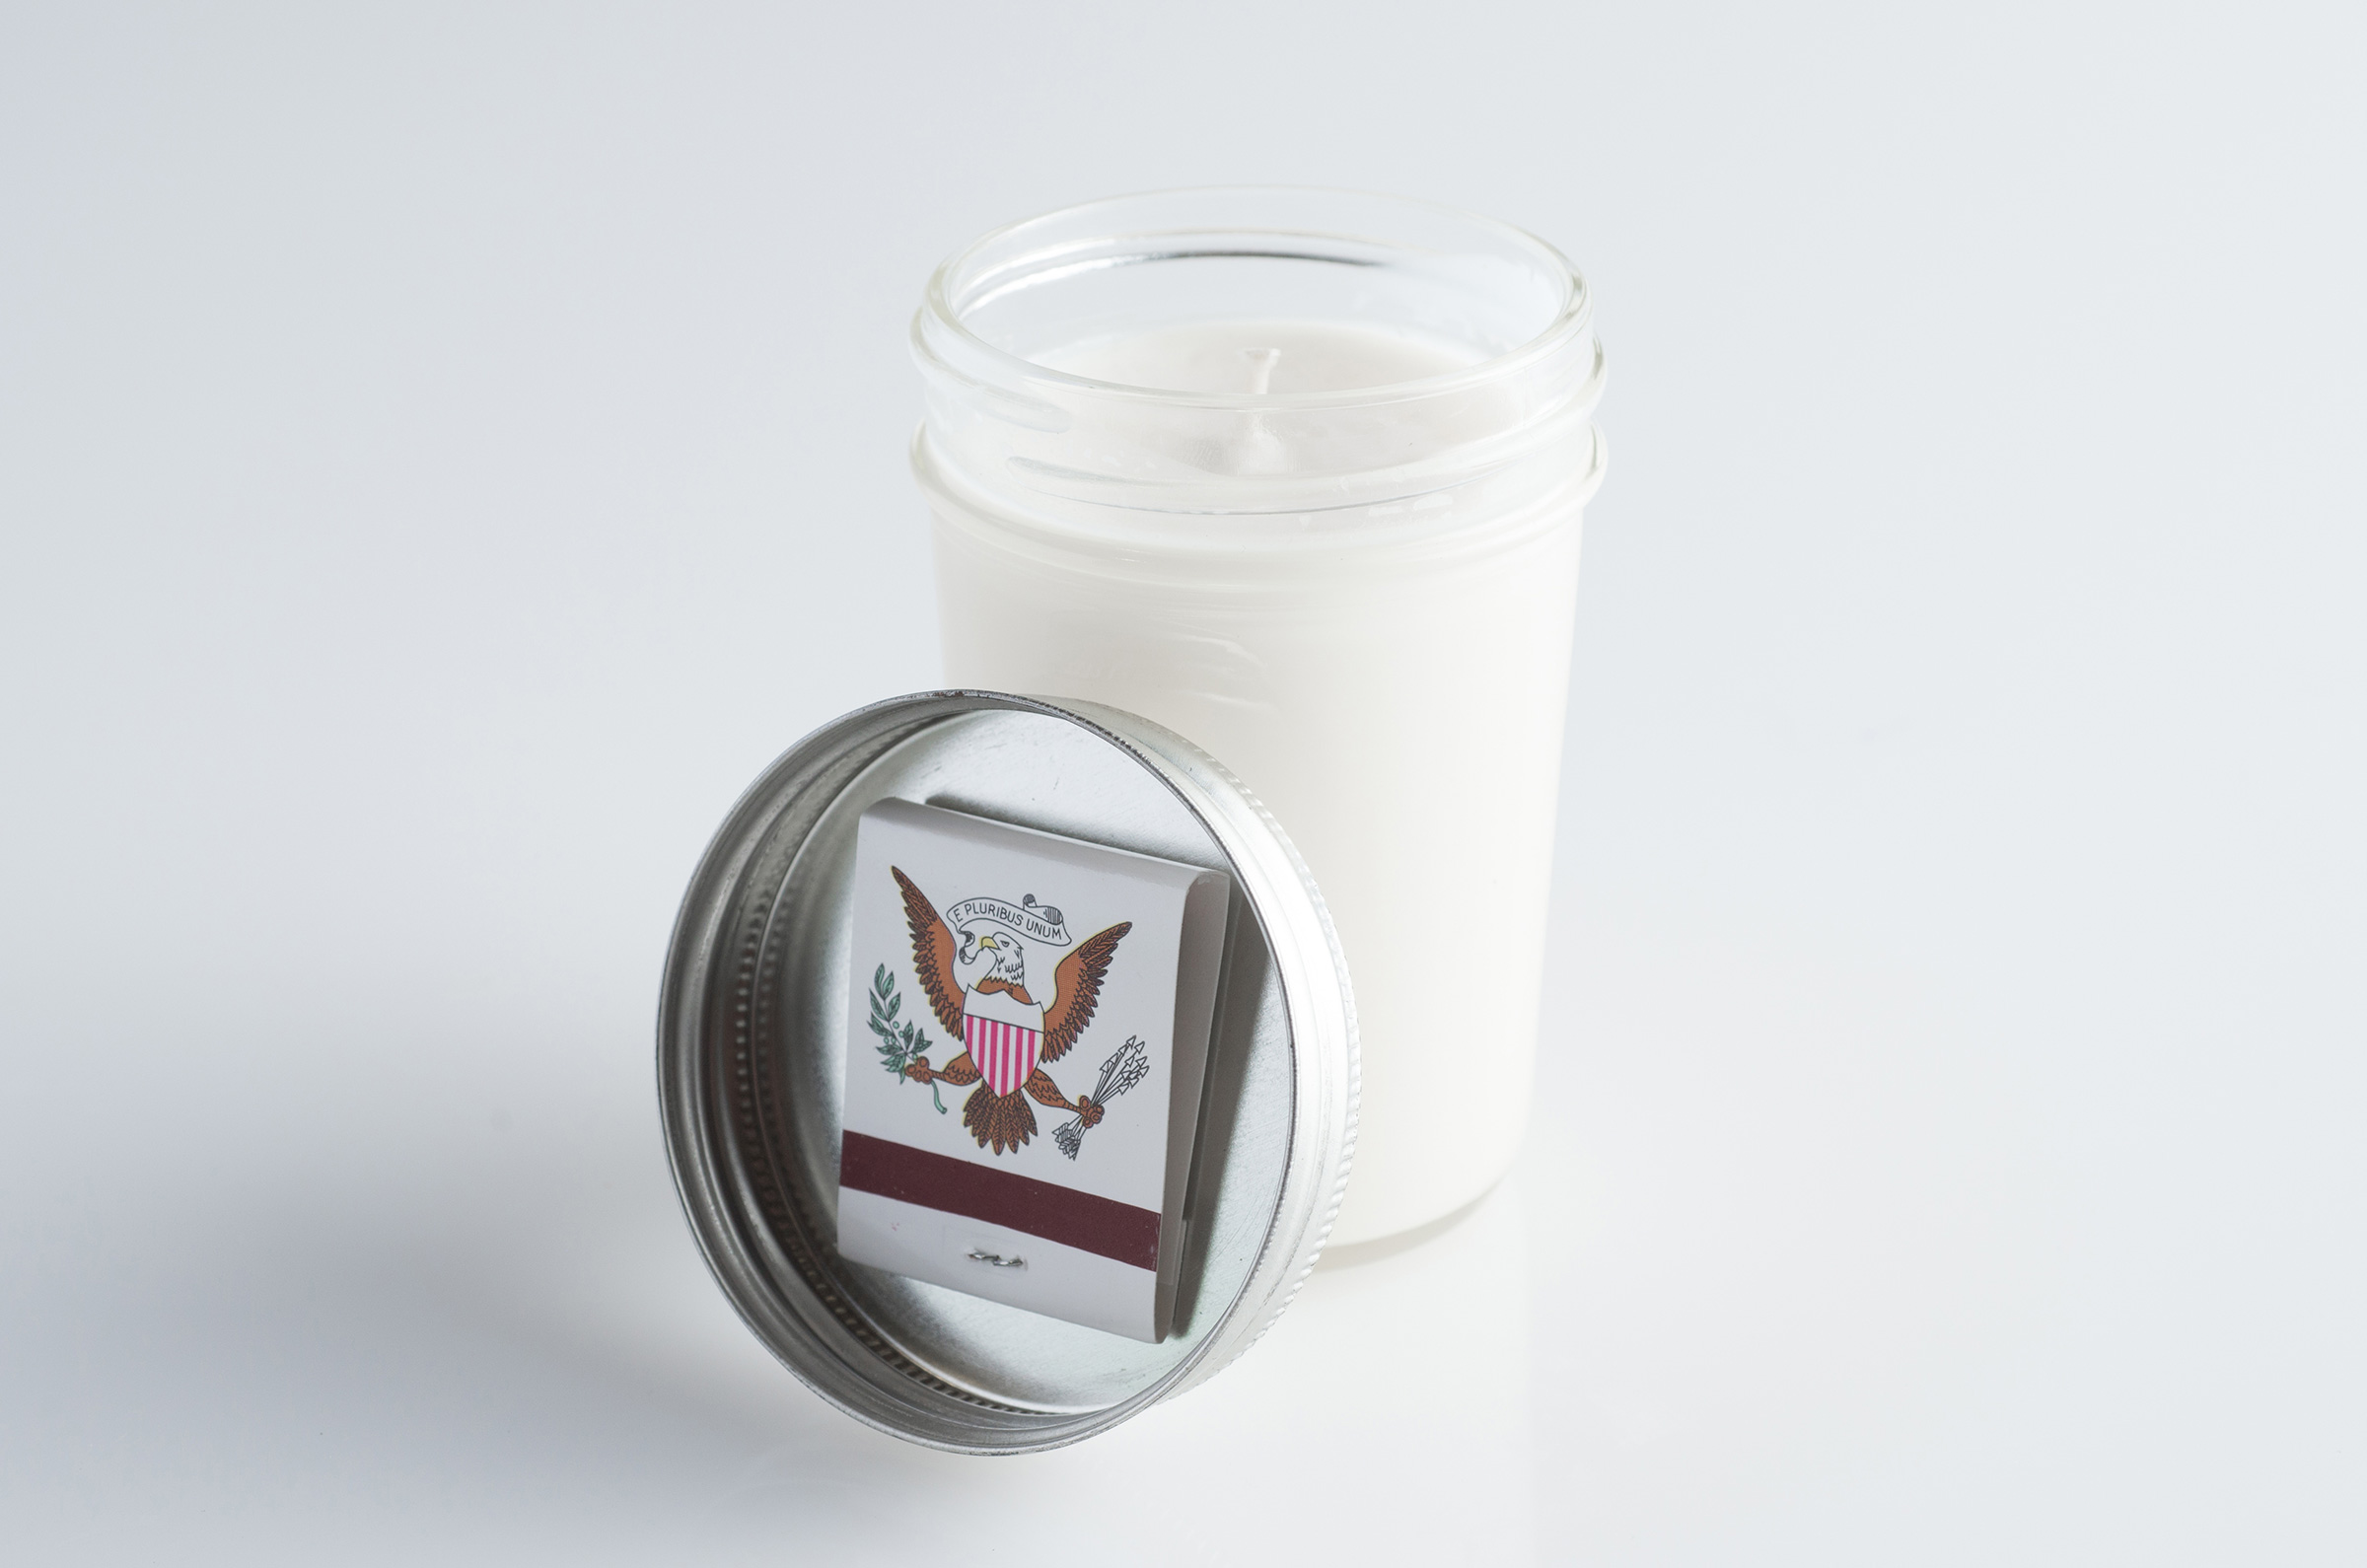
While jars are cooling, use the remaining wick stickers to adhere the matchbooks to the inside of the jar lid.
Step 7
When the candles are completely cooled, trim the wicks to approximately 1/4″ and attach lids to jars. Do not attach lids on jars when candles are still warm because this can cause condensation.
Store the Emergency Candles in a handy, cool, dry place.
SOME SAFETY PRECAUTIONS
- Cover counter with wax paper, old newspapers or aluminum foil to make clean up easier.
- Be sure to wear safety goggles for eye protection. You do not want to be splashed in the eye with hot wax! Remember with wax – safety first.
- Waxes used in making candles are very similar to cooking oils – they are flammable and they are poured at high temperatures, but with certain precautions, accidents may be avoided. NEVER HEAT WAX ABOVE 210°F.
- For safety, wax should be melted in a double boiler. Wax should NEVER be heated directly over an open flame or burner. Direct heating can cause wax to explode and result in serious injury.
- Use of a thermometer is advised to ensure proper wax pouring temperature.
- Never leave hot wax unattended. Keep children and pets away from the area where wax is being melted and poured.
- Never pour water in a wax fire. Water will cause the fire to spread. To extinguish a fire in a pan, cover the pan with its lid. Use a dry chemical fire extinguisher.
- Never pour melted wax into the sink or other drains.