by Rustic Escentuals
This tutorial will show you how to use chunky embeds to create a wonderful looking soap. Preparation is key for this tutorial. You will need to create the embeds and have them ready to go before making this soap. Let’s get started!

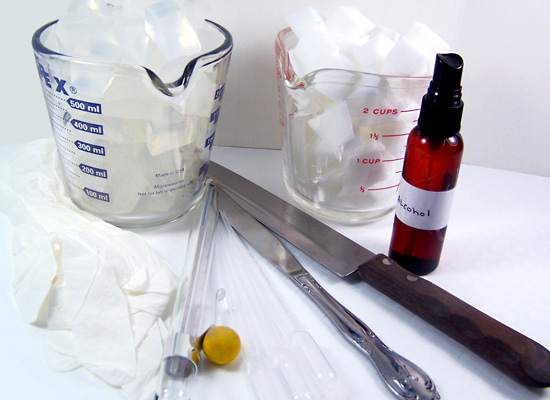
Supplies and equipment needed:
Microwave safe glass containers
Sharp knife to cut soap
Spray bottle with rubbing alcohol
Butter knives
Rubber gloves
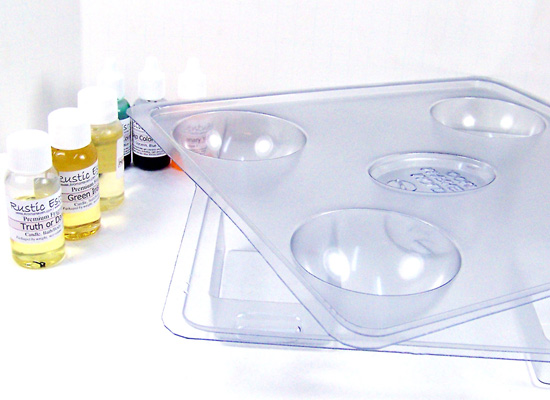
Basic Rectangle Soap Mold
Large Bath Bomb Mold
3 Miscellaneous molds for embed making (not shown)
Disposable pipettes
Thermometer to monitor soap temperature
Approximately 50 ounces of Ultra Clear Melt & Pour soap base
9 oz of White Melt and Pour soap base (optional)
Gel Soap colorants in Sapphire Blue, Teal Green and Canary Yellow
Fragrance oils in Salty Sea Air, Little Black Dress and Green Irish Tweed
Making Inserts:
You will be making embeds in variations of blue, green and yellow, each using a single Gel Soap Colorant. When cut up in small cubes, your soap cubes will appear to be fading from dark to light. I will be making 3 different color/scented chunky embed soaps, but for purposes of this tutorial will only be showing the steps making the blue ones. It’s a good idea to make these well ahead of time and store for later use.
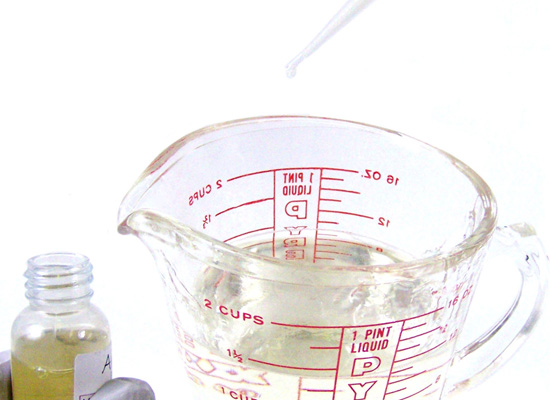
Step 1: Take 11- 12 ounces of cubed Ultra Clear Melt and Pour soap base and place in a microwave safe glass container. Melt in the microwave in 30-second bursts until melted. Be careful that you don’t boil the soap, boiling will result in a poor quality rubbery soap. Monitor your soap temperature and keep it to around 135 – 145 before adding any additives or pouring into your molds.
Step 2: Add 4 ml of Salty Sea Air Fragrance oil to the melted soap base and stir slowly. Note: Sometimes when first adding fragrance oil, your soap may be cloudy at first, don’t worry – it will clear up as you continue to stir.
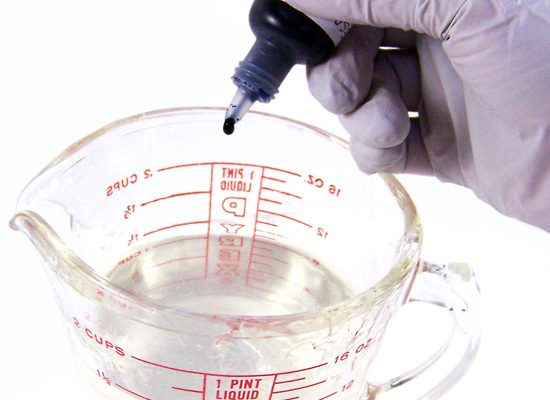
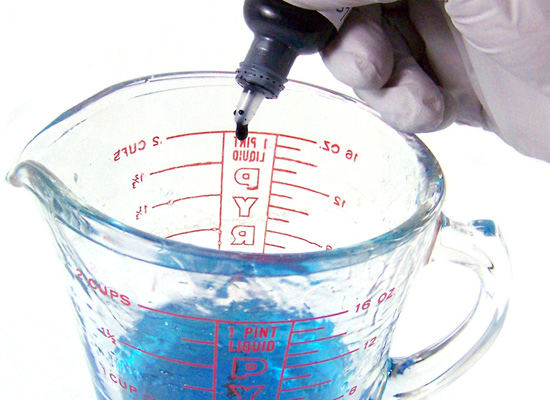
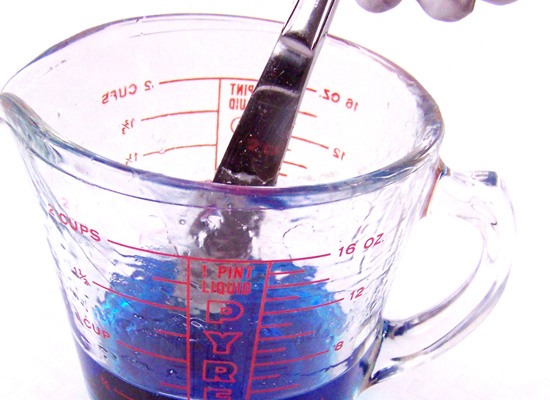
Step 3: Mix in 1 drop of Sapphire Blue soap colorant and stir slowly until mixed well.

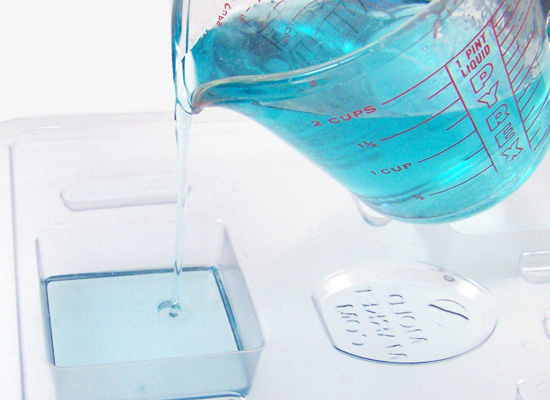
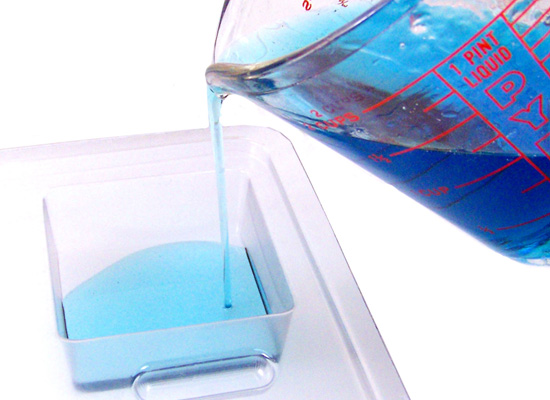
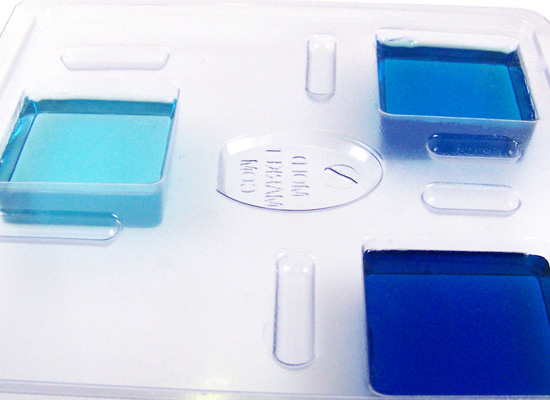
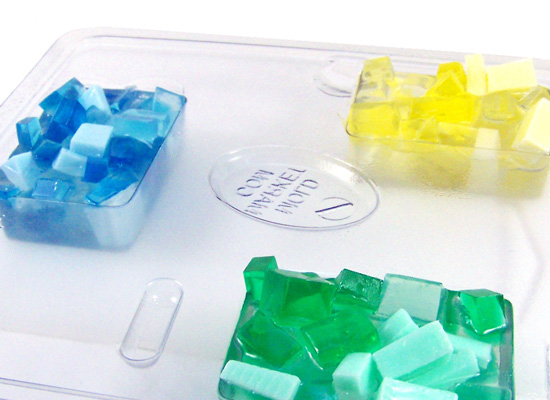
Step 4: Pour 1/3 of the scented colored soap into a mold of your choice. I am using the basic square mold here, but any mold will do because you are just using these to make your chunky embeds.
Step 5: Add 2 more drops of the Sapphire Blue colorant to the remaining melted soap (approximately 8 ounces left) and stir slowly.
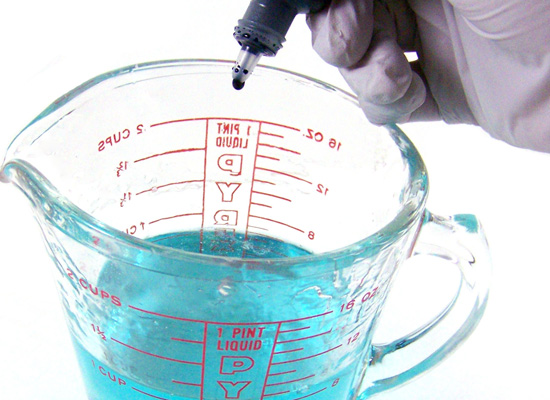

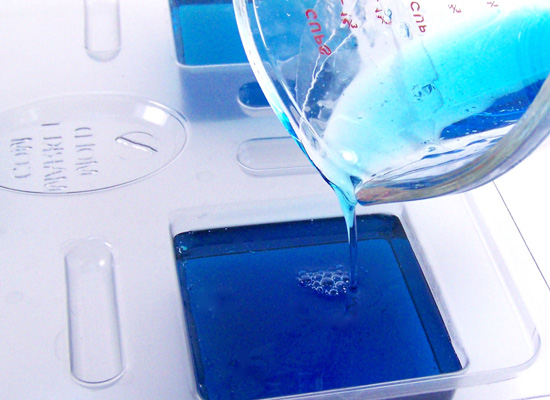
Step 6: Pour 1/3 of this darker blue soap into another mold cavity.
Step 7: You now have about 1/3 left of the melted soap base in the container (approximately 3 – 4 ounces). If the soap has set, you can microwave for 10 to 15 seconds to re-melt. Add 2 more drops of Sapphire Blue colorant to this soap and stir slowly.
Step 8: Pour all into another mold cavity.
Optional: I decided to make a light blue chunky embed using white soap also. Melt 3 ounces of white soap base; add 1.5ml of Salty Sea Air Fragrance oil and 1 drop of Sapphire Blue gel soap color. Stir slowly and pour into one of the molds.
Step 9: Wait for soap to set approximately 3 to 4 hours. When the soap is firm, slowly release the soap from mold and place on a flat surface.

Step 10: Using a sharp knife, carefully cut all the finished soaps into a variety of sized chunks and set aside.
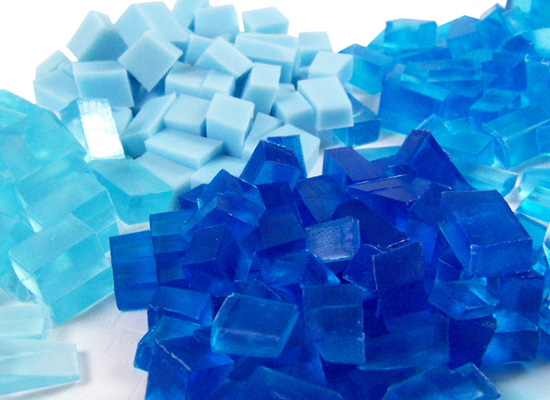
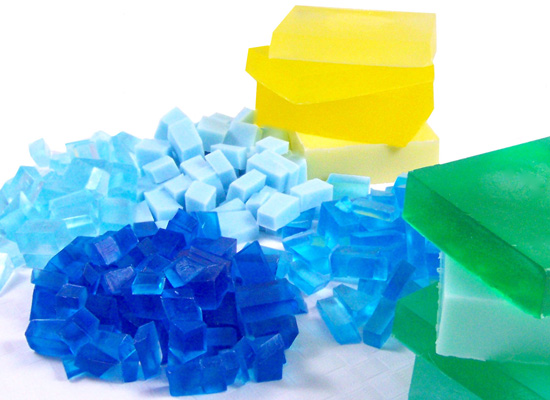
Optional Colors/Scents for chunky embeds
Step 11: Follow steps 1 – 10 and make some green soap embeds using Gel soap colorant in Teal Green and Green Irish Tweed fragrance oil.
Step 12: Follow steps 1 – 10 and make some yellow soap embeds using Gel soap colorant in Canary Yellow and Little Black Dress fragrance oil.
MAKING YOUR SOAP
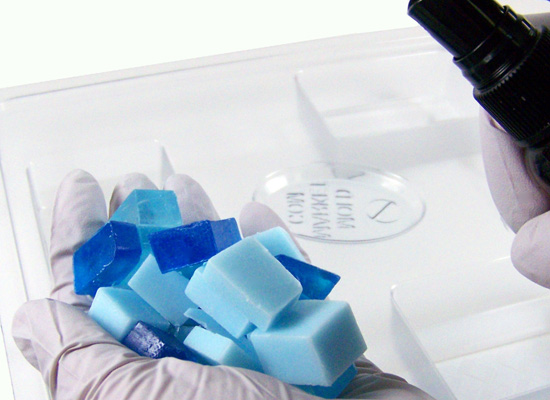
Step 13: Mix the blue colored chunks so that you have a mixture of embeds and have them near the molds. This will save you a lot of time!
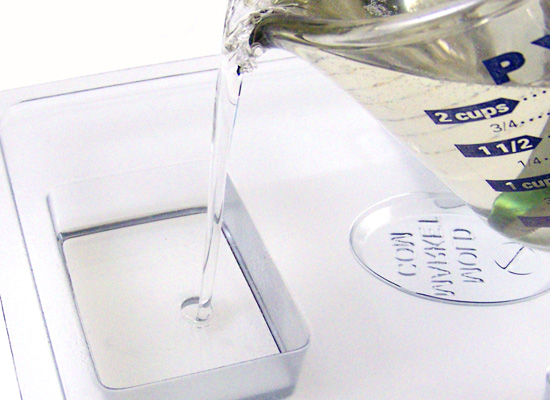
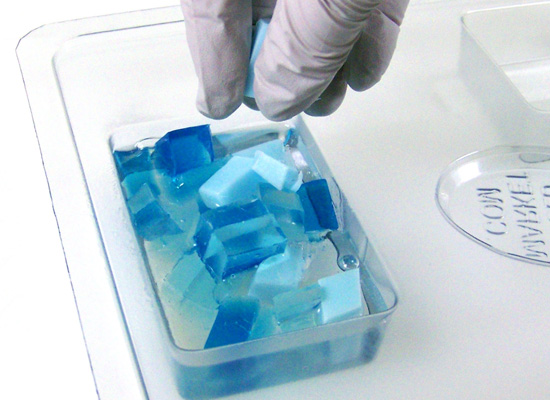
Step 14: Melt 12 oz clear melt and pour soap base. No colorant is used. As in Step 2; Add 4ml of Salty Sea Air fragrance oil to the soap and stir slowly. Make sure the temperature is around 135° and pour the clear soap into the Basic Rectangle Soap Mold half way up the mold. Spritz with alcohol to remove any bubbles. You will not be pouring all of your clear at this time.
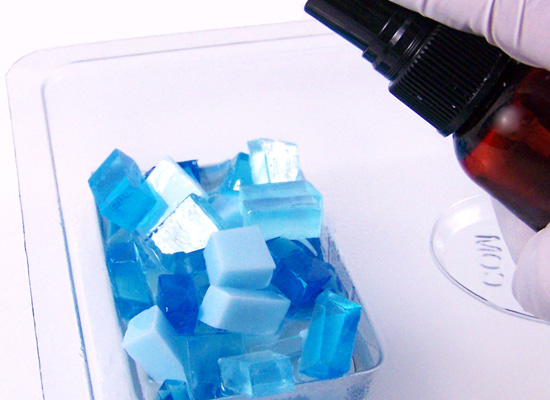
Step 15: Spritz a handful of blue chunky embeds and place them into the melted soap in the mold. Place enough so they intentionally stick out the top of the mold.
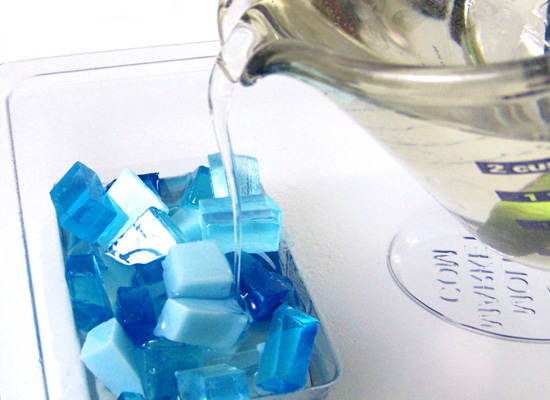
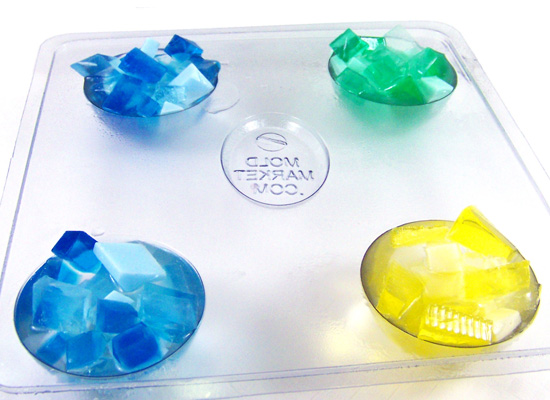
Step 16: Once all the embeds are placed in the mold, spritz with alcohol and then pour more clear over these embeds and to the top of the mold cavity.
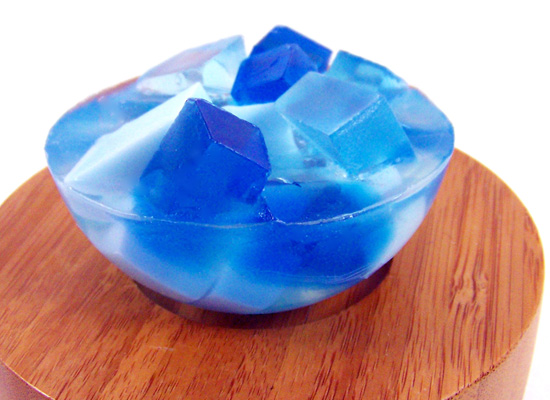
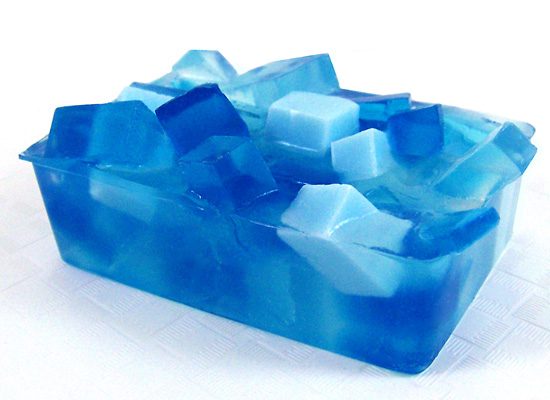
Step 17: Repeat steps 15 – 16 for the remaining cavities in the rectangle mold and large bath bomb mold. You will have enough melted soap to make 3 blue rectangle soaps and 3 blue half circle soaps (using the Large Bath Bomb Mold for a different look).
Optional:
Step 18: Follow steps 13 – 17 using the Green and Yellow chunky embeds, making sure to fragrance the clear melted soap using Green Irish Tweed (green) and Little Black Dress (yellow) fragrances for the clear soap.
TIP: Depending on your skill level, you can make these one at a time or all at once. Remember, you’ll work faster if you’ve planned and have your cubed embeds right next to you.
Step 19: Let the soaps set completely, approximately 2 to 3 hours or even overnight if possible.
Step 20: Turn mold over and slowly press on the corners of the mold to release the soap. Enjoy and experiment with colors and fragrances!