by Rustic Escentuals
Swirled and layered soaps are popular, so we wanted to take a different approach to swirling colors to create visually appealing soaps. With this tutorial you can use a single color to match your fragrance oil choice, or choose multiple colors for a tie dye or holiday theme. The sky’s the limit when you have soap colorant bottles in your hand!
Skills: Swirling Soap Colorants
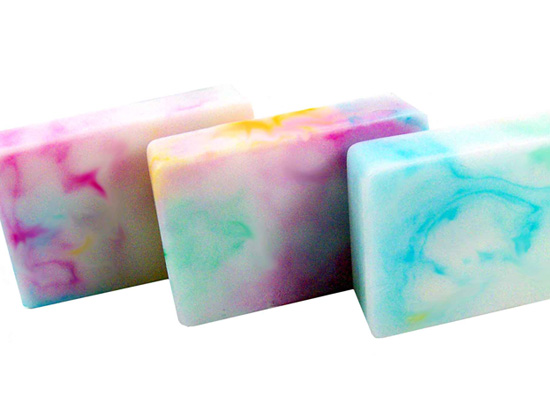
beautiful tie dye/marbled soap bars
Supplies and equipment needed:
Microwave
Microwave safe glass container
Sharp knife to cut soap into cubes
Spray bottle with rubbing alcohol
Butter knife for stirring soap
Rubber gloves
Disposable pipettes
Thermometer to monitor soap base temperature
Basic Rectangle Soap Mold (3 cavities, 3.4 x 2.3 x 1 deep; each cavity holds 4 ounces)
White Melt & Pour soap base
Body safe Fragrance Oils
Variety of Gel Soap Colorants
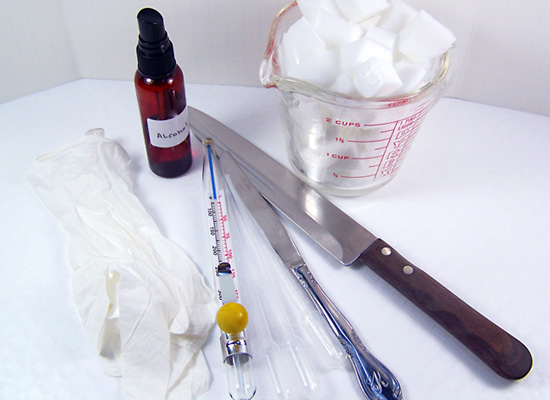
gather your basic supplies

soap molds, colorants, fragrance oils are a must!
Step 1: Cut up approximately 13 ounces of White Melt & Pour soap base into small cubes using a sharp knife.
Step 2: Using a microwave safe container, melt the soap base in a microwave using 30 – second bursts until melted. Do not burn or boil, this will result in a poor quality rubbery soap. If there are any small chunks of soap left, stir slowly; the heat of the soap will melt these small chunks. TIP: There are three cavities in this mold and each holds 4 ounces of soap – melt a little extra to take into account that some of the soap base will stick to the container.
Step 3: Use a thermometer to monitor the soap temperature. I don’t like to add any fragrance oils or additives when the soap is too hot so I wait for it to cool to about 145 degrees.
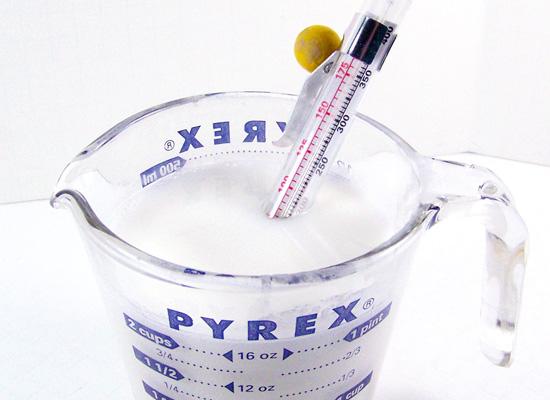
monitor soap temperature until it cools to 145F or so
Step 4: Using a disposable pipette, add 6 ml of body safe Fragrance Oil to the soap and stir in slowly.
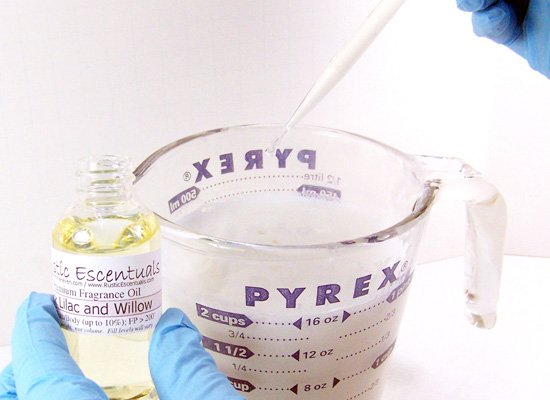
add 6ml of your favorite body safe FO
Step 5: Now it’s time to add color drops to the soap mold. Add 4 or 5 drops of a variety of different Gel Soap colors to each cavity for a tie dye effect, or use a single color for a marbled effect. I placed random colors into each cavity. TIP: Try to space them evenly apart.
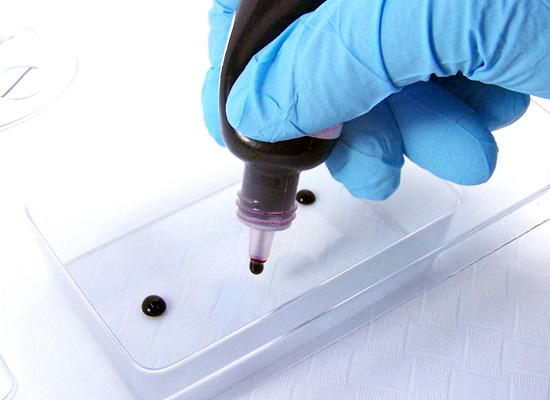
place 4-5 drops of a variety of gel colors to each cavity
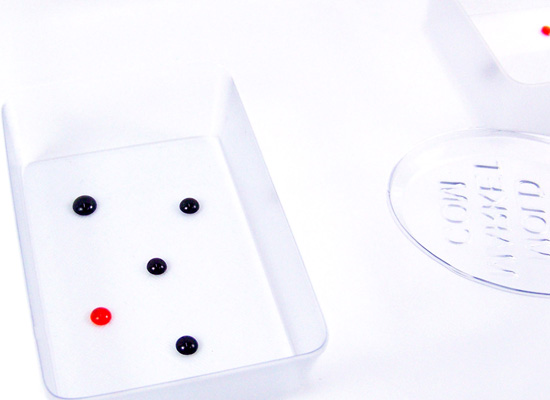
try to space them evenly apart
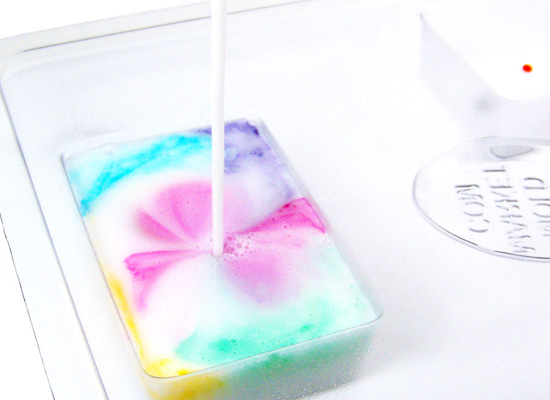
Step 6: Working with one mold cavity at a time, pour the scented soap directly onto each dot of color.
Note: No need to be gentle when pouring – your goal is to allow the color to spread naturally and if you pour too gently you’ll end up with blobs of color.
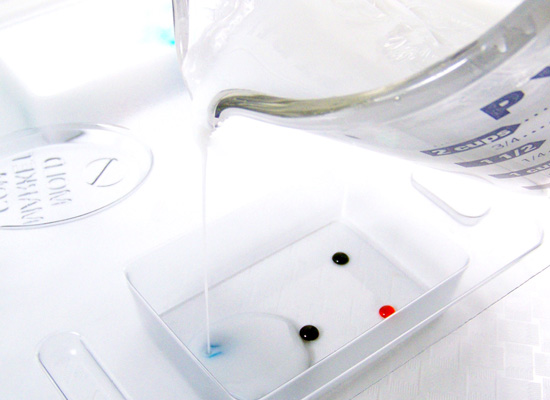
pour scented soap directly onto each dot of color
no need to be gentle – the goal is a natural spread of color
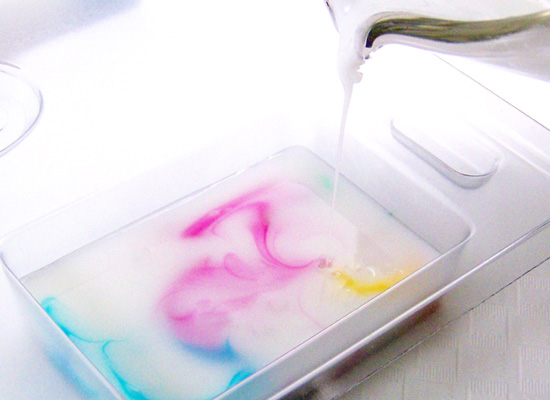
Step 7: You can also spritz with alcohol while pouring your soap. This helps to spread the color.
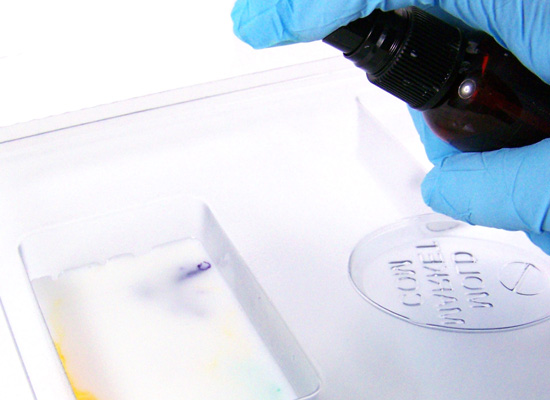
spritz with rubbing alcohol while pouring – this helps spread the color
Step 8: Finish pouring all the way to the edge of the mold. Finish off with a spritz of alcohol to remove any bubbles. TIP: If you’re not too confident that the colors swirled enough, take a butter knife and insert it into the soap cavity and swirl the knife around a bit. Do this part gently; you don’t want to mix the colors.
look at the awesome tie-dye effect in this bar!
Step 9: Do not move the soap mold until the soap has cooled and set. You’ll be able to see the swirls of colors in the soap moving a bit, but the movement will stop as the soap hardens.
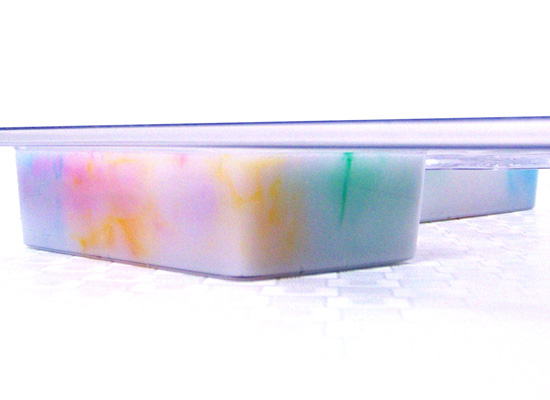
let the soap sit until fully cooled and set
Step 10: Wait 2-3 hours for the soap to completely harden. Turn the mold over carefully and slowly press on the bottom of the cavity to release each soap.
This is a great technique to use with holiday colors – Christmas, Independence Day, Mardi Gras, St. Patrick’s Day, Thanksgiving, spring and fall seasons, and Easter. Who needs eggs at Easter when you have these lovelies?! Also, pair single colors with complementing scents for a beautiful looking & smelling soap.
If you’re interested in some Easter themed soaps, check out the Easter Egg Soap Tutorial in the Crafting Library!