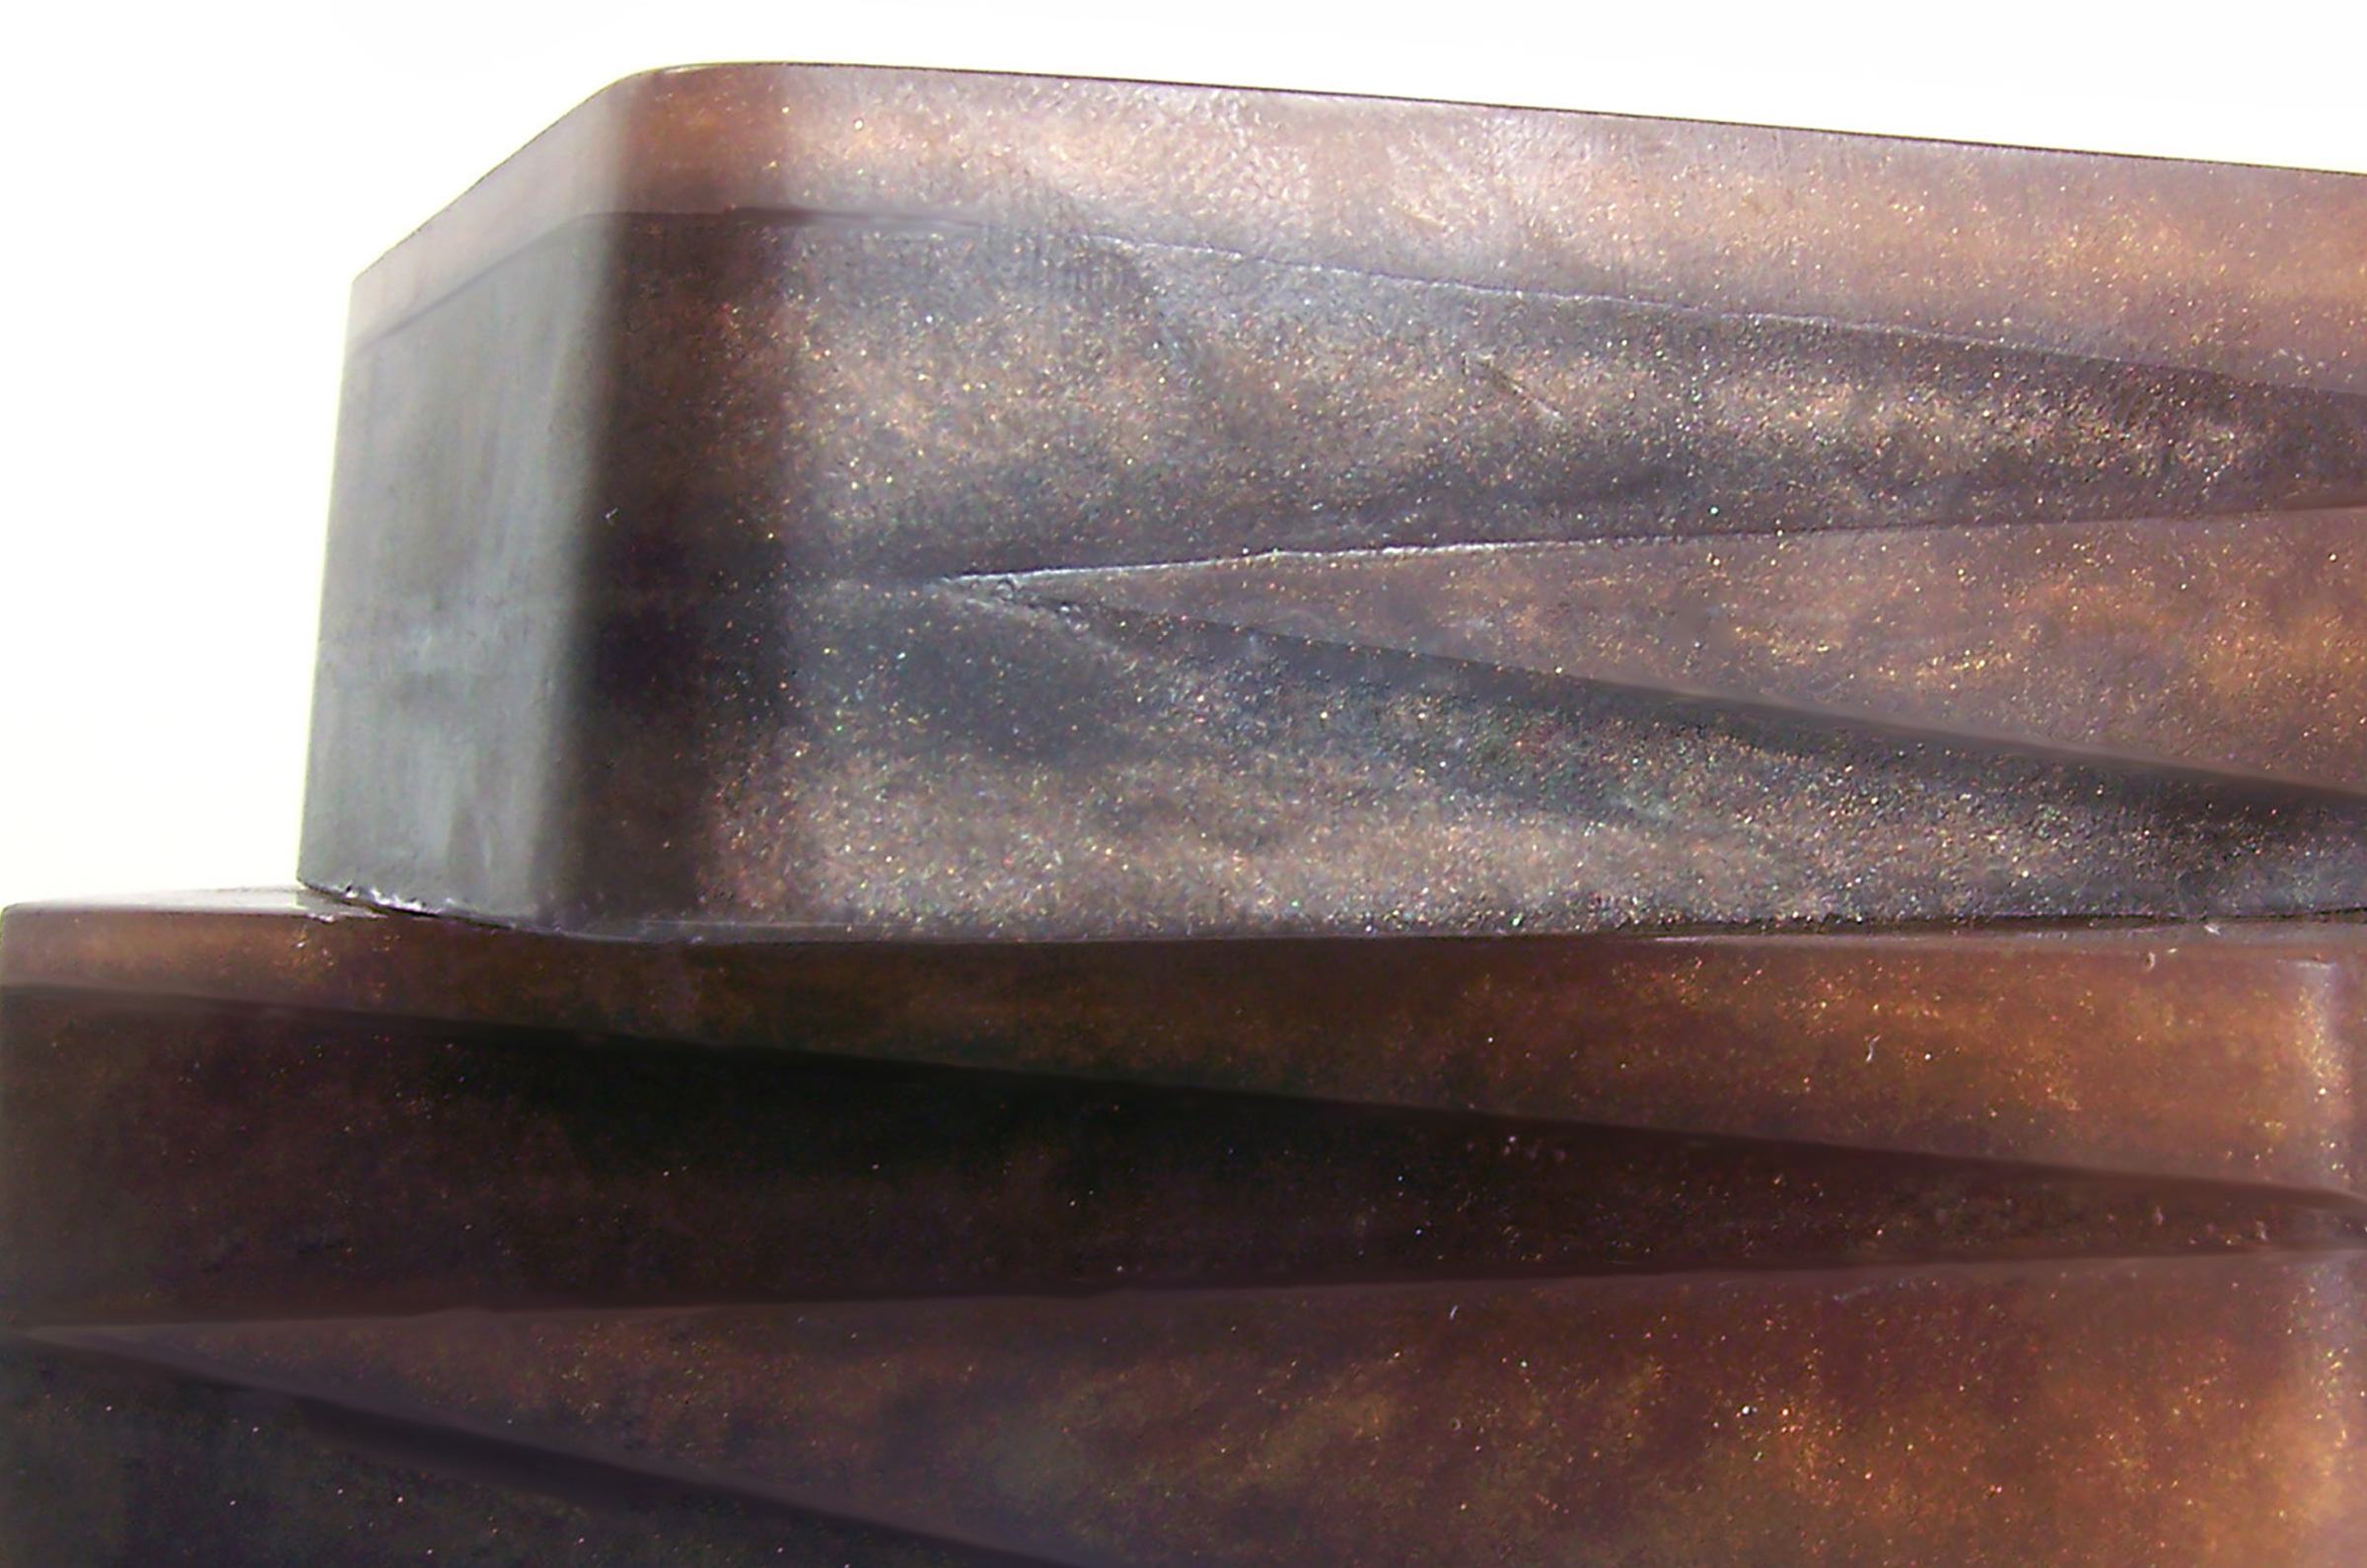
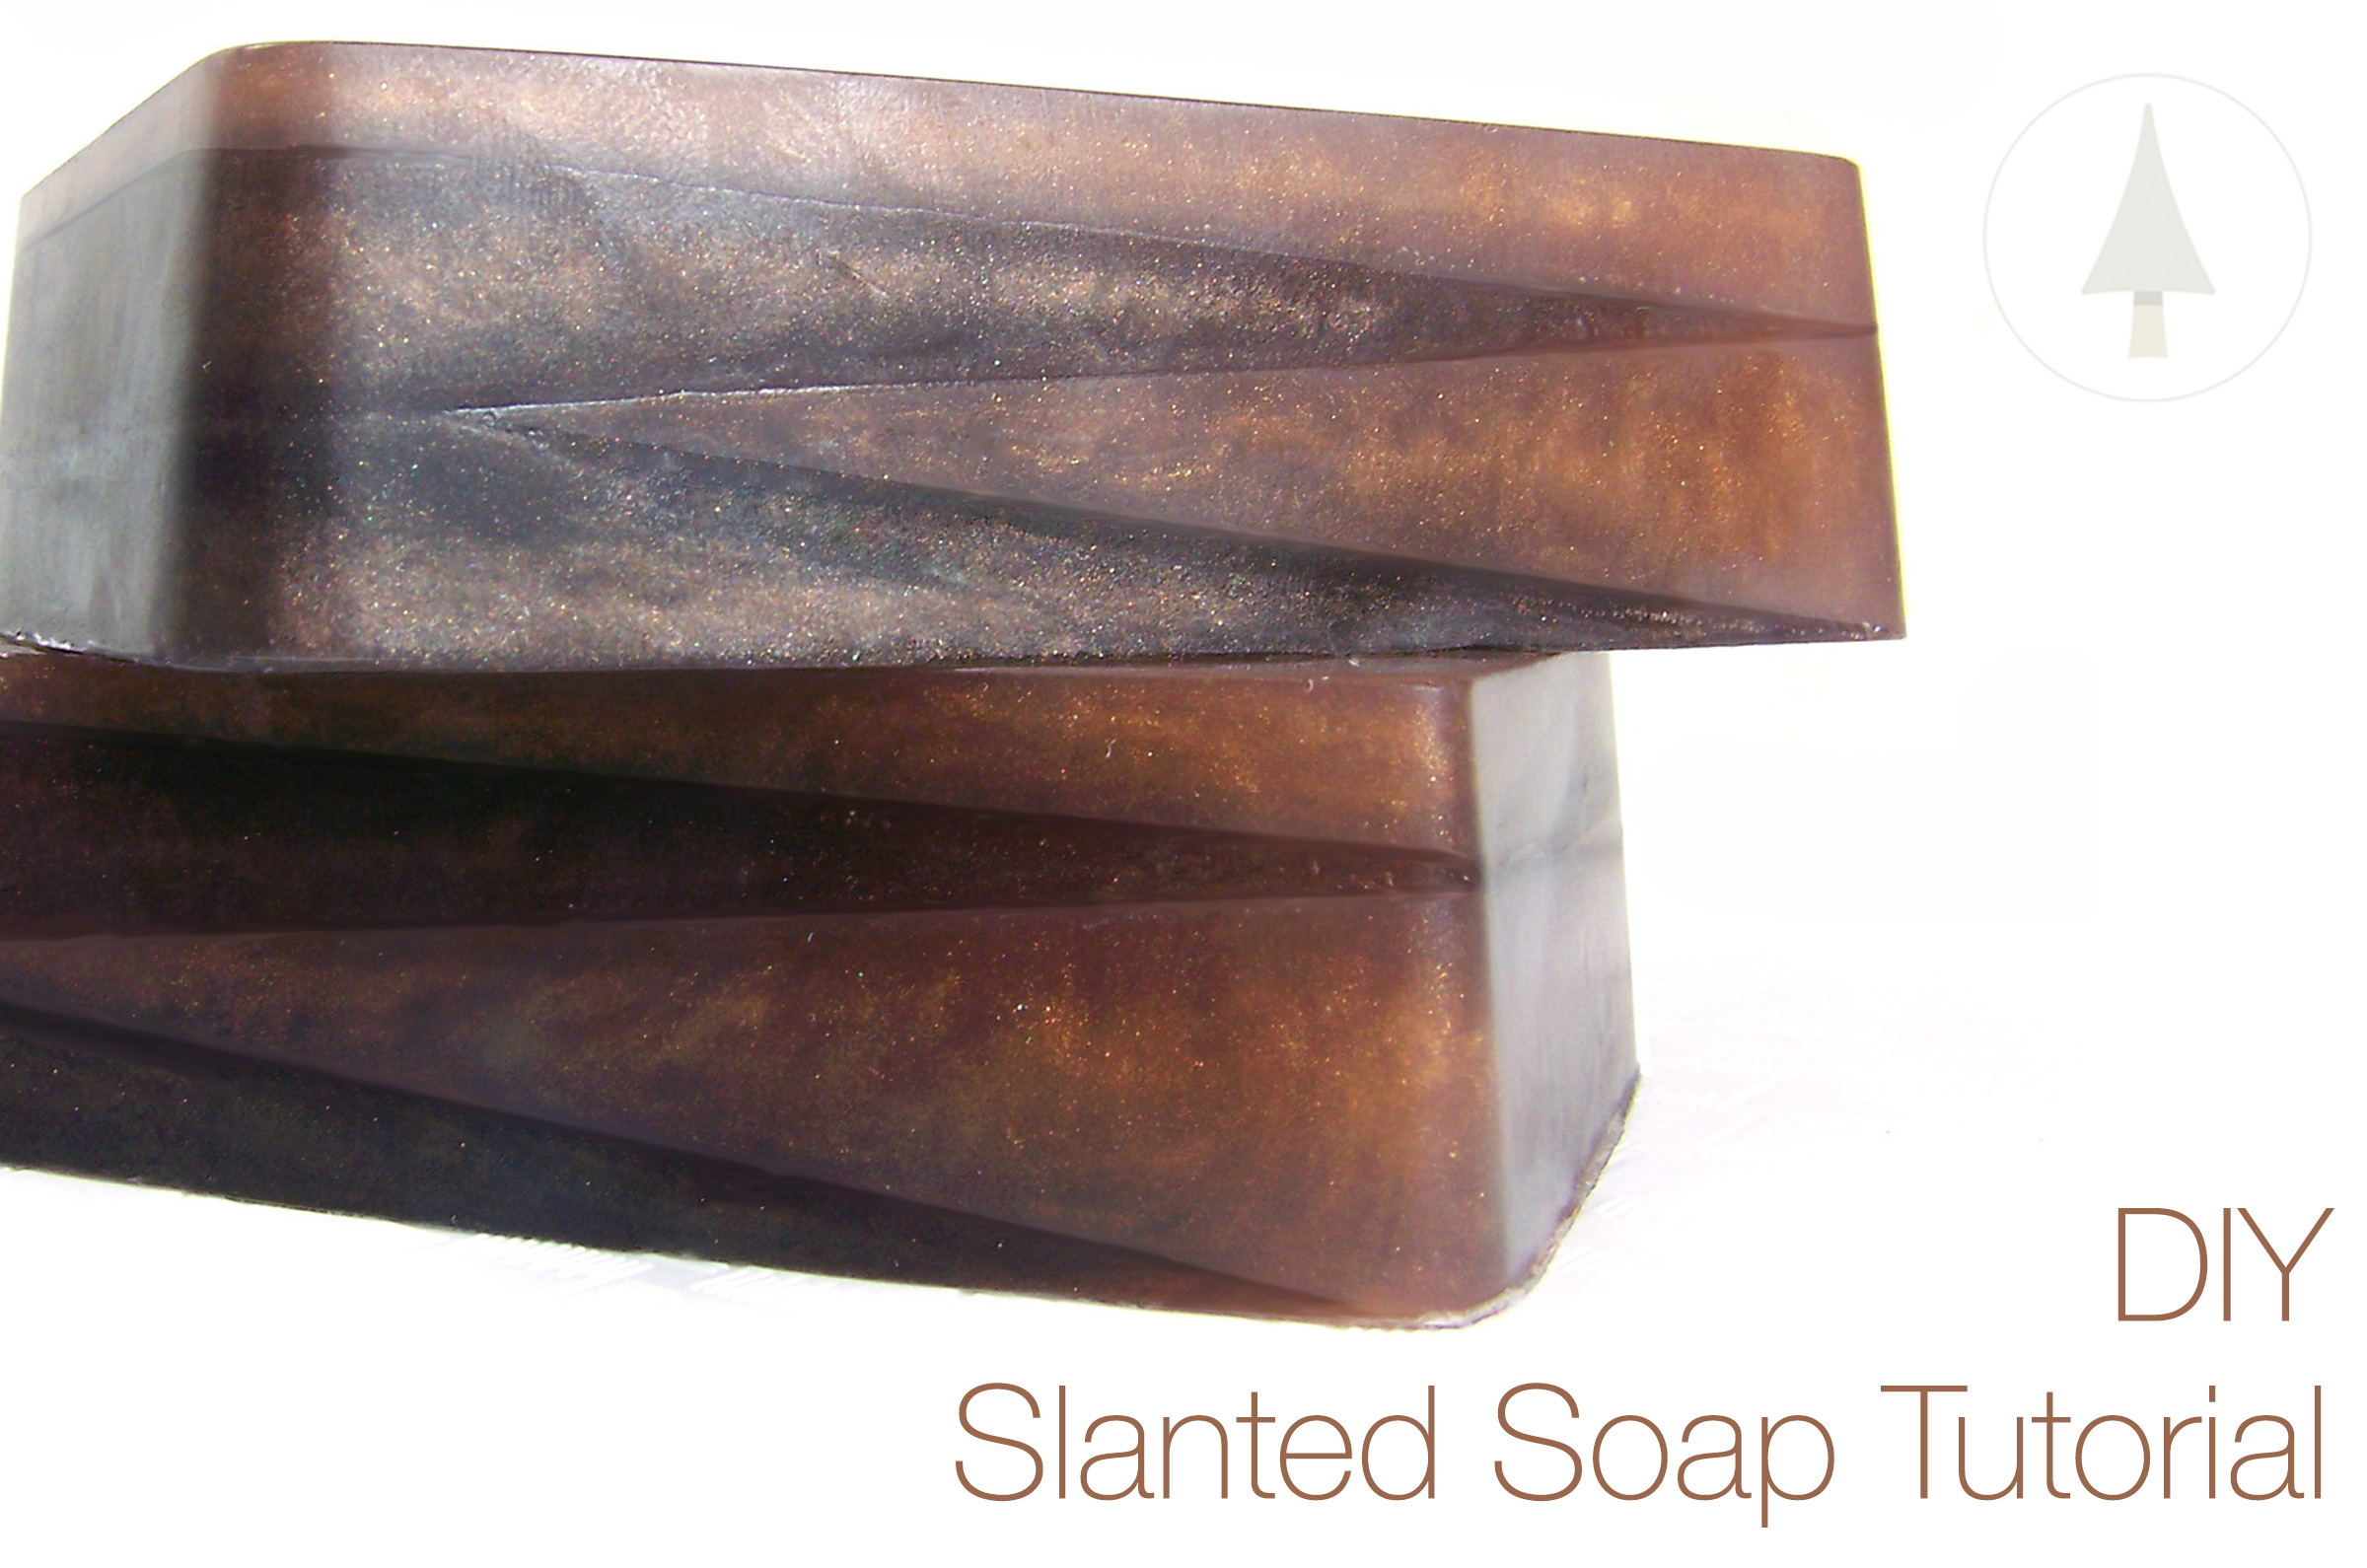
By slanting the soap mold you can achieve a different look to layered soaps. You can also achieve a gorgeous visual appeal by layering colors – you can choose bright colors or different shades of the same color for a subtle effect. In this soap making tutorial we’ve chosen to do a brown soap which will complement fragrance oils containing patchouli, sandalwood, earthy type scents, and scents with notes of wood. The colors chosen will also make a nice masculine soap when paired with a masculine scent.
Note: we no longer carry the plastic soap mold – you can use the silicone mold indicated below instead.
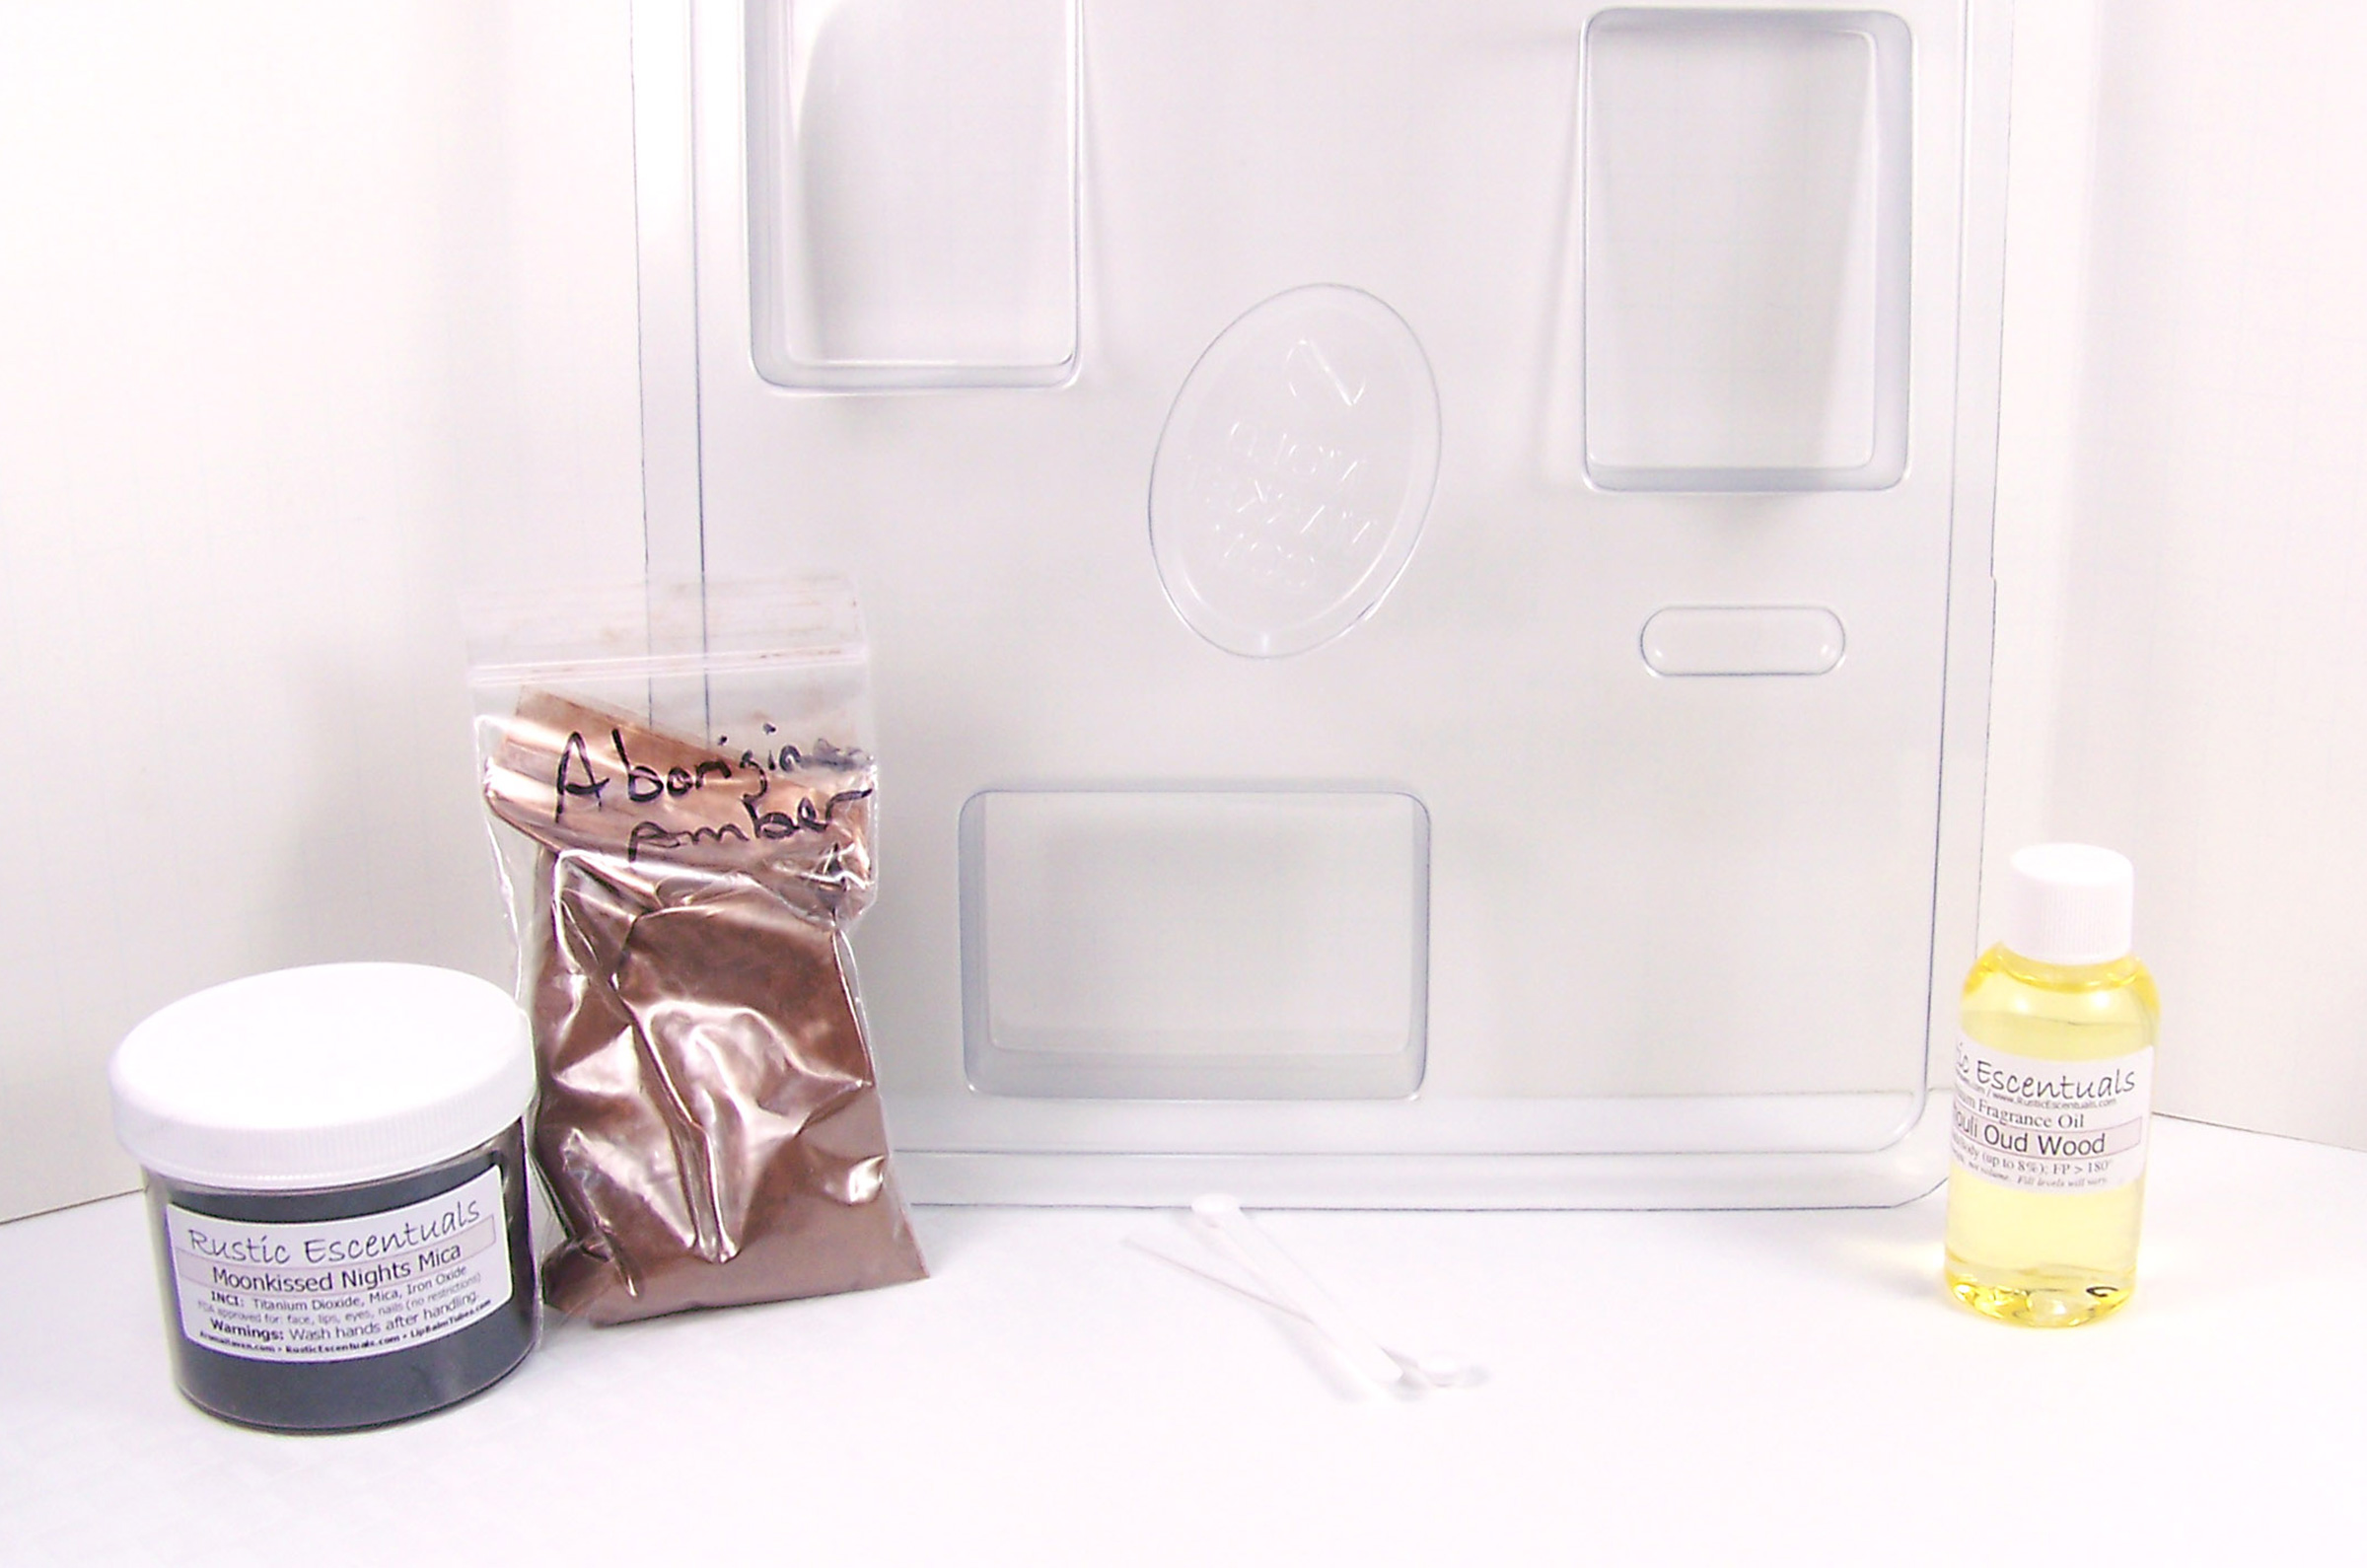
Supplies and Equipment Needed
Microwave safe glass containers (2)
Sharp knife to cut soap base into cubes
Butter knives
Rubber gloves
2 small hand towels
Spray bottle with rubbing alcohol
Flexible 12 Bar Silicone Mold (12 cavities, 4 oz each)
Disposable pipette
16 ounces Ultra Clear Melt and Pour Soap Base
Thermometer
Aborigine Amber Mica
Moonkissed Night Mica
Patchouli Oud Wood Fragrance Oil
.15 cc Scoop
Step 1
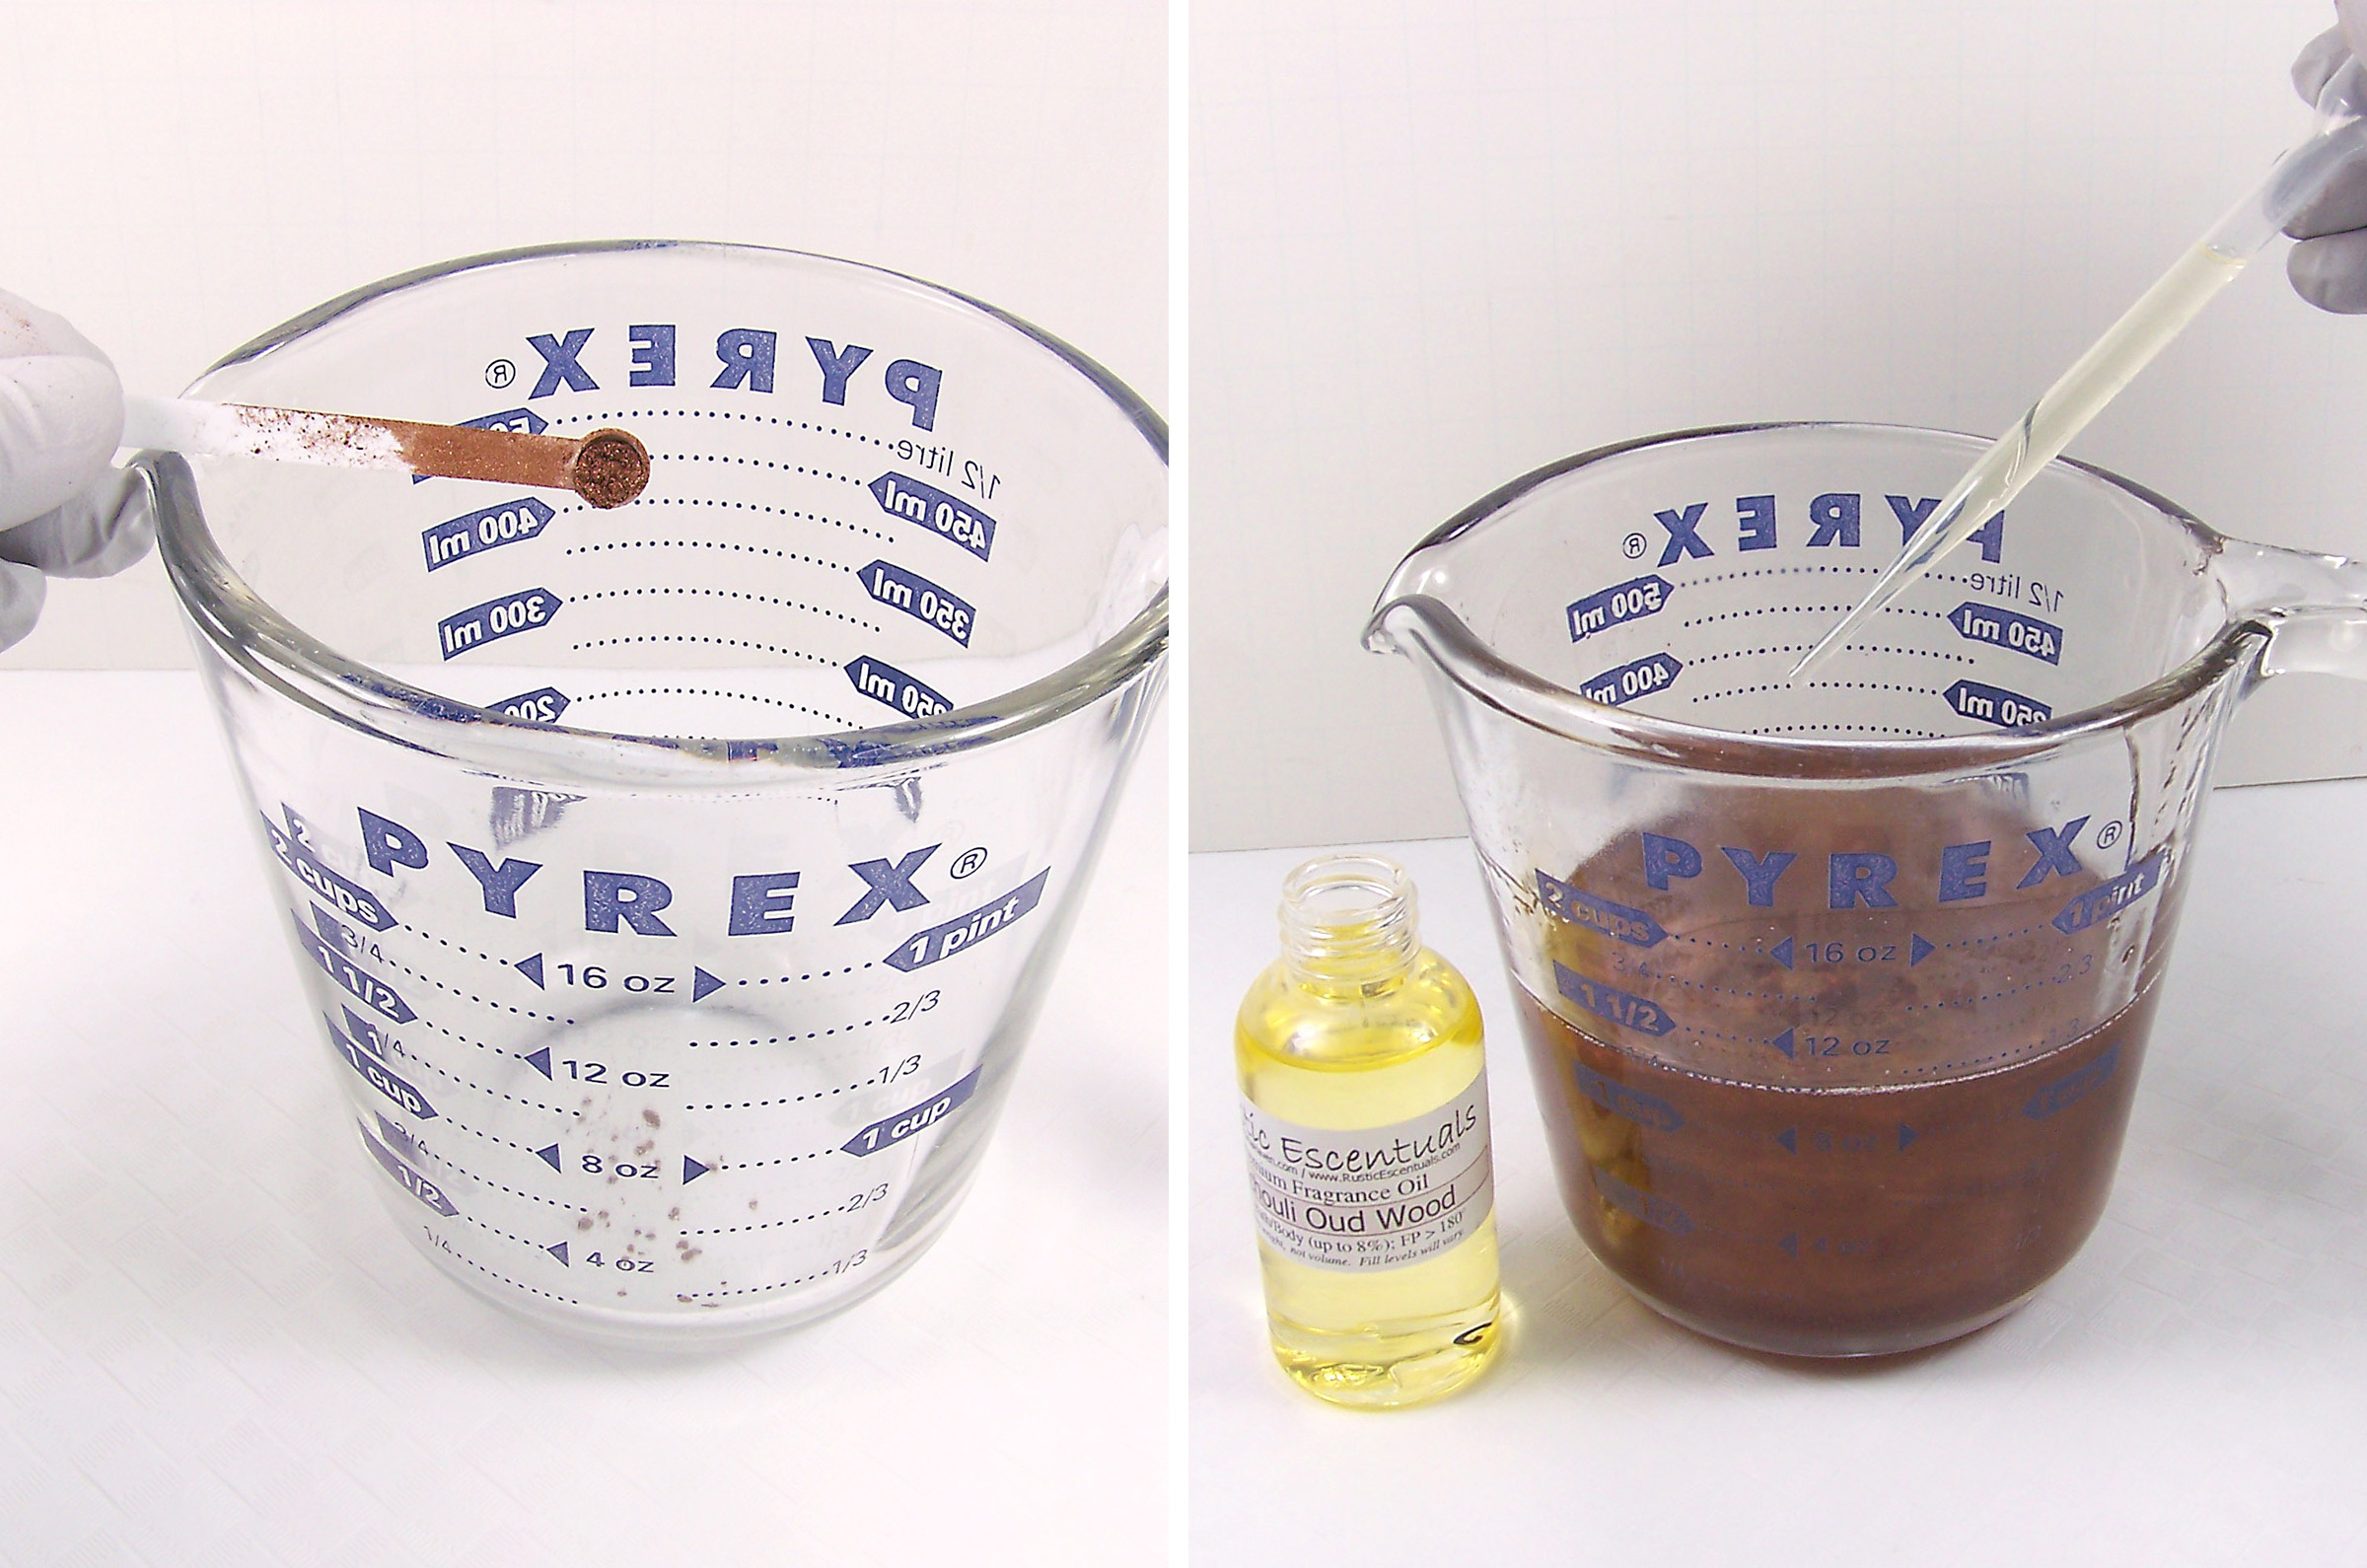
Add two .15 cc scoops of the Aborigine Amber Mica into a microwave safe glass container. This will be the light colored brown. For tips on how to incorporated Micas into melt & pour soap base, see the How to Use Mica Colorants in Soap tutorial.
Step 2
Add 8 oz of Ultra Clear Melt and Pour soap base into the container and melt the soap base in a microwave for 30 seconds. Repeat if necessary but don’t boil or burn the soap.
Step 3
Stir slowly until the mica and soap is well mixed.
Step 4
Add 4 ml of Patchouli Oud Wood Fragrance Oil and stir until everything is blended well.
Step 5
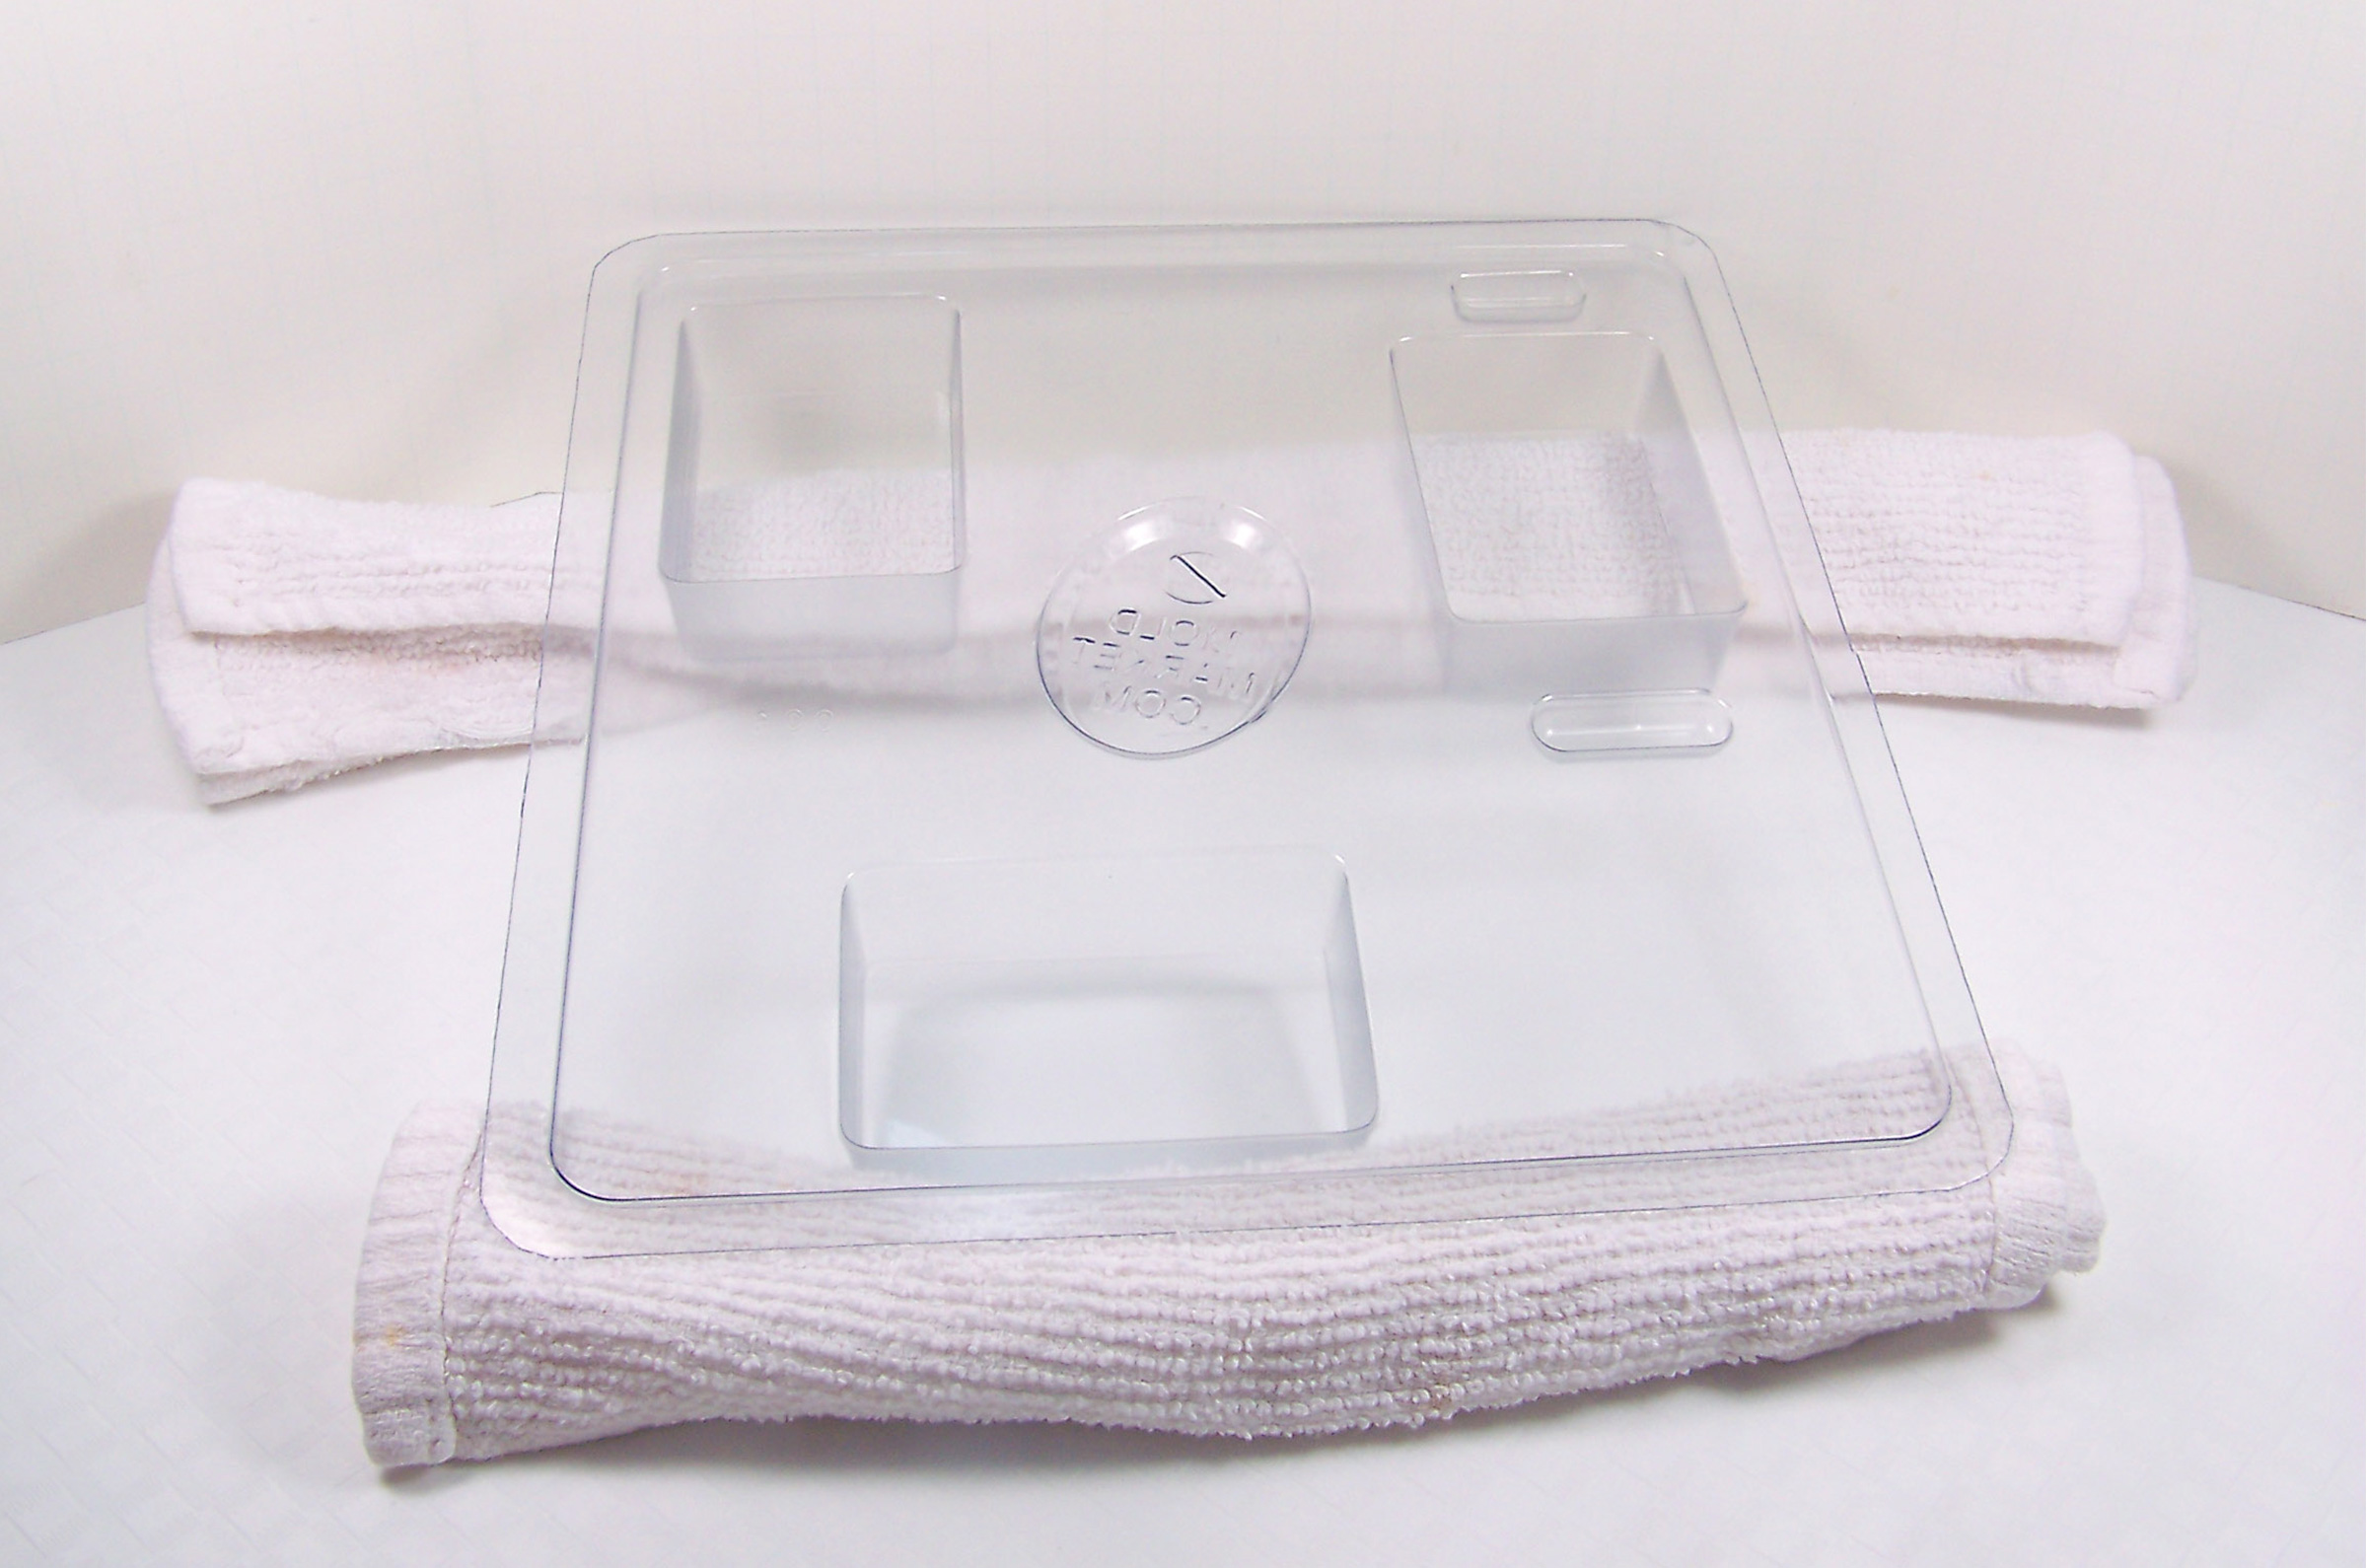
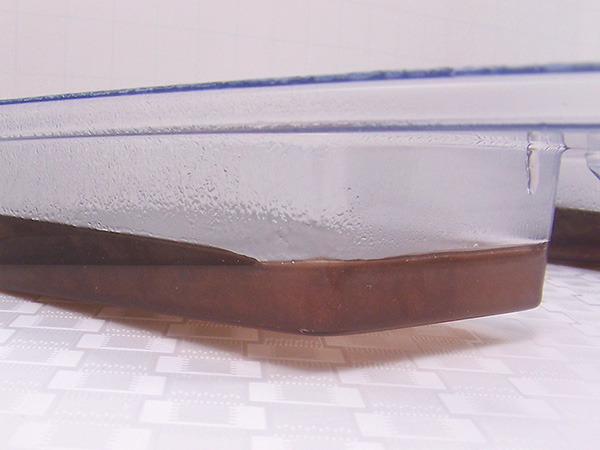
To create a tilt to the mold, place one end of the mold on top of a small rolled towel. You can place another rolled towel in front of the other end to prevent the mold from moving (make sure the bottom of the soap cavity on this end is resting on the counter and not on the towel). This will create the first slanted layer.
Step 6
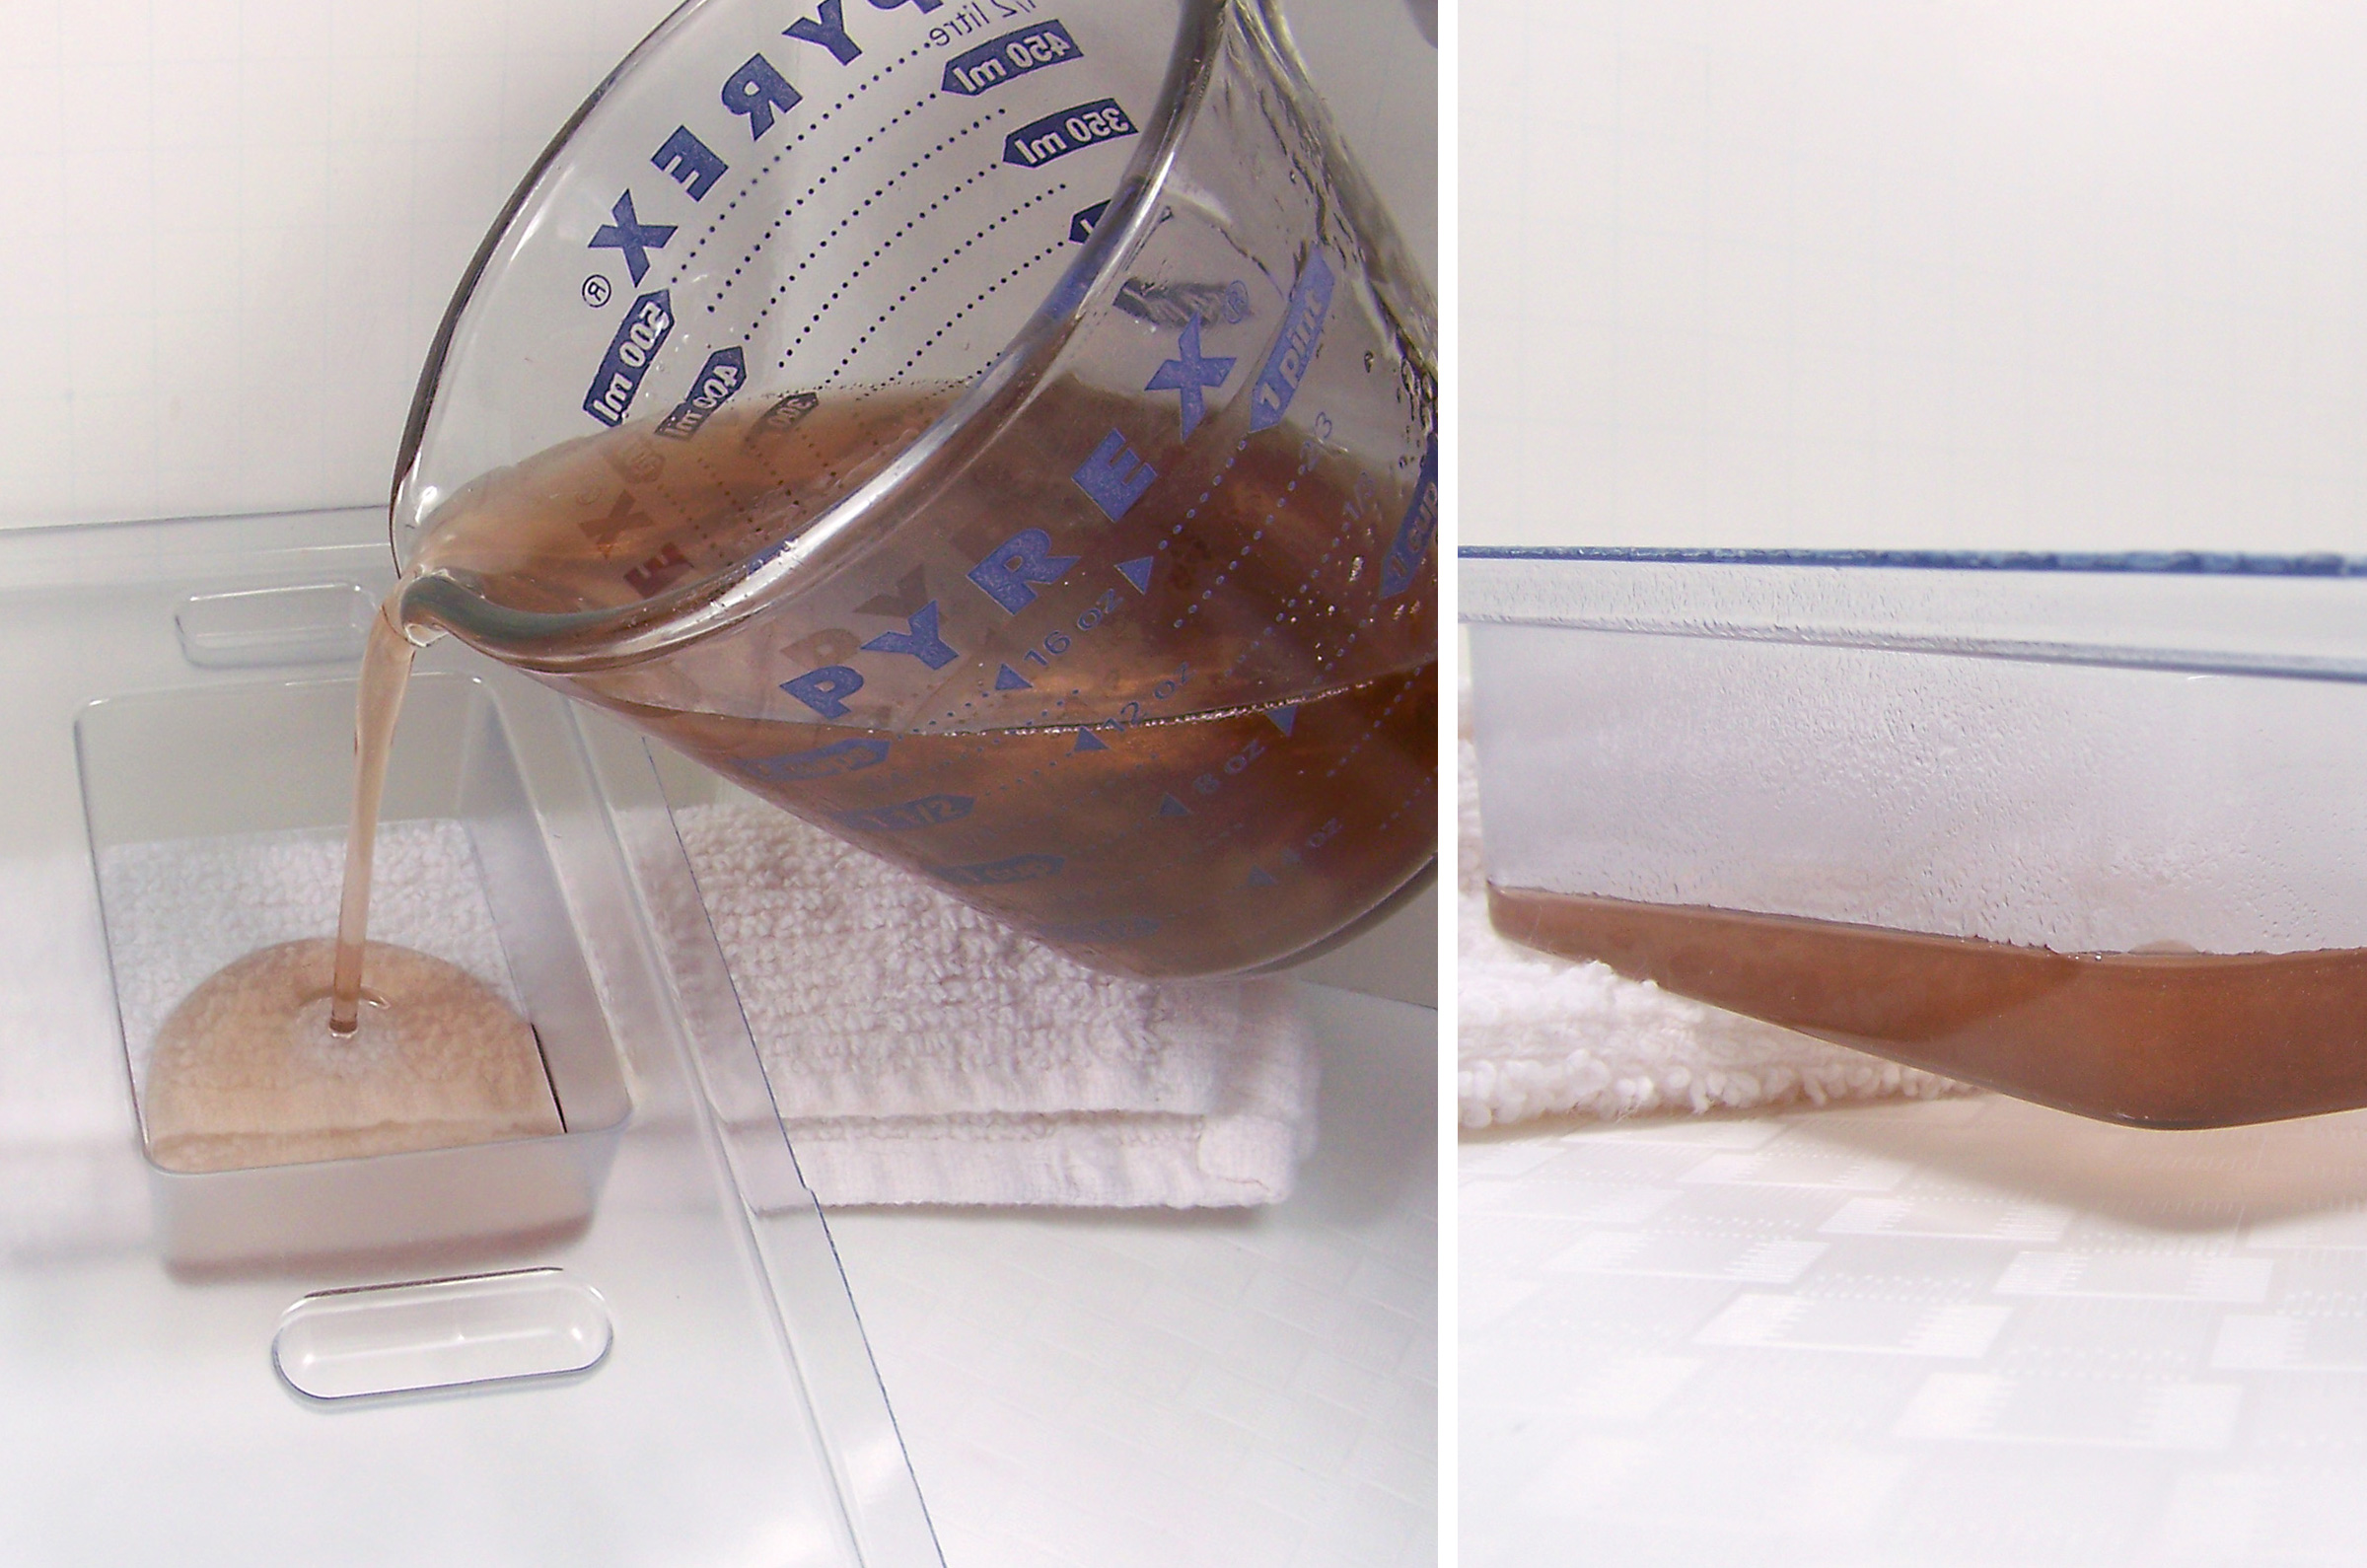
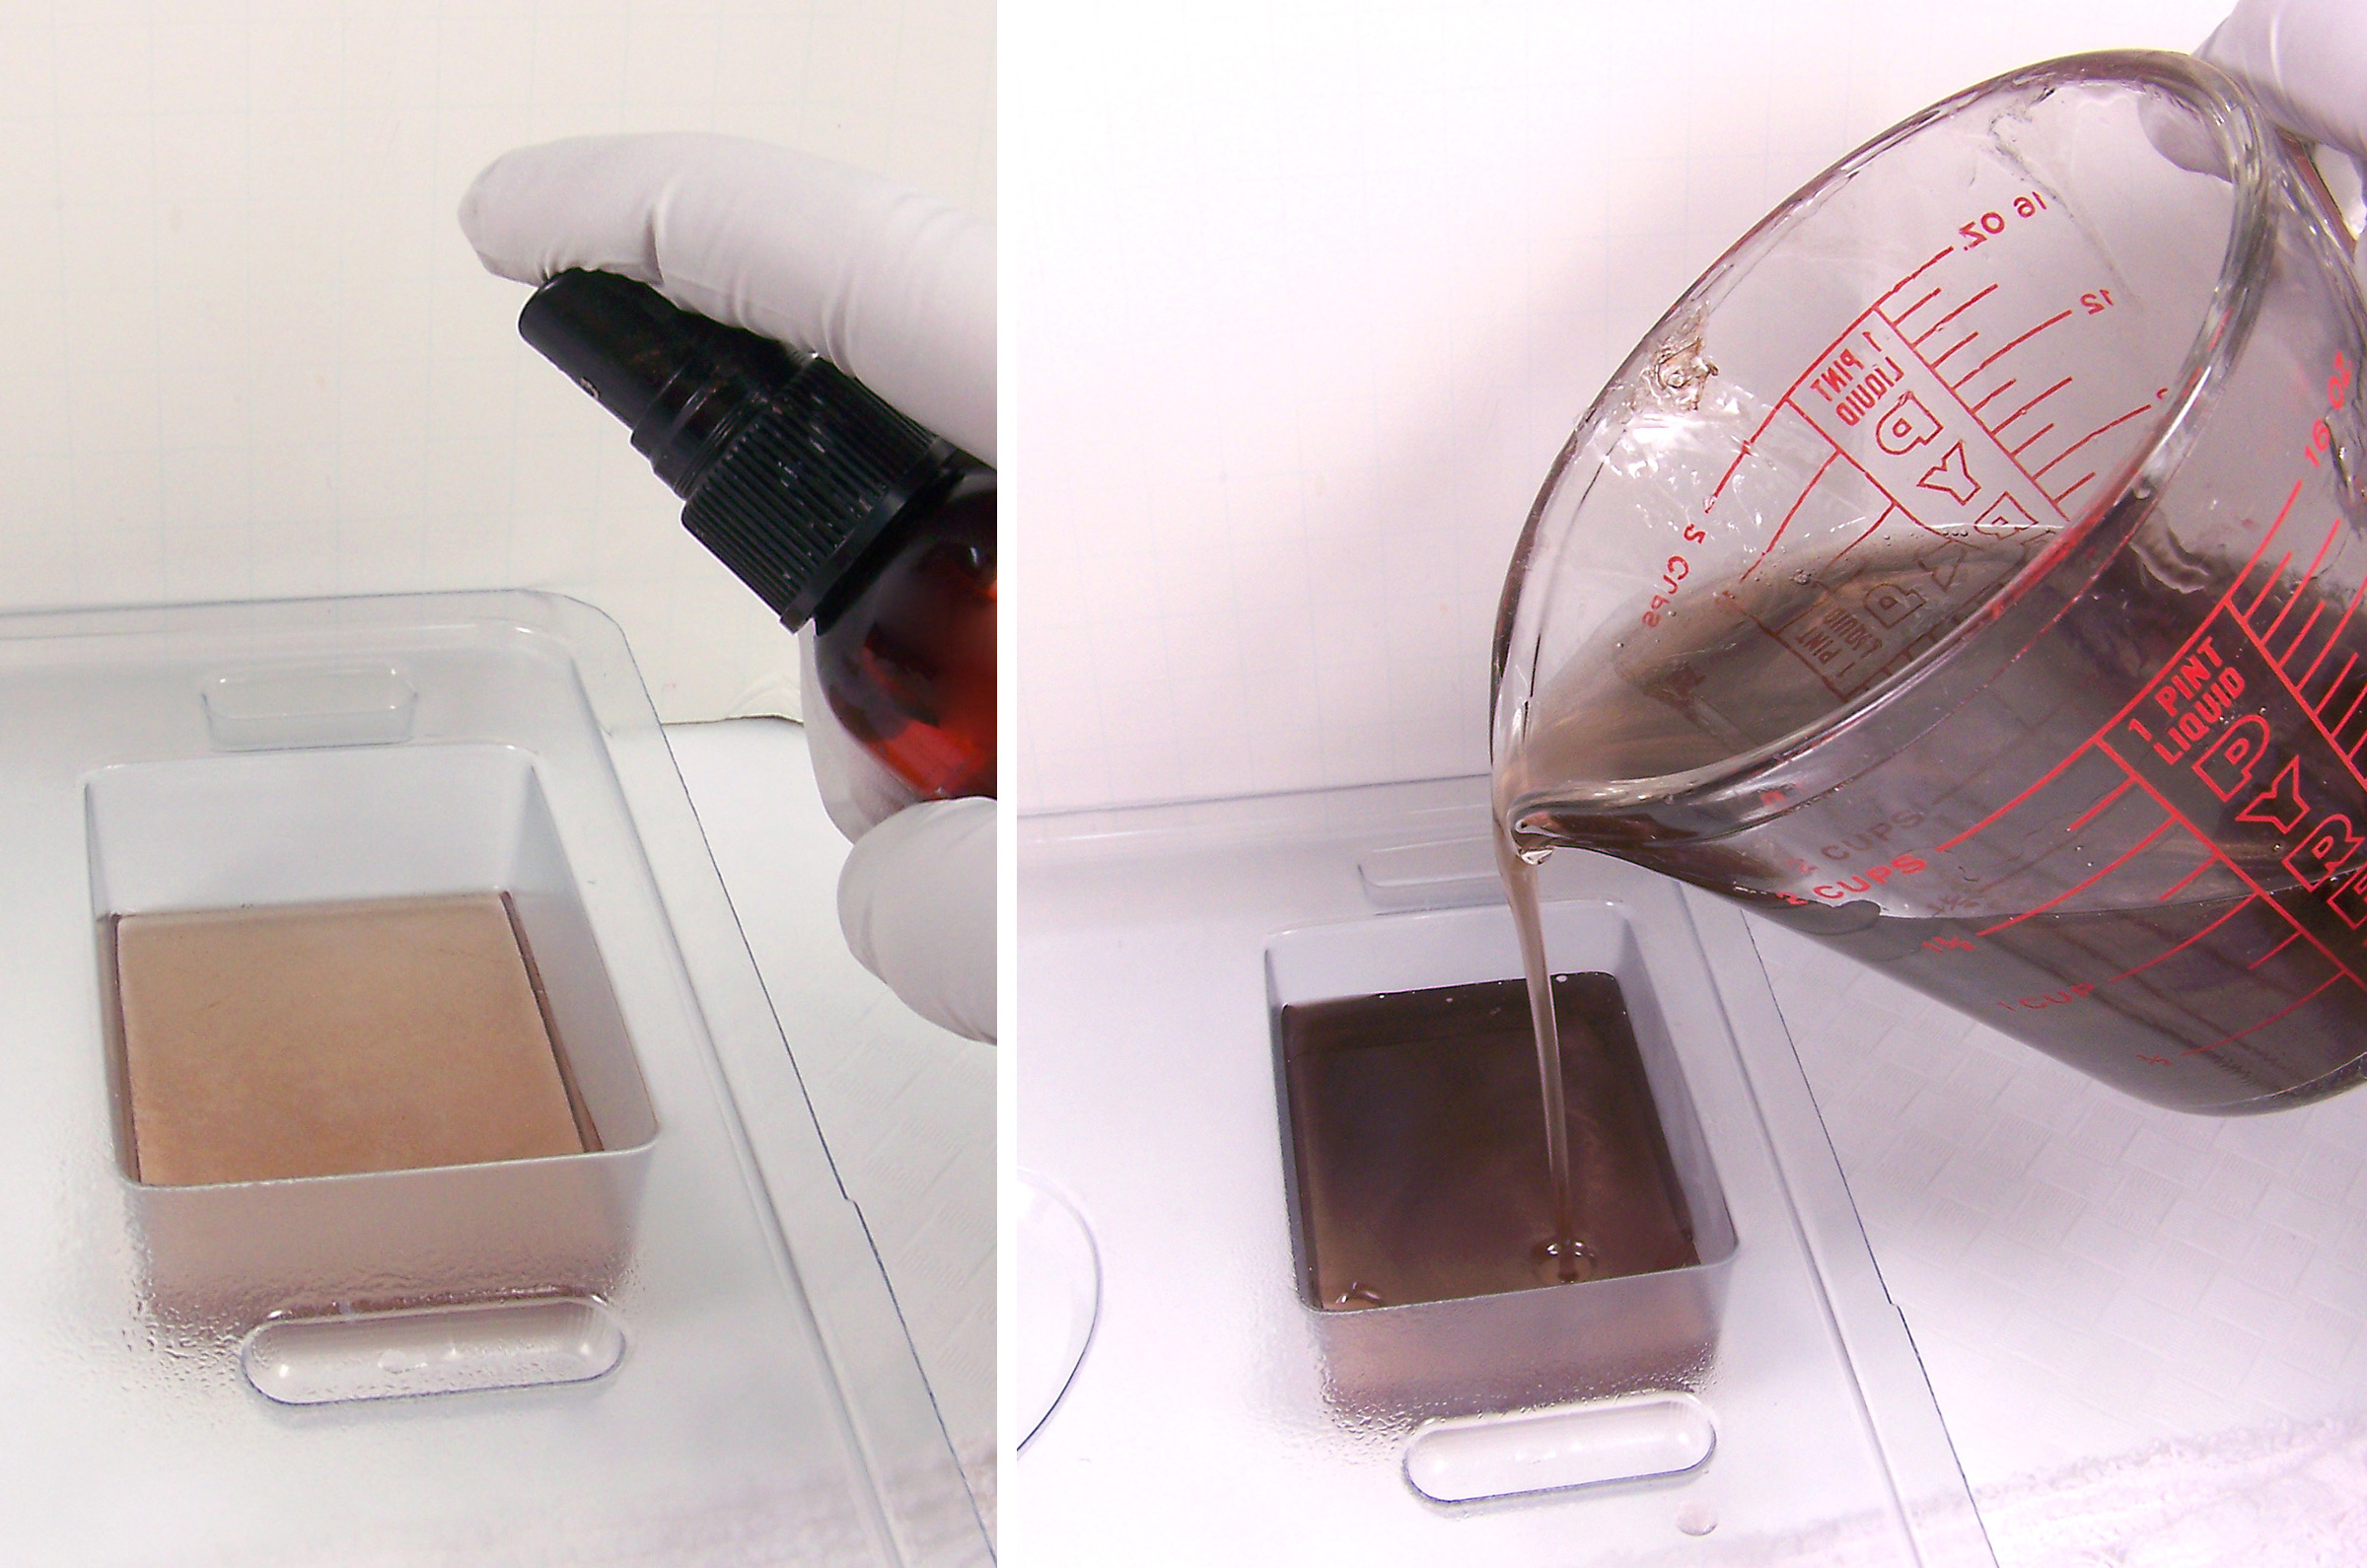
Slowly pour about 1.5 ounces of soap into the tilted mold – just enough to cover the bottom. Spritz the soap with rubbing alcohol to remove bubbles.
Step 7
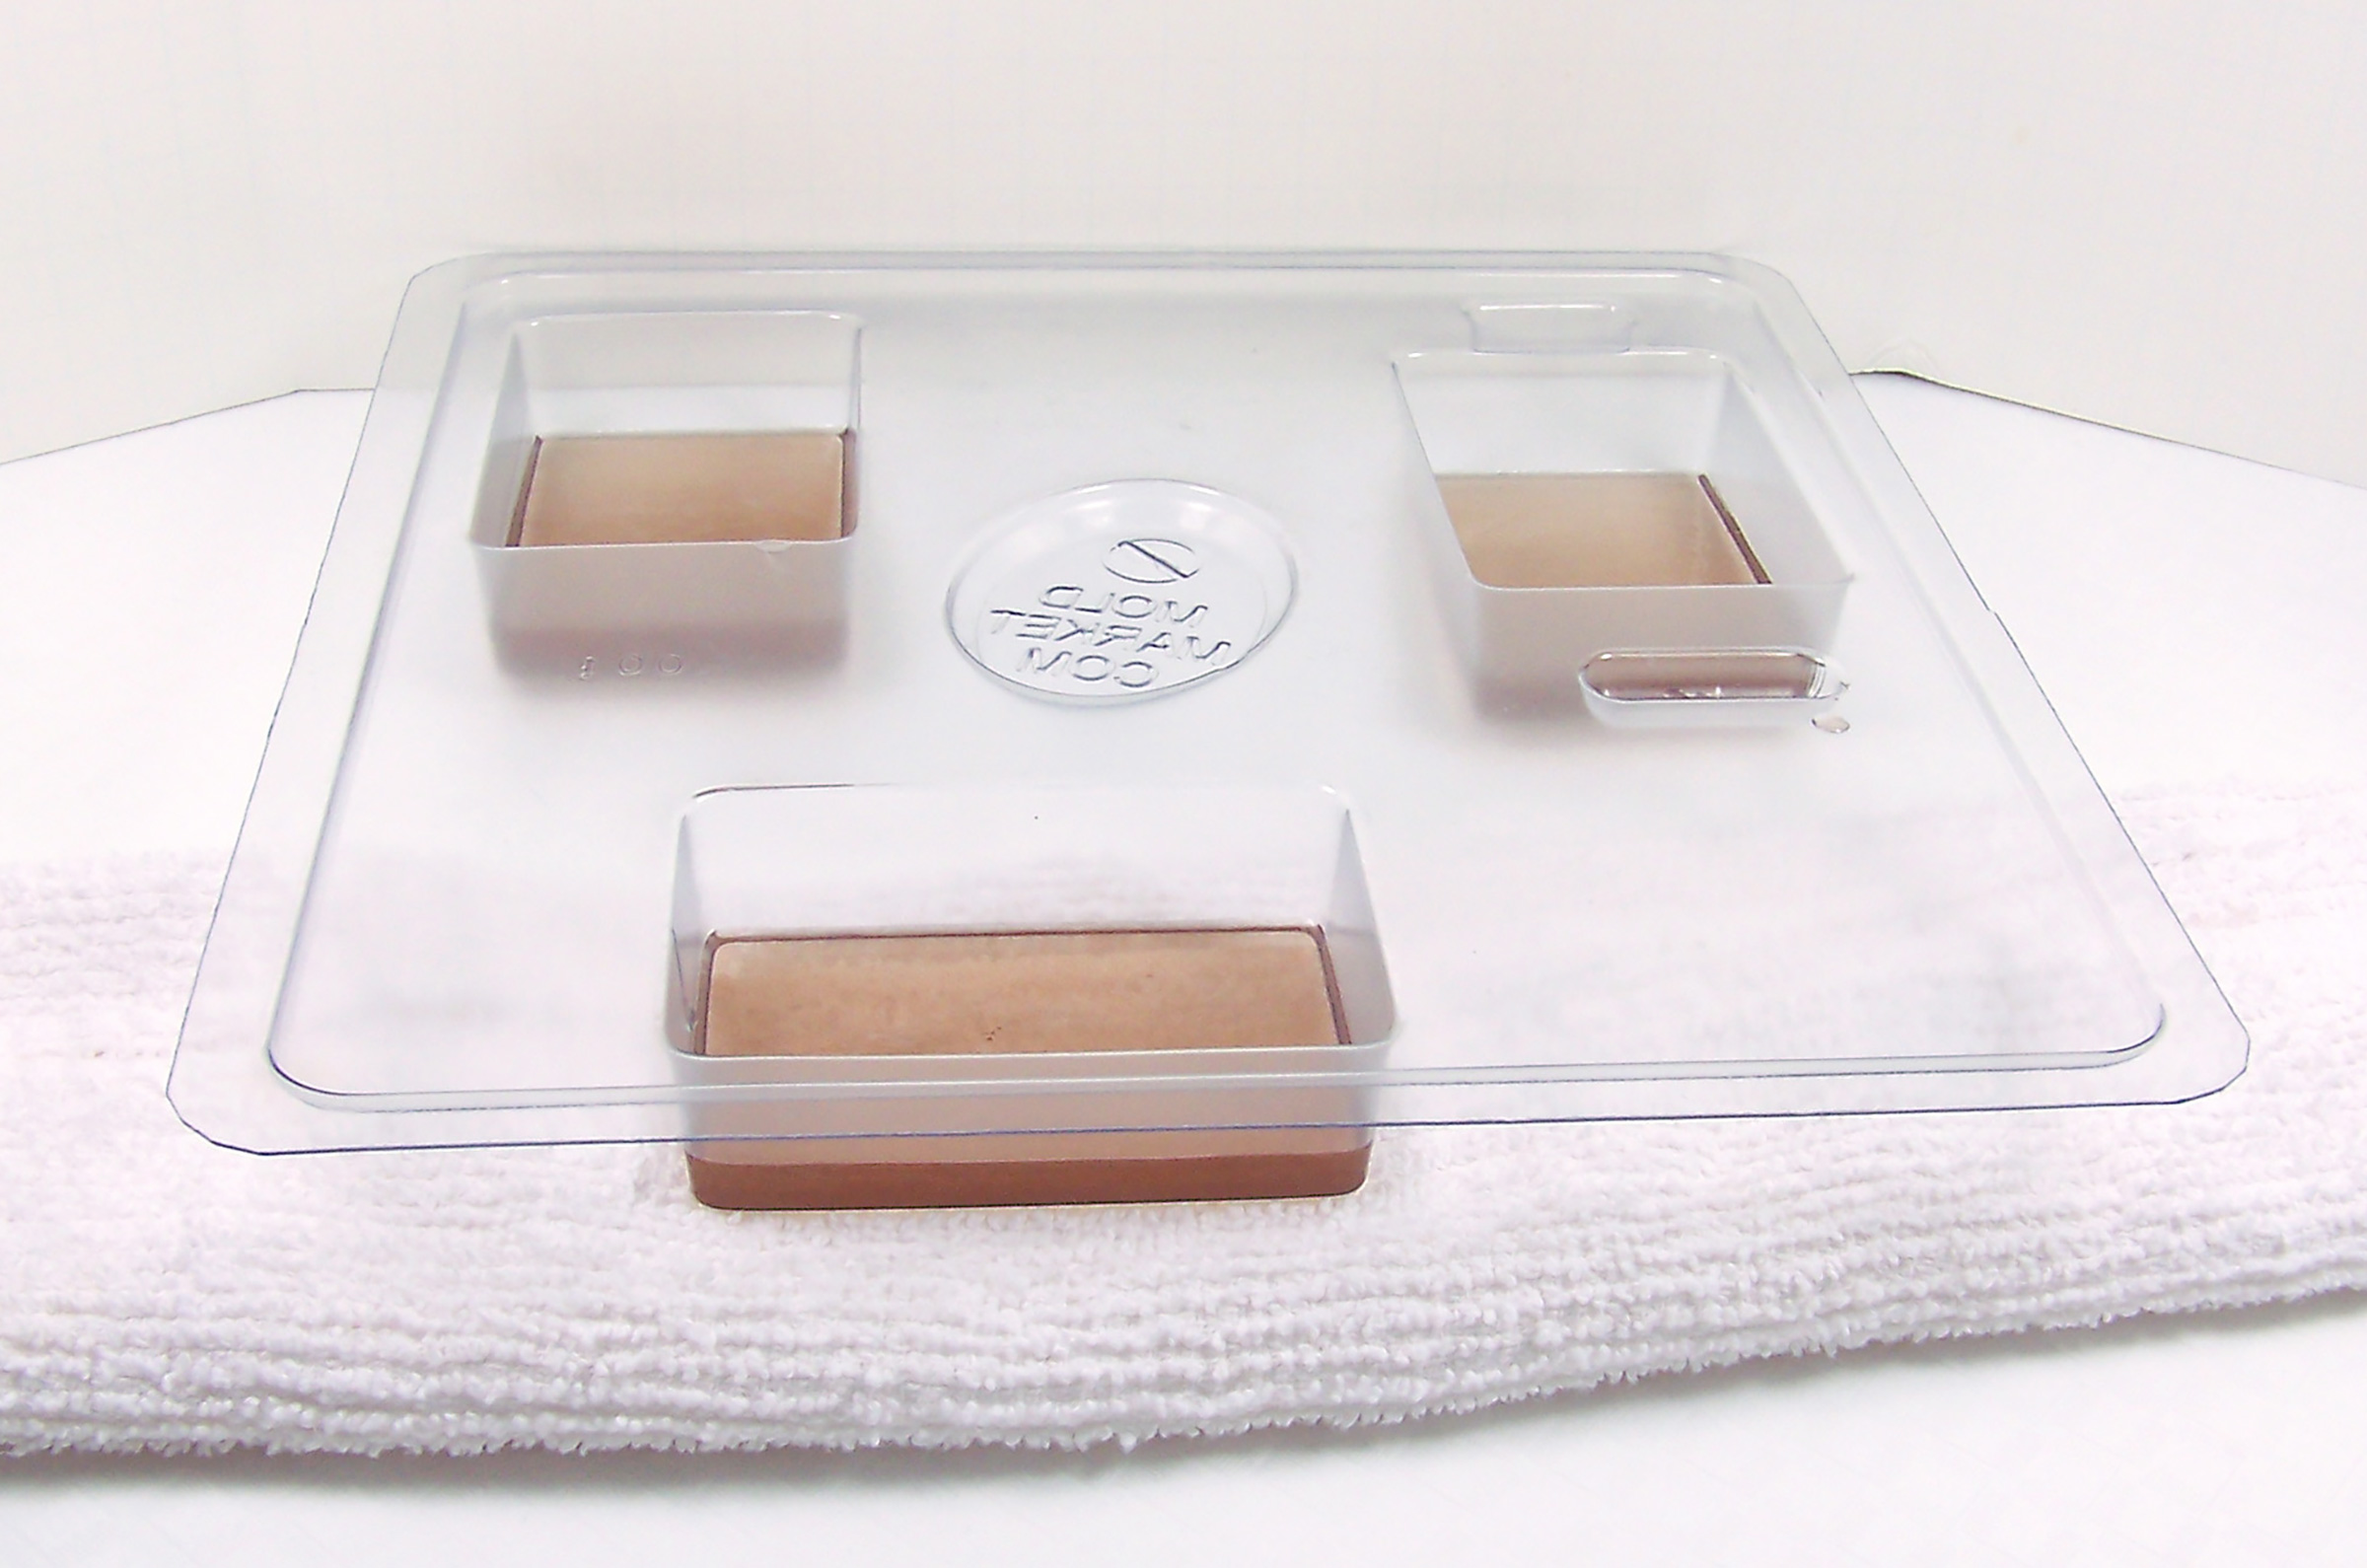
It is important not to touch the mold – let soap sit 15 minutes to form a hardened layer. If the layer is not firm, then a wavy line may form in the finished product. Press gently with a finger to test. If able to form a dent, wait another minute or two. The layer should be able to support the second layer without bowing inward.
Step 8
While first layer is hardening, repeat Steps 1 – 4 using 8 ounces of Ultra Clear Melt and Pour soap base, 2 scoops of Aborigine Amber Mica and 2 scoops of Moonkissed Night Mica (this will create a darker brown) and 4 ml of Patchouli Oud Wood Fragrance Oil. Stir thoroughly.
Step 9
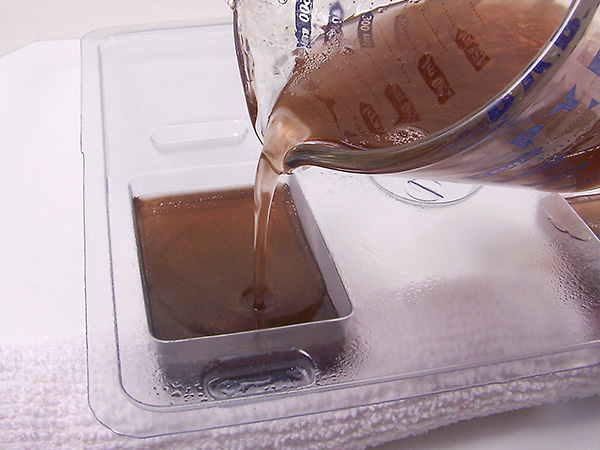
When the first layer is set, turn soap mold around and tilt in the opposite direction.
Step 10
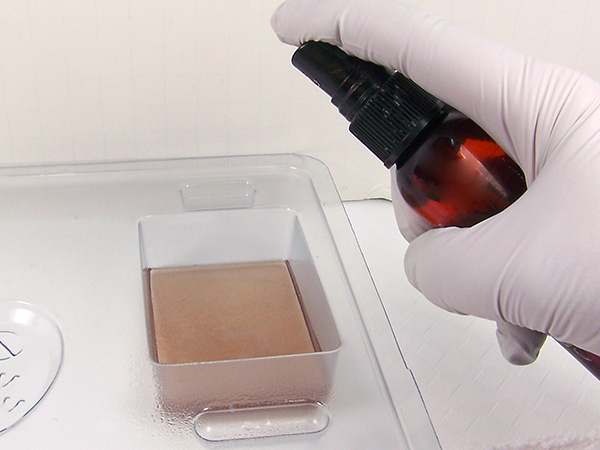
Spritz the first layer with alcohol. This will help the layers adhere to each other.
Step 11
Use a thermometer to ensure soap is not too hot and to prevent the first layer from melting into the second layer. Best pouring temperature is 135 to 140 degrees. Make sure the soap mold doesn’t move and slowly pour about an ounce of the soap into each cavity. Spritz with alcohol to remove any bubbles that may have formed.
Step 12
Let soap sit for 15 to 20 minutes to form a hardened layer.
Step 13
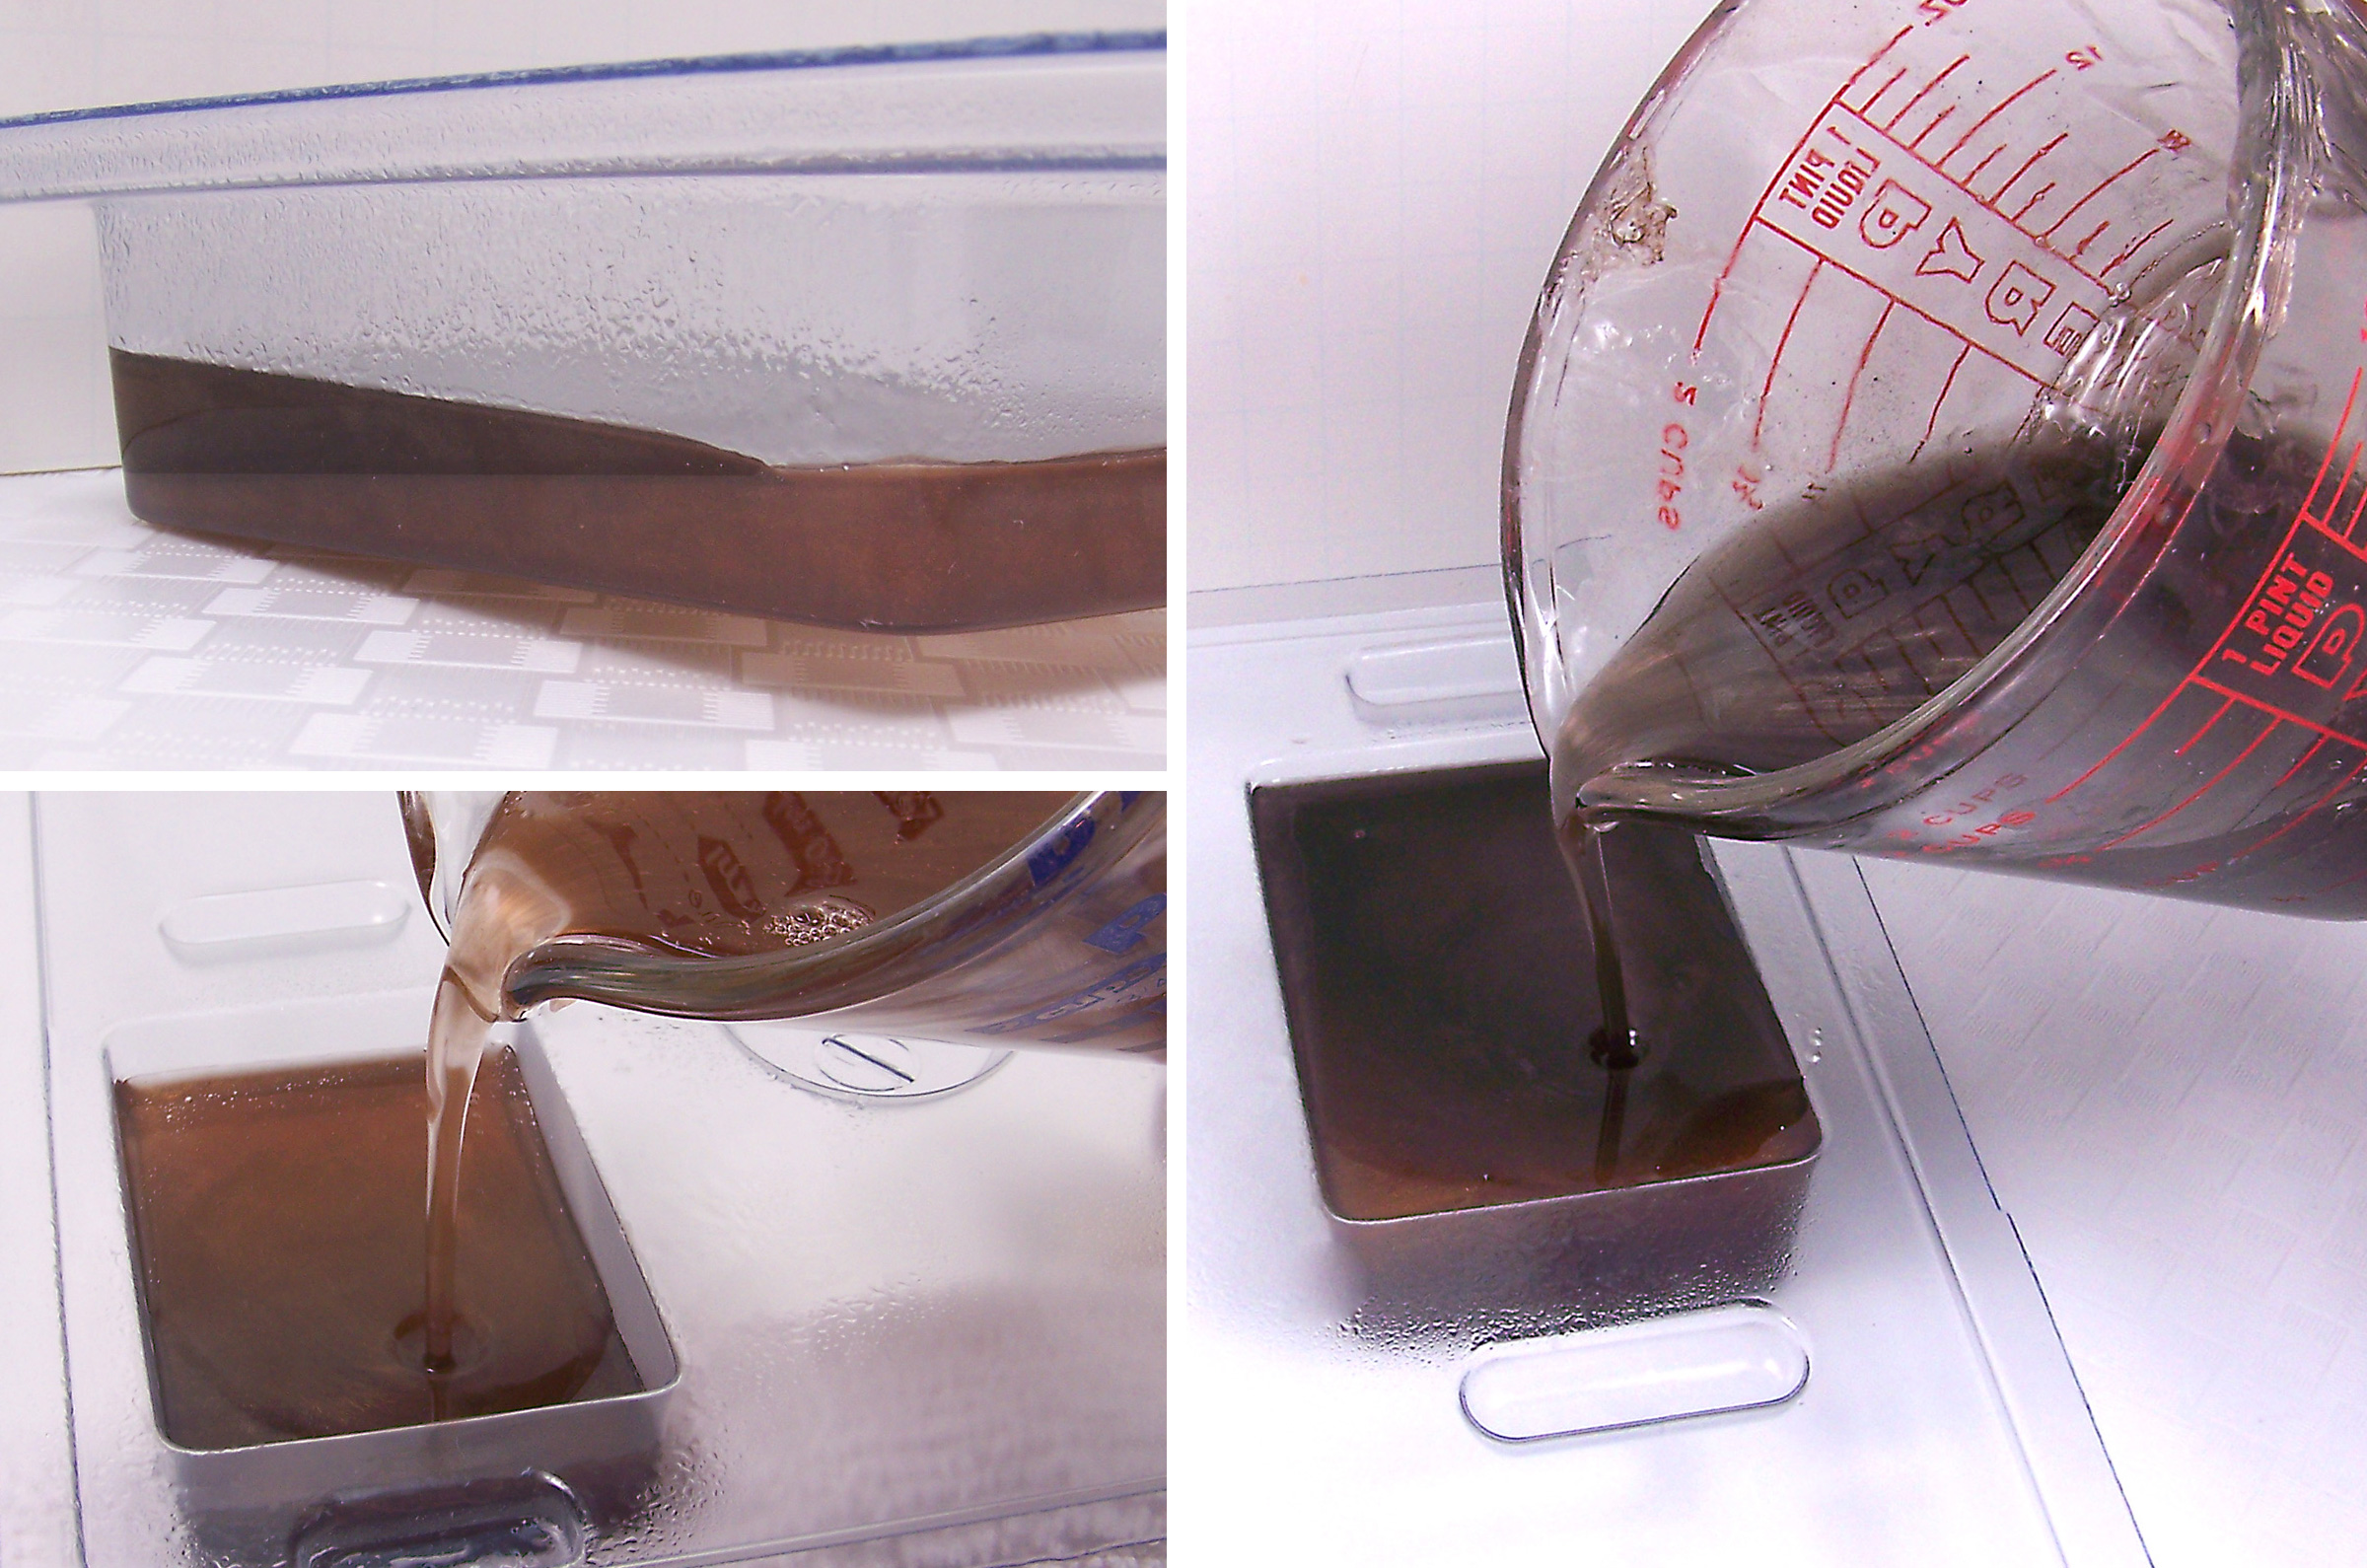
Make sure the layer is hardened sufficiently to take the 3rd pour. Spritz the soap and repeat Steps 9 – 12 using the light brown soap. Spritz with alcohol and let the soap harden.
Step 14
Make sure third layer is hardened sufficiently to take the fourth pour. Lay soap mold flat against the table. No need to tilt the mold for the final layer. Spritz the third layer with alcohol and pour the remainder of the dark brown soap. Spritz again and let harden.
Step 15
Let the soap completely cool and harden before removing from the mold.