by Rustic Esentuals
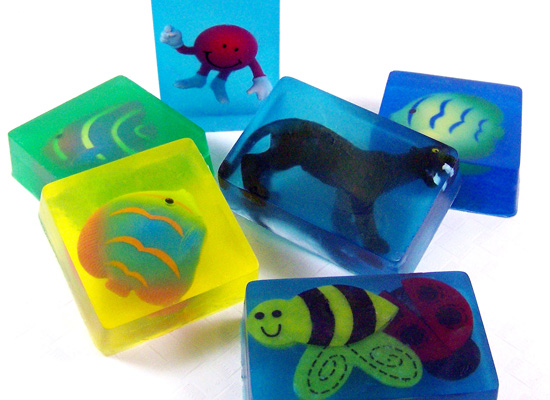
It’s time to do something for the kids! In this tutorial you will be using small toys as embeds to create a fun soap for the young ones as well as the young at heart. These are perfect for gifts and birthday party favors.
Technique: embedding
Skill level: beginner

Supplies and equipment needed:
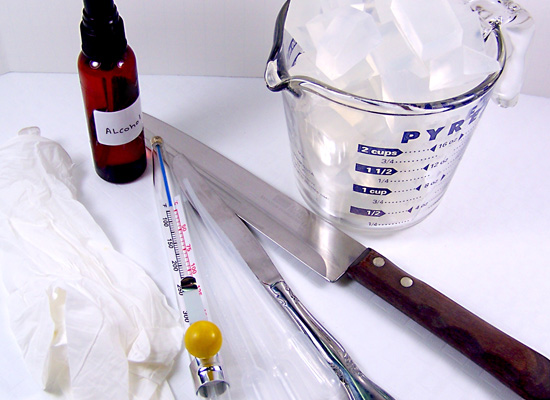
Microwave safe glass container
Sharp knife to cut soap base into cubes
Spray bottle with rubbing alcohol
Butter knives
Rubber gloves
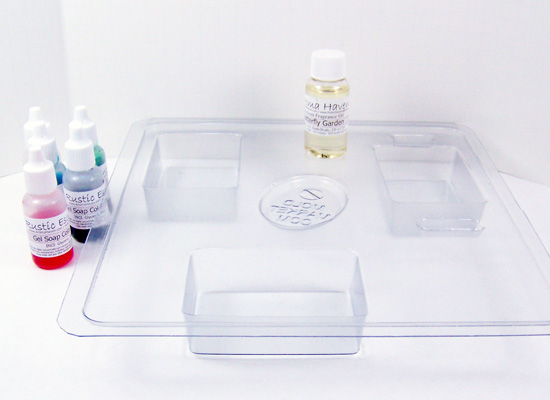
Basic Rectangle Soap Mold
Basic Square Mold (optional- not shown)
Disposable pipette
Thermometer to monitor soap temperature
16 oz Ultra Clear Melt & Pour soap base
Variety of Gel Soap colorants
Apricot and Honey Fragrance Oil
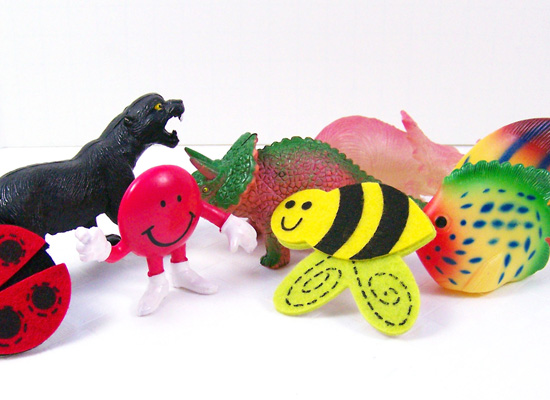
Inserts
Your inserts or embeds can be small plastic/vinyl toys, foam cutouts and small erasers. Please make sure there are no sharp edges to the toys. Note: this soap is not meant for children 3 years of age and younger. The toys inside may pose as a choking hazard to small children.
Step 1: Take 16 ounces of cubed Ultra Clear Melt and Pour soap base and place in a microwave safe glass container. Melt in the microwave in 30-second bursts until melted. Be careful that you don’t boil the soap base because boiling will result in a poor quality rubbery soap. Monitor the soap base temperature, get it down to a working 140 – 145 degrees before adding any ingredients.
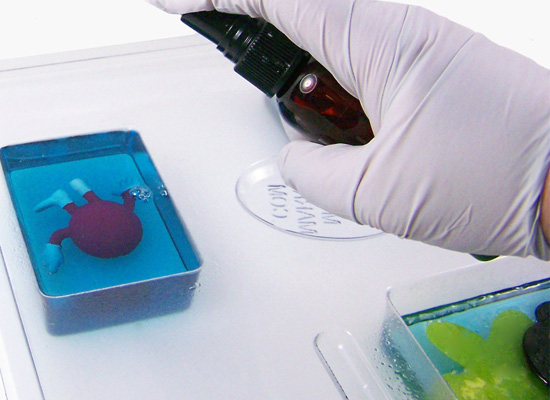
Step 2: Mix in 2 -3 drops of your choice of Gel Soap colorant and stir slowly until mixed well. Tip: Always stir slowly when adding colorants, fragrances or any type of additions to your soap base to avoid creating any more bubbles than you have to.

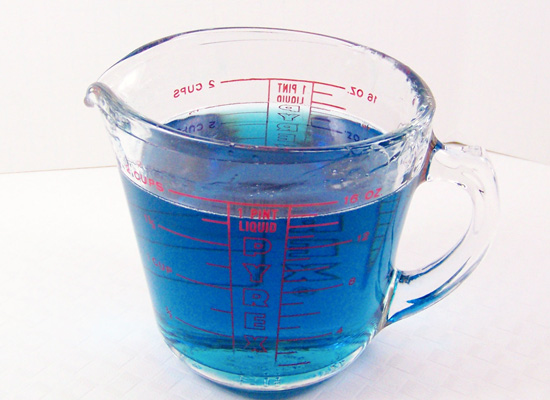
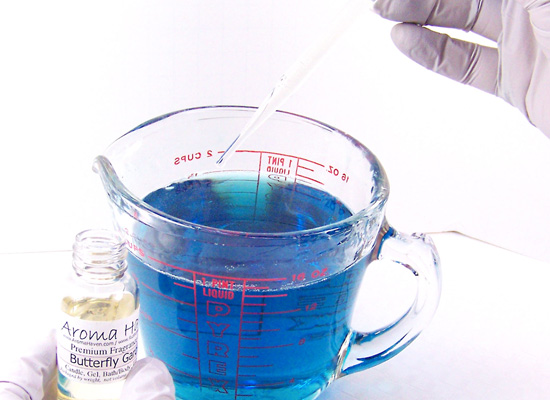
Step 3: Add 6 ml of body safe Fragrance Oil to the soap and stir slowly. For this tutorial we’re using Apricot and Honey because it’s a nice soft scent for both children and adults. Note: When first adding fragrance oil, the soap may be cloudy at first, but have no fear – it will clear up.
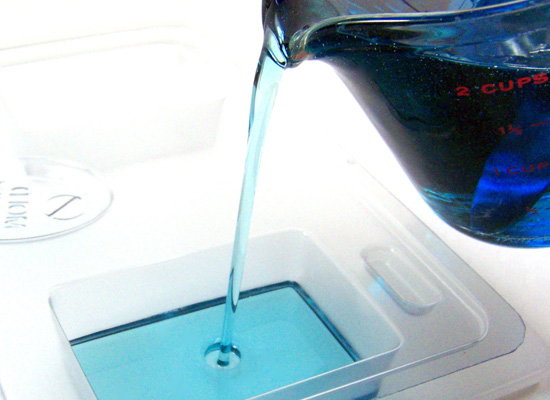
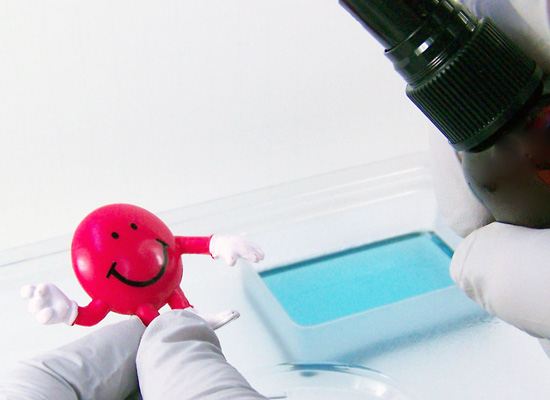
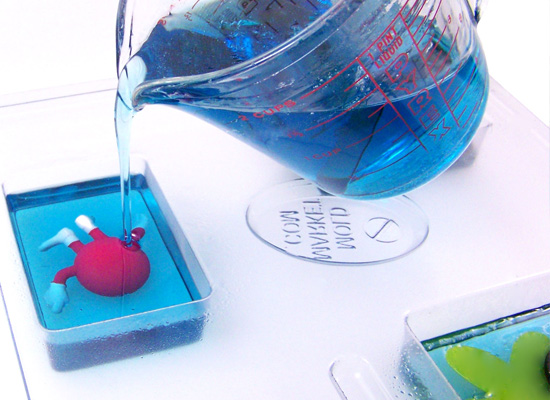
Step 4: Pour a small amount of scented/colored soap into the mold cavities. Pour approximately 1/2 ounce of soap, just enough to place the embed into the soap. Spritz with alcohol to remove any bubbles.
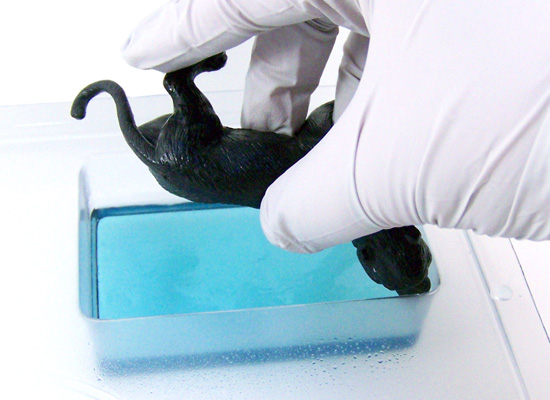
Step 5: Spritz the toy with alcohol and place it face side down into the poured soap before this first layer hardens. You may have to press slightly depending on the toy used. When the soap hardens, it holds onto the toy and prevents it from floating up when you pour the rest of the soap later.
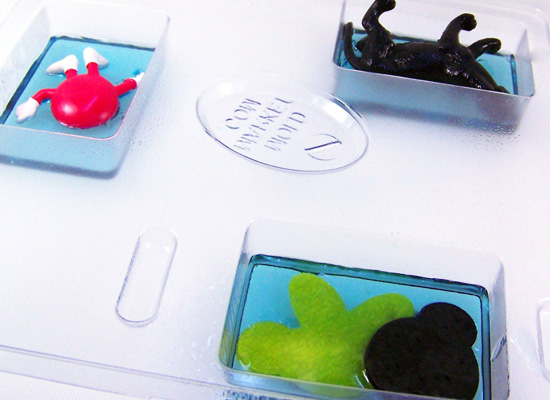
Step 6: Wait approximately 2 – 4 minutes for the soap to harden a bit.
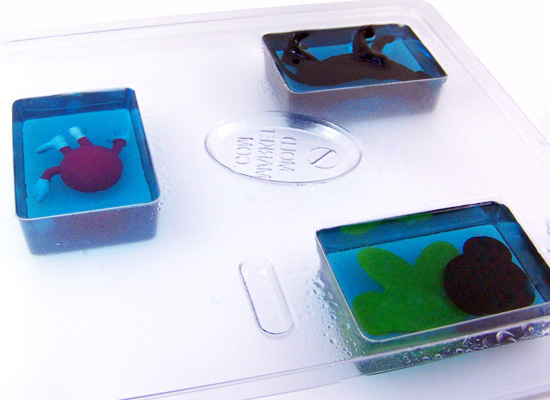
Step 7: Spritz the soap/toy with alcohol. Pour more soap over the toys – slowly up to the top of each cavity, submerging the toys. Note: Depending on the size of the toy, the remaining amount of soap you pour into each cavities will vary.
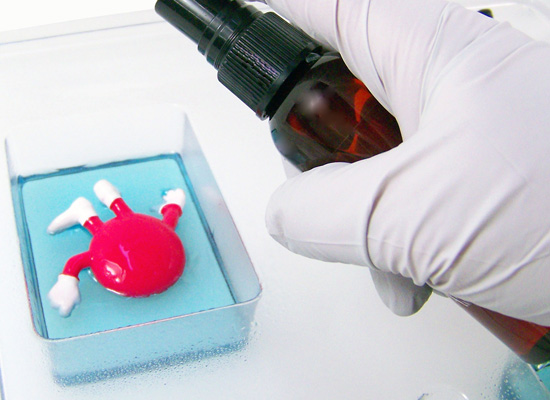
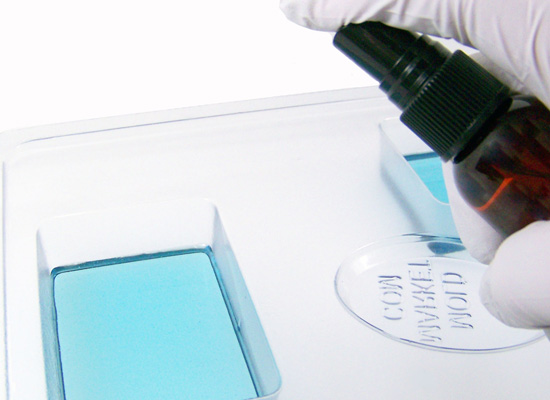
Step 8: Spritz finished soaps to remove any stray bubbles.
Step 9: Wait for soap to set approximately 3 to 4 hours or even overnight. When the soap is firm, slowly release the soap from the mold and place on a flat surface.
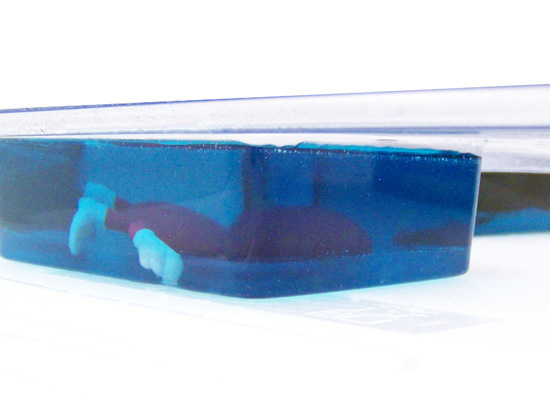
Be creative! Use different colors, soap scents, molds and toys for a variety of jewel toned toy soaps. The kids can’t resist them and it makes bath time fun!