by Rustic Escentuals
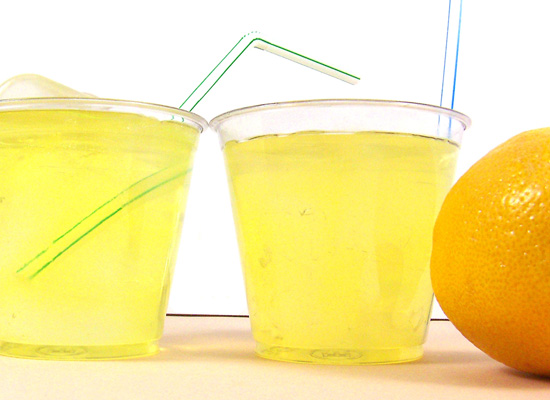
What is better on a hot summer’s day than a nice cold glass of lemonade? This fun soap is fun and easy to create. And it looks like the real thing! Your family and friends will love them.
This soap tutorial makes approximately a 9 ounce “bar” of soap.
Skills: embeds
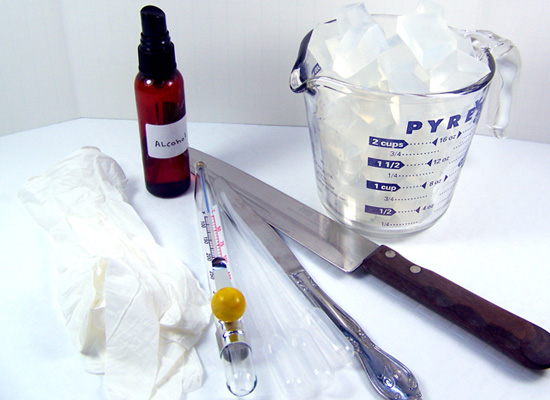
Soap Making Supplies and equipment needed
Microwave
Microwave safe glass container
Sharp knife to cut soap into cubes
Spray bottle with rubbing alcohol
Butter knives for stirring soap
Rubber gloves
Disposable pipette
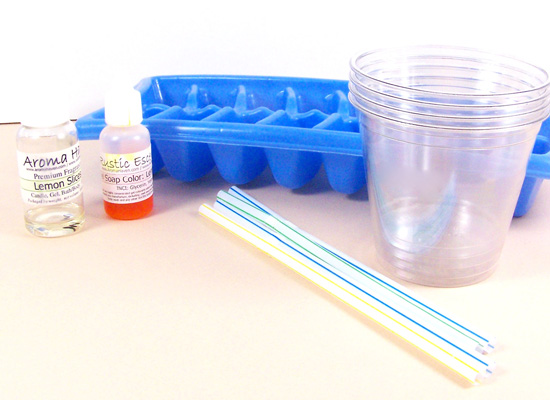
9 oz clear plastic cups (found in any grocery, Target, or other similar store)
Ice cube tray
Ultra Clear Melt & Pour soap base
Body Safe Fragrance Oil
Lemon Yellow Gel Soap Colorant
Straws for decorating (optional)
PREPARING THE “ICE CUBES”
Step 1: Cut up approximately 4 ounces of Ultra Clear Melt & Pour soap base into small cubes using a sharp knife. Add the cubed soap base into a microwave safe glass container and melt the soap base in a microwave for 30 seconds. Repeat if necessary but be careful as this is not a lot of soap.
TIP: Leave a little un-melted soap in the container because the heat of the melted soap will melt whatever is remaining.
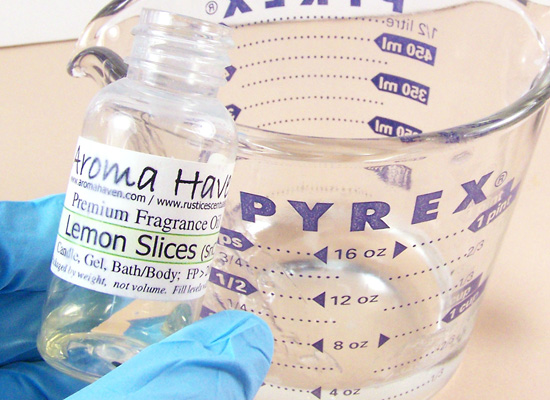
Step 2: Using a disposable pipette, add 1 ml of soap fragrance to the melted soap and stir slowly. For this tutorial we’re using Lemon Slices fragrance oil to complement the yellow color of the drink!
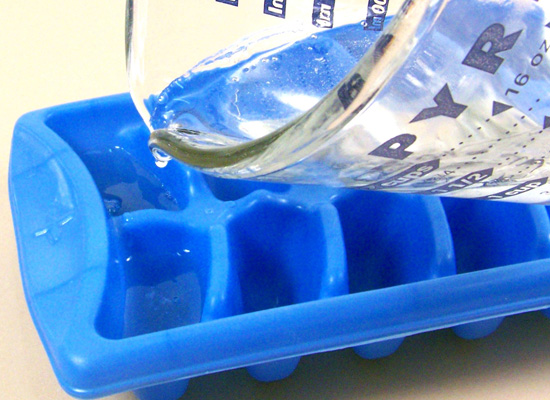
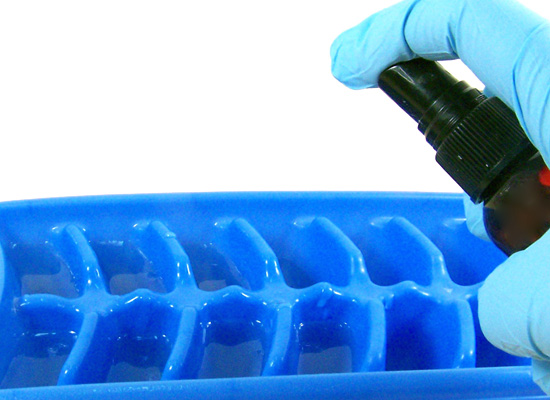
Step 3: Taking the ice cube tray and pour soap base into the cavities. This will make 8 ice cubes. Note: Depending on the size of your ice cube tray, you may need to melt more or less soap.
Step 4: Spritz with alcohol to remove any bubbles.
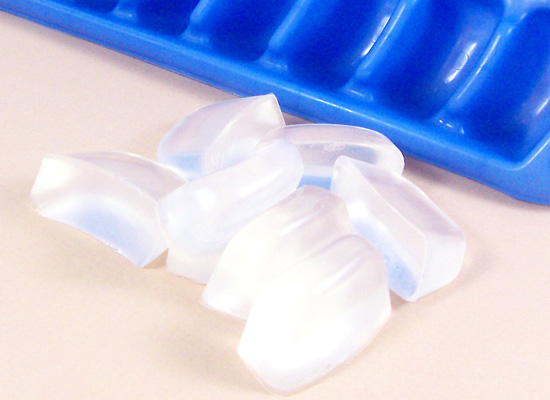
Step 5: Set the mold aside and allow to set. It will take approximately 30 minutes. Once set, twist the mold like you do to pop out ice cubes. To speed up the process you can place them in the freezer – but don’t forget them because they look real!
MAKING THE LEMONADE
Step 6: Cut up approximately 7 – 8 ounces of Ultra Clear Melt and Pour soap base into small cubes using a sharp knife. Melt the soap base in a microwave for 30 seconds. Repeat if necessary. Depending on the size of the ice cubes you may need to adjust the amount of your soap base.
Step 7: Using a disposable pipette, add 3 ml Lemon Slices Fragrance Oil and stir in slowly.
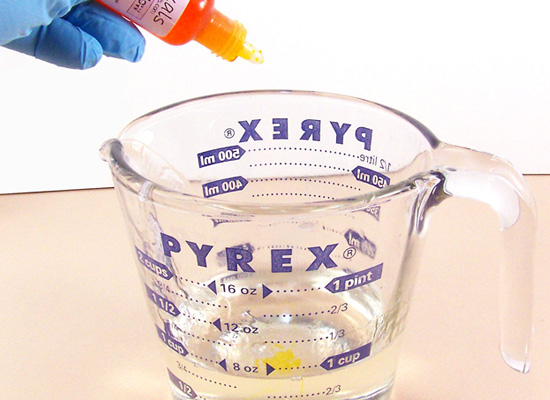
Step 8: Add two drops of Lemon Yellow Gel Colorant into the melted soap base and stir slowly; set aside to cool somewhat.
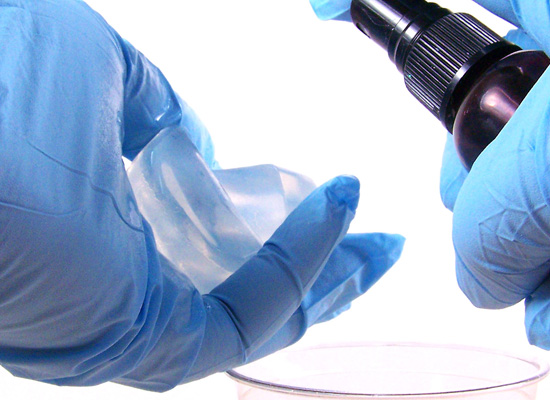
Step 9: Take the “ice cubes” and spritz with alcohol to ensure they adhere correctly to the over-pour of yellow soap.
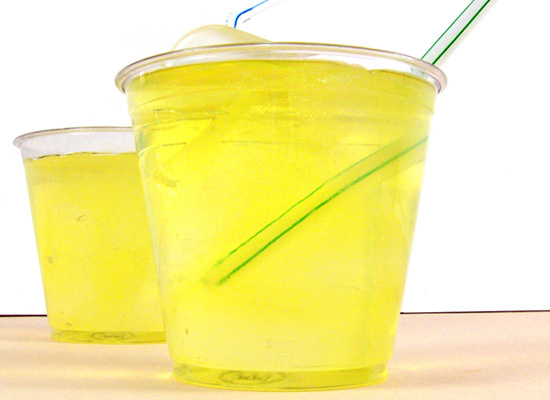
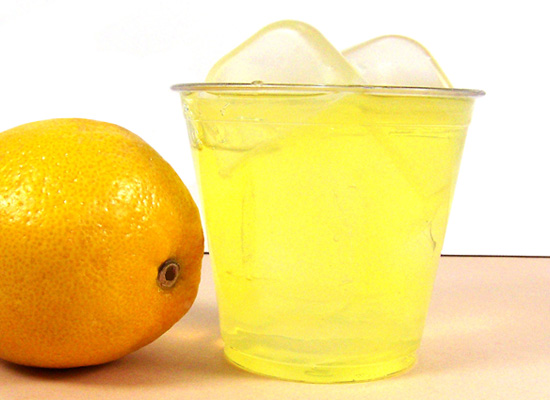
Step 10: Place the cubes randomly into a 9 ounce clear cup.

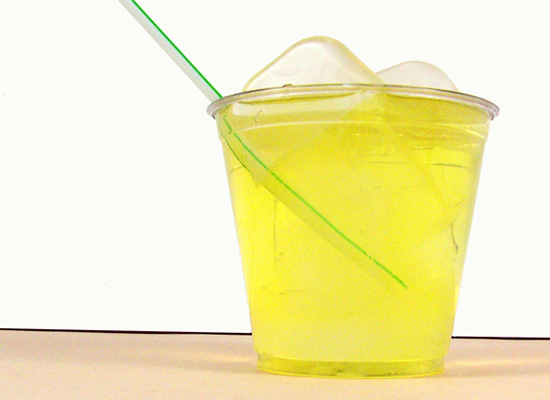
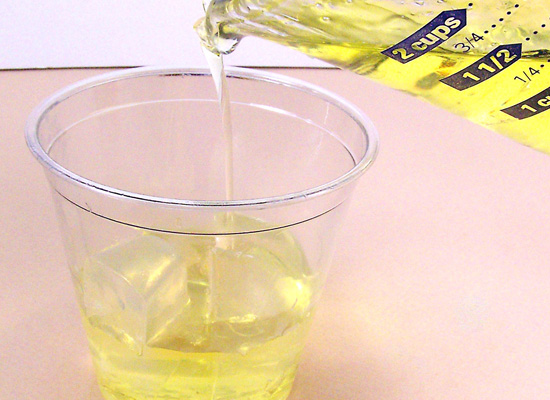
Step 11: Pour yellow soap base over the cubes almost to the top. You should have enough ice cubes so that they stick out somewhat from the lemonade. If you like, you can add a couple more smaller ice cubes to the top. Spritz with alcohol to rid the top of bubbles (if desired – you may want the drink to look bubbly).
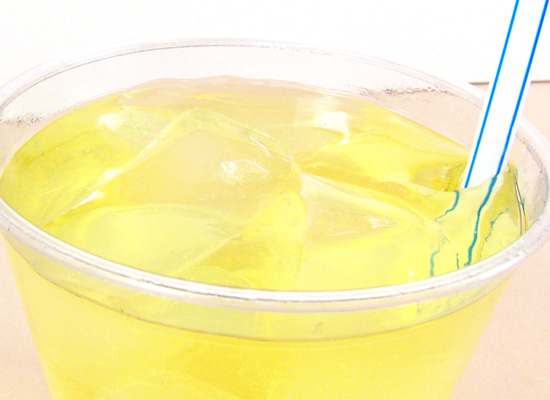
Step 12: While the soap is still in the melted stage, quickly place the straw into the soap. Tip: The soap will begin to set quickly so make sure you stick the straw in right away. You can also place the straw in the cup prior to pouring the “lemonade”.

Step 13: Let set approximately 2 hours or overnight – It’s that easy!
Do not remove the soap from the cup before gifting, giving away or using for yourself. The soap is easy to remove when it’s time to use.