Bath bombs are a fun way to take a relaxing, soothing, and skin-loving bath. Plop one into your bath and experience the lovely scent escaping with each fizz. In this tutorial we display a technique to make multi colored bath bombs. To learn other techniques and recipes, check out the Bath & Body section of the Crafting Library for several bath bomb tutorials.
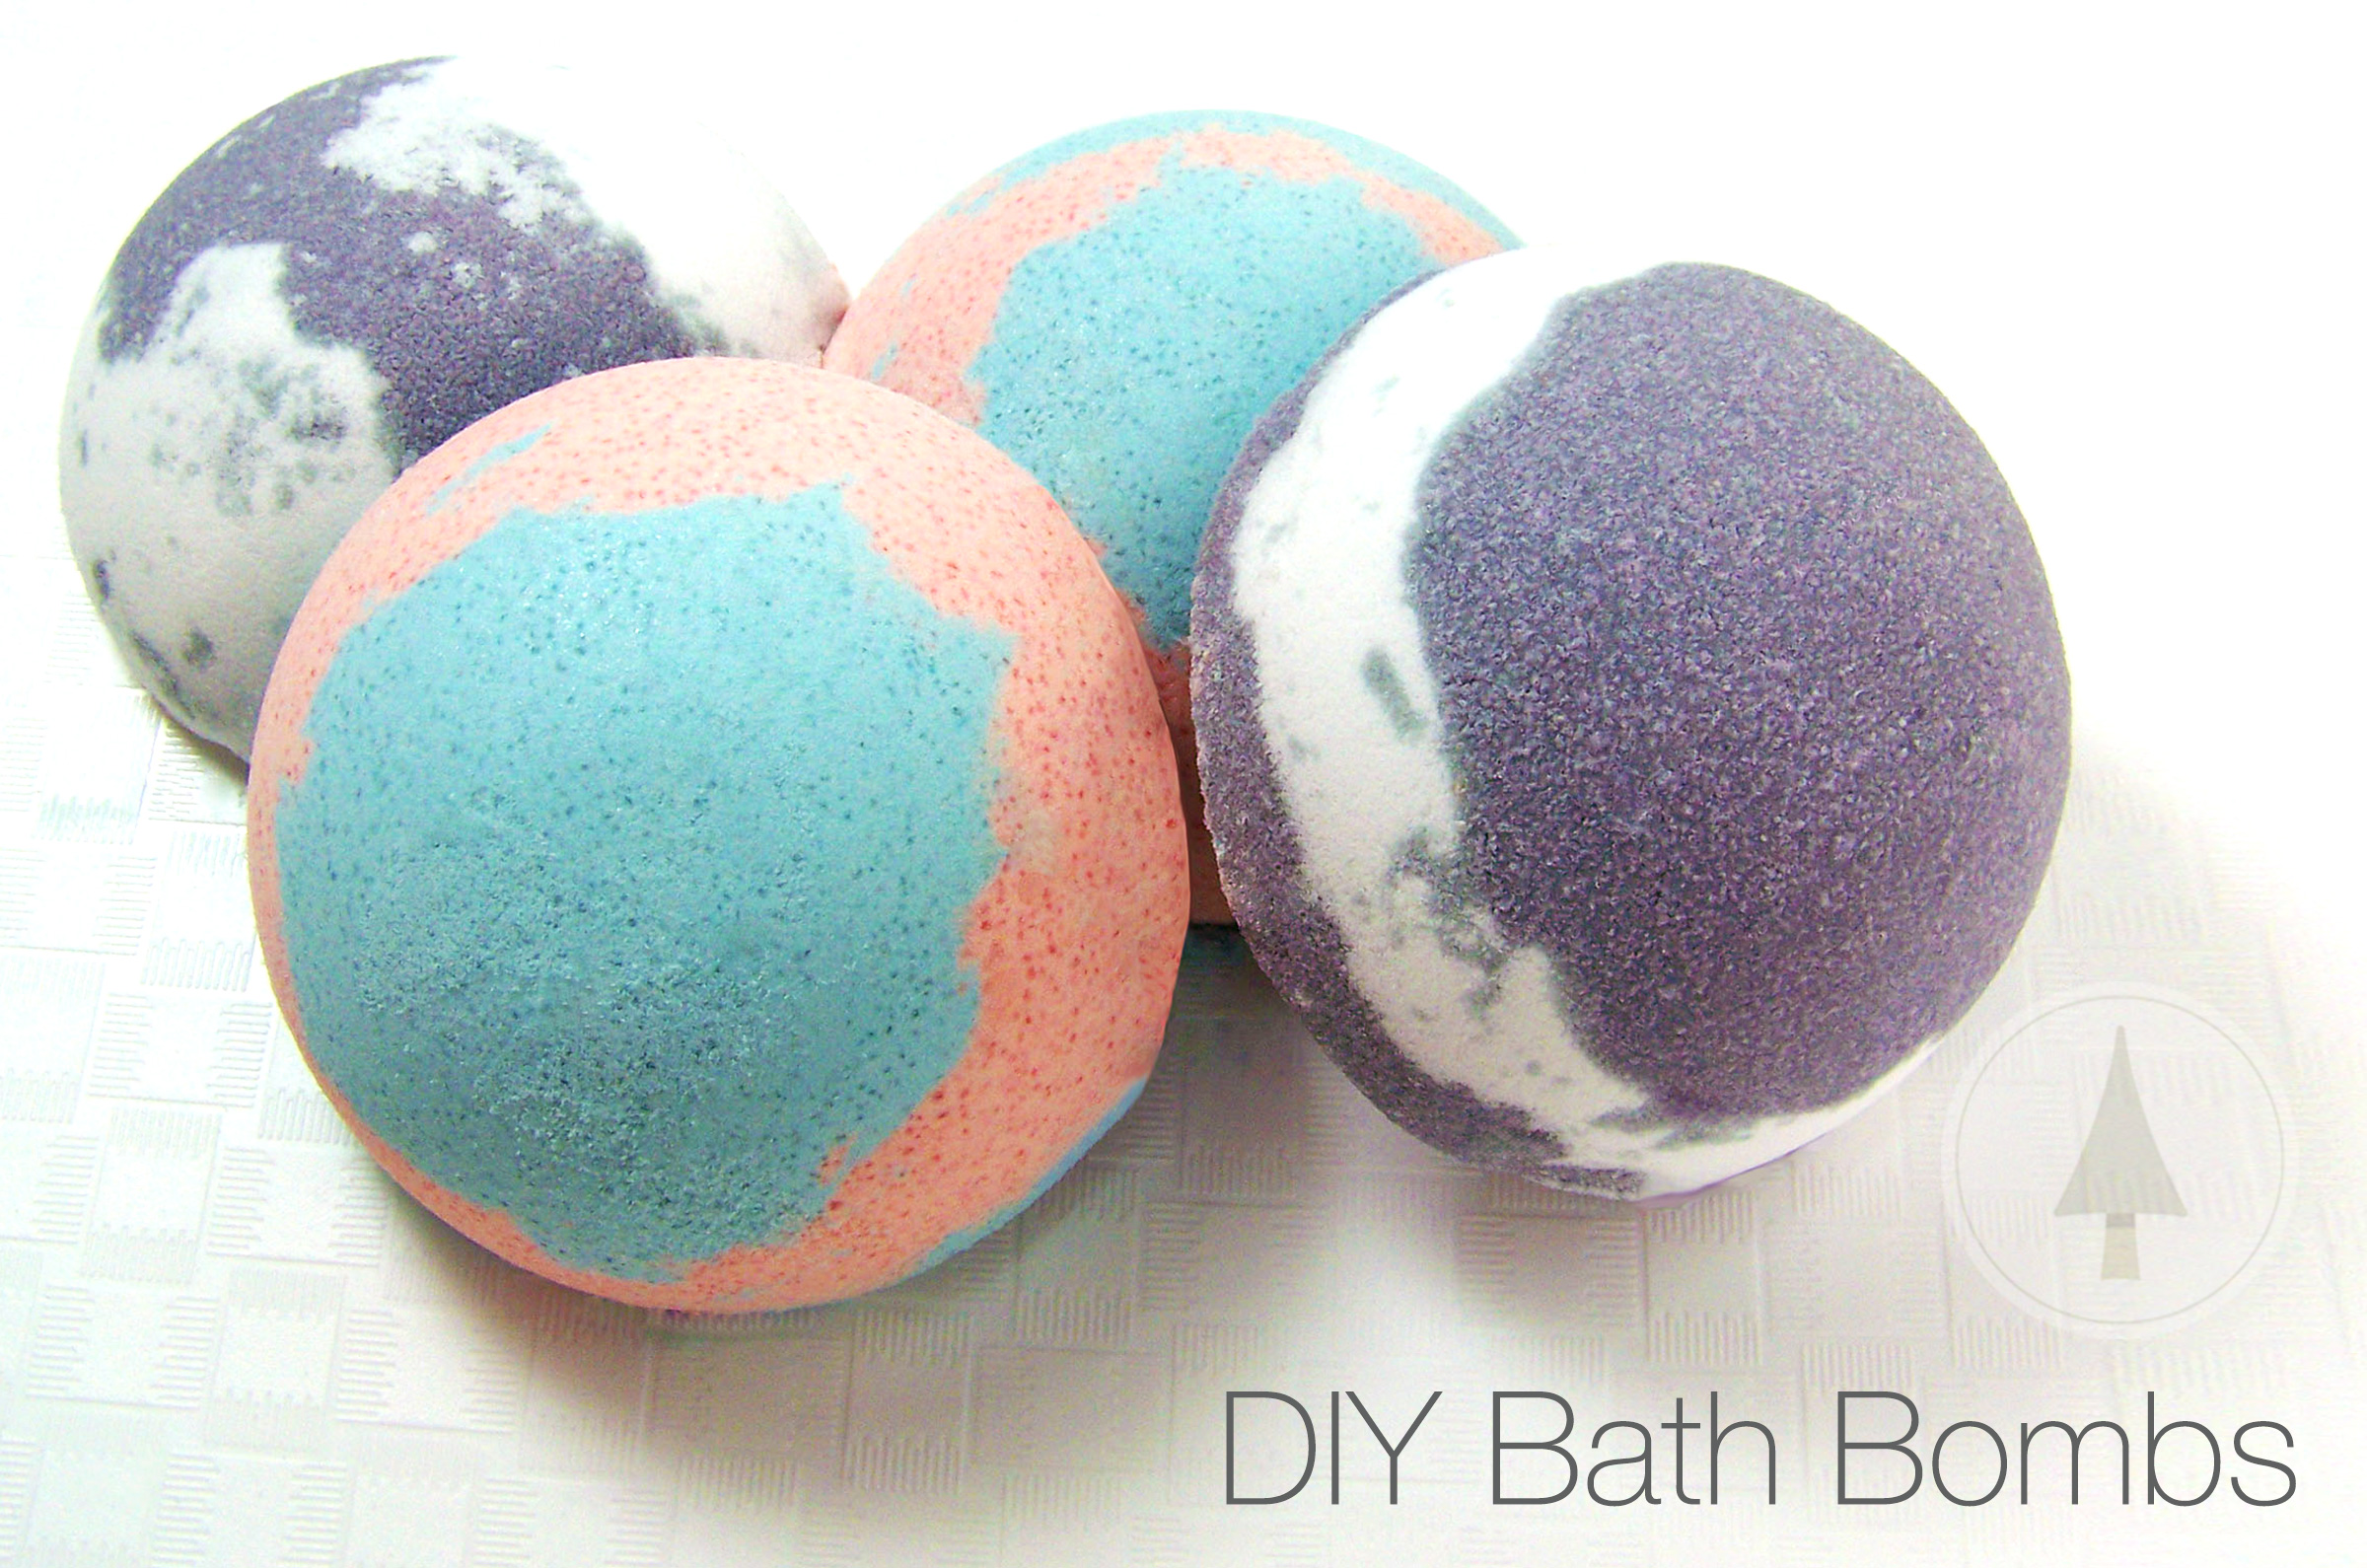
Supplies and equipment needed:
Bath Fizzy Base or your favorite bath bomb recipe
Large Mixing Bowl
Disposable Gloves (not shown)
Smaller containers for mixing (at least a 16 oz. size — you need room to mix your colors)
Witch Hazel
Disposable pipette
Gel Soap Colorants — 2 to 3 different colors of your choice.
Body safe Fragrance Oil
Bath bomb molds

Step 1
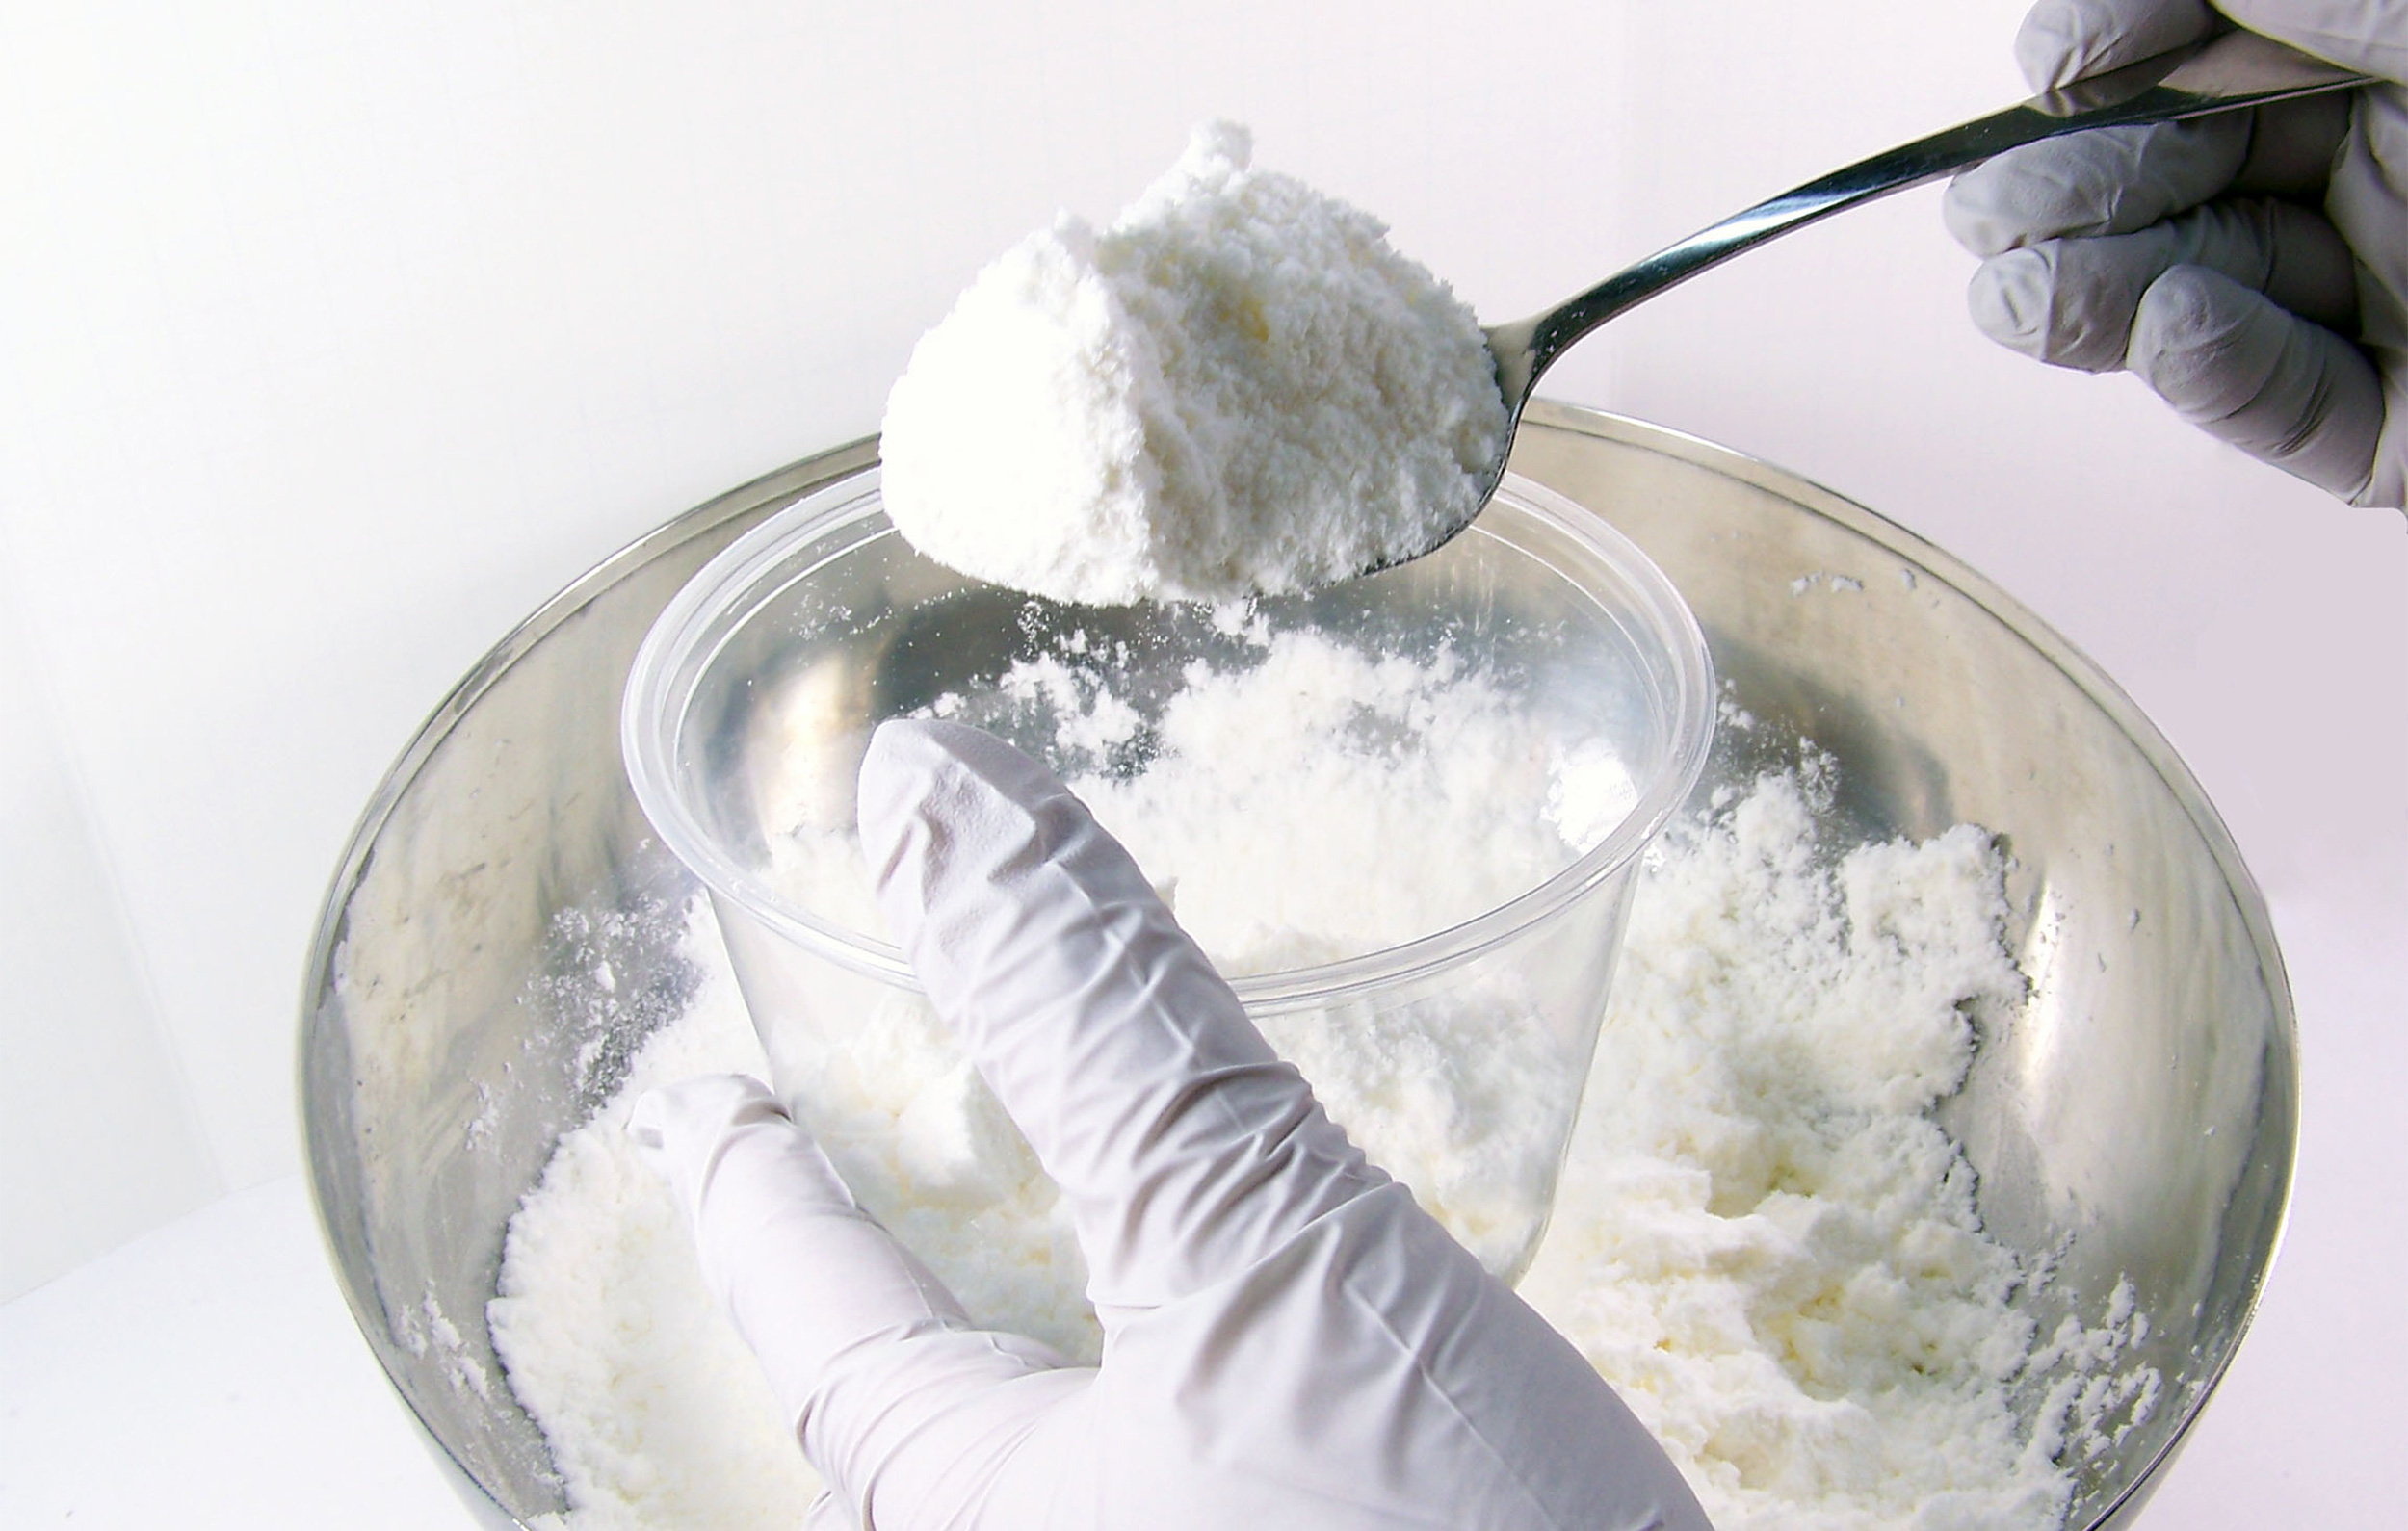
Working with 3 cups of Bath Fizzy Base, ensure that there are no clumps by breaking them up with your hands. You can also sift the mixture through a sifter (or sieve) to ensure everything is broken up; you want the dry ingredients as clump free as possible before beginning to add the wet materials. Don’t forget to wear your gloves!
Step 2
Using a pipette slowly add 0.5 oz of Salty Sea Air Fragrance Oil. Randomly drop the fragrance oil in different spots and then mix very well with your hands. Continue to add the fragrance oil in this manner until you are finished. If you add it all at one time, the mixture may start fizzing and you don’t want that.

Step 3
Now that you have added the fragrance oil, separate some of the mixture into 2 containers (for a two-tone bath bomb). Put about 1/2 to 3/4 cup into each container – enough to make 2 half bombs or 1 whole bomb. If you’re going to make several bombs, split the entire mix into two.
Step 4
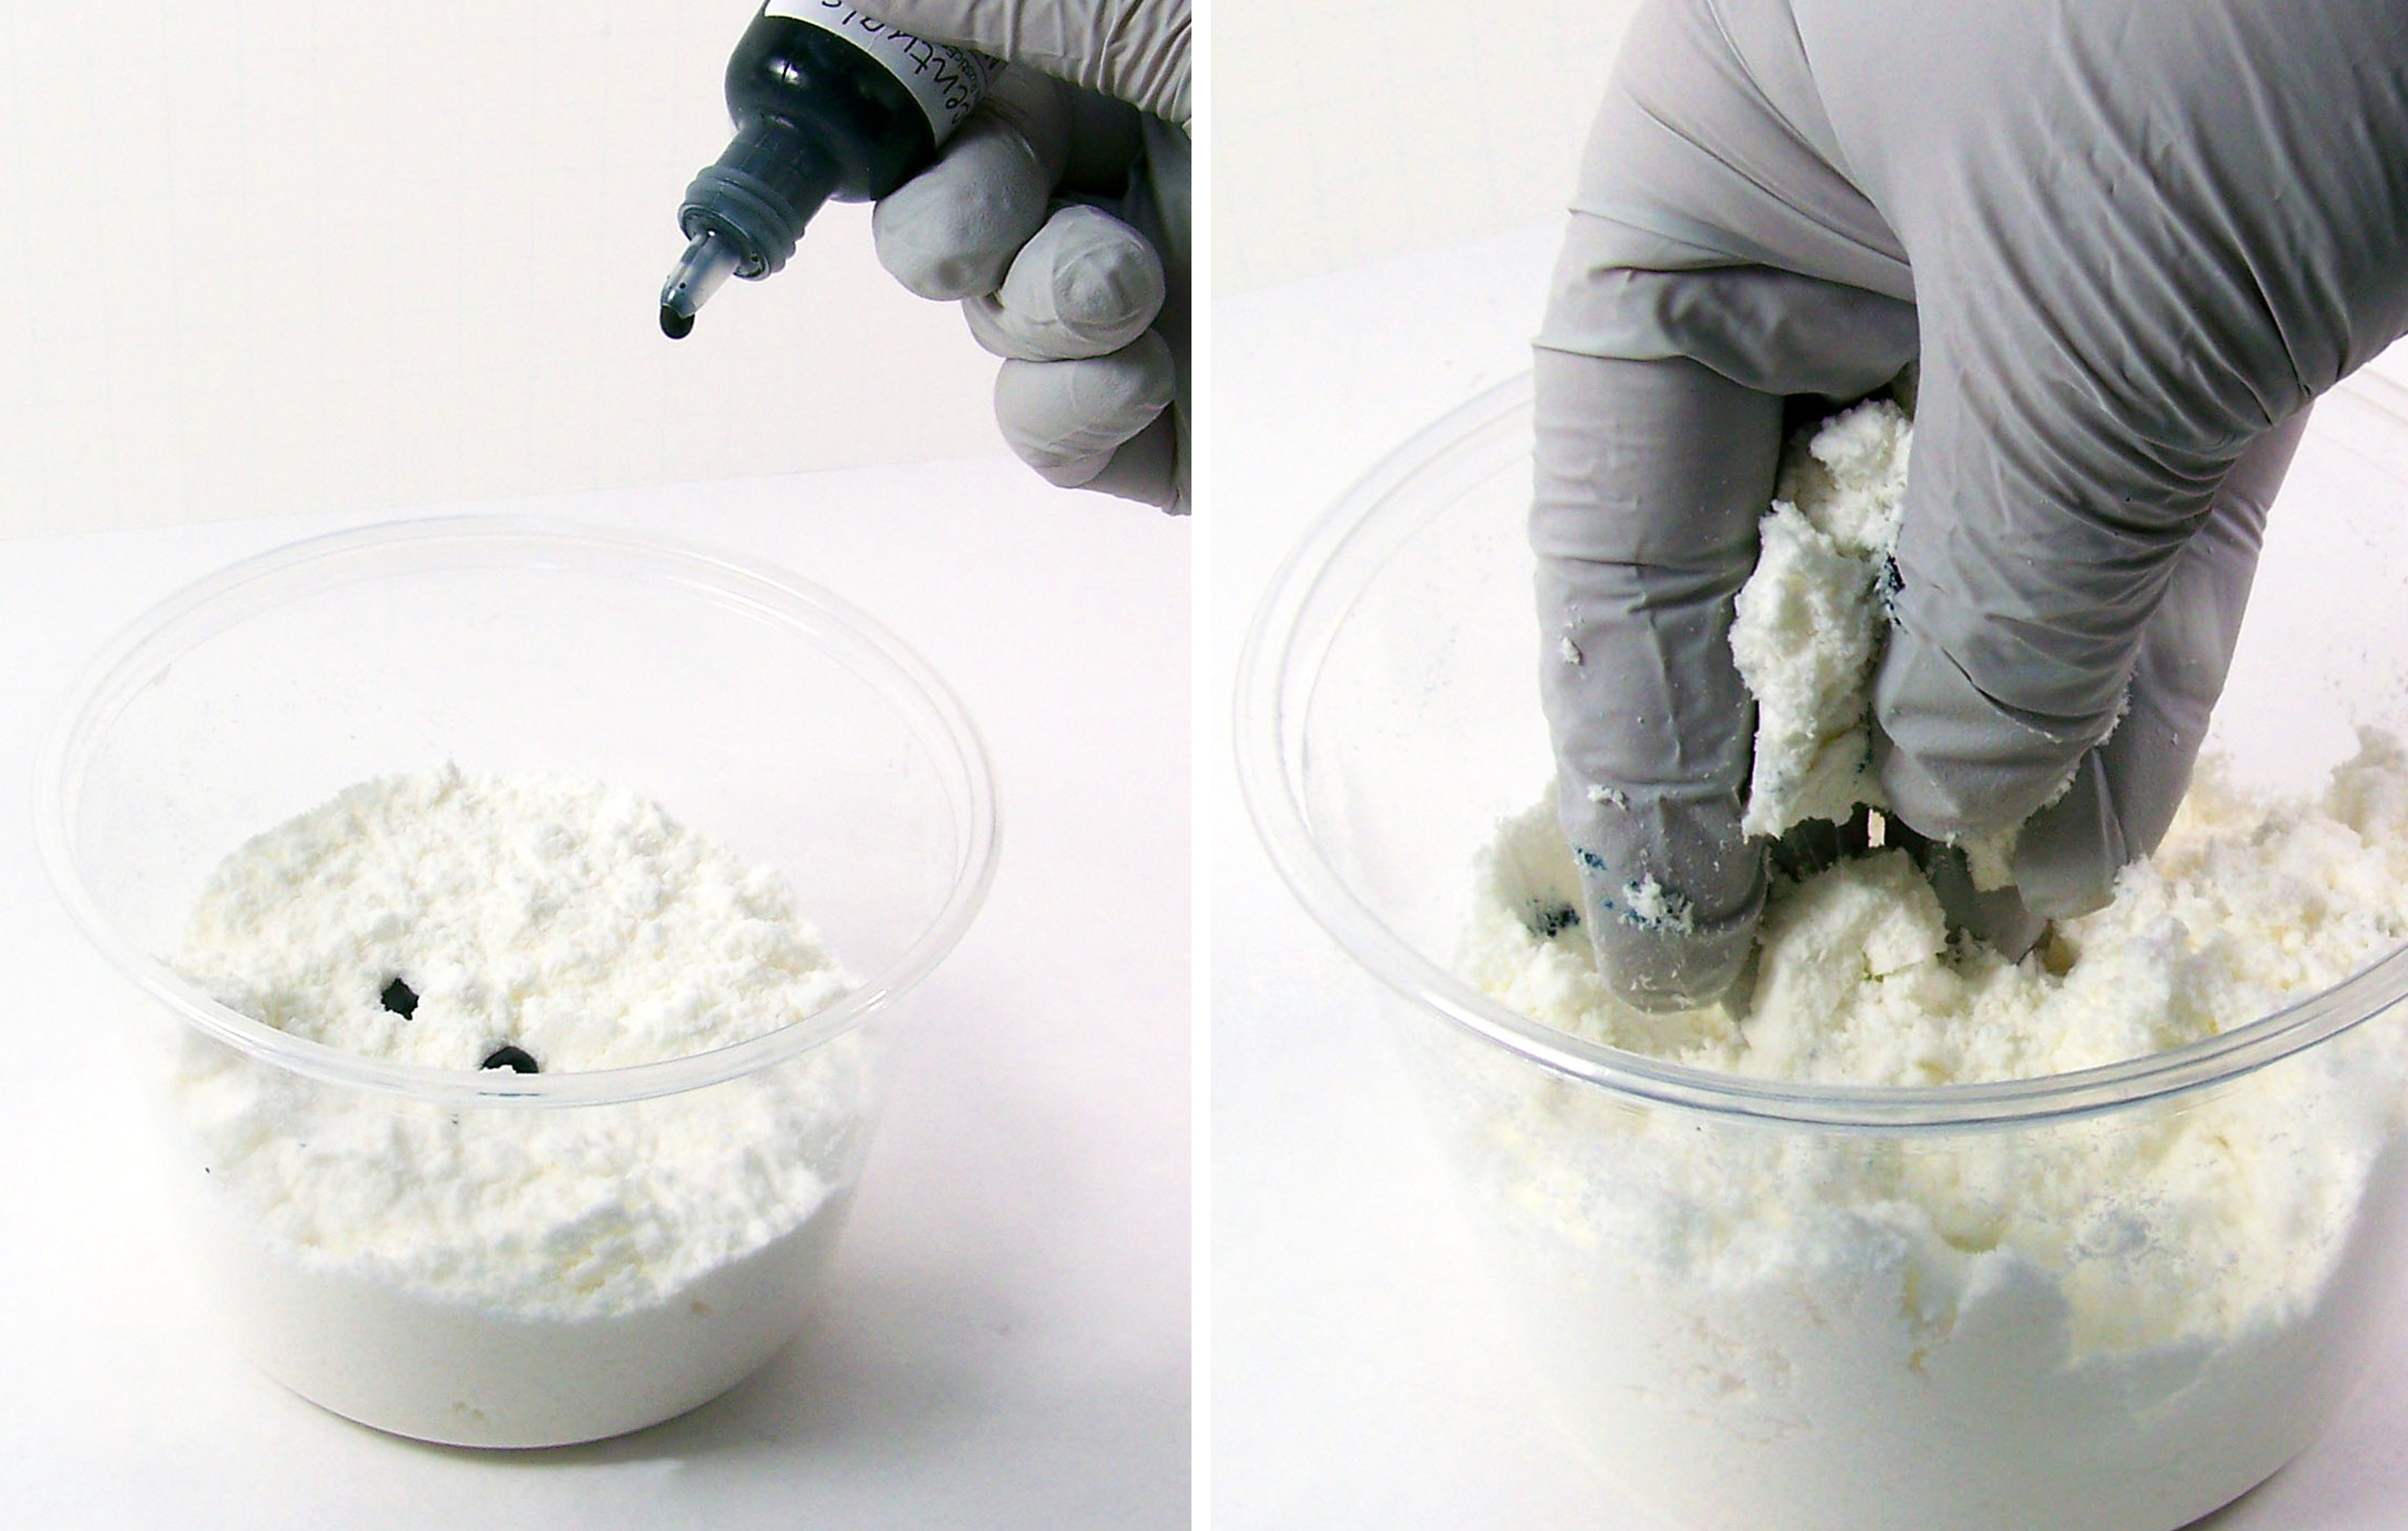
Drop 4 drops of Navy Blue Gel Soap Colorant into one of the containers with the Bath Fizzy Base and mix together well using your hands. Please use gloves or your hands will turn blue!
Step 5
Repeat Step 4 with the 2nd color. For this tutorial we chose Melon Red.
Step 6
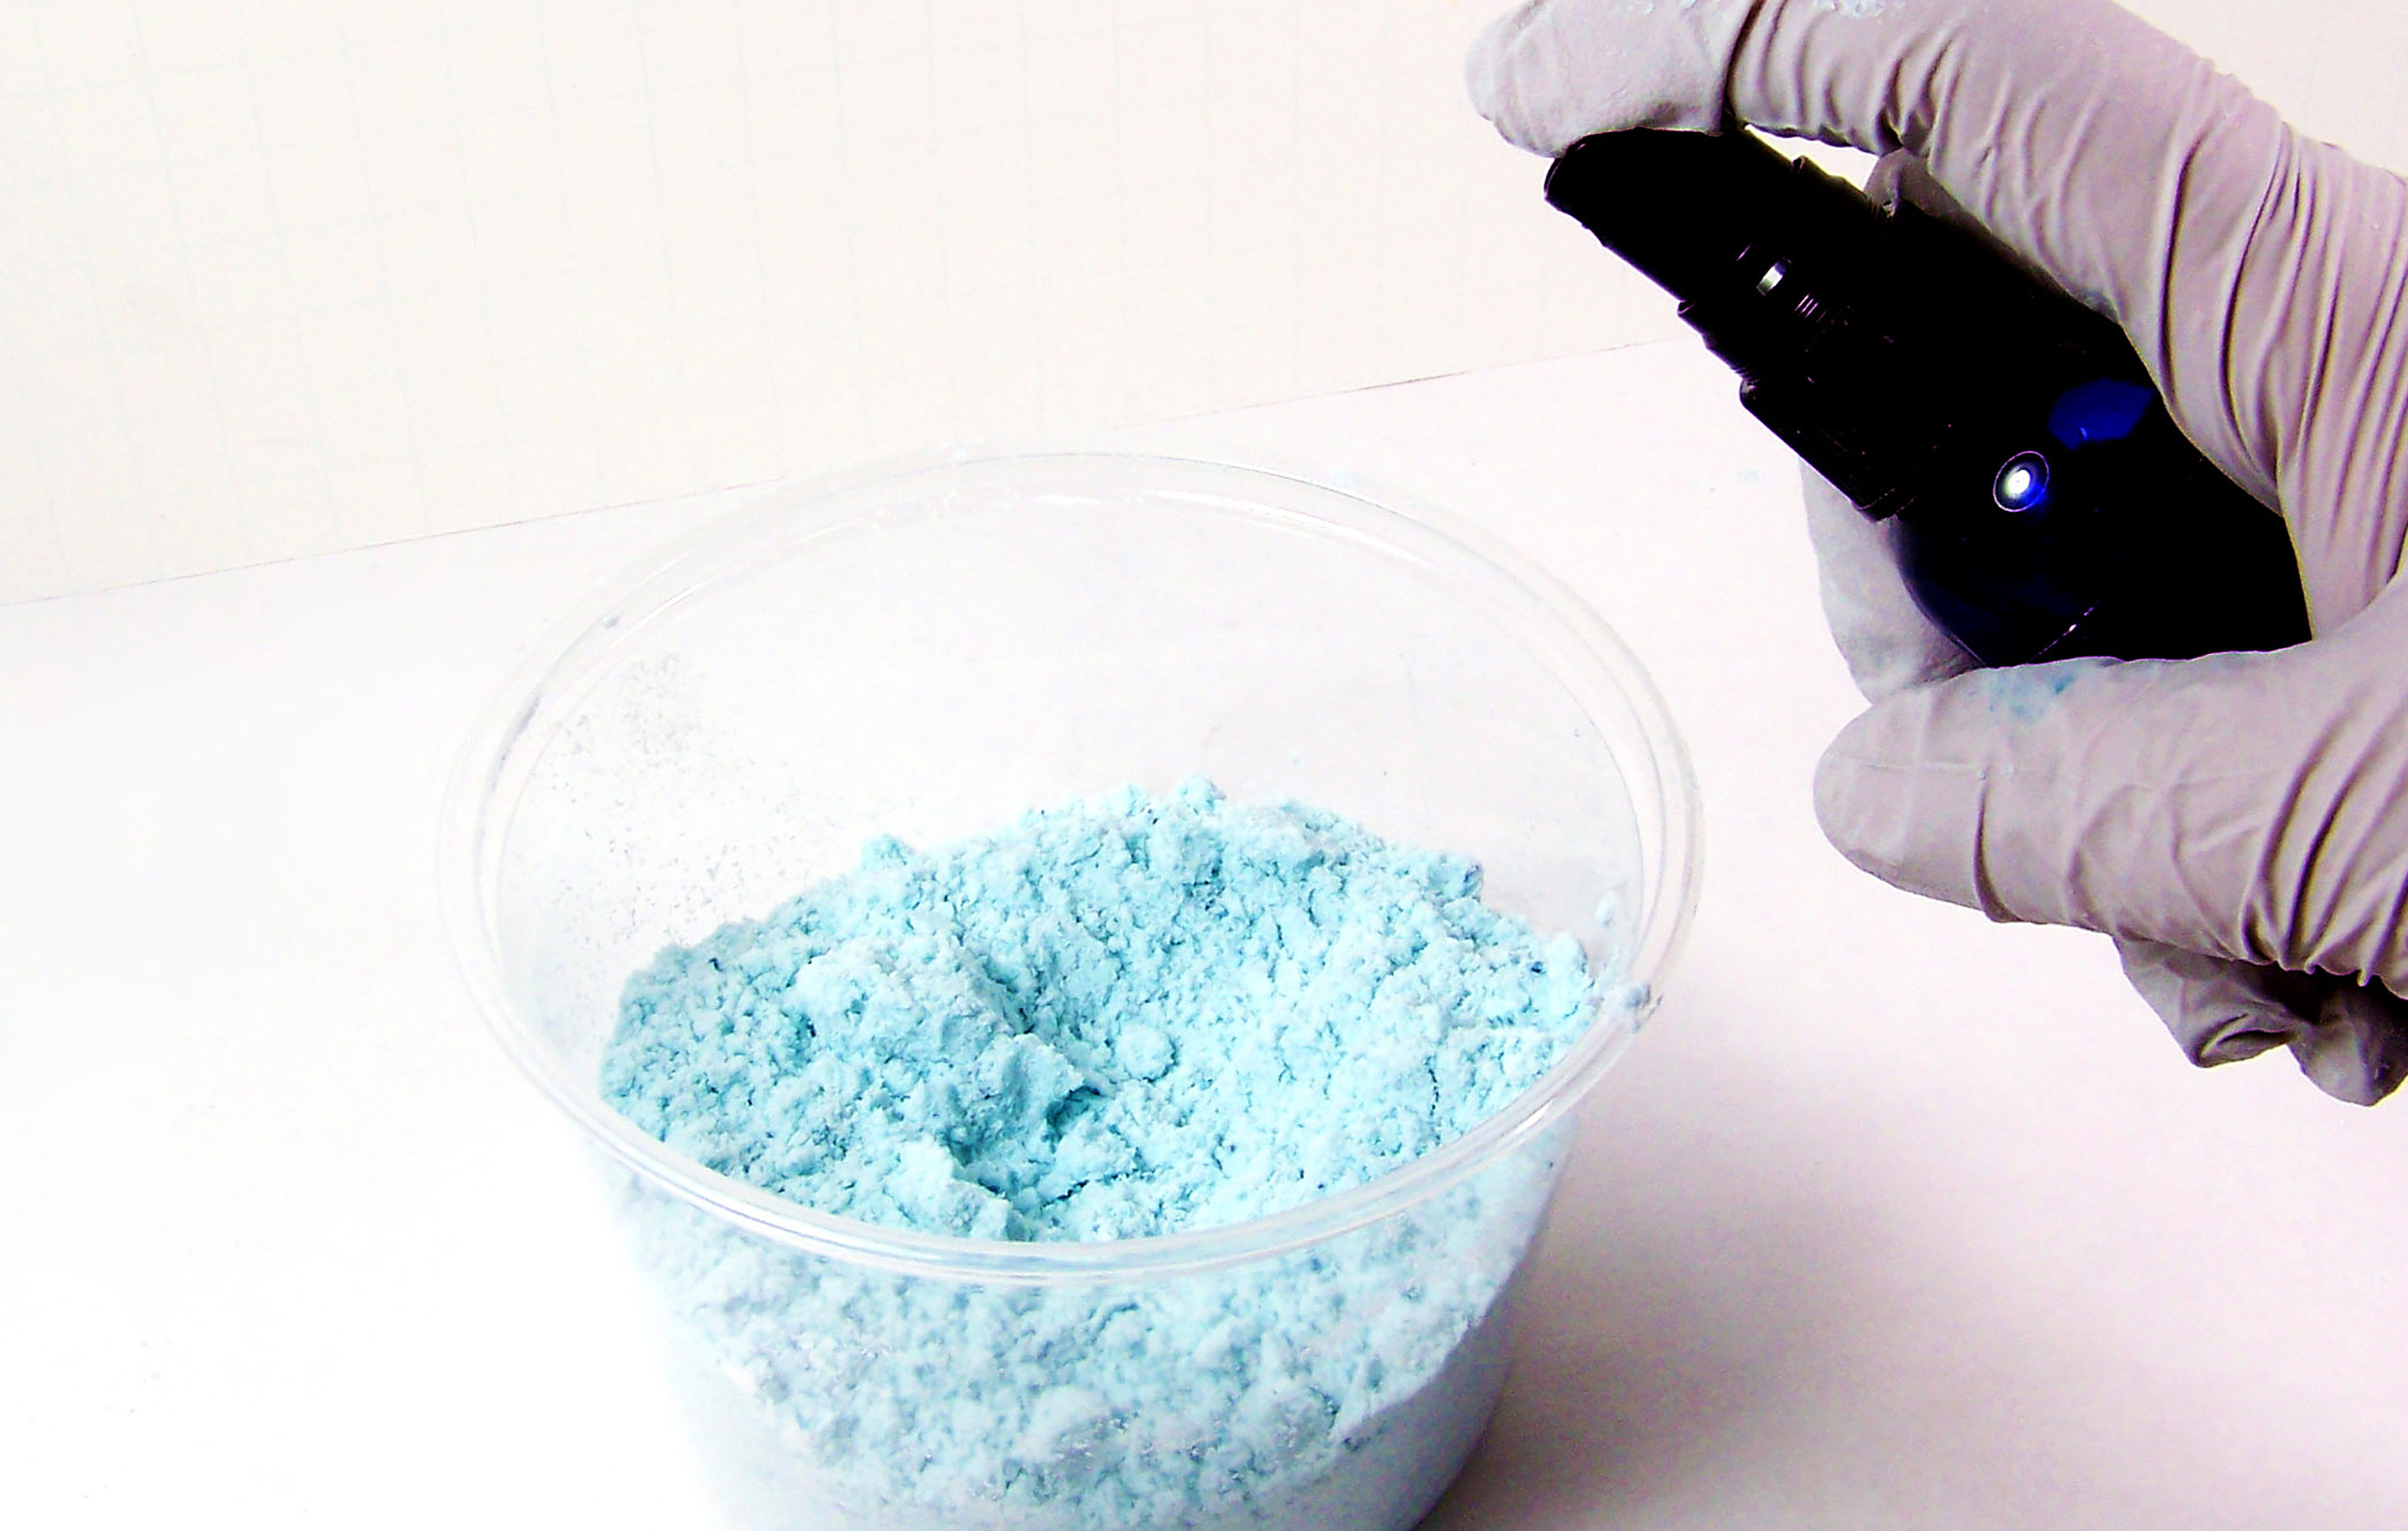
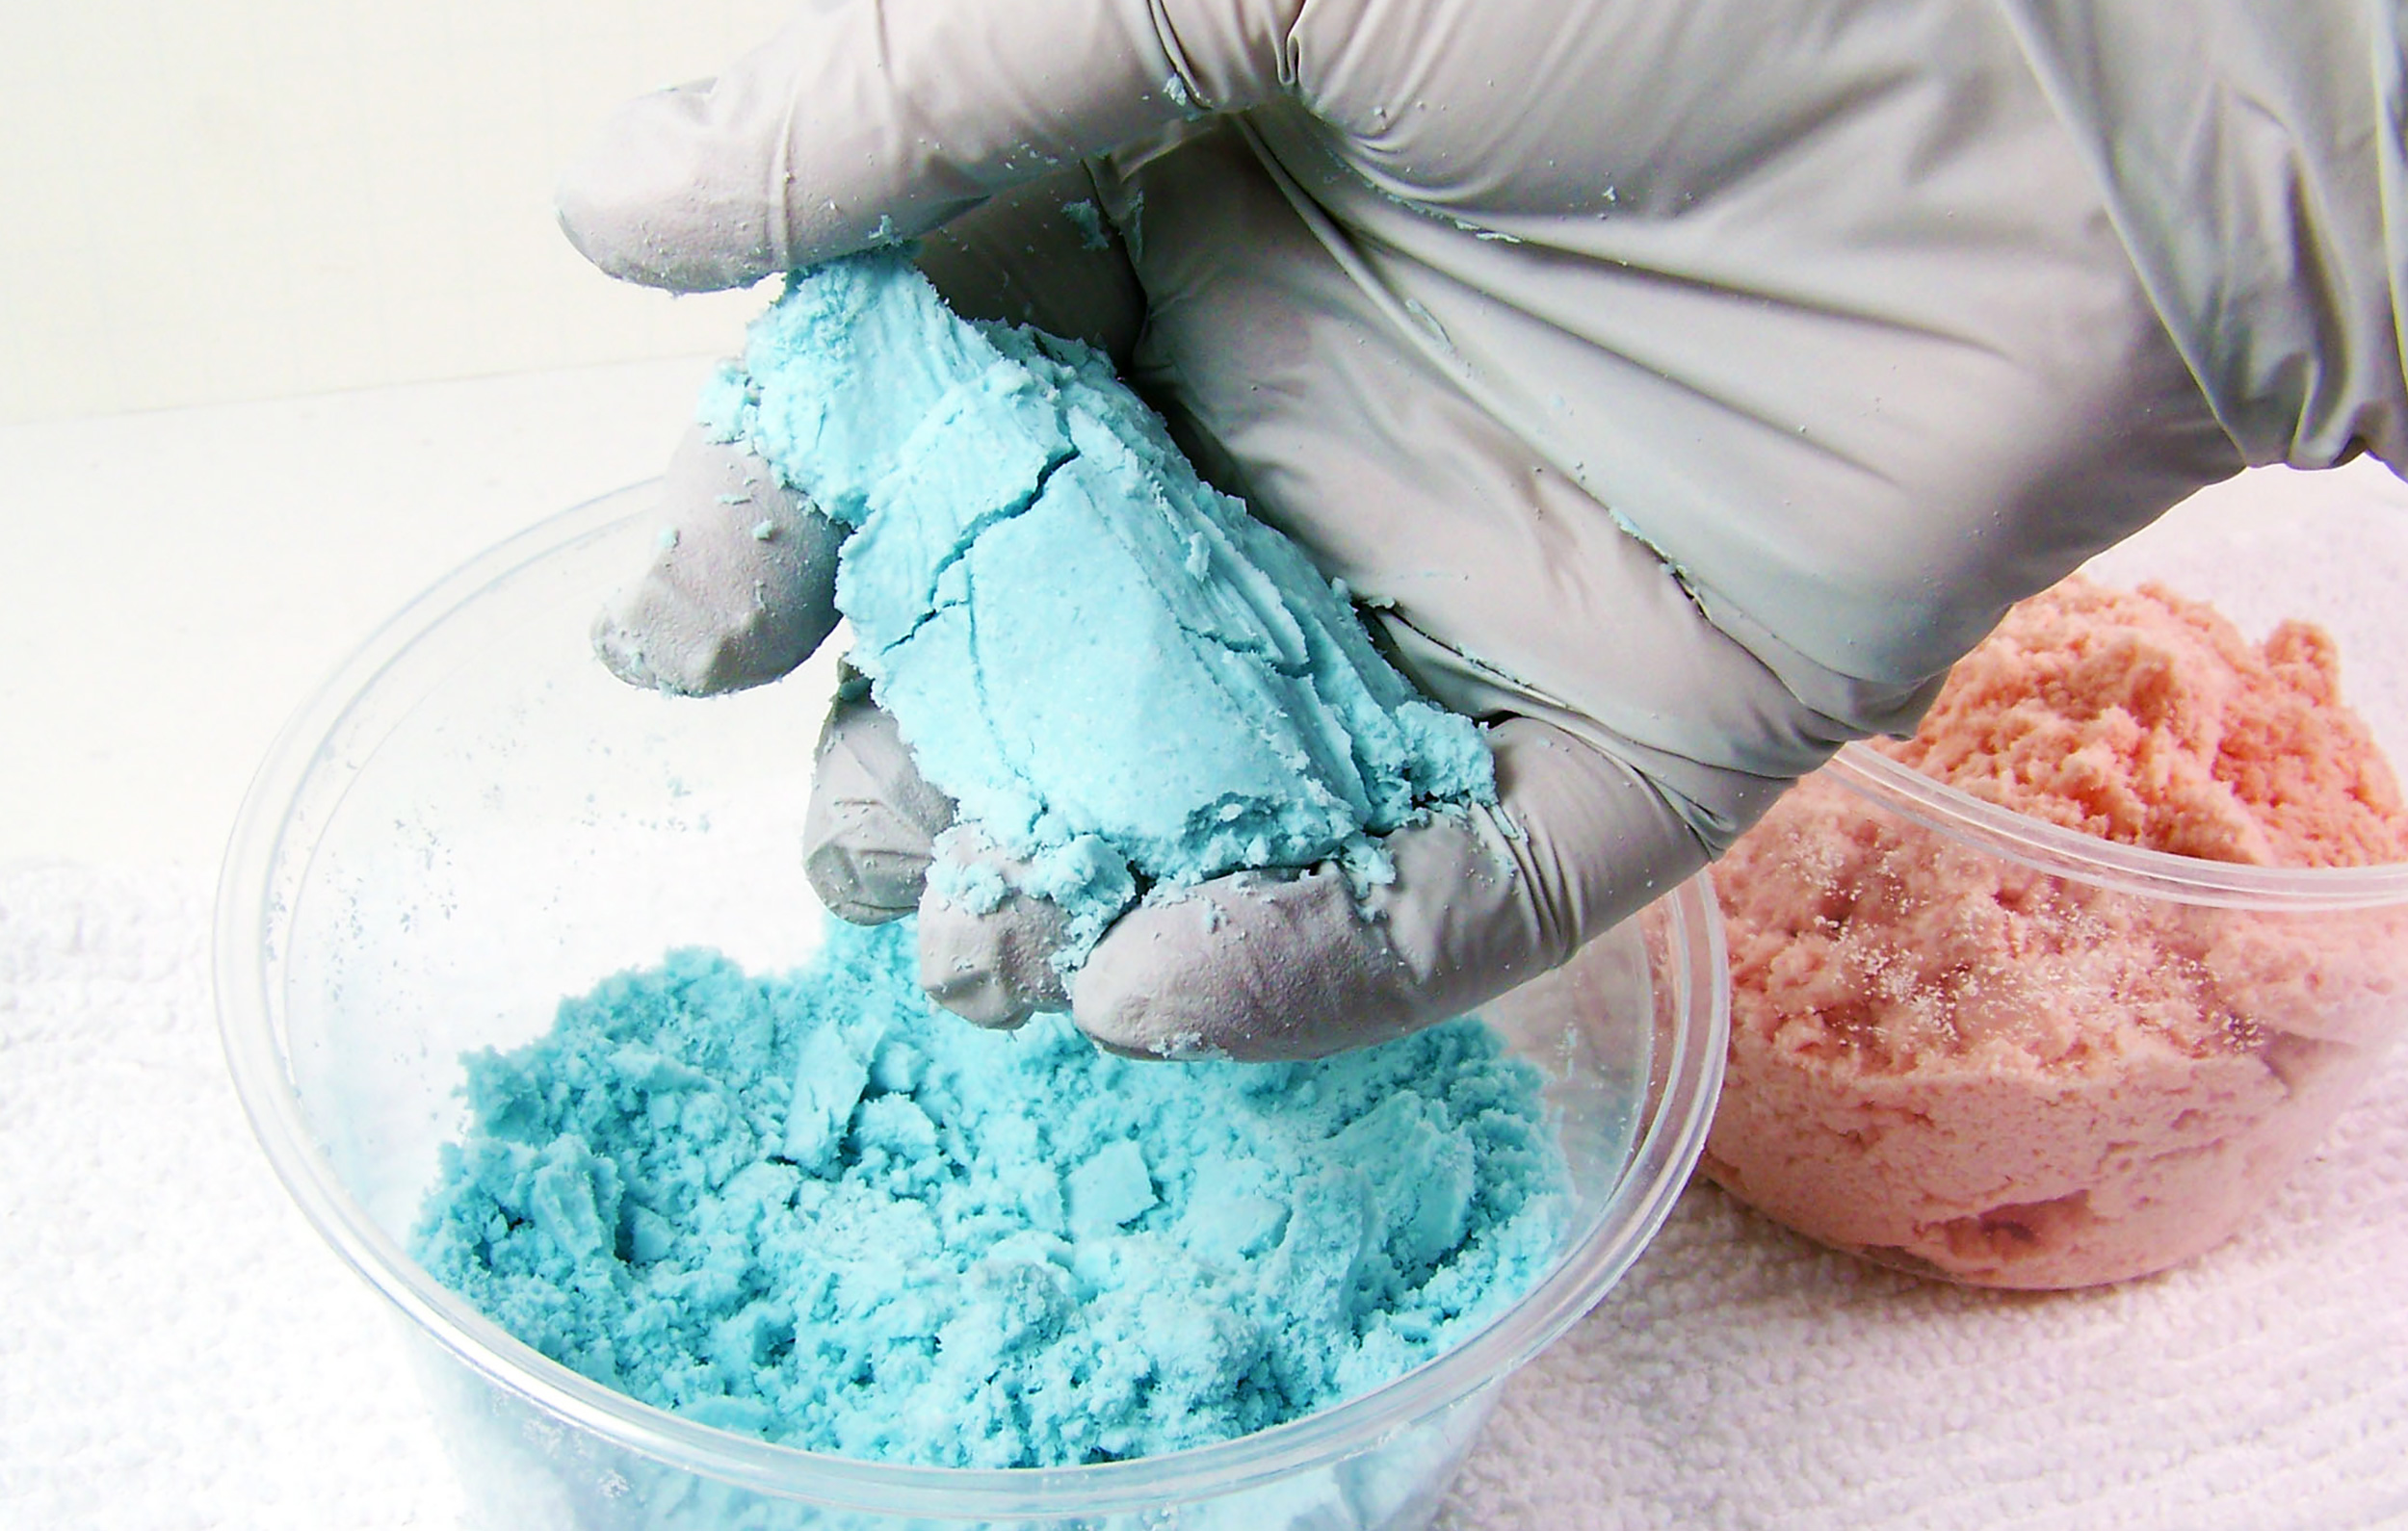
Starting with the first color (Blue), spritz the mixture with witch hazel – 3 to 4 spritzes at a time. It is important that you not spritz in only one section. Using your hands, briskly mix together being sure to remove any clumps that have formed.
Step 7
Repeat with the 2nd color, but remember to change your gloves or you’ll mix the colors.
Step 8
Test the mixture after each set of spritzes & mixing. Don’t be impatient here – just keep spritzing and mixing until it’s ready. It will be ready when the mix holds together like wet sand. If it doesn’t hold together it’s not ready.

Step 9
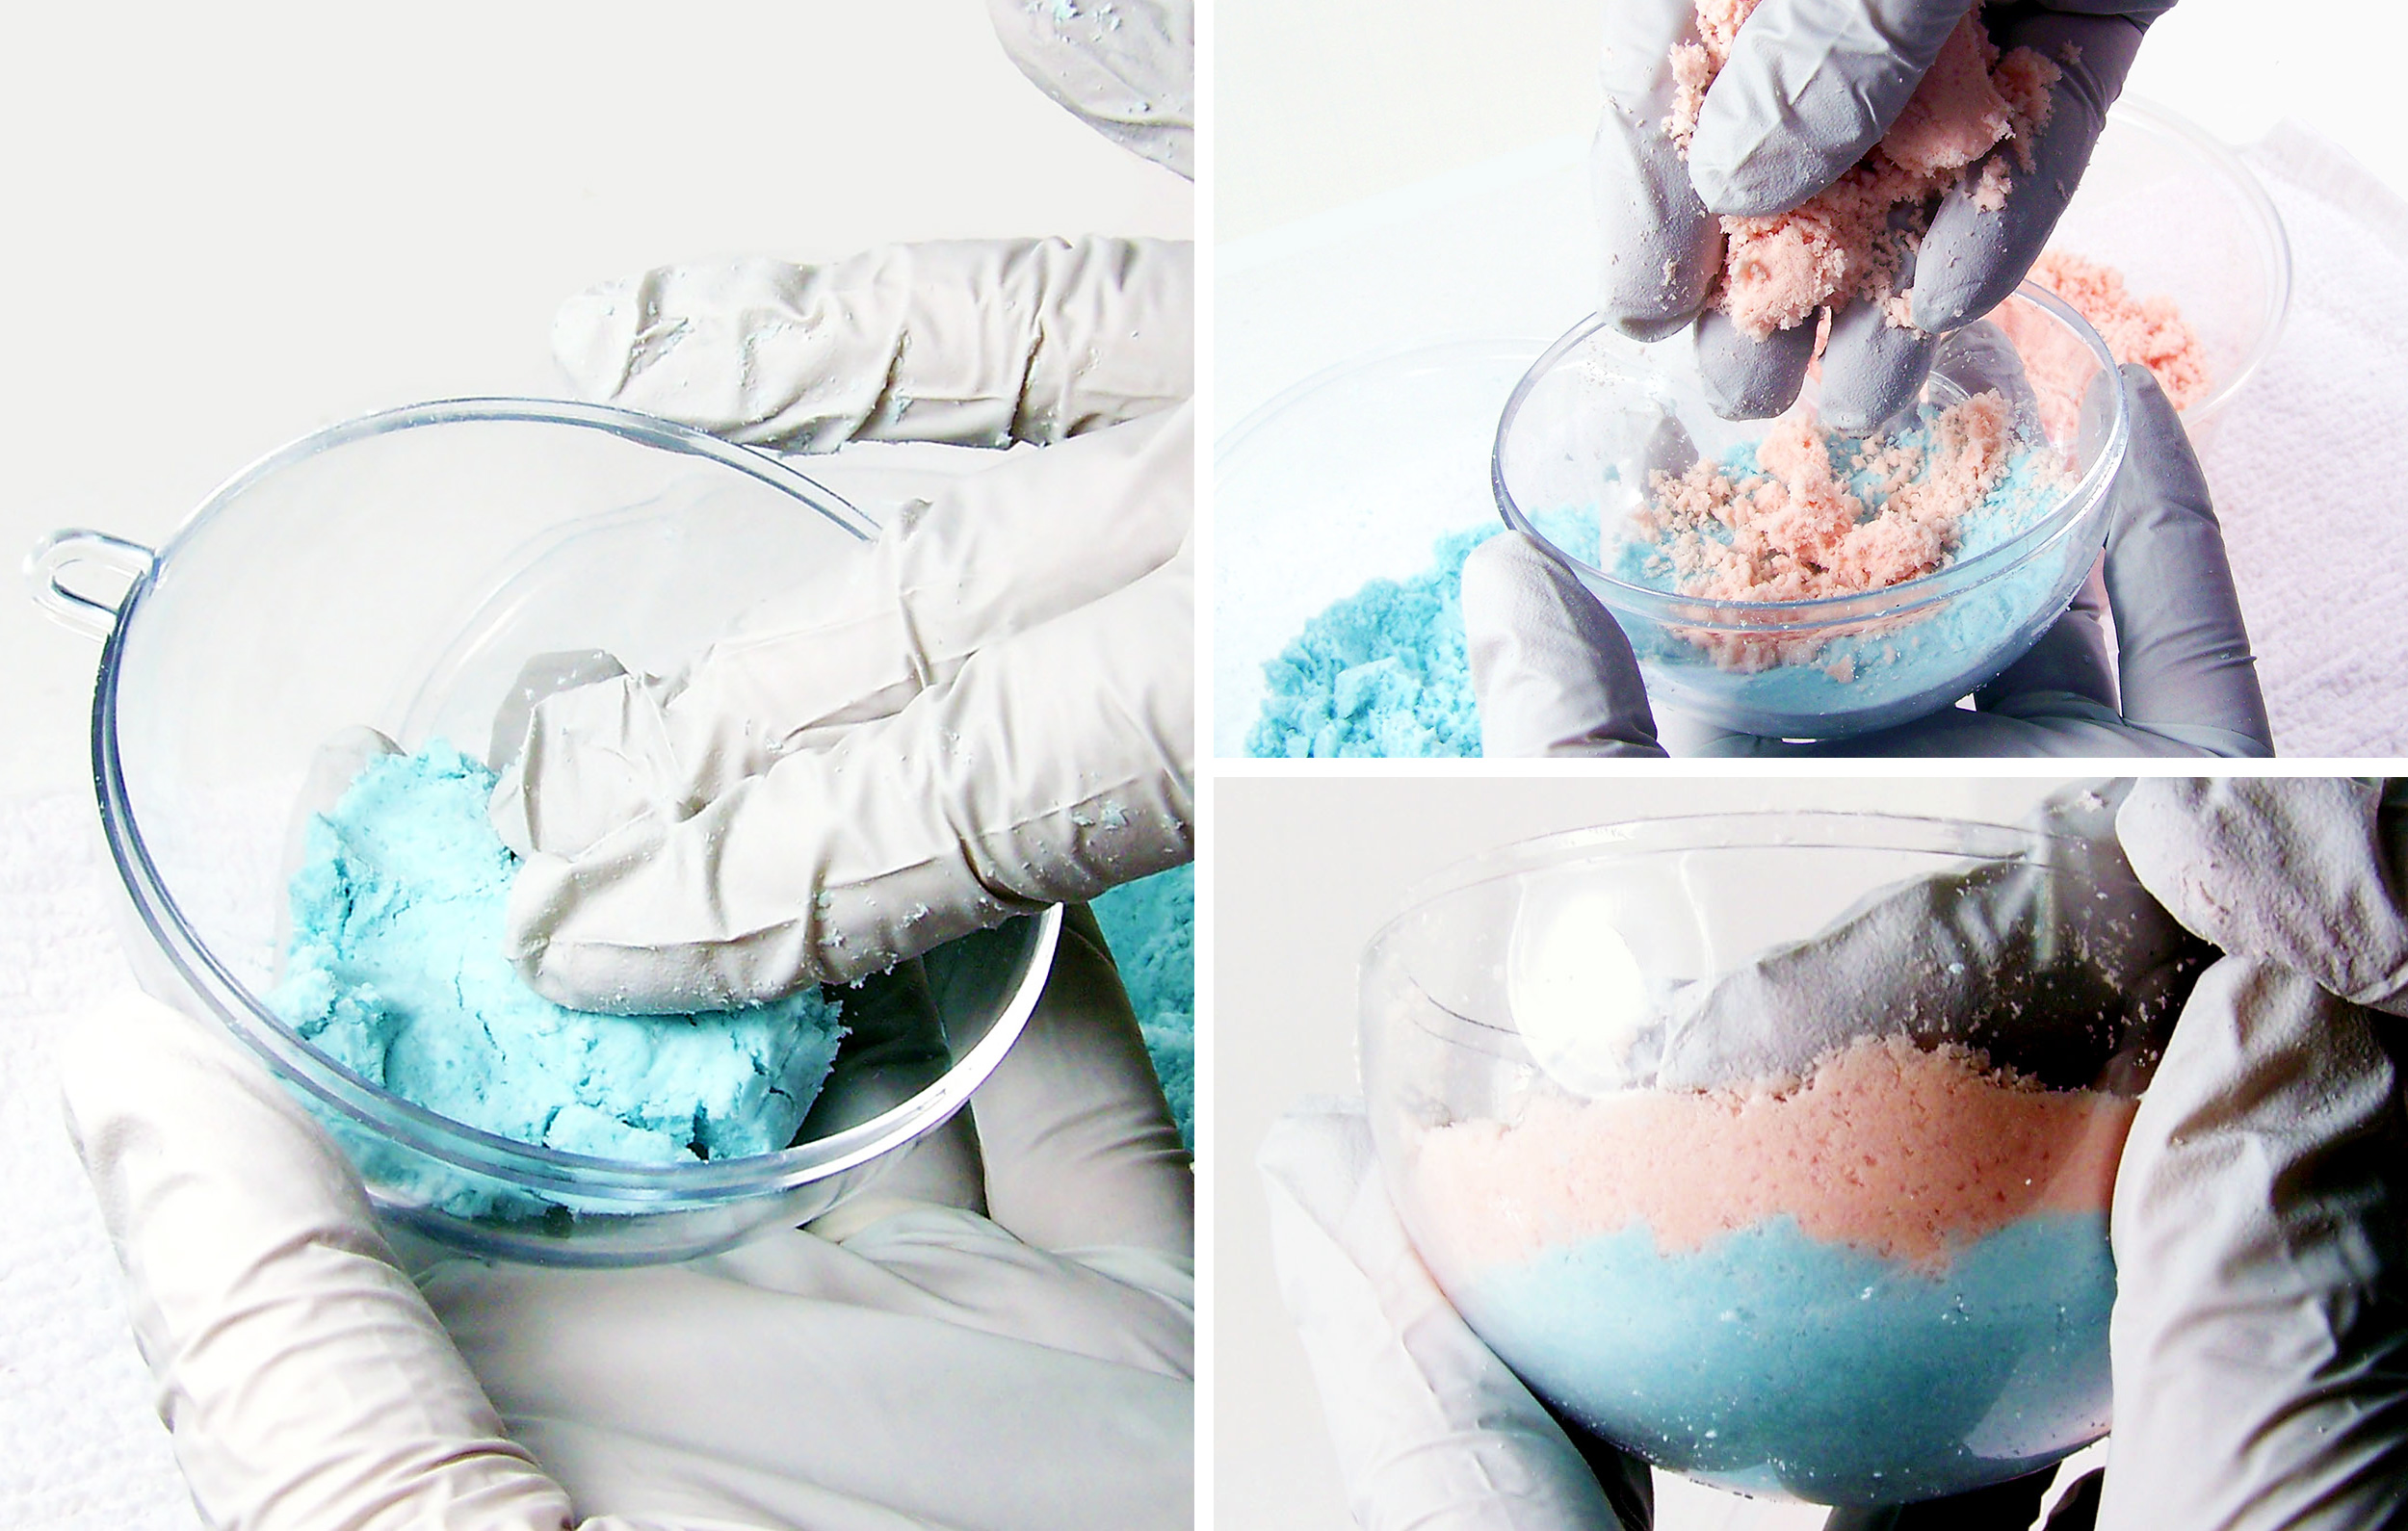
Now that both colors are ready for packing, take some of the blue mixture and press it firmly into the bath bomb mold. Take just enough for the bottom portion of the mold. Make sure you press it firmly because you don’t want any gaps to show in the finished products.
Step 10
Taking some of the 2nd color bath bomb mixture, sprinkle it on top of the firmly packed blue mixture and press it firmly into the bath bomb mold.
Step 11
Going back to the first color, add the blue mix all the way to the top of the mold. Continue to press firmly into the mold. As you work it, you will notice that it forms to the mold easily.
Step 12
After about 5 minutes, turn the mold over and tap on the bottom – the bath bomb will release. Set the bath bombs to the side to completely dry for about 24 hours.
TIP: This tutorial shows the bath bombs being made using each half of the bath bomb mold. You can also choose to make a round bath bomb by over-filling the two halves, pressing the two firmly together, then releasing from the mold. Don’t forget to check the other tutorials for more in-depth instructions!
You can create any color scheme you want using multiple colors — experiment and have fun! You can color coordinate for birthday, baby shower, or wedding shower gifts or even make fun gifts for the home or office by using seasonal and holiday colors. Make a customized gift for the man in your life by using a camo color scheme!
Now go ahead — take a bath!

