I’m starting to see pumpkins everywhere! Love their color, love their scent, love their taste (pie anyone?). This is Part II of our Fall inspired soap tutorial. We will once again be using the Mini Leaf and Pumpkin Silicone mold but this time using the Pumpkin cavities. These make super gifts – have fun!
If you’ve missed Part 1, check it out here Mini Leaf & Pumpkin Mold Tutorial – Part 1
Skills: Adding additives
seeing pumpkins everywhere? You’re not alone!
Supplies and equipment needed:
Microwave
1 Microwave safe glass container
Sharp knife to cut soap into cubes
Spray bottle with rubbing alcohol
Butter knife for stirring soap
Rubber gloves
Disposable pipette
Thermometer to monitor soap temperature
Mini Leaf and Pumpkin Silicone mold (6 cavities, 2 5/8″ x 2 1/2″ x 1 1/2″ deep; each cavity holds 3.5 ounces)
Ultra Clear Melt & Pour soap base
Butternut Pumpkin Fragrance Oil
Gel Soap Color in Orange
Shimmer Dust Glitter: Diamond Dust Glitter 014
0.15cc Mini Scoop
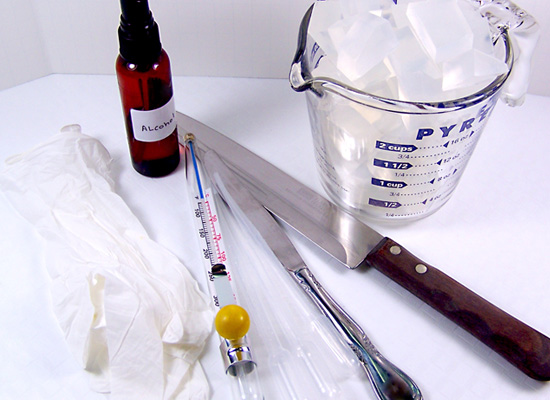
gather your basic supplies (soap, tools, gloves, etc)
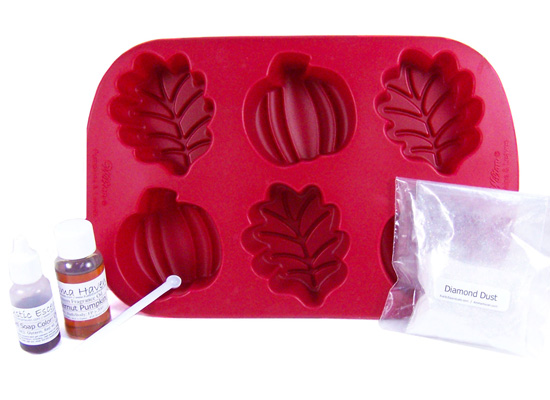
then grab the rest of the gang (soap, fragrance oil, glitter)
Step 1: Cut up approximately 12 ounces of Ultra Clear Melt & Pour soap base into small cubes using a sharp knife.
Step 2: Using a microwave safe container, melt the soap base in a microwave using 30 – second bursts until melted. Do not burn or boil, this will result in a poor quality rubbery soap. If there are any small chunks of soap left, stir slowly; the heat of the soap will melt these small chunks.
Step 3: These silicone molds can withstand higher soap temperatures, but it’s still important to make sure you don’t overheat the soap base. Use a thermometer to monitor the soap base temperature. I don’t like to add any fragrance oils or additives when the soap base is too hot so I wait for each container to cool to about 145 degrees.
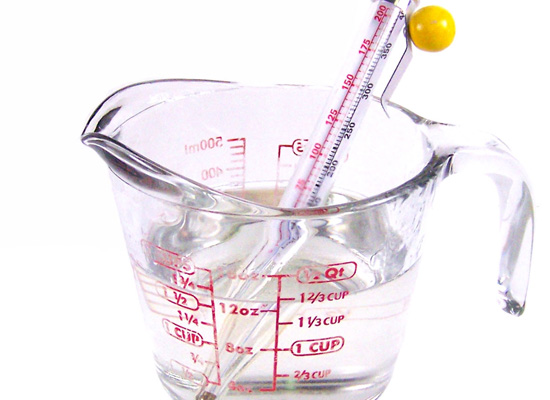
while the silicone molds can handle high heat, it’s best not to overheat the soap base
Step 4: Add 5 drops Orange soap colorant to your melted soap and stir in slowly.
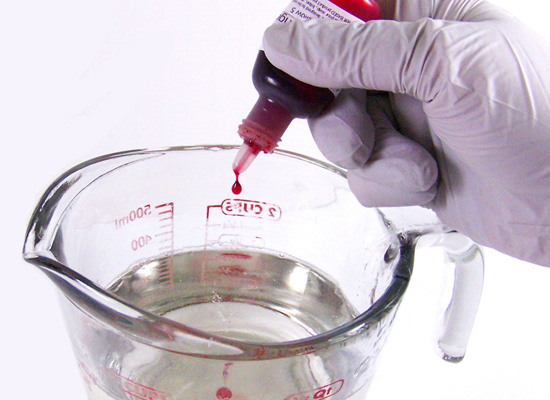
just 5 little drops of orange soap colorant are all that is needed
Step 5: Using a disposable pipette, add 4 ml of Butternut Pumpkin Fragrance Oil into the soap base and stir in slowly. This scent is a wonderful fall scent, smelling of a rich, sweet, buttery winter squash with a fruit & almond top note, a spicy nutmeg, cinnamon, and cassia middle note and a milky-sweet vanilla and caramelized sugar base. An important note, this fragrance may darken the pumpkin soaps over time. If you would like to minimize the color change, an optional step is to add a Vanilla Color Stabilizer to your soap. Check out the Neapolitan Ice Cream Soap Tutorial for a how to.
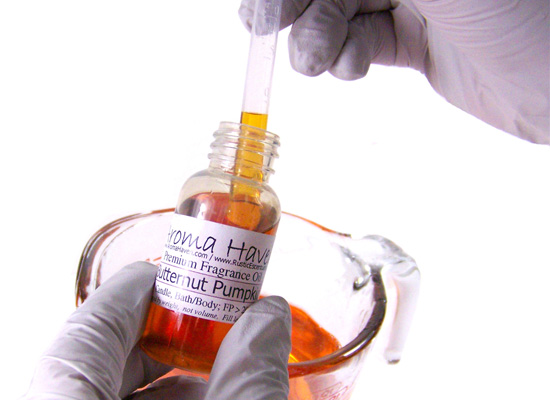
Butternut Pumpkin fragrance oil is the *perfect* complement to the little pumpkin soap mold
Step 6: Slowly add 4 – 5 scoops of Diamond Dust Glitter to your melted soap. Stir slowly while adding the glitter to the soap so it doesn’t clump. You want to pour this soap on the cool side so the glitter doesn’t settle down into the mold. Keep stirring slowly until cool.
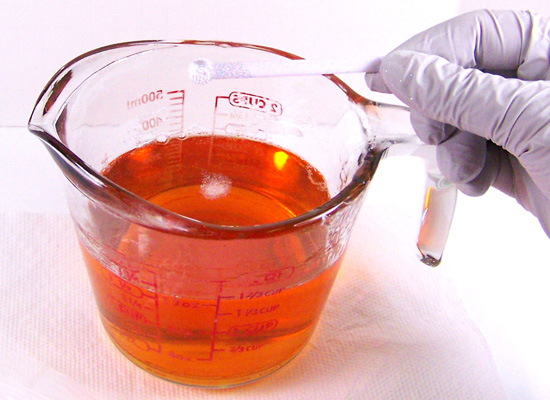
add 4-5 scoops of the sparkling Diamond Dust Glitter
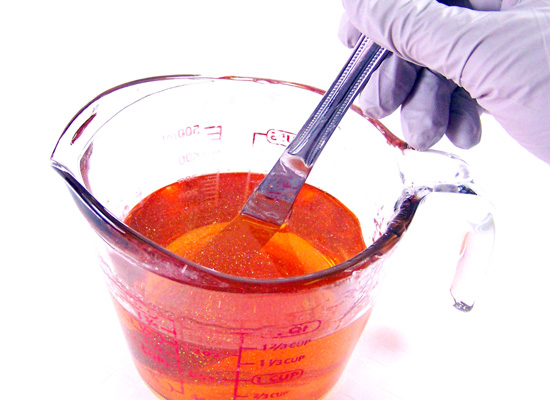
and stir slowly so glitter remains suspended in the soap base
Step 7: Slowly pour the soap into each pumpkin cavity. Pour slowly to avoid forming too many bubbles.

slowly pour the prepared soap into the pumpkin cavities
Step 8: Finish off with a spritz of alcohol to remove any bubbles.
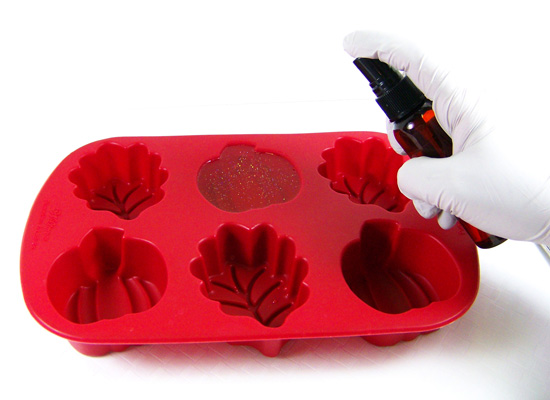
got bubbles? spritz with alcohol to remove!
Step 9: Wait 2-3 hours for the soap to completely harden.
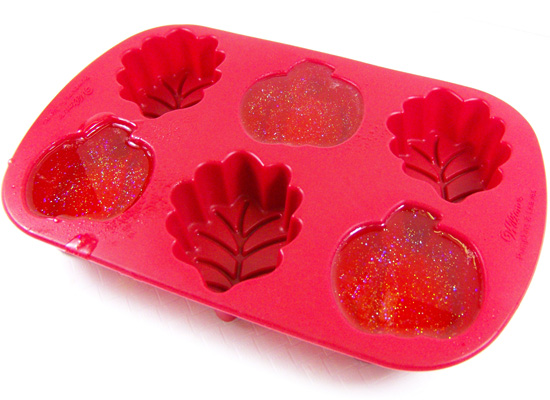
exercise your patience and let the soap sit for 2-3 hours until completely hard
Step 10: When the soap has completely hardened, turn the mold over carefully and slowly press on the bottom of each cavity to release the soap. You may have to pull the edges of the mold away from each pumpkin slightly to add an air pocket.

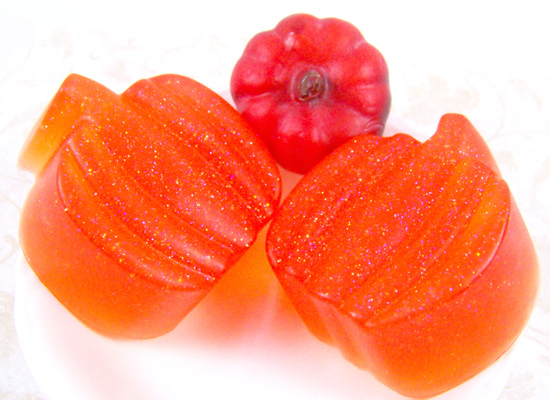
oooh! sparkly and oh so very yummalicious smelling
Part I and Part II Results
Now you have a wonderful combination of fall soaps! As I said, these make perfect gifts and you can mix & match colors, scents, and soaps. I plan on making these for my guests at Thanksgiving – can’t wait!
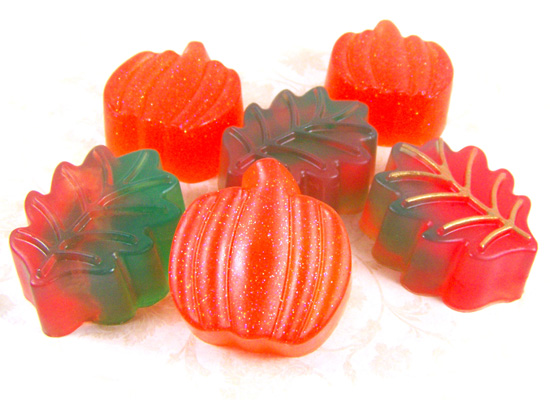
a veritable cornucopia of delicious fall soaps – enjoy!