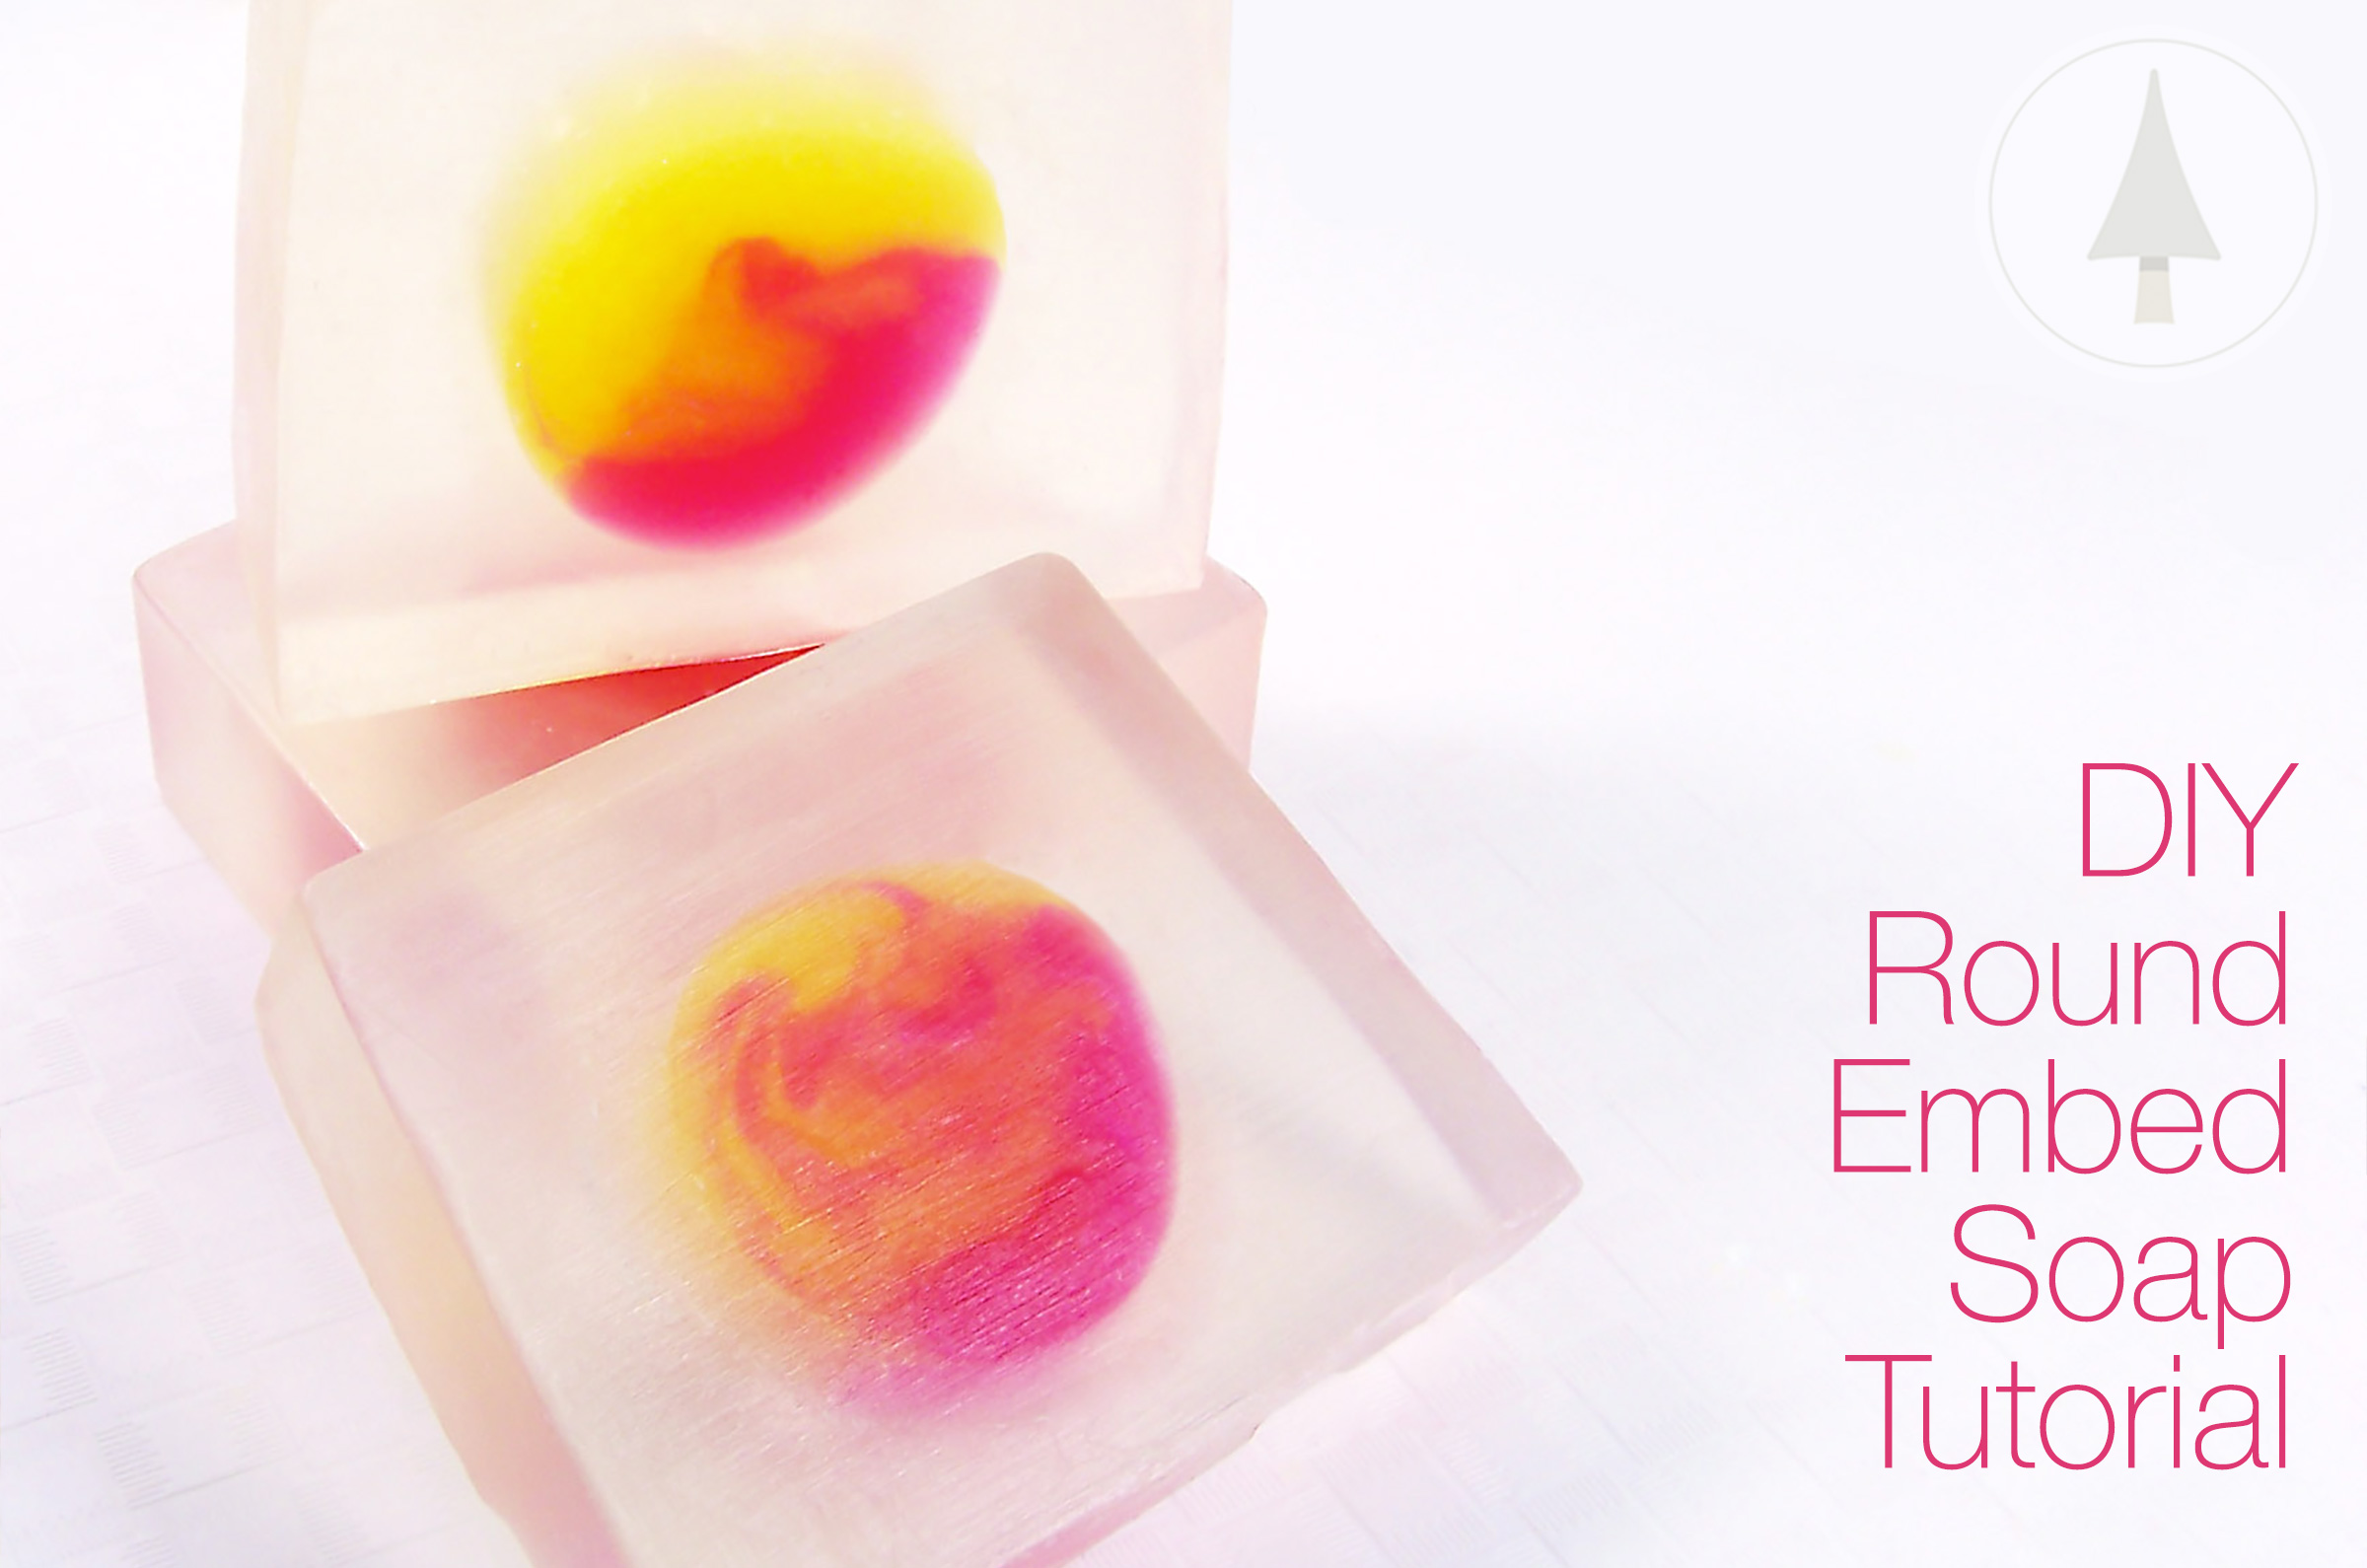
In this soap making tutorial we’re featuring a creative way to make an embed that opens the imagination to colors (and scents). This tutorial is a two-step process – creating the circular soap embed and then creating the loaf soap itself. It’s fun and can be challenging at the same time. This loaf will provide nine beautifully awesome slices of soap. No two soaps will be alike and no two soap loaves will be alike. Let yourself have some fun with colors!
Note: we no longer carry the loaf soap mold seen in the tutorial. Our silicone loaf mold will work even better and is available for sale!
Skills: Advanced, embedding, soap loaf
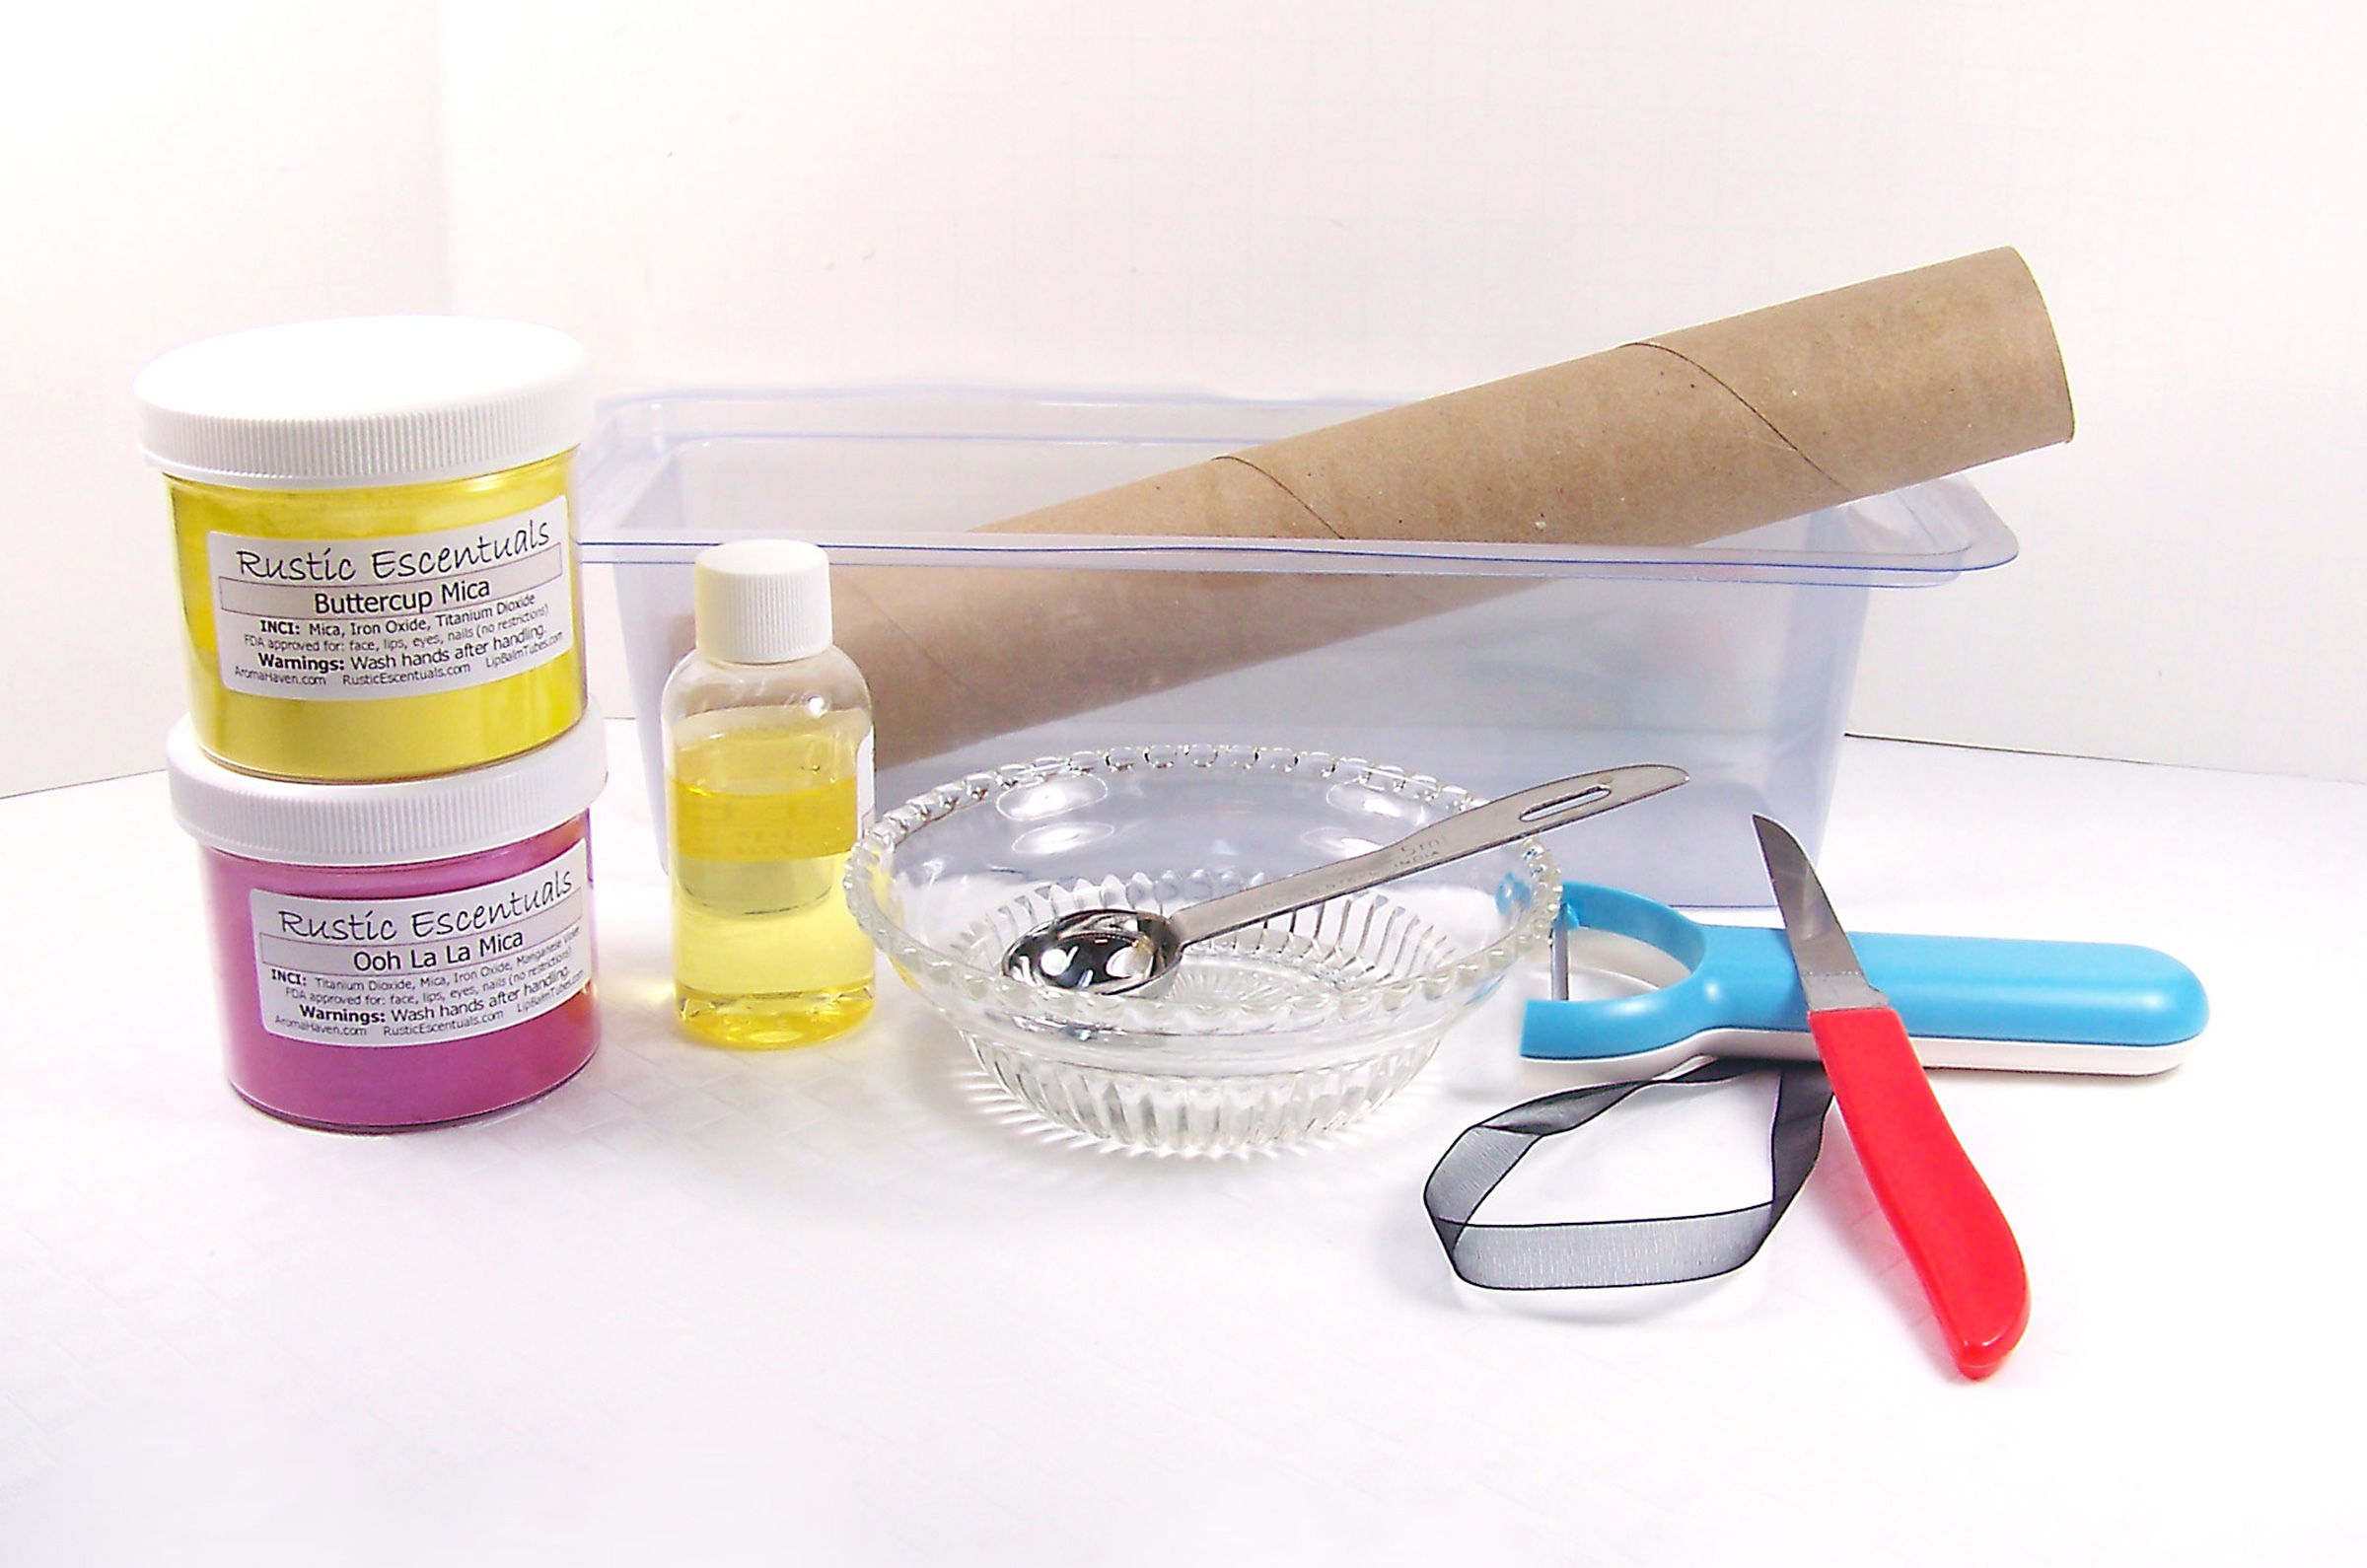
Supplies and Equipment Needed
Microwave safe glass containers (at least 16 ounces)
Sharp knife to cut soap base into cubes
Butter knife
Paring knife
Rubber gloves
1/2 teaspoon measuring spoon
Ribbon (to measure)
Spray bottle with rubbing alcohol
Paper towel roll
Sheet of aluminum foil (not shown in supplies photo)
Vegetable peeler
10″ Silicone Loaf Soap Mold
Disposable pipette
0.15.cc Scoops
Thermometer to monitor soap temperature
45 oz Clear Melt and Pour Soap Base
Bora Bora Fragrance Oil
Glycerin
Buttercup Yellow Mica
Ooh La La Mica
Straight Soap Cutter
Miter box
Prepare in Advance: Soap roll
Step 1
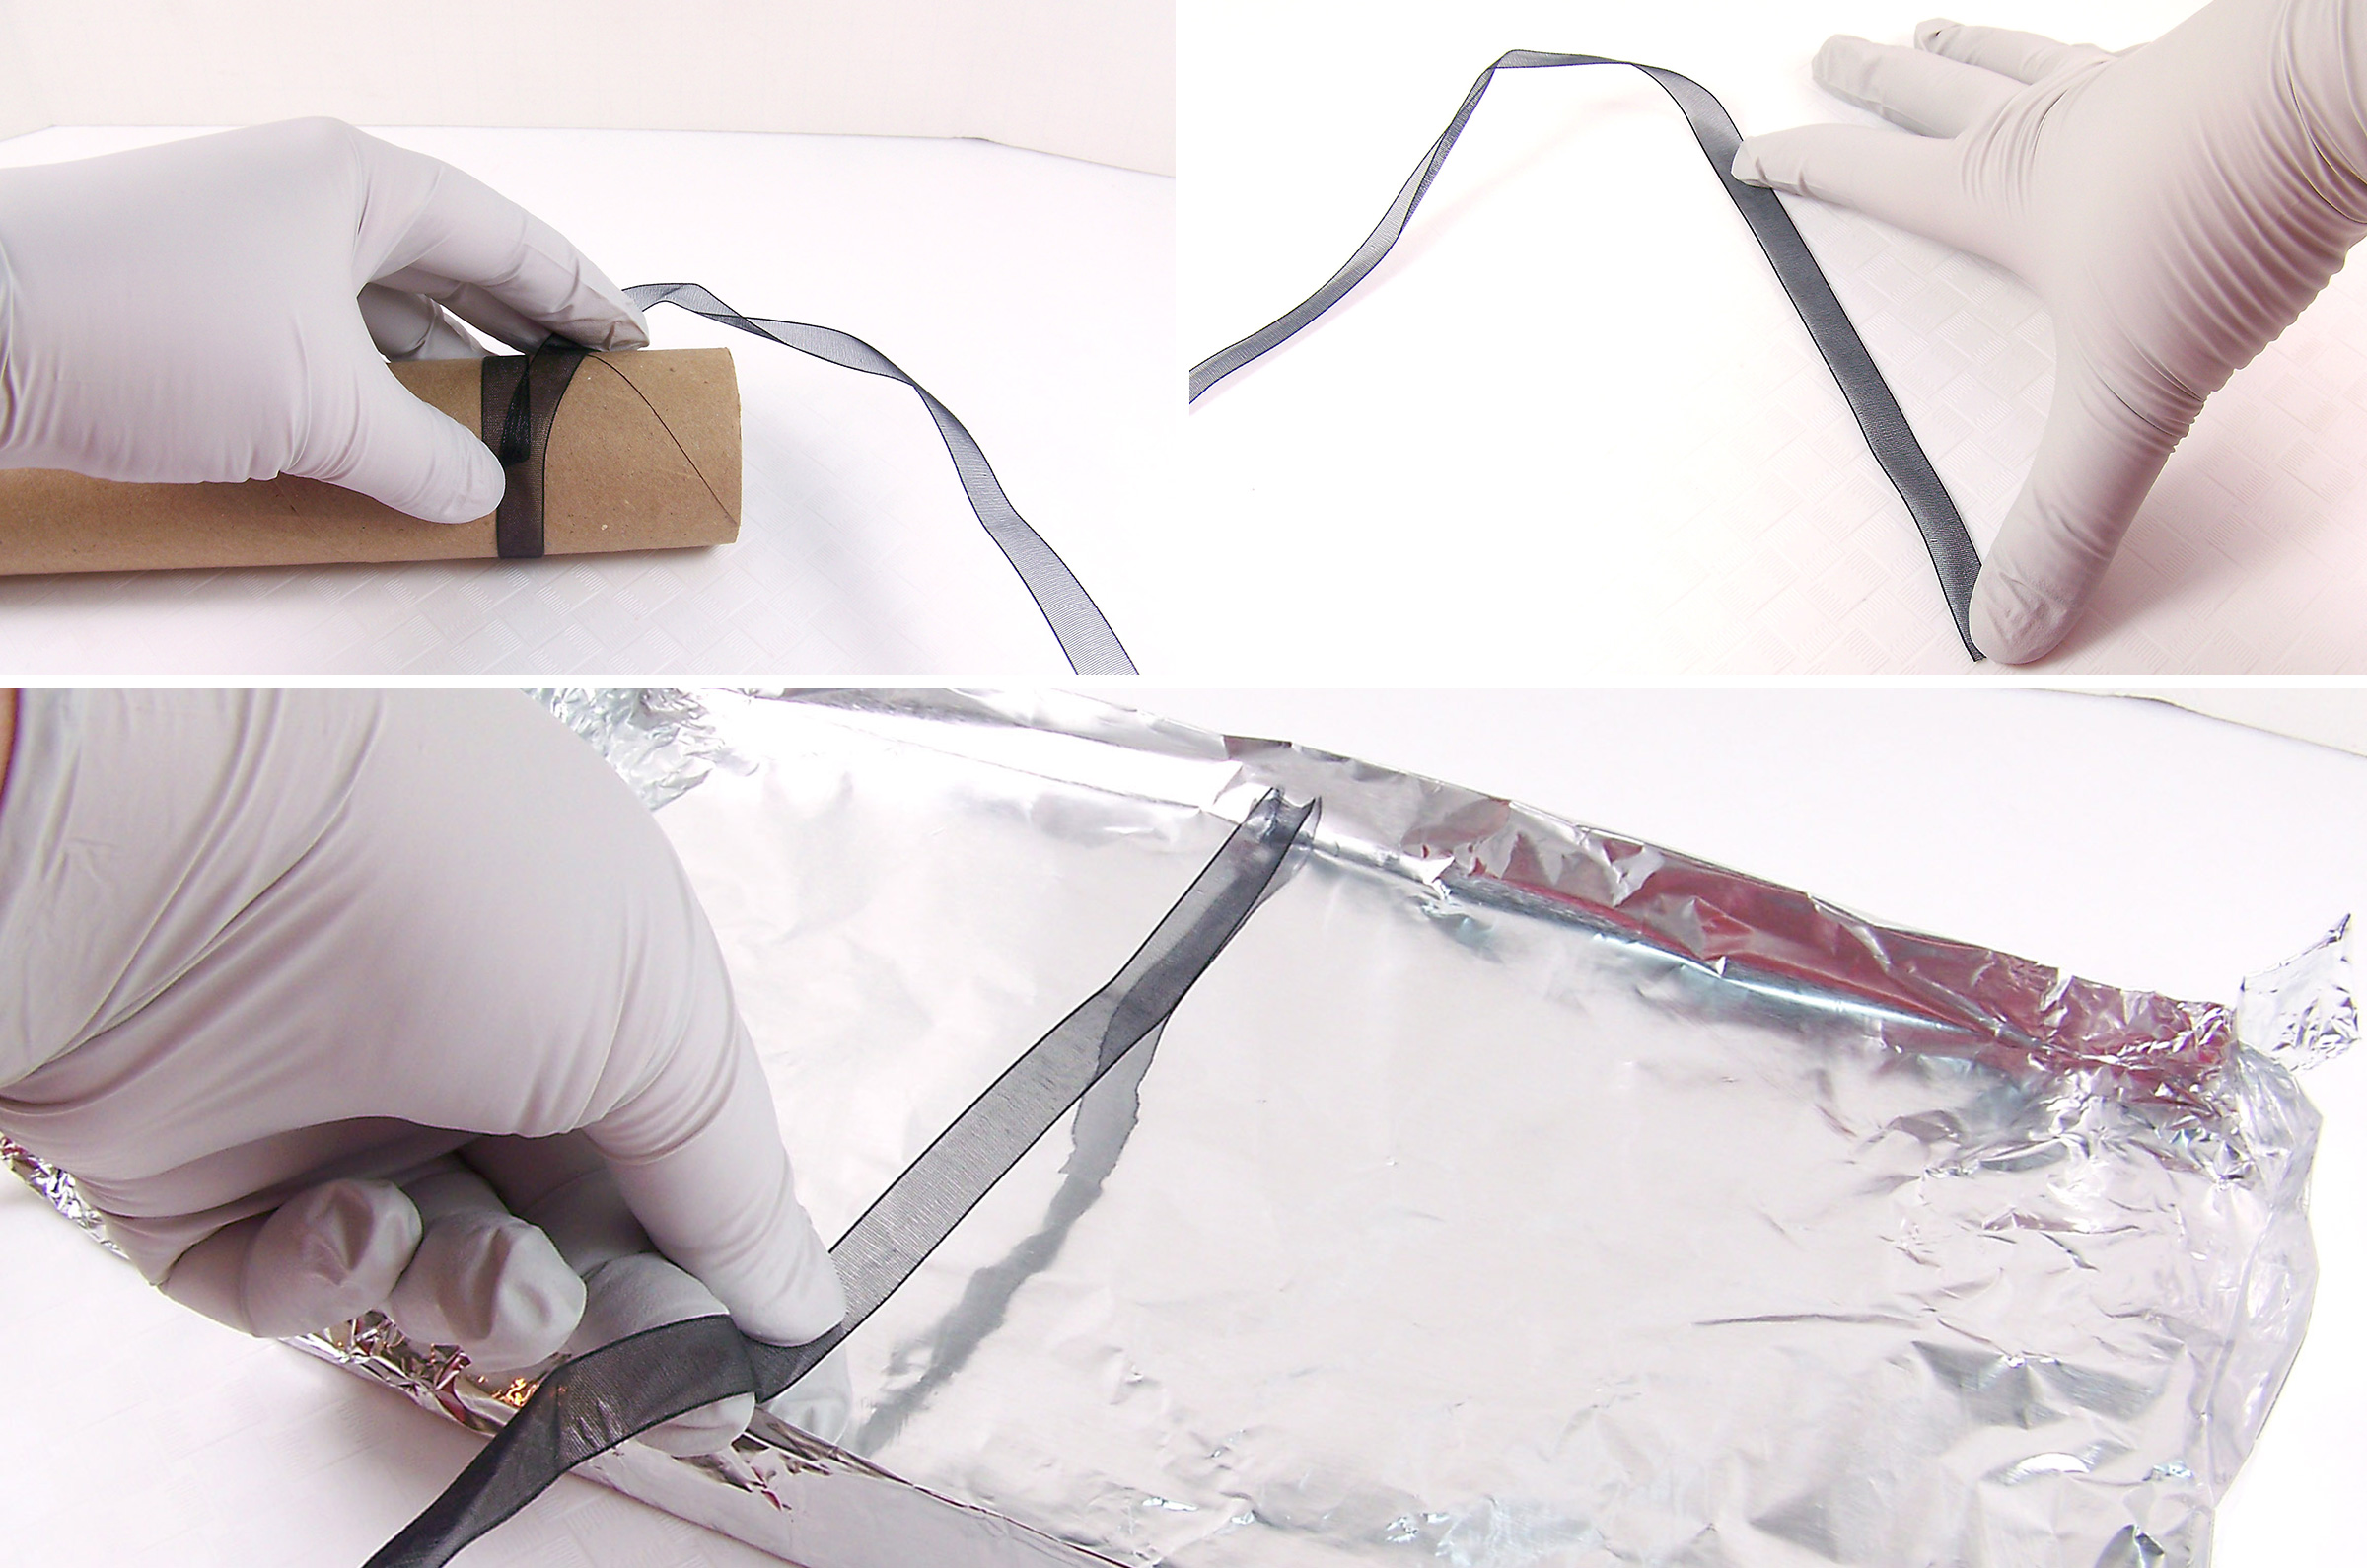
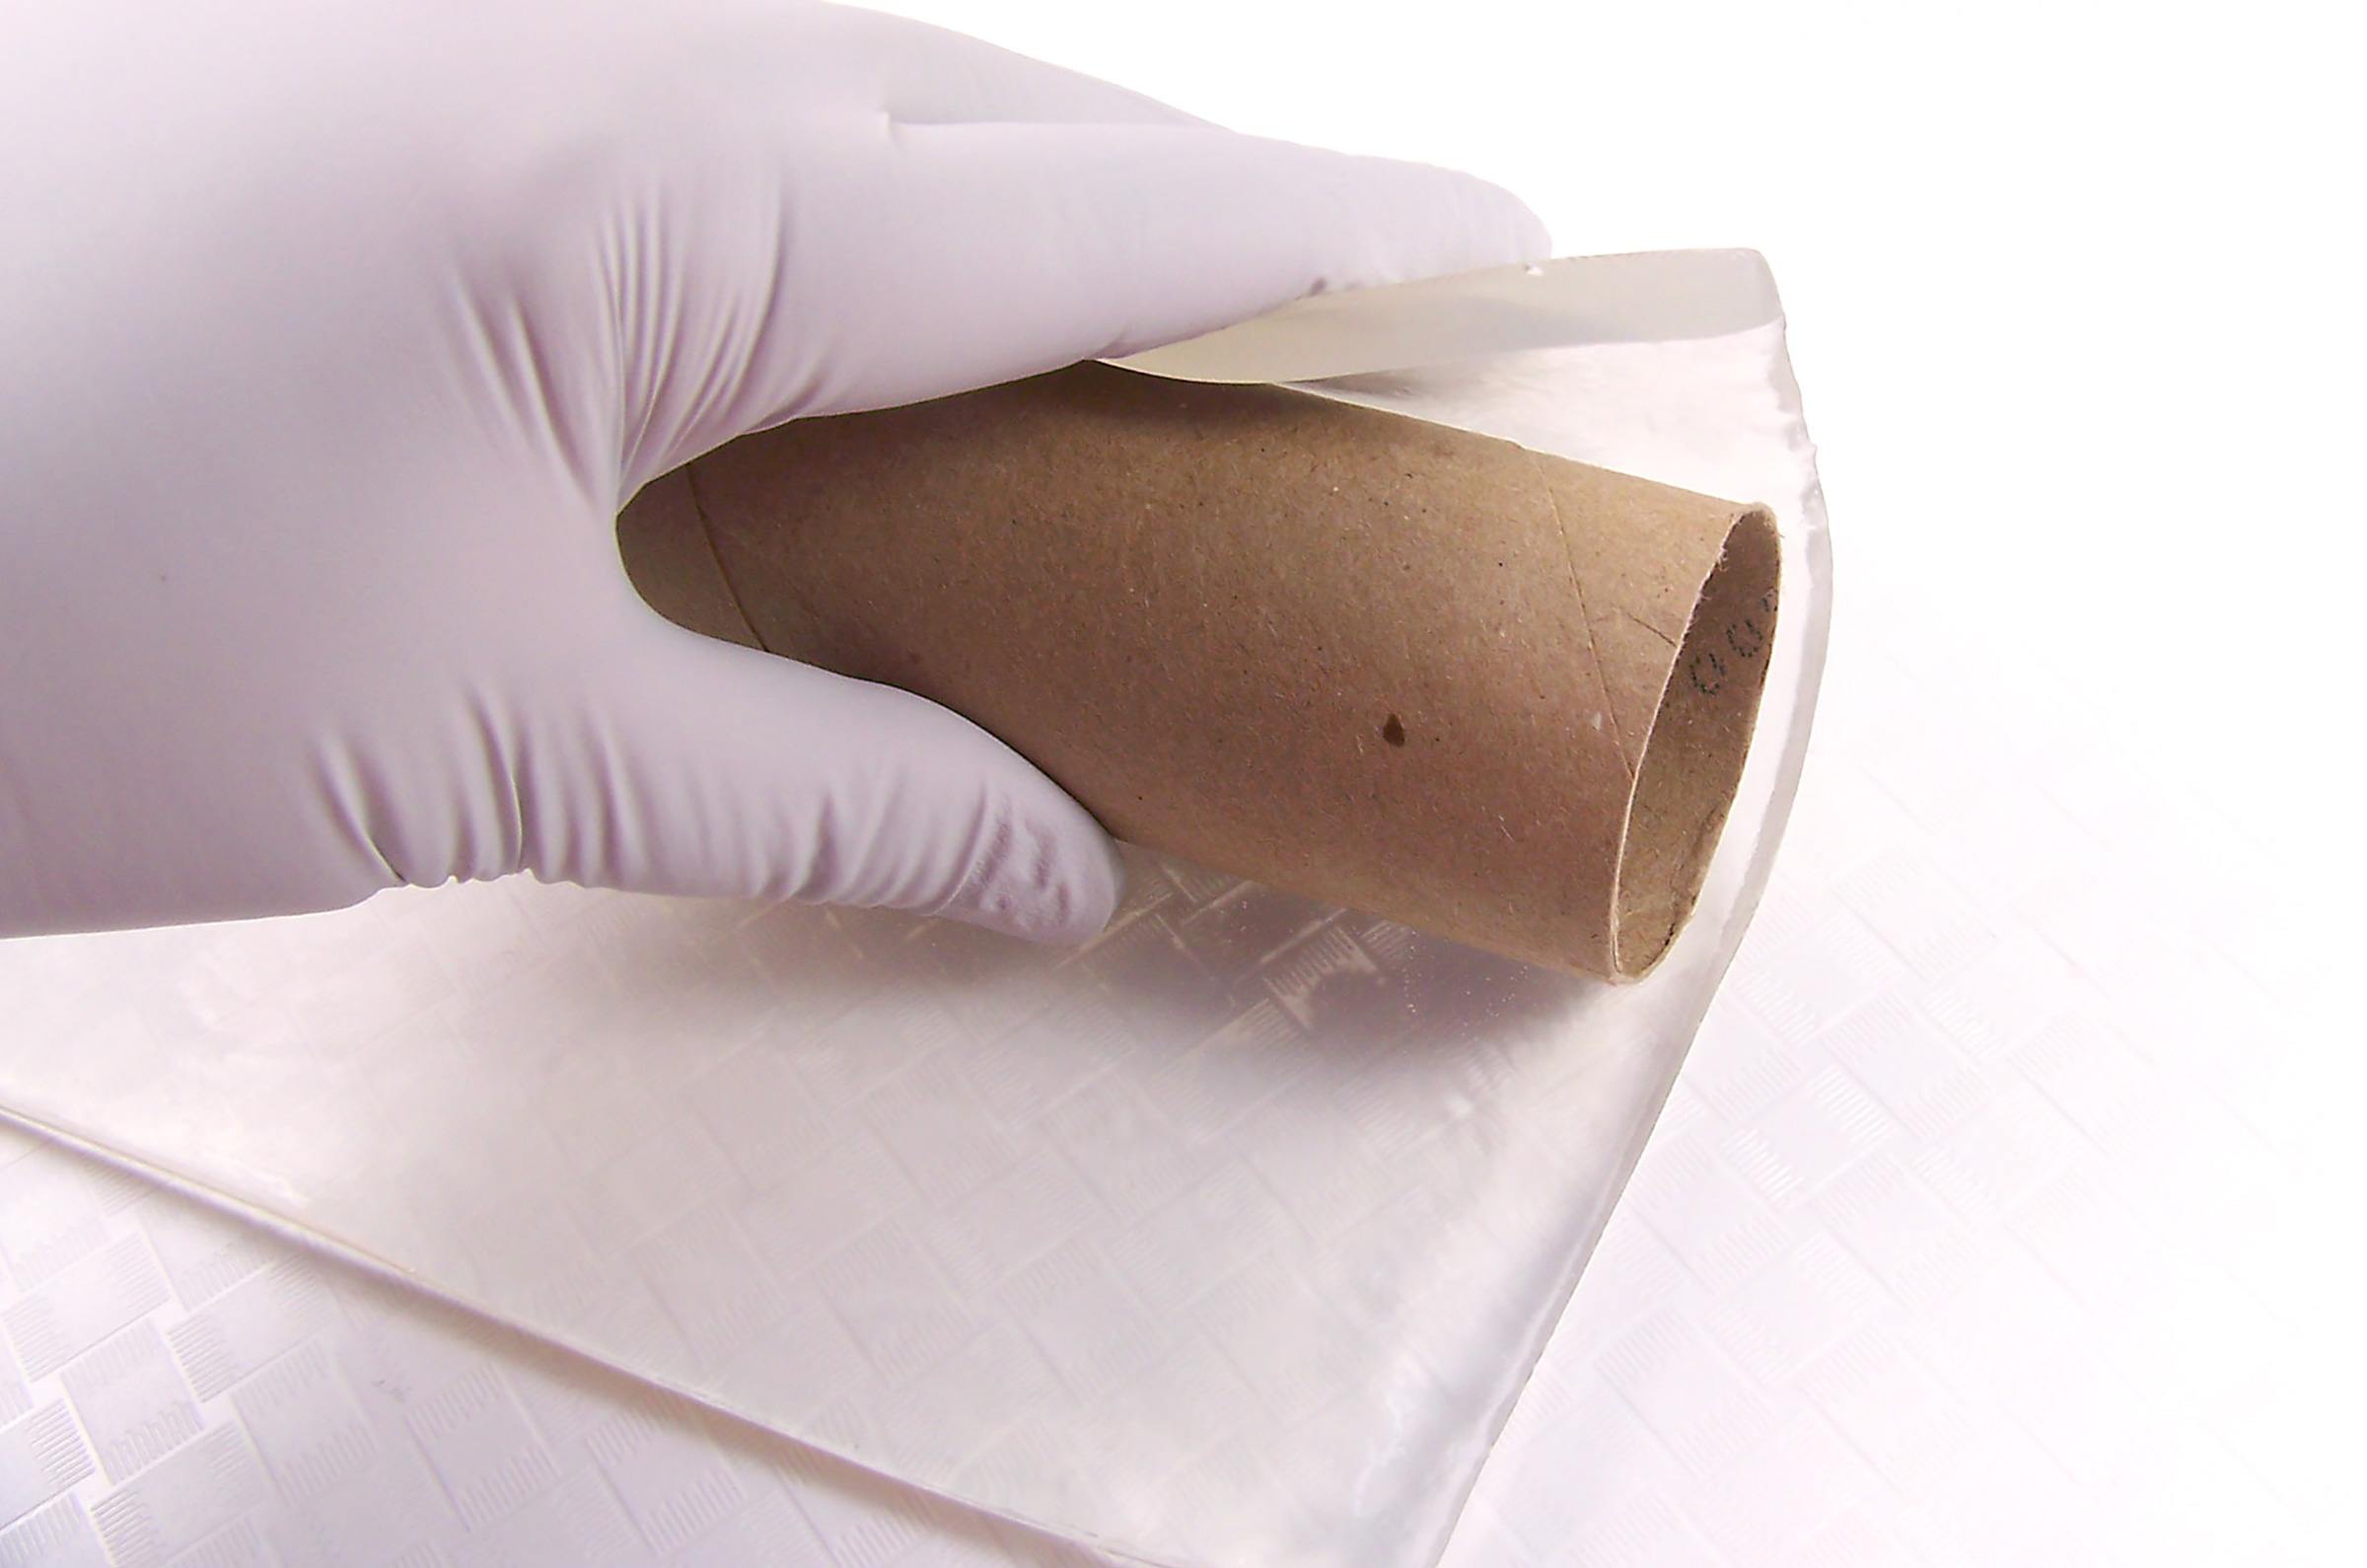
To create the round embed, begin by measuring the circumference of a paper towel roll with a piece of ribbon. Straighten out the ribbon and make note of the length.
Step 2
Take a piece of aluminum foil and being careful not to crease it too much, make a shallow pan – smooth the bottom with your fingers until creaseless. The length should be the same as the square soap loaf, 9 1/4 inches and the width will be the length of the measured ribbon.
Step 3
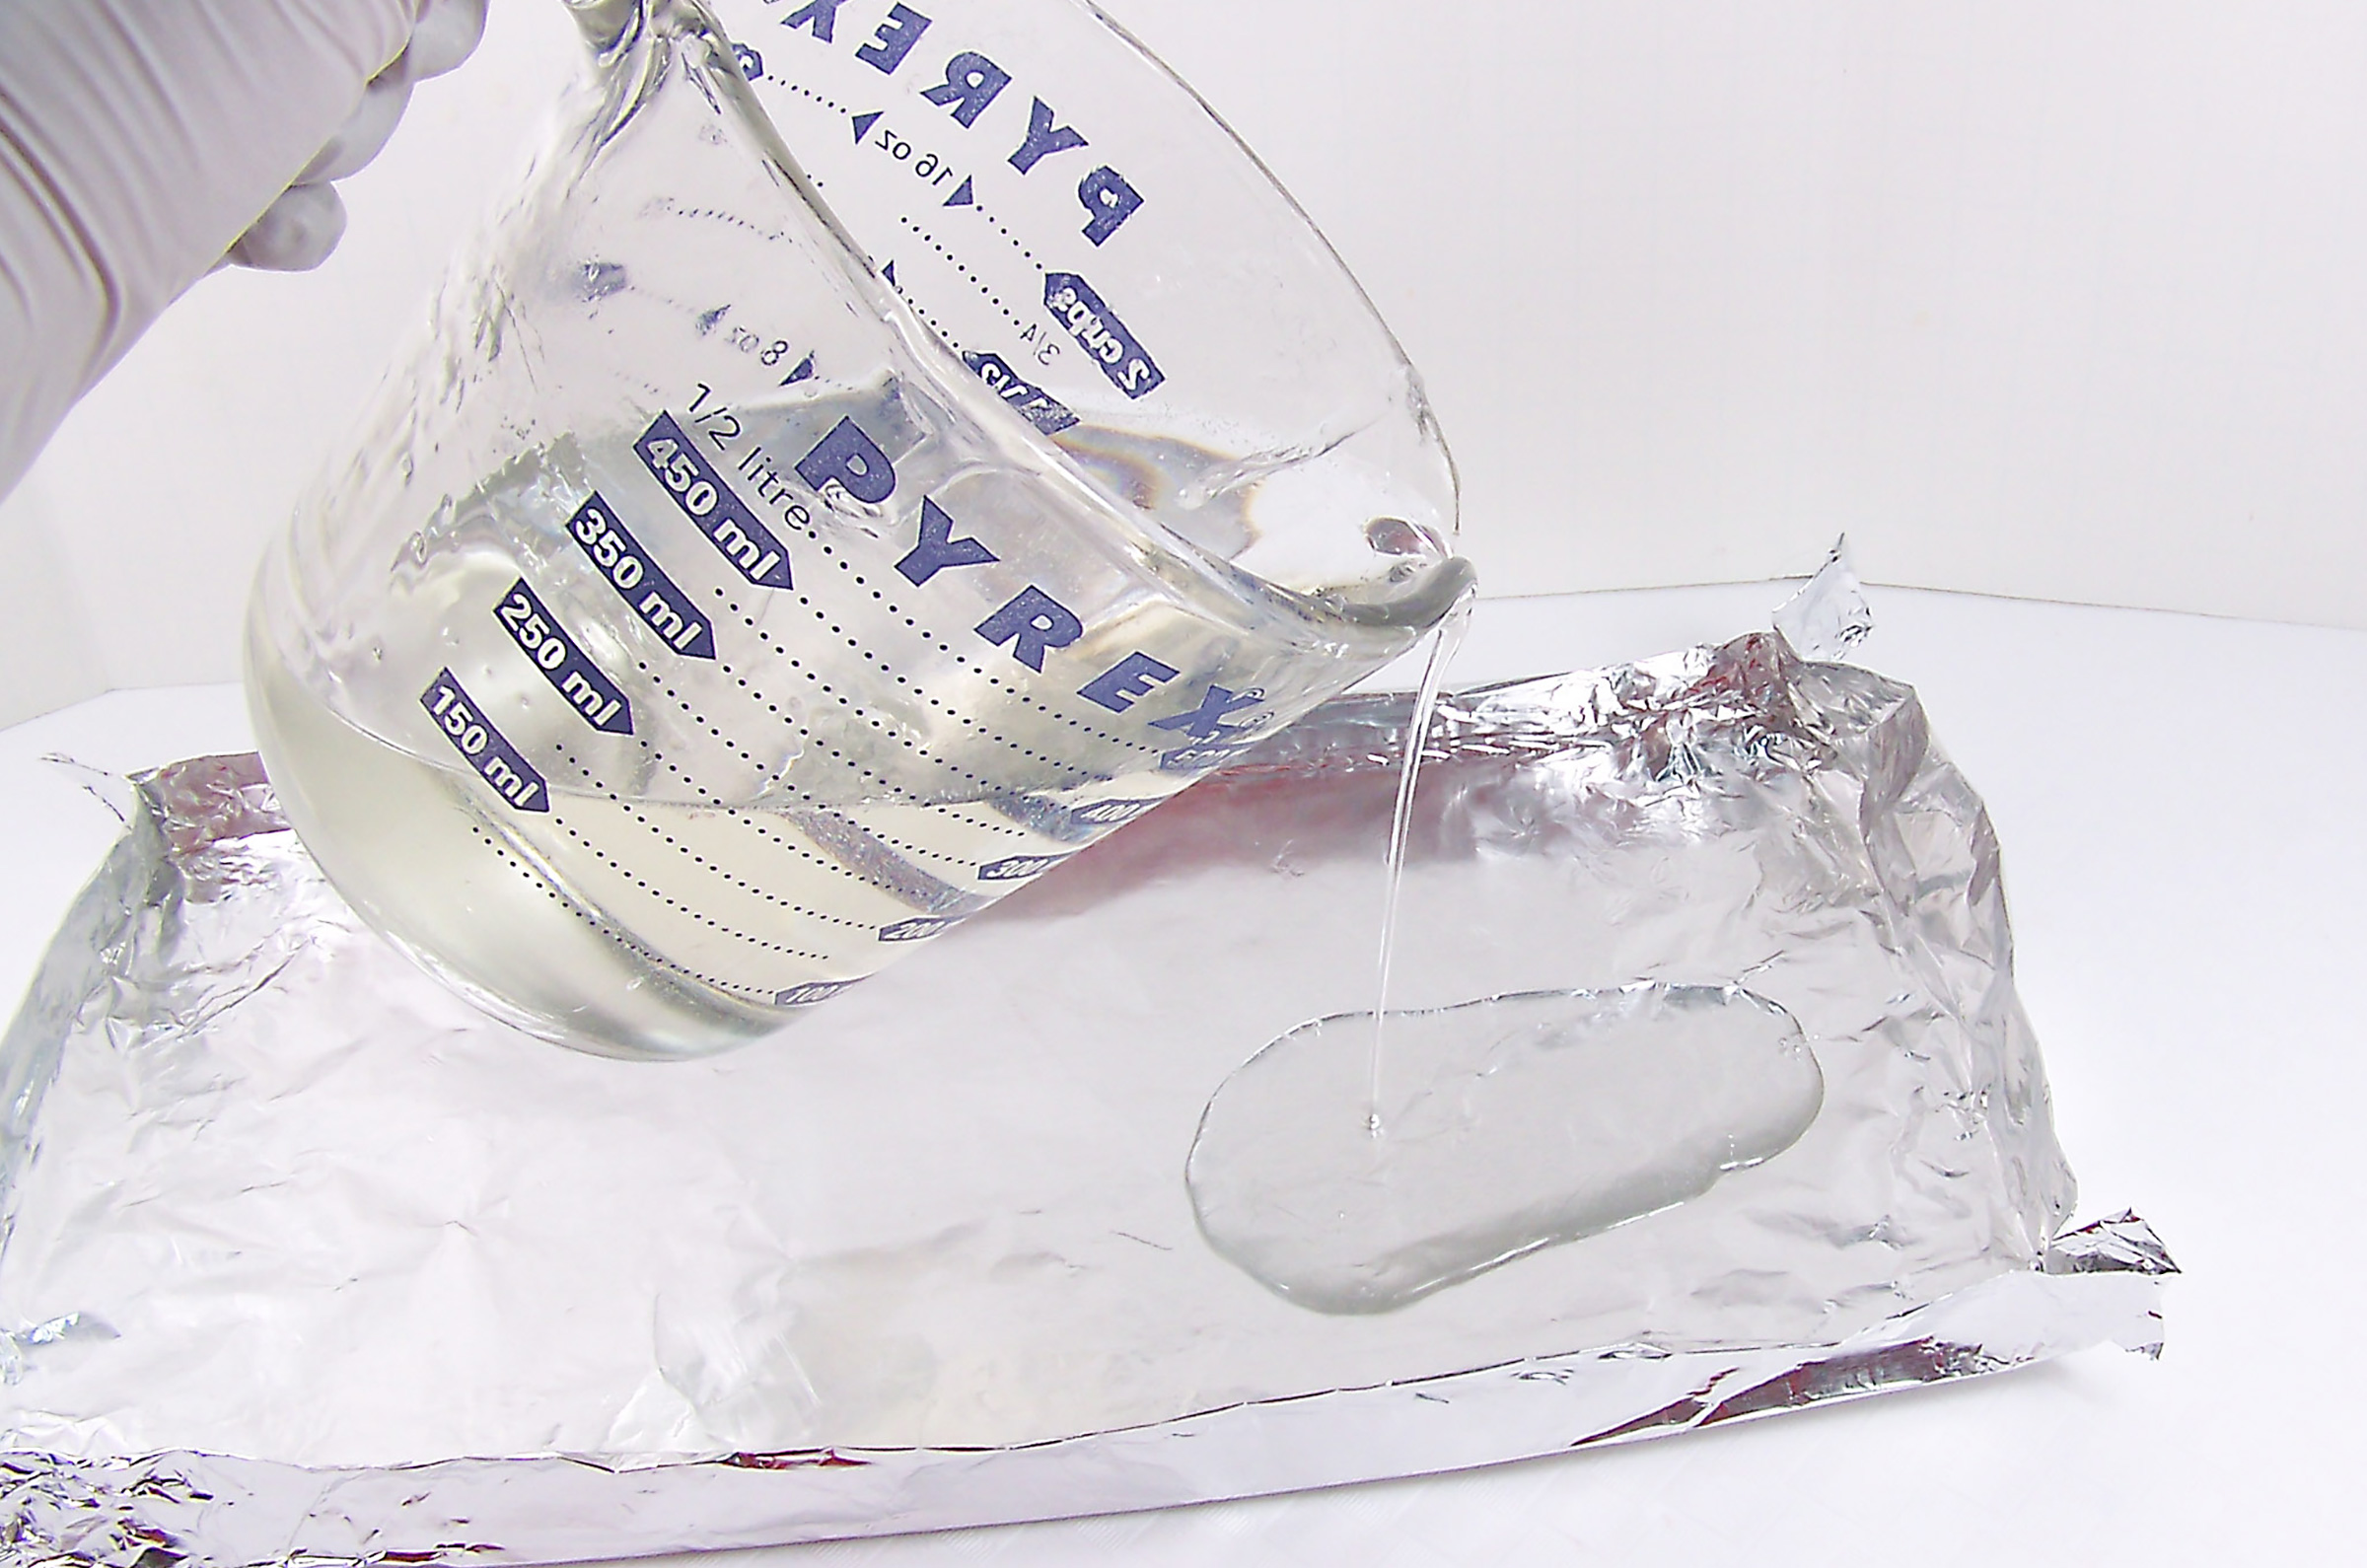
Take 7 ounces of cubed Ultra Clear Melt and Pour soap base. Place in a microwave safe glass container and melt in the microwave using 30-second bursts. Stir slowly to avoid making bubbles in the soap.
Step 4
Add 1/2 tsp Vegetable Glycerin to the melted soap base and stir in slowly. This helps to keep the soap more flexible which is important to prevent cracking when bending the soap.
Step 5
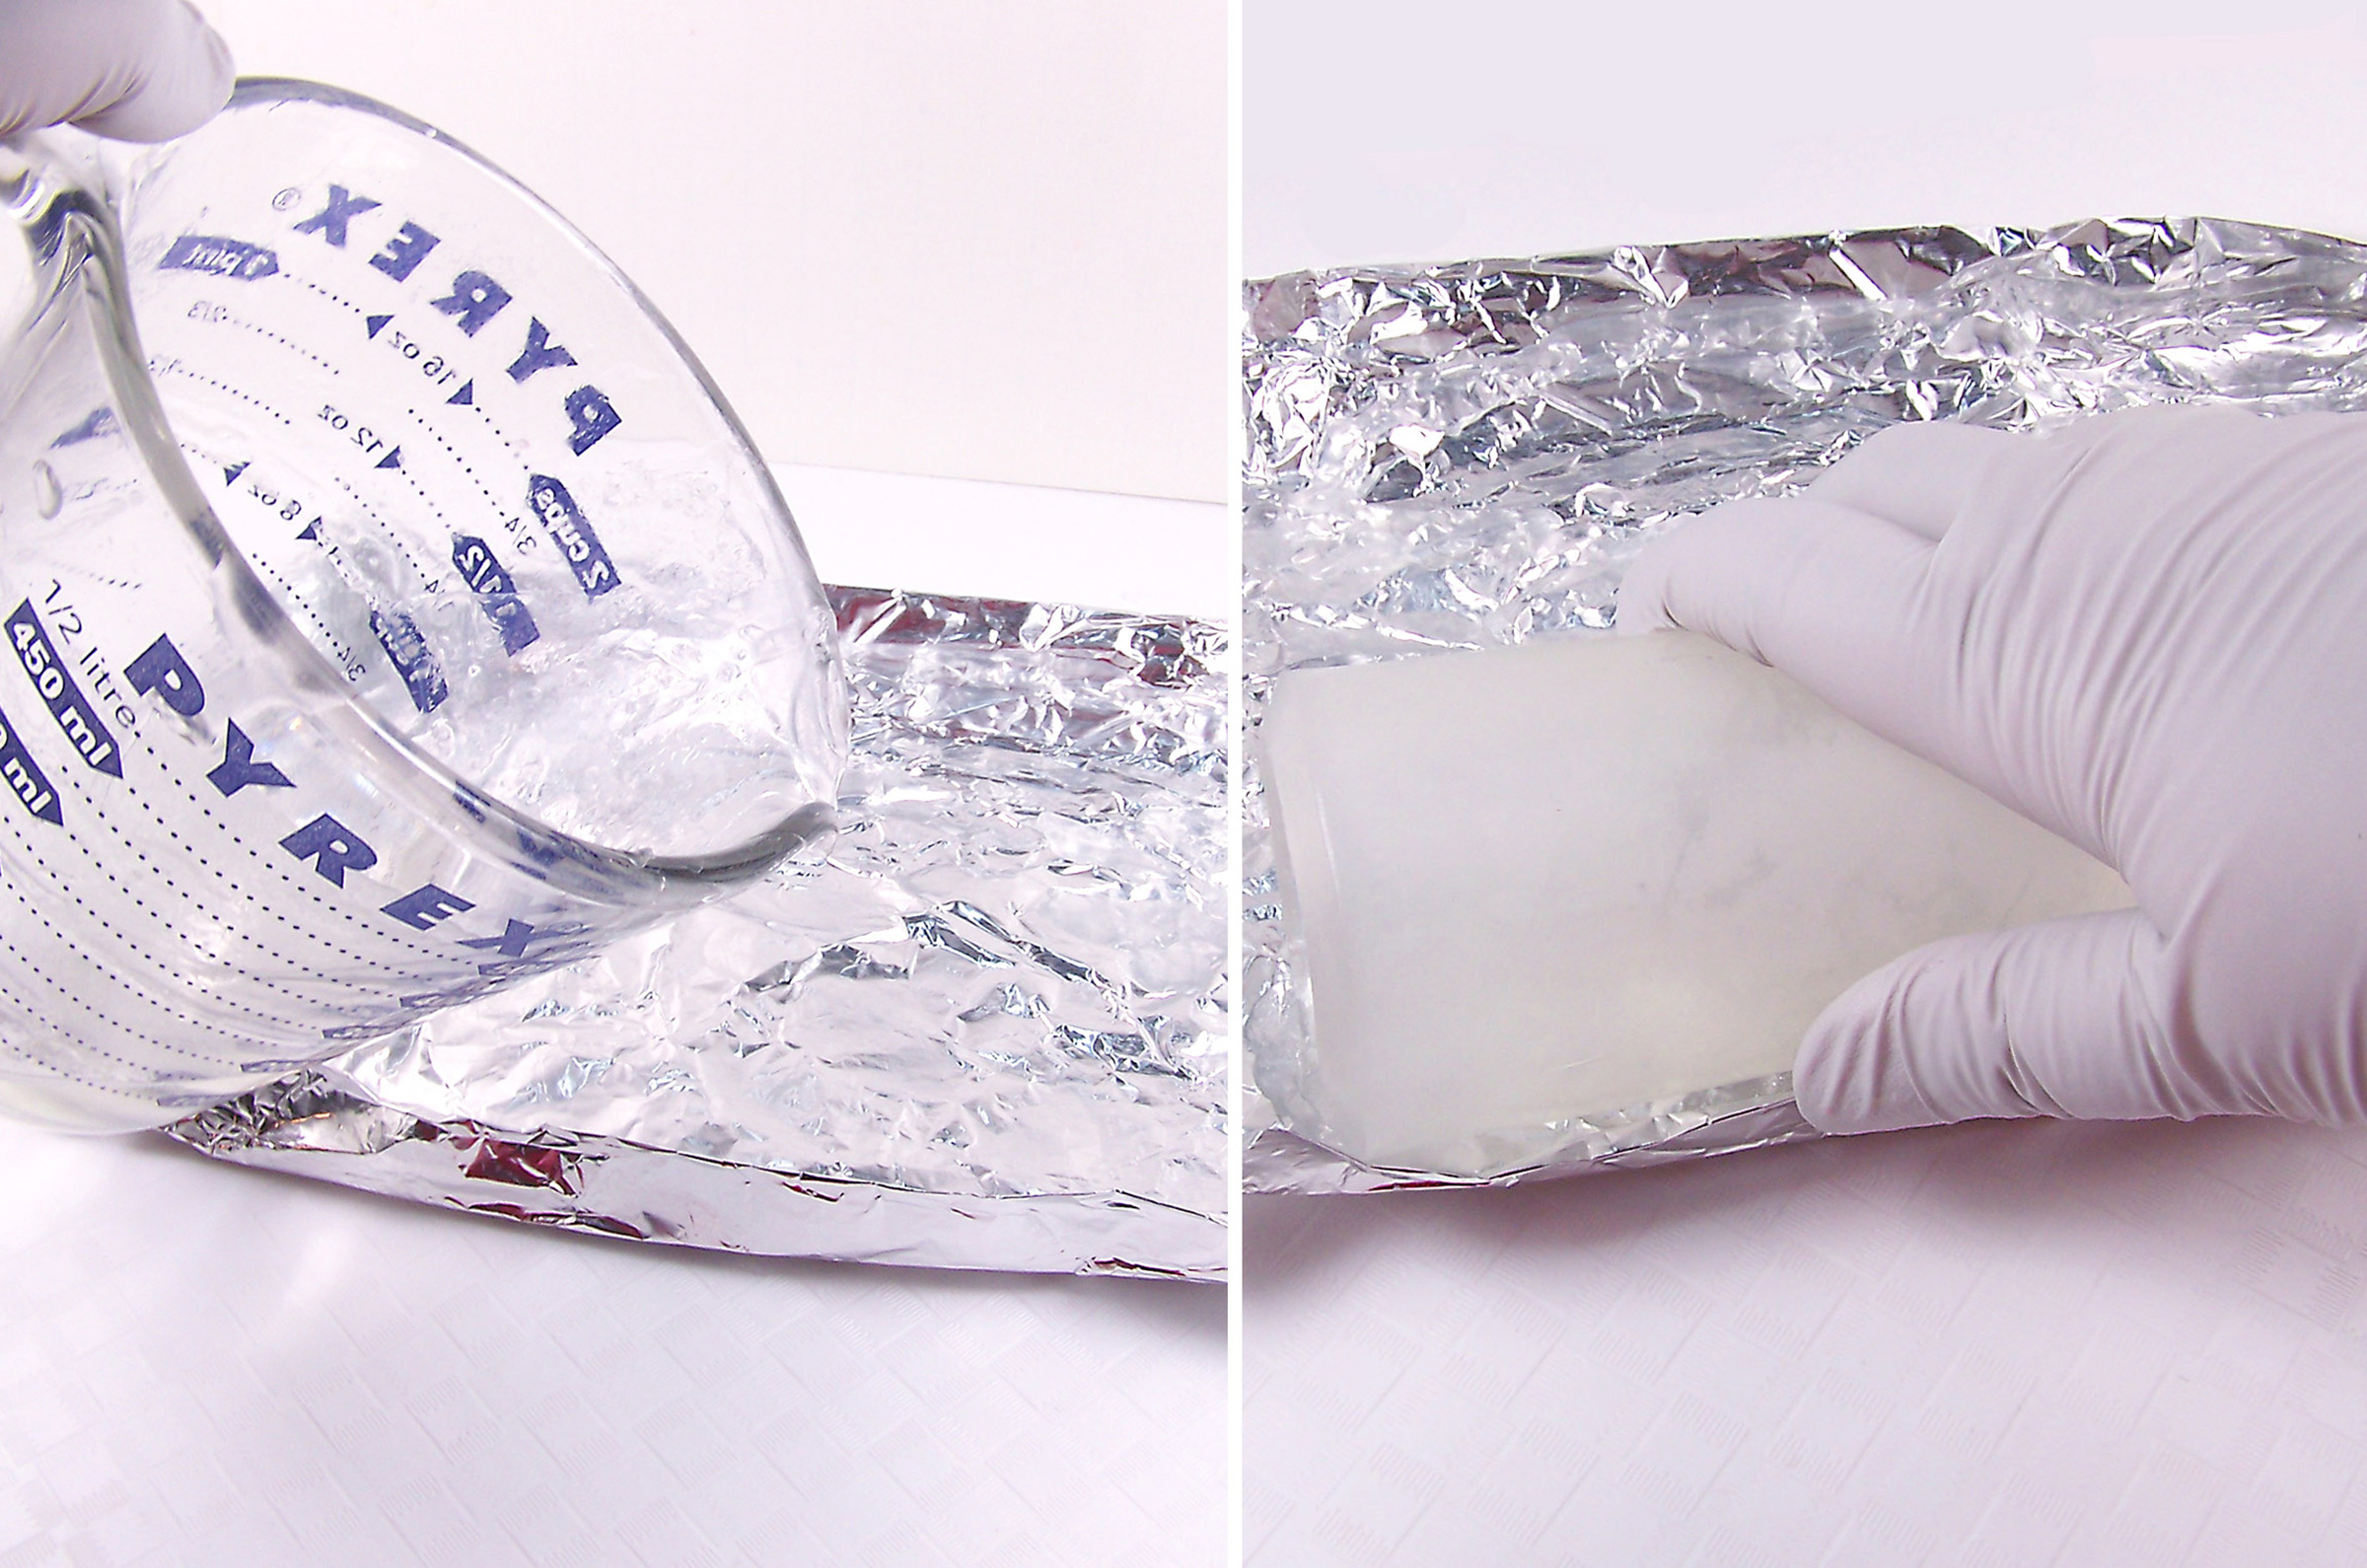
Pour the melted soap slowly into the pan.
Step 6
Wait approximately 5 to 8 minutes to allow soap to set.
NOTE: Soap may still be slightly warm and that is okay as long as it has set.
Step 7
Remove the soap and set the aluminum foil pan to the side for later use.
Step 8
Slowly mold the soap around the paper towel roll until the two ends meet.
Step 9
Hold in place for approximate 2 to 5 minutes and then pull out the paper towel roll.
Step 10
To seal the two ends together, melt approximately 1 ounce of clear soap and pour into one side of the pan. Place the soap rolls edge side down into the melted soap and hold until the soap sets.
Step 11
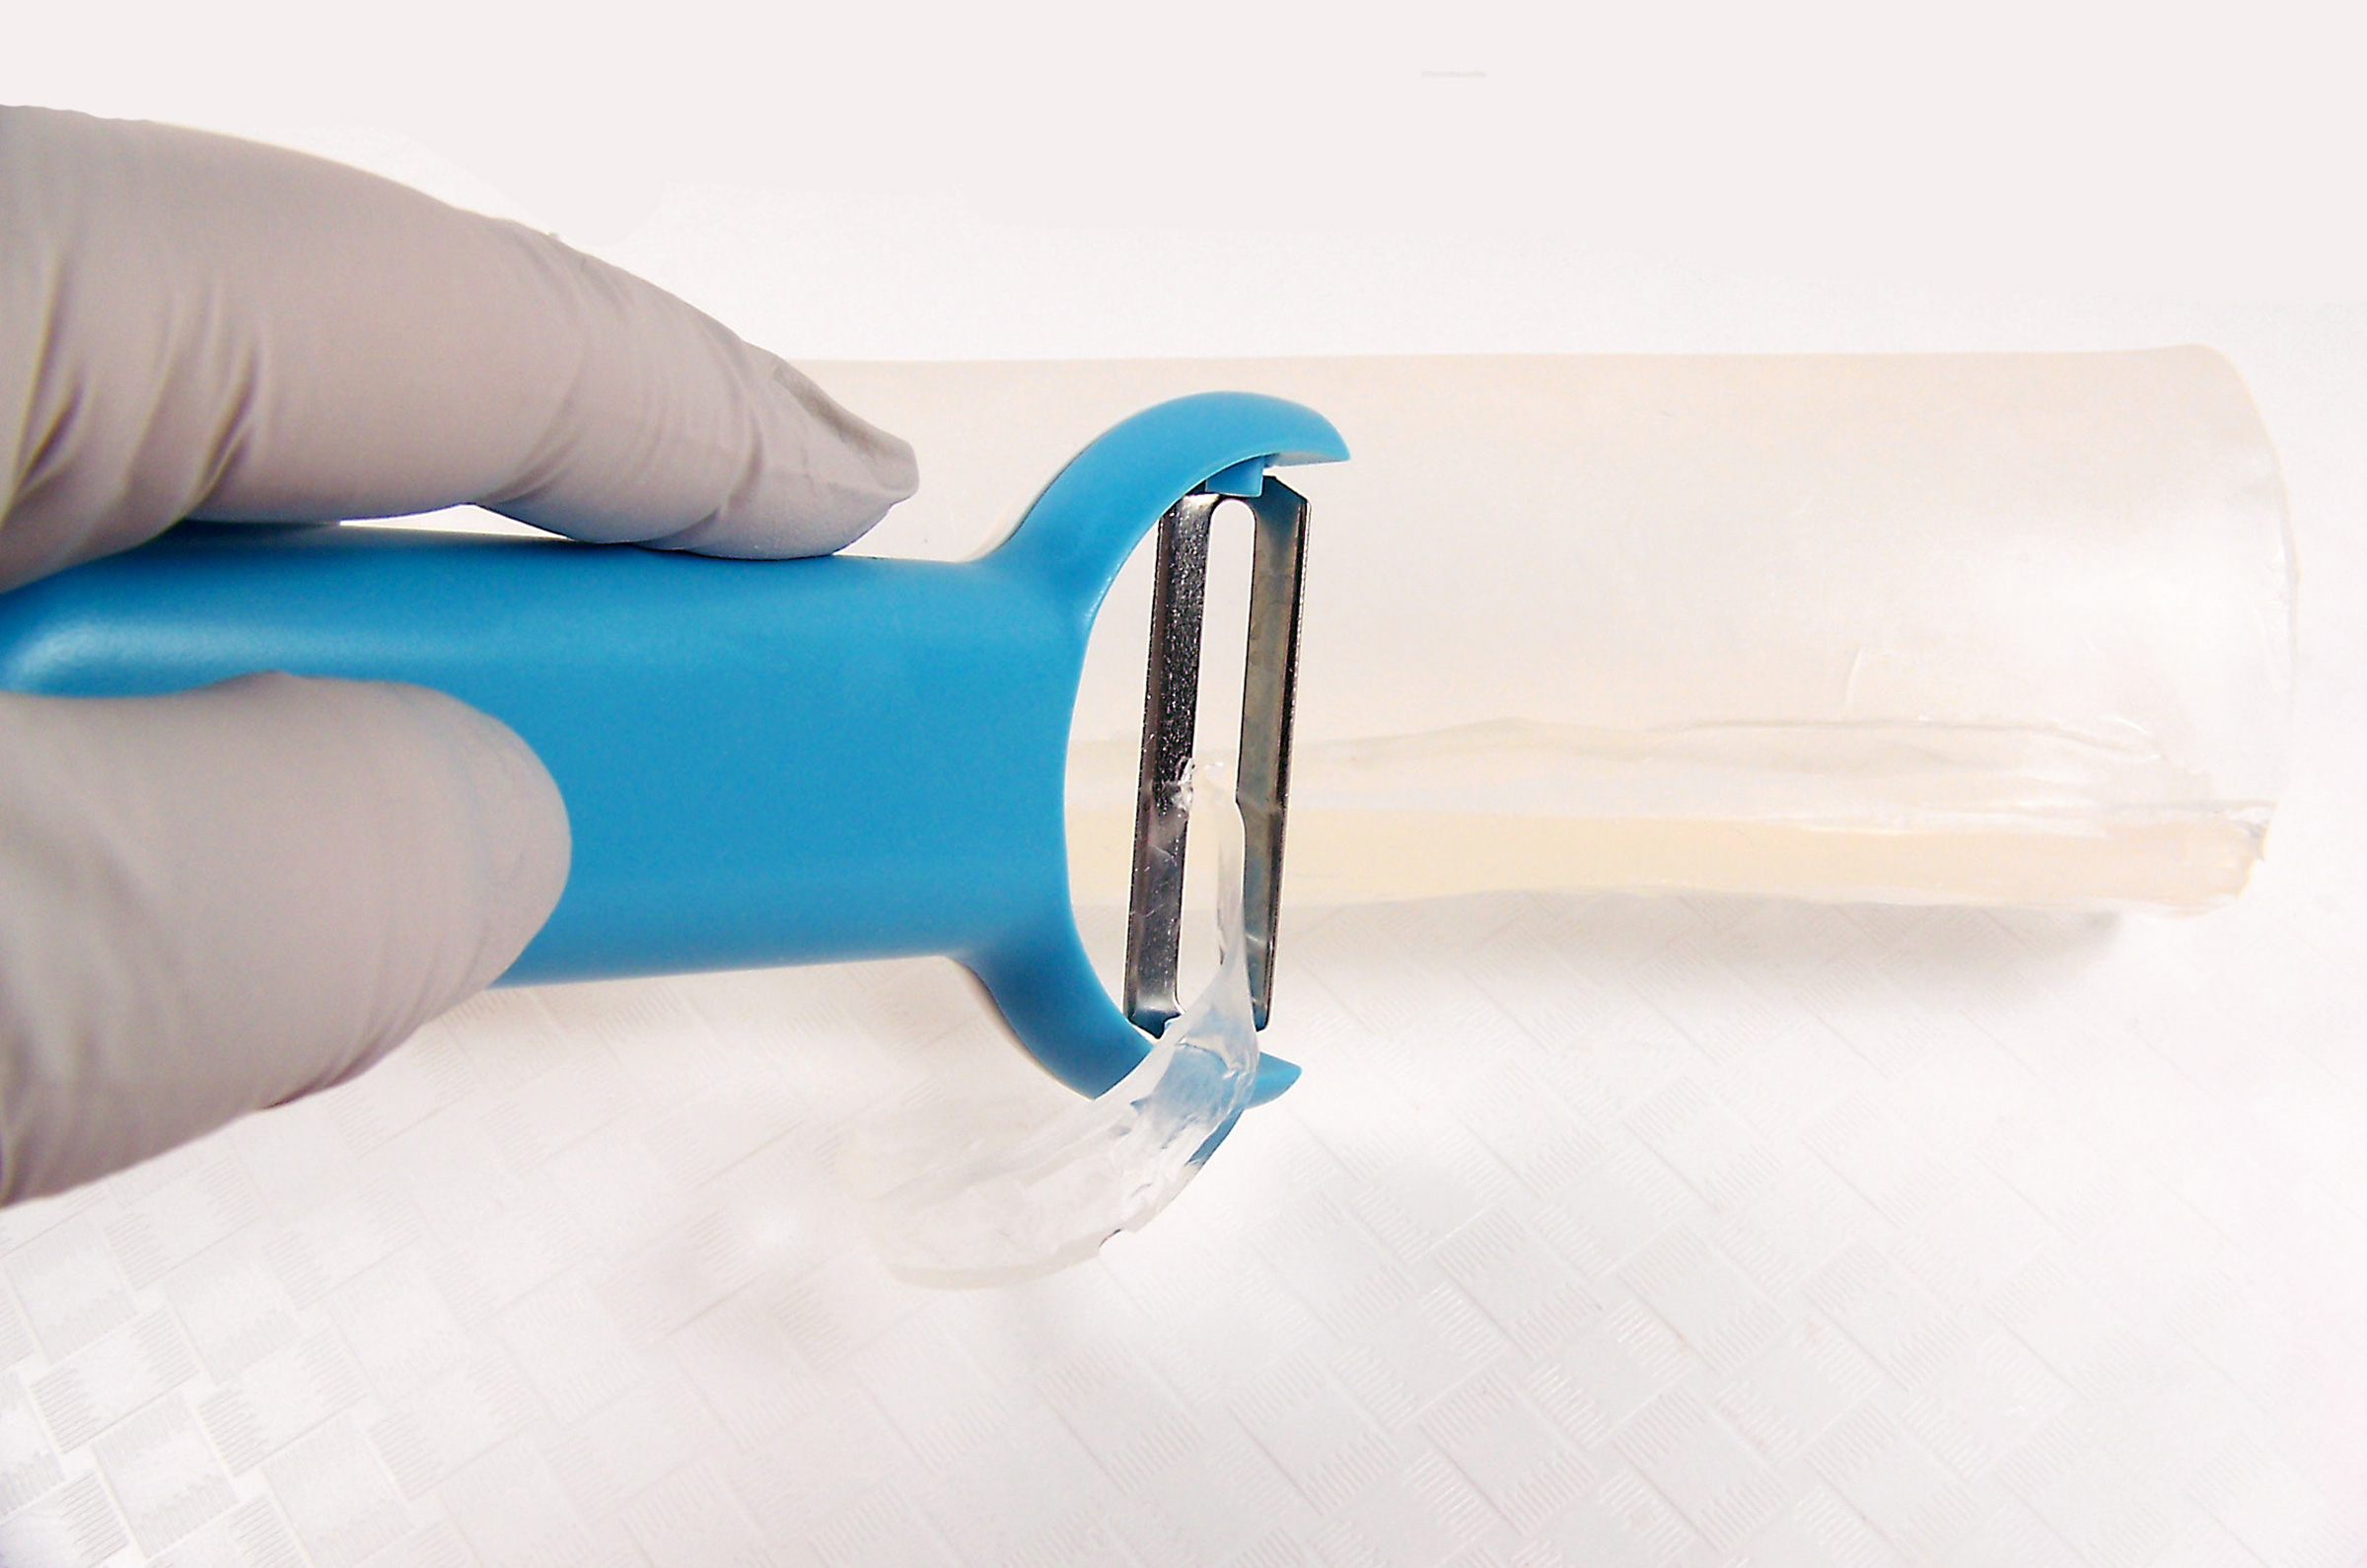
Slowly remove the soap roll and trim off the excess with a paring knife. Follow up with a vegetable peeler to create a smooth surface.
Step 12
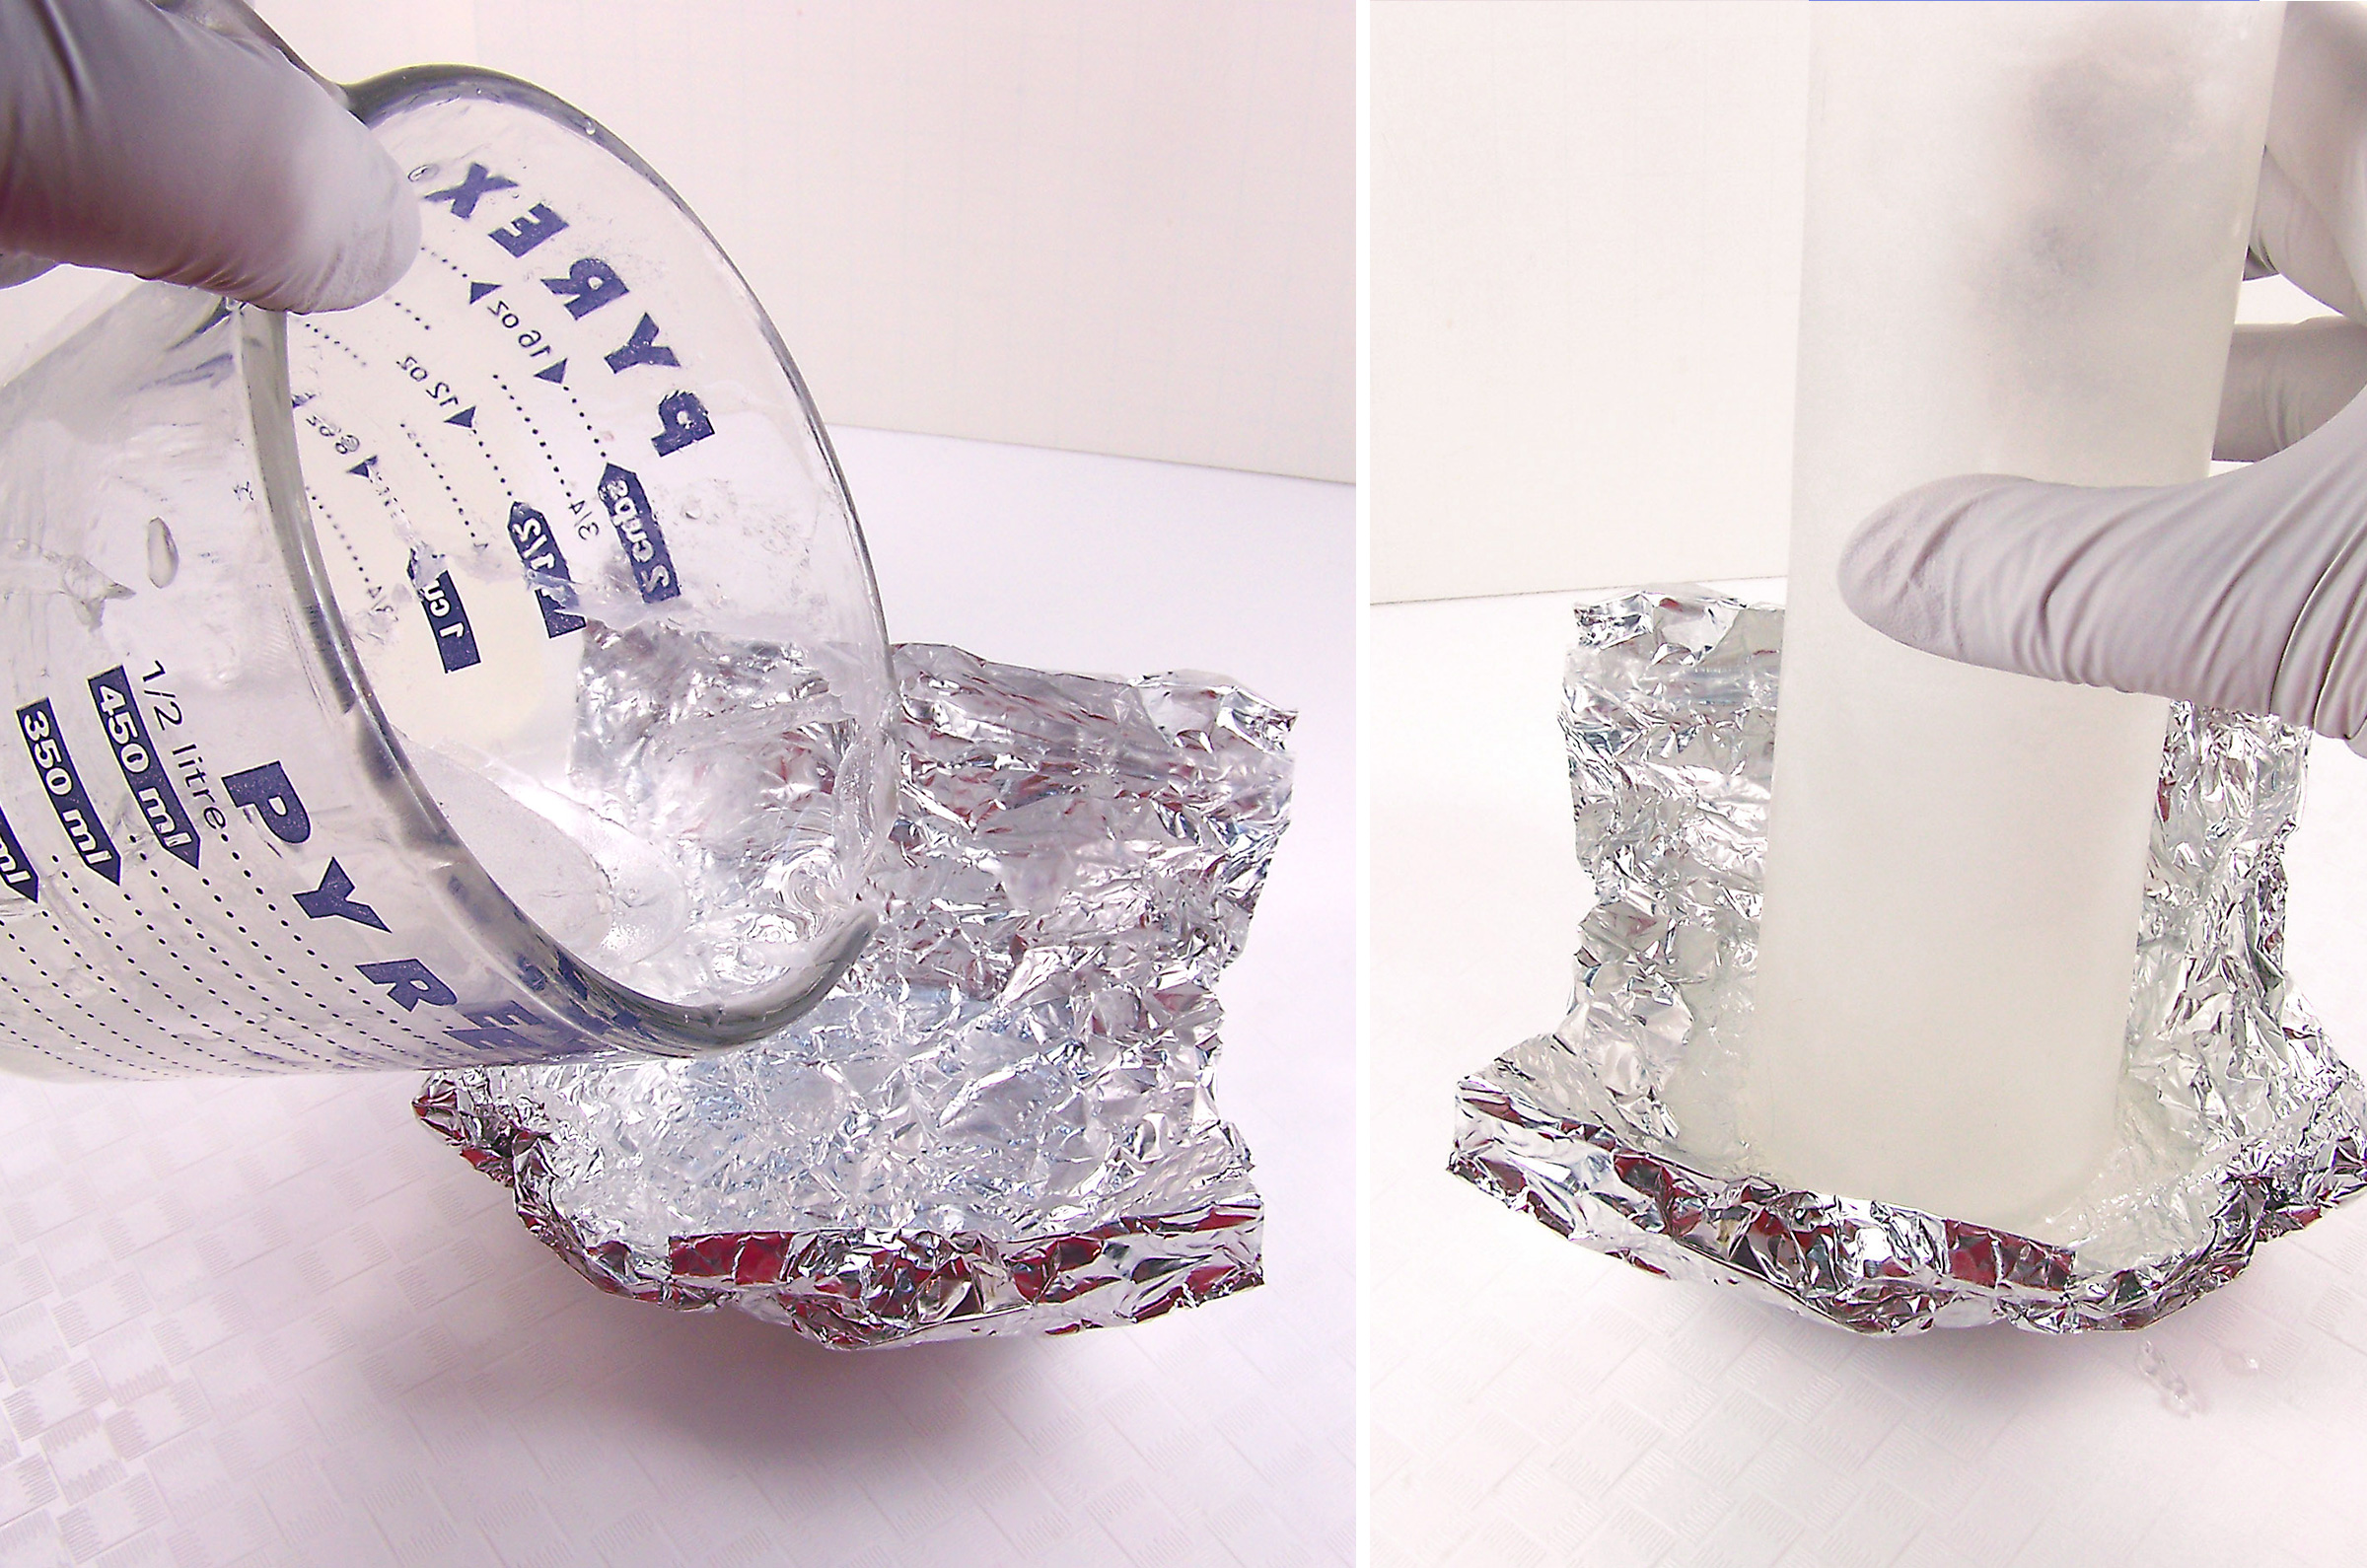
Now it is necessary to close off one end of the open roll of soap. Take a small piece of aluminum foil and pour a small amount of melted soap into it. Place one end of the soap roll into the melted soap and allow to set. Remove, trim edges and set to the side.
Step 13
Melt 7 ounces of ultra clear melt and pour soap base.
Step 14
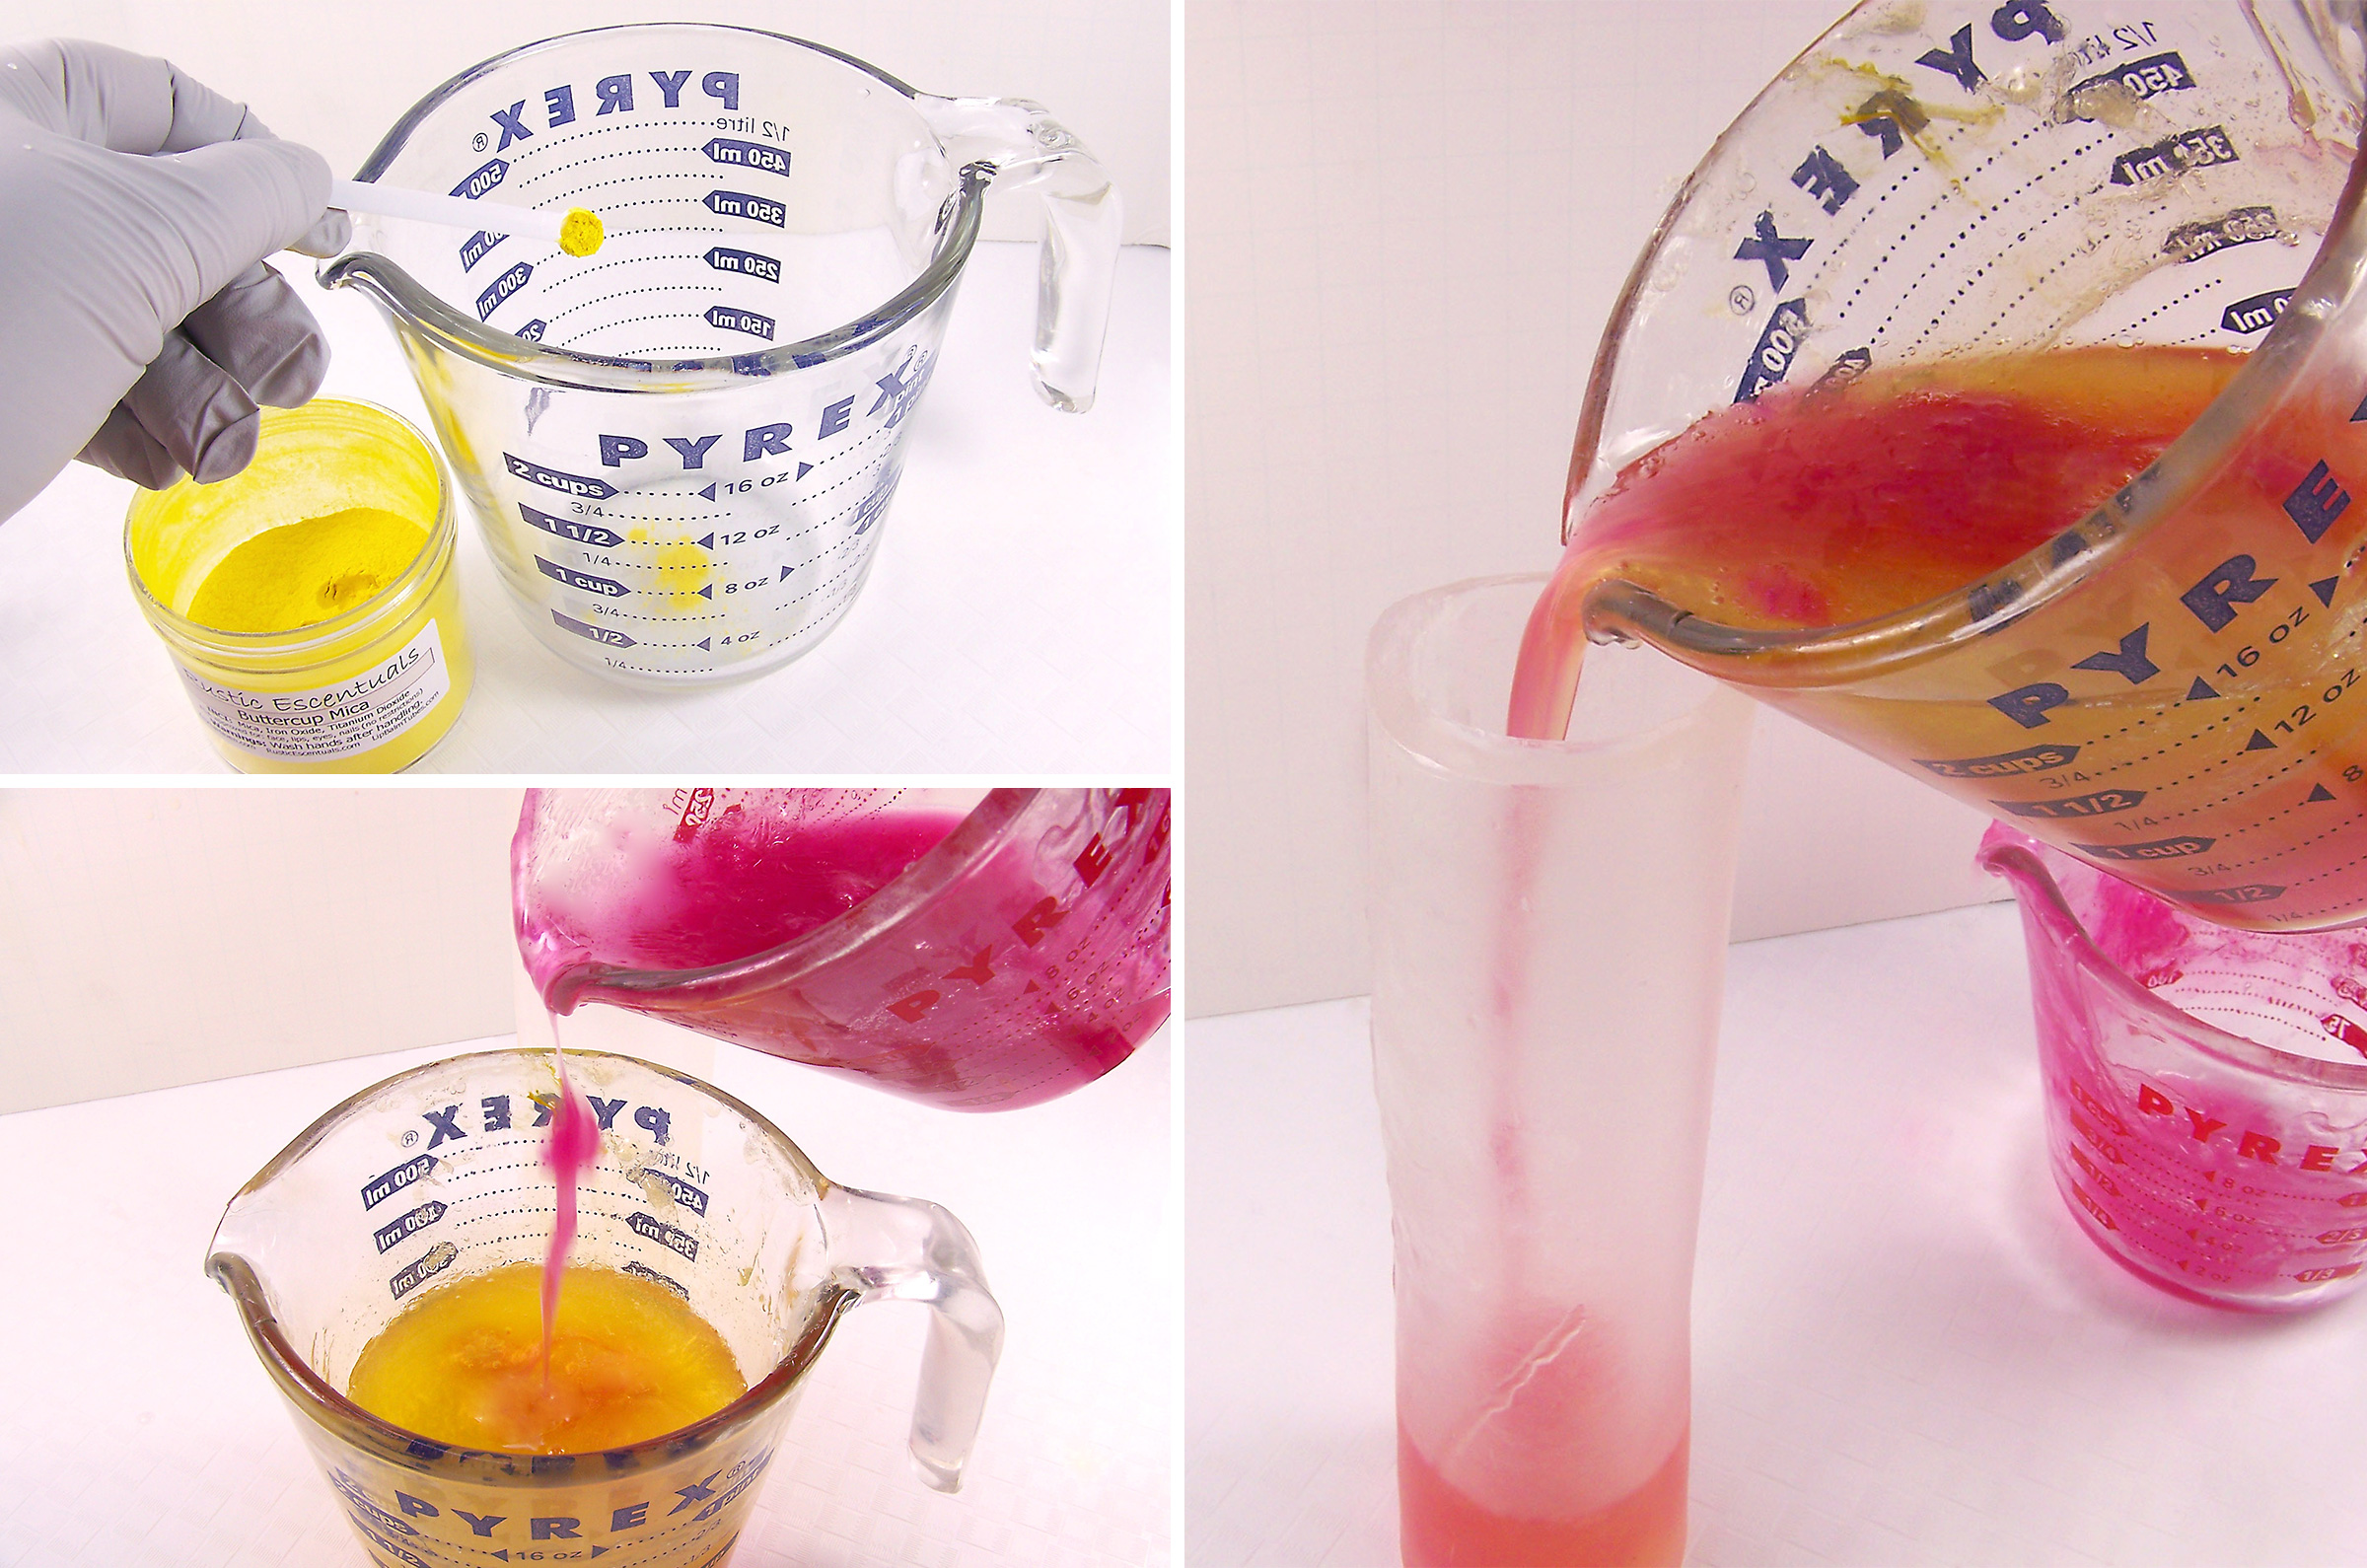
Using a .15 cc scoop, add two scoops of Buttercup Yellow Mica.
Step 15
Using the pipette, add 4 ml Bora Bora Fragrance Oil and stir slowly.
Step 16
Repeat steps 13 – 16 with 4 ounces of melted soap base, 2 scoops of Ooh La La Mica, and 2 ounces of fragrance oil.
Step 17
Monitor the temperature of both the yellow and pink soap. It is important that the pink soap is cooler than the yellow. Temperature of the yellow soap should be approximately 135 degrees and the pink soap should be approximately 125 degrees.
Step 18
Spritz the inside of the soap roll with alcohol.
Step 19
Slowly pour the pink soap into the melted yellow soap base…DO NOT STIR!
Step 20
Take the combined melted soap and slowly pour inside of the soap roll. Do not move the roll after. Allow to set for approximately 45 minutes.
Making the soap loaf
Step 1
Using the remaining cubed soap, place in a large microwave safe glass container and melt in the microwave using 30 – 60 second bursts, stirring between bursts until melted.
Step 2
Using a disposable pipette, add 8 ml’s of fragrance oil. Stir slowly until mixed well.
Step 3
Use a thermometer to monitor soap temperature; it should be about 135° to avoid warping the mold and melting the round soap embed. If soap is too hot, keep stirring slowly.
Step 4
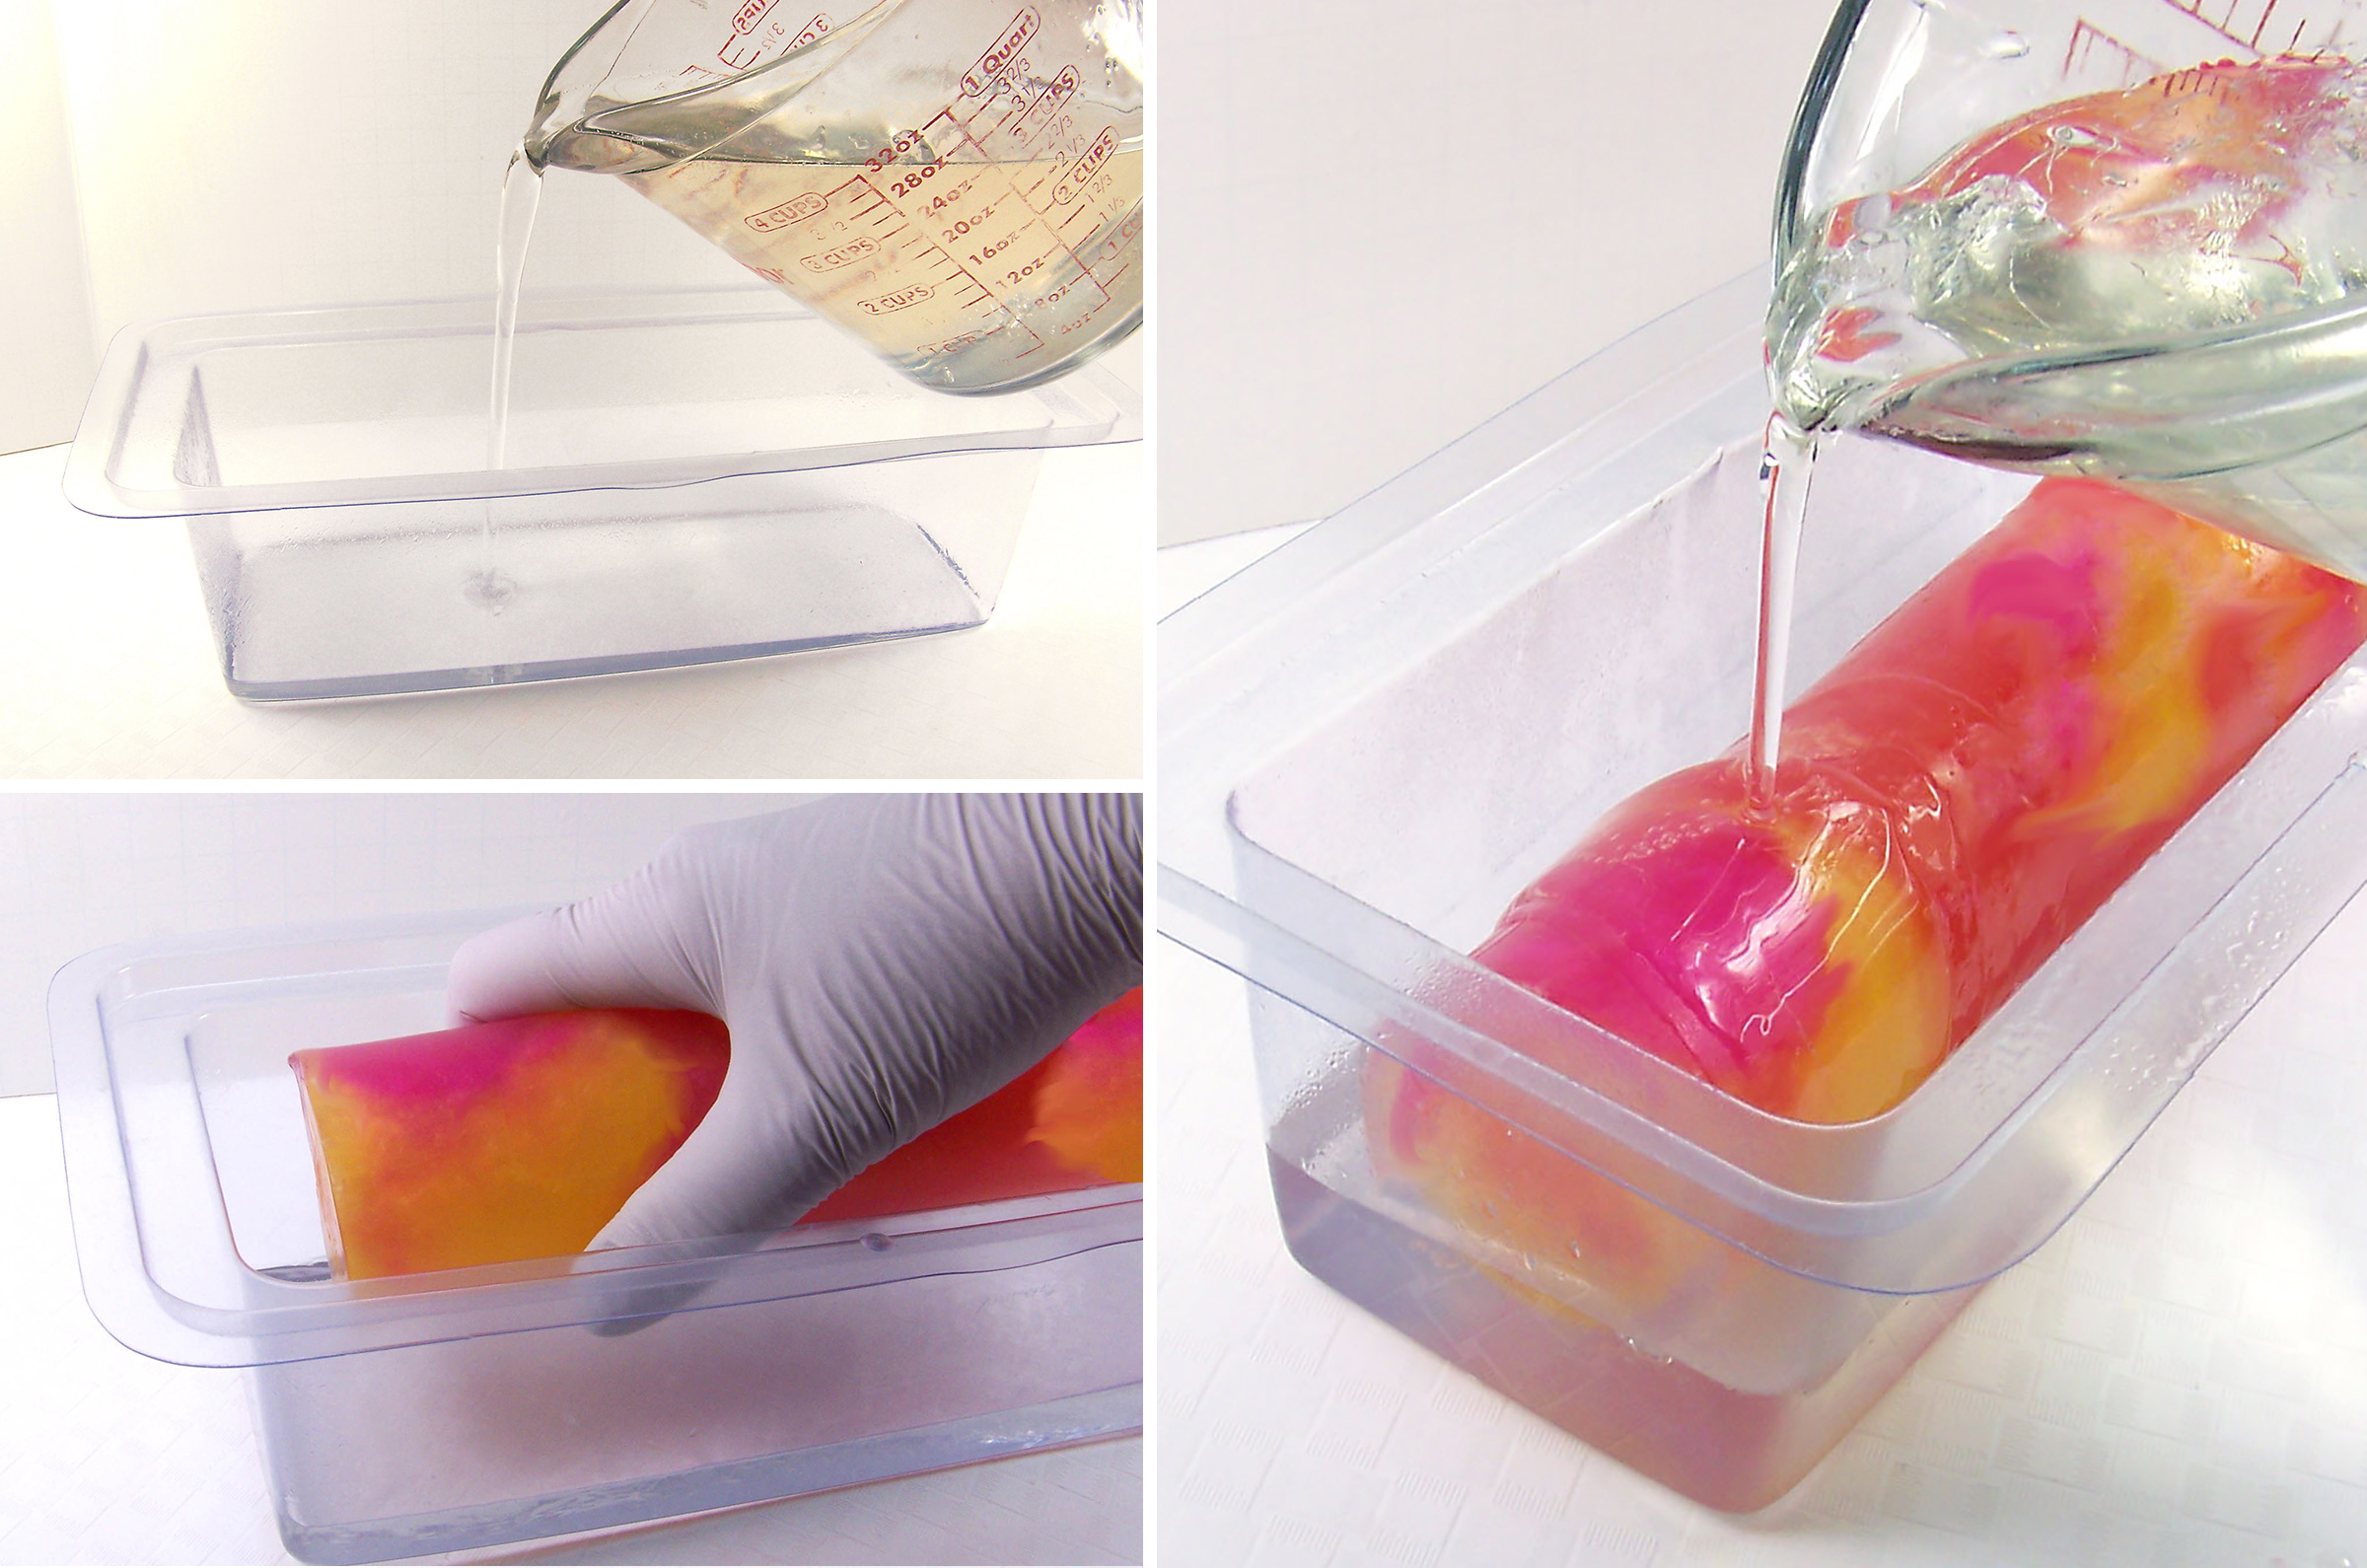
Pour the soap into the Square Loaf Soap Mold about 1/2 inch high. After pouring, spritz the soap with alcohol to zap any bubbles and allow to set for approximately 15 minutes. It is important that this sets enough to support and hold the weight of the round soap embed.
Step 5
Spritz both the first layer and the round soap embed with alcohol. Place the embed in the center of the mold.
Step 6
Pour the remaining melted soap to the top of the mold. Spritz the top of the soap to remove any bubbles and allow to set overnight.
Step 7
When completely hardened, slowly pull the sides of the mold away from the soap, turn over, and gently press on the underside of mold to release the soap.
Cutting the Soap
Cutting the loaf in 1 inch bars will yield approximately 10 bars of soap. Use a miter box cutter for easier and safer cutting.
