by Rustic Escentuals
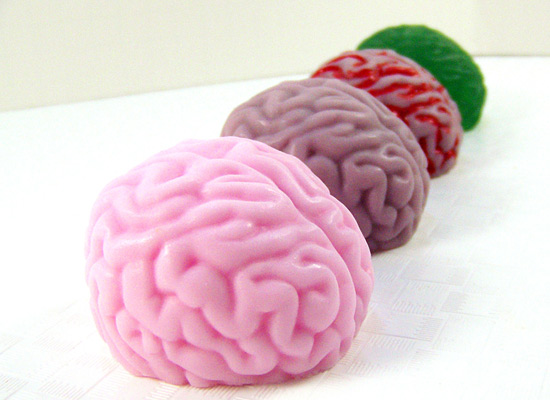
This tutorial is a fun way to celebrate the Halloween season, give some of these away instead of candy! I’m also showing you how to add a bit of soap paint to the brains to add an extra dose of creepy, and a quick packaging idea.
To get more familiar with packaging and soap painting basics, check out the Soap Packaging Tutorial and the Soap Painting Tutorial.
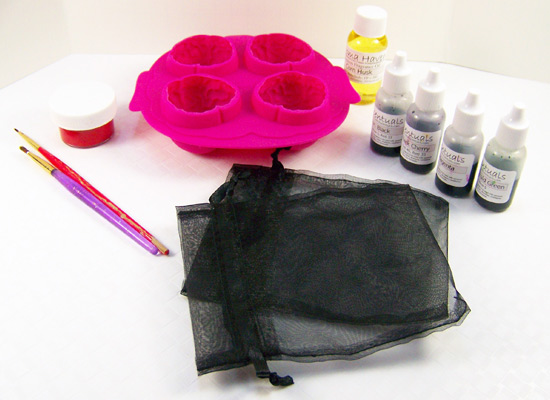
Supplies and equipment needed
Microwave
Microwave safe glass containers
Sharp knife to cut soap into cubes
Spray bottle with rubbing alcohol
Butter knives for stirring soap
Measuring spoon
Rubber gloves
Black sheer organza bags for packaging
Disposable pipette
Thermometer to monitor soap temperature
Brain Freeze silicone mold (4 round cavities 1.75″; each cavity holds 2 ounces)
Ultra Clear Melt & Pour soap base
White Melt & Pour soap base
Corn Husk Fragrance Oil
Gel Soap Colors in Black Cherry, Black, Magenta and Emerald Green
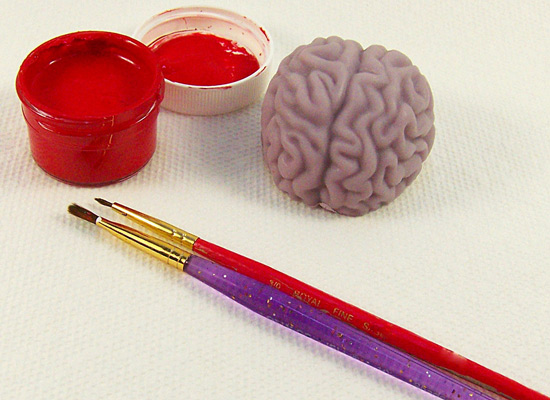
(optional) red soap paint
Paint Brush

Step 1: Cut up approximately 2 ounces of Ultra Clear Melt & Pour soap base and 6 ounces of White Melt & Pour soap base into small cubes using a sharp knife.
Step 2: Using a microwave safe container, melt approximately 4 ounces of White Melt & Pour soap base in a microwave using 30 – second bursts until melted. Do not burn or boil, this will result in a poor quality rubbery soap. If there are any small chunks of soap left, stir slowly; the heat of the soap will melt these small chunks.
TIP: Each cavity holds 2 ounces of soap base, so melt a little extra to take into account that some of the soap will stick to your container.
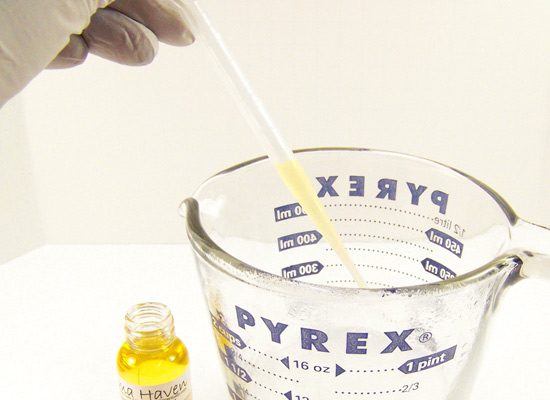
Step 3: Use a thermometer to monitor the soap base temperature. I don’t like to add any fragrance oils or additives when the soap is too hot so I wait for it to cool to about 145 degrees.
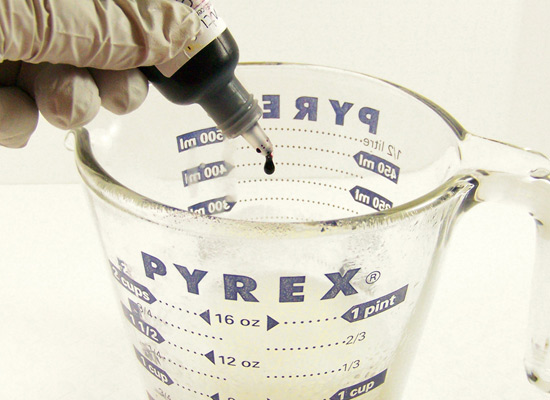
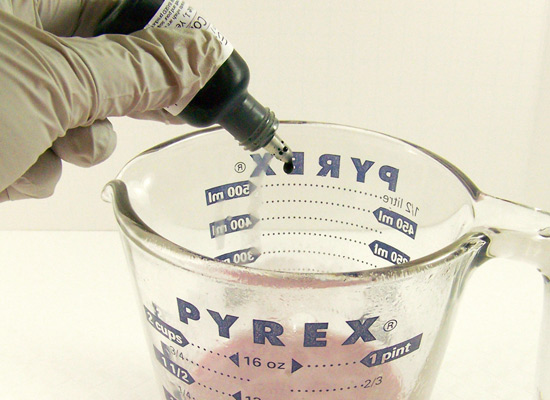
Step 4: Using a disposable pipette, add 1.5 ml of Corn Husk fragrance oil (an awesome fall scent!). Stir in slowly.
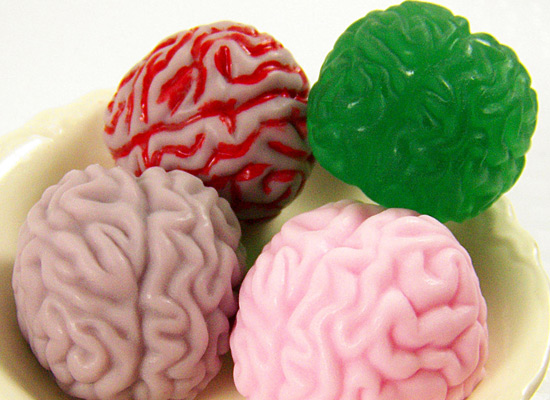
Step 5: I mixed a couple of soap colors to come up with something “brainy” looking. Add 5 drops of Black Cherry Gel Soap Color and 2 drops of Black Gel Soap Color and stir slowly until mixed well.
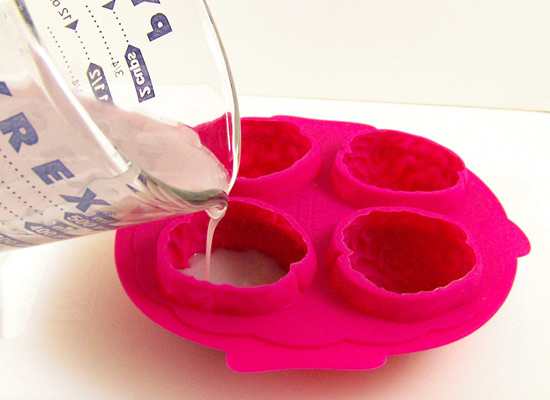
Step 6: Slowly pour the soap into 2 of the cavities.
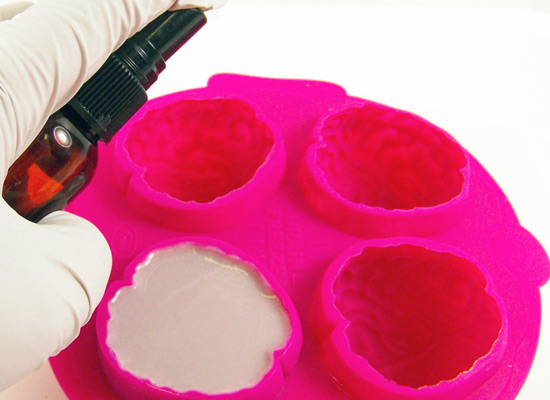
Step 7: Finish off with a final spritz of alcohol to remove any bubbles.
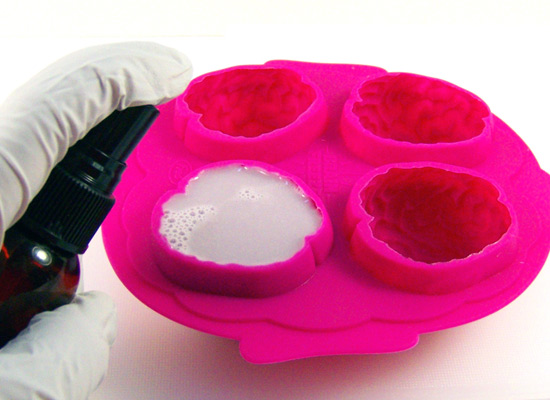
TIP: You can also spritz the cavities before pouring the soap into them to help the soap flow into the design smoothly.
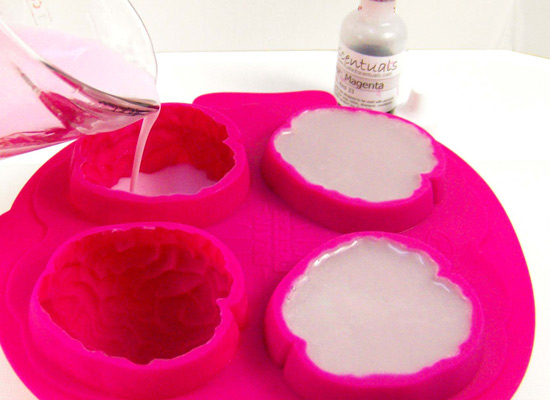
Step 8: Follow the basics of Steps 2 – 7 for the remainder of your mold cavities, making sure to adjust your melting time, fragrance and color accordingly. I decided to make one brain a nice pink color so I melted 2 ounces of White Soap base using 15 second bursts in the microwave, added 0.75 ml of Corn Husk fragrance oil plus 1 drop of Magenta Gel Soap color. Mix slowly and pour into 1 cavity.
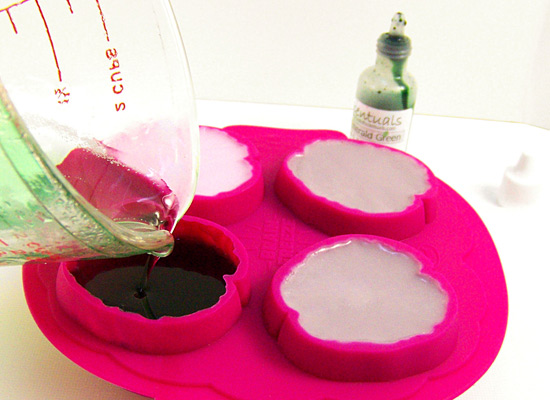
Step 9: For the last cavity I wanted to make a ZOMBIE brain so I melted 2 ounces of Ultra Clear soap base using 15 second bursts in the microwave, added 0.75 ml of Corn Husk fragrance oil plus 3 drops of Emerald Green Gel Soap color. Mix slowly and pour into 1 cavity.
Step 10: Wait 2-3 hours for the soap to completely harden.
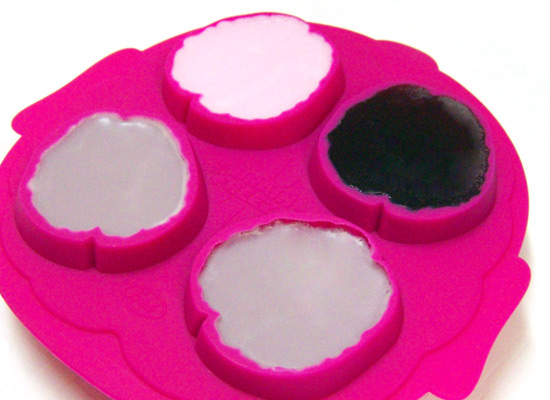
Step 11: Turn the mold over carefully and slowly press on the bottom of the cavity to release the soap. You may have to pull the edges of the mold away from the soap slightly to add an air pocket.
Soap Painting
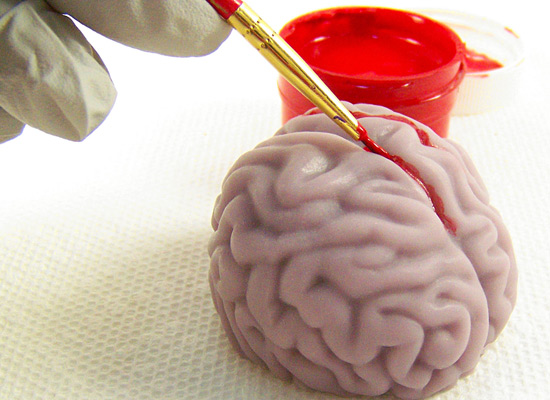
Now it’s time to paint! I wanted to add some red “blood” to one of the soap brains to add more Halloween creepiness.
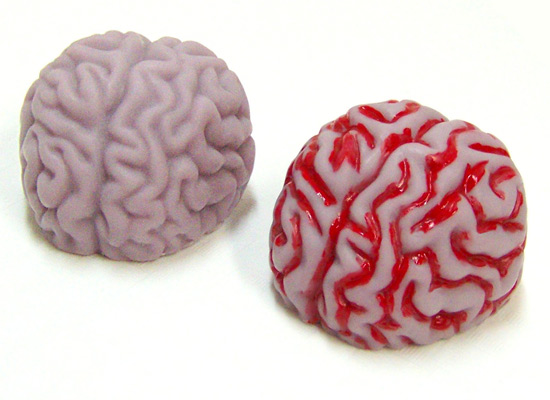
Step 12: Your painting doesn’t have to be perfect. Use a small artist’s brush to help you get into the crevices of the brain and bright Red Soap Paint. Dip the paintbrush into the paint and, using a small amount, begin brushing into the brain crevices in smooth strokes, being careful not to use too much paint. It’s not necessary to apply a second coat, but if you want to, wait 20 – 30 minutes before doing so.
Soap Packaging
A super easy way to package these soaps for gift giving is to wrap the soap in clear wrap and drop one or two into a black organza bag (make sure you add an ingredient label to each package). The bag is sheer enough for you to see the brains, and the black adds a nice Halloween touch!
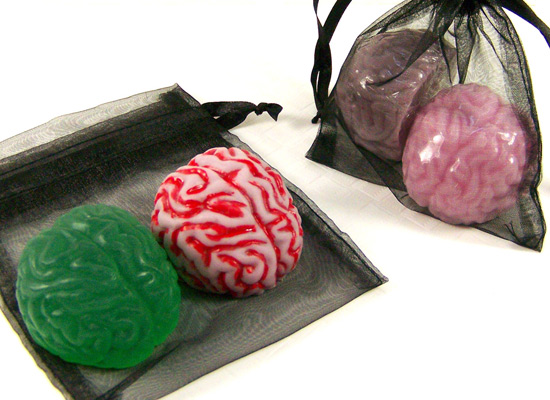
Have fun and enjoy your soap brains!!