by Rustic Escentuals
Packaging soap for sale or gift giving doesn’t have to be difficult. There are many simple ways you can pretty up your packaging with items you have around the house or a quick stop at the dollar or craft store!
Before you package your soap, you need to know that Melt & Pour soaps (MP) should be treated slightly different at first from cold process soaps (CP). MP soaps tend to draw moisture from the air, especially in humid environments and you may see this moisture bead up on the soap. Because of this you should wrap your MP soaps soon after being made to prevent this. CP soaps don’t need to be wrapped; in fact they should be allowed to “breathe.”
Wrapping your MP soaps
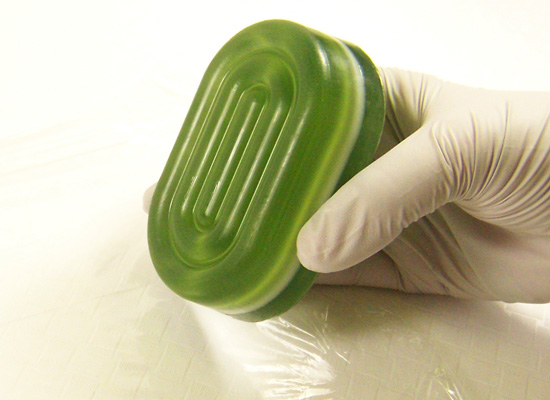
Step 1: My favorite way to protect the MP soaps from moisture is to wrap them tightly in Professional Clear Food Wrap. You can find this at Costco, Sam’s Club or even restaurant supply stores. Regular clear food wrap (saran wrap etc) works okay, but it doesn’t stretch or cling as well.
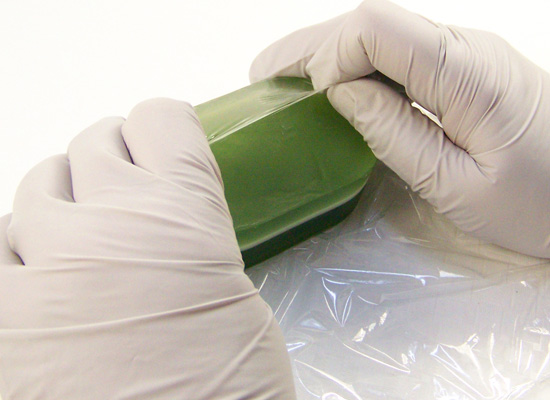
Step 2: Cut a piece of the clear wrap and lay it flat on a solid, smooth surface. Place the soap face down onto the wrap. TIP: If you have a delicate design on your soap you can place the soap face up and stretch the wrap over the soap. For regular bars I prefer to place the soap face down to avoid the wrap getting all tangled up.
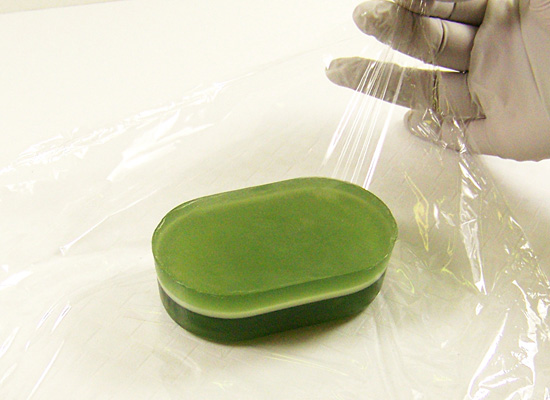
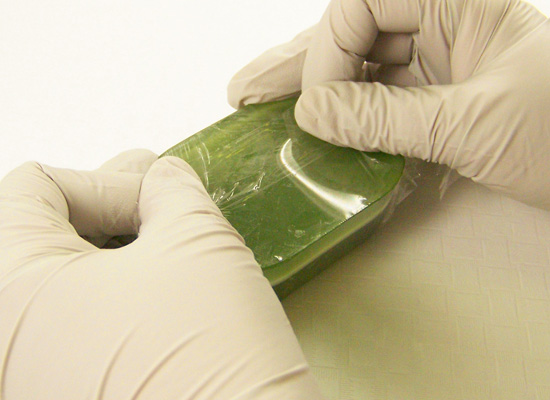
Step 3: On one side, stretch the wrap over the soap tightly as if you’re wrapping a present and smooth it down over the soap. It will cling to the soap.
Step 4: Take the other side and do the same, overlapping the first side and smooth down. You may have to trim the plastic wrap – you don’t want it to hang over the side.
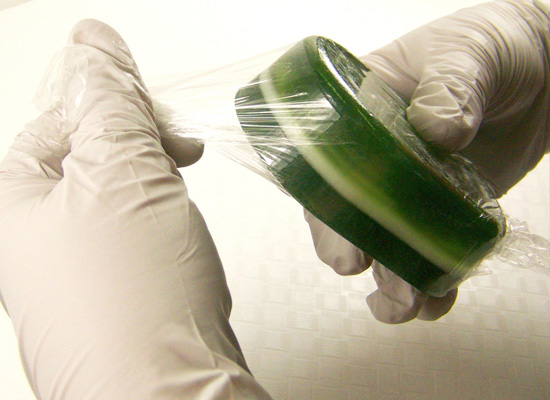
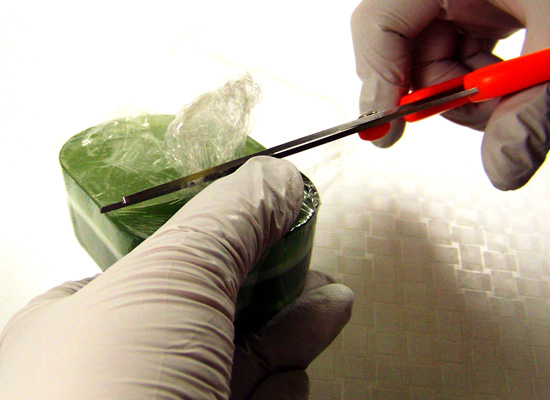
Step 5: Turn the soap right side up and stretch the sides of the wrap tightly. Turn the soap over, trim the excess and smooth down the ends. Do this for both sides. You can also place a couple pieces of clear plastic tape down on the ends to prevent them from springing up over time. To cover up the underside of the wrapping, place your ingredient label here. Over time, this will become second nature to you – practice makes perfect!
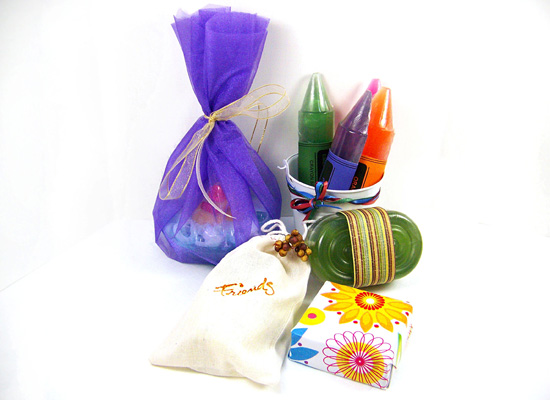
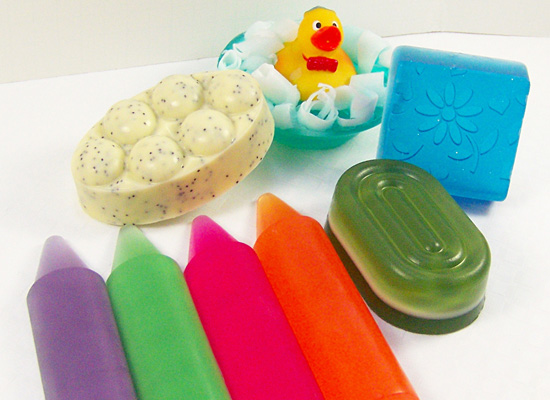
Now, let’s package some of the soaps I made from the tutorials. Remember, your MP soap should be wrapped in clear wrap before you package them. Here are some simple packaging ideas.
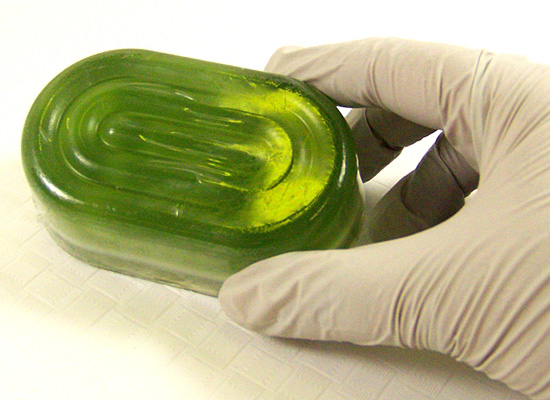
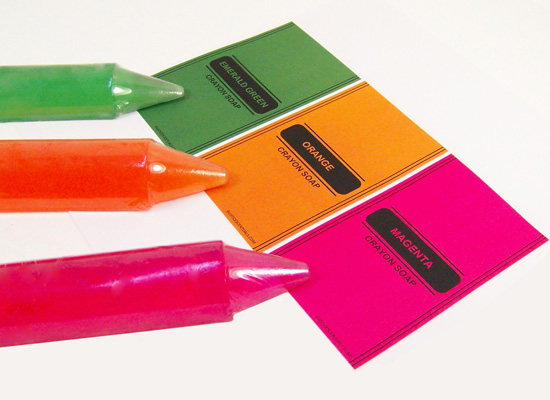
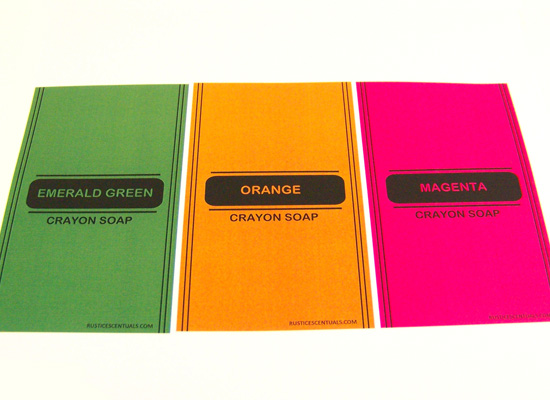
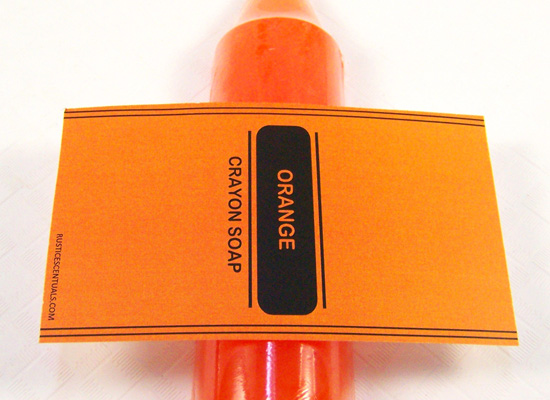
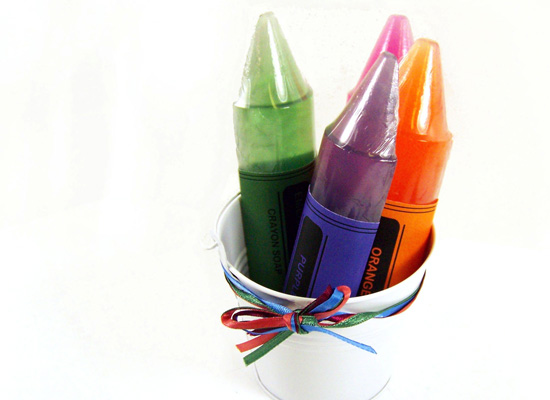
Crayon Soaps Tutorial
Crayons need a crayon label for sure! Here is a label I made for you to download as promised from the crayon soap tutorial. Print and cut out. Center your label over the middle of the crayon and wrap around the back, taping it down. You can place the soap crayons in a nice little bucket and wrap a ribbon around the bucket…all ready to give!

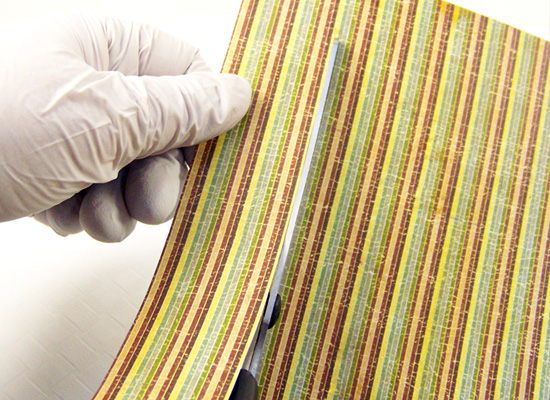
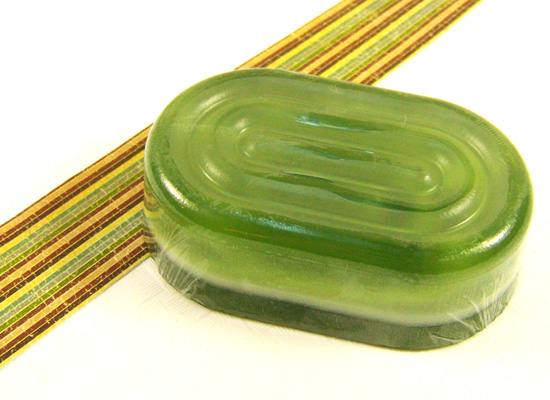
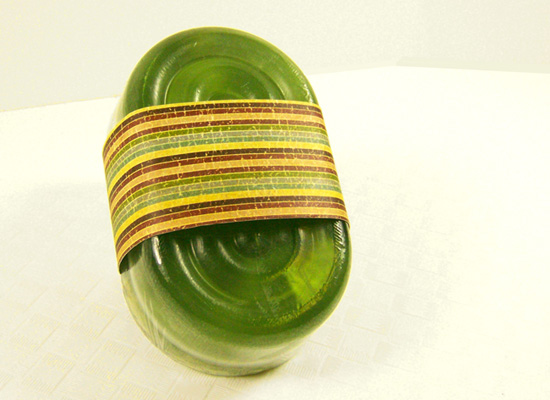
Green Irish Tweed Soap Tutorial
This nice men’s soap needs just a simple wrap around the center to get it ready. You can use a nice ribbon, twine or patterned paper. I chose a nice piece of thick paper with a design that would enhance the soap. Cut a thin to medium size length out and wrap around the soap and tape down…simple!

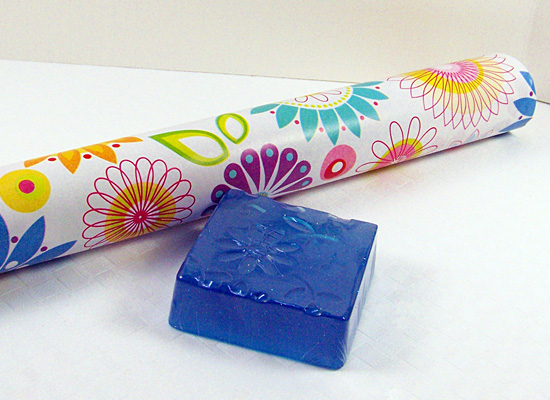
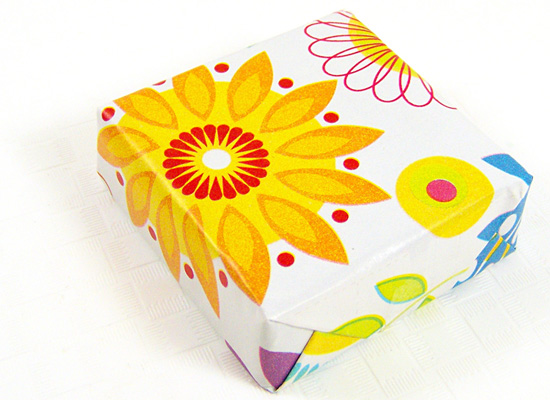
Impression Soap Tutorial
For a simple straight edged soap like a rectangle or square, all you need is a nice piece of wrapping paper. Everyone has wrapping paper at home! To individualize it even more, you can use a plain piece of Kraft paper and stamp it or even use cartoons from the weekend paper. Wrap as if you’re wrapping a small box.

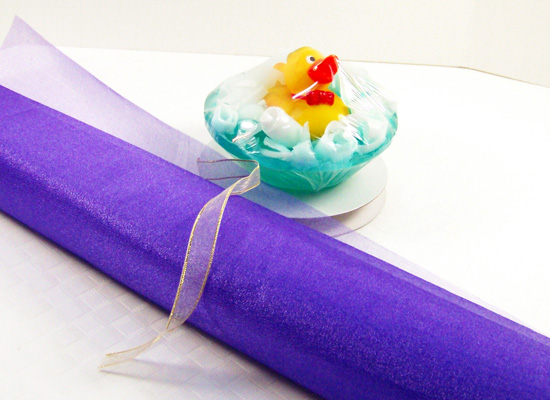
Rubber Ducky Soap Tutorial
The rubber duck soap has an unusual shape to it. The easiest way to wrap this soap is to place it on a piece of sheer organza. Bundle the material over the top of the soap and tie with a ribbon. These make nice baby shower favors using pastel colored organza sheets.

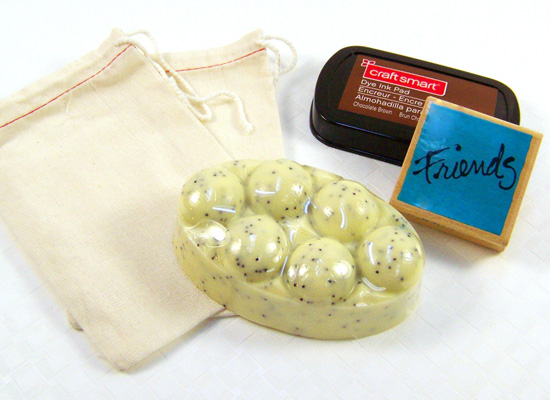
Kitchen Soap Tutorial
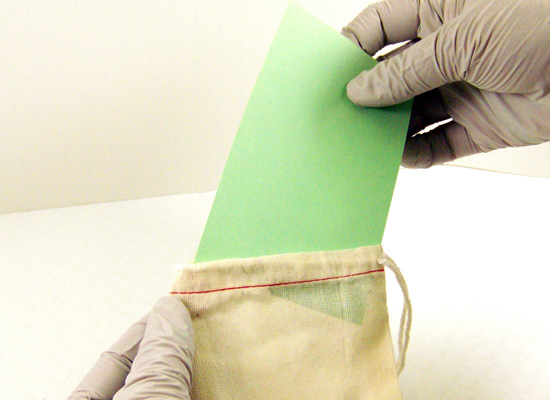
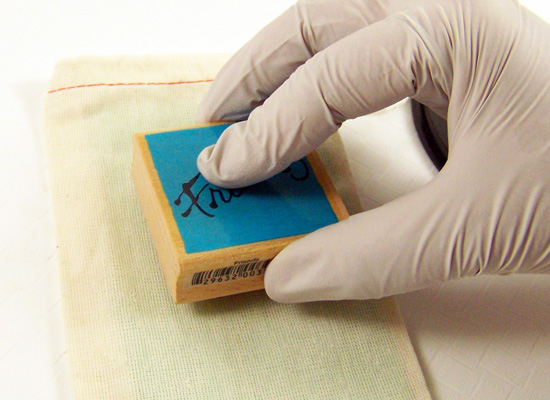
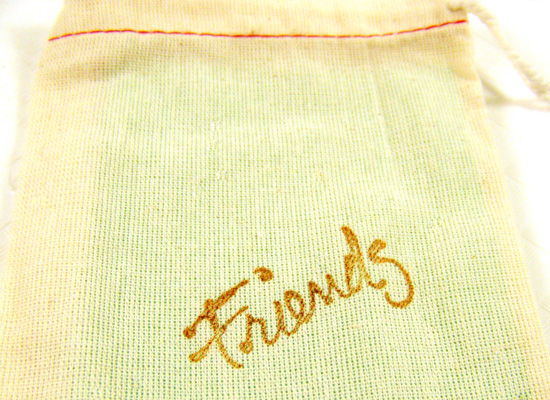
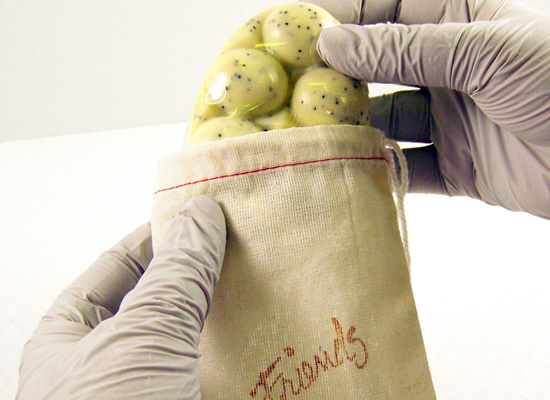
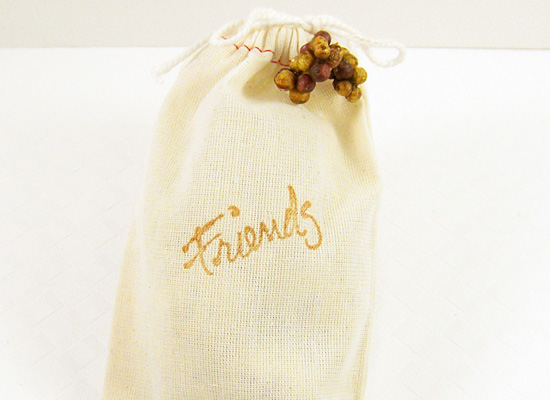
For the kitchen soap, I wanted something more rustic so I grabbed a muslin/cotton bag, a nice stamp and a little berry swag. I stamped the bag with a “friends” stamp in brown (make sure you put a piece of paper inside your bag so the ink doesn’t bleed through). Let it dry, place your soap in the bag and tie with a tiny floral or berry sway. A simple way to individualize your soap if you have a soap business is to stamp the bag with your shop name.
There are so many things you can use to package up your soaps, be creative and have fun! Show us some of your unique ideas on our Facebook page – we would love to see them!