by Rustic Escentuals
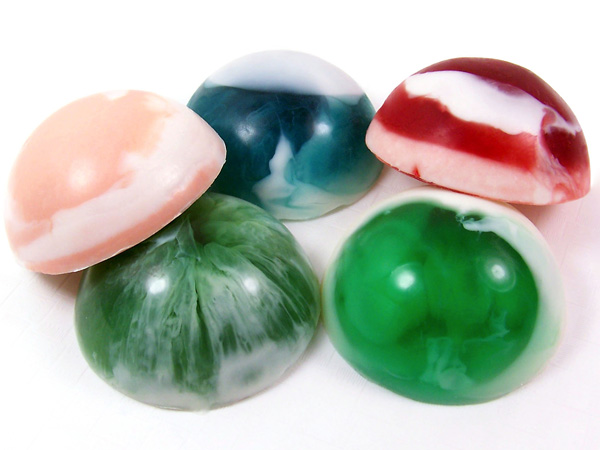
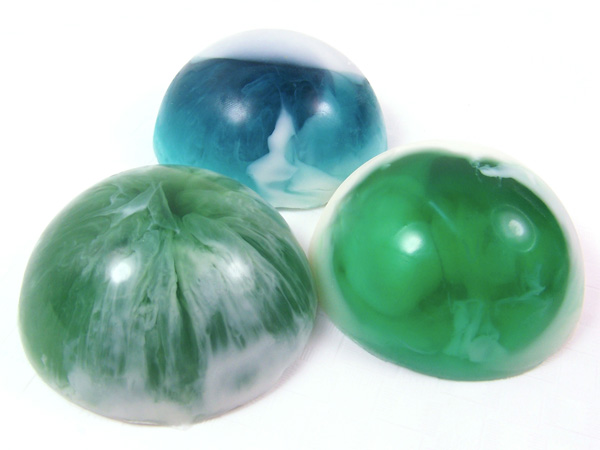
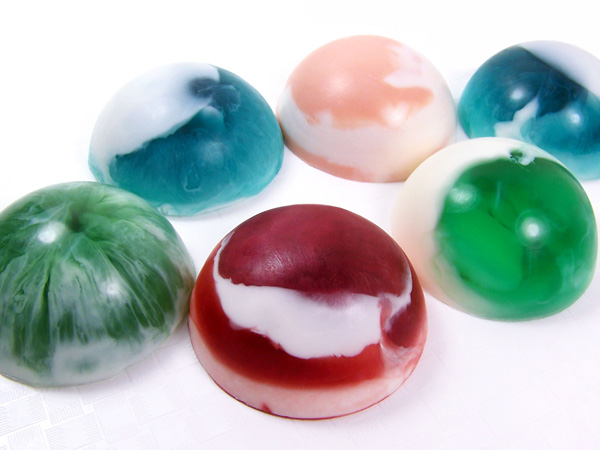
You’ve seen swirled soaps across the Internet and have maybe tried your hand and it’s never really worked out. However, It’s really not that hard once you get the hang of it. The trick is all in the temperature of the soap base. To start, we’ll be showing you how to swirl two colors. You’ll end up with lovely soaps with no two being exactly alike! As you practice and improve your techniques, try pairing the White Melt & Pour Soap Base with Ultra Clear Melt & Pour Soap Base.
Skills: Swirling colors
Supplies and equipment needed:
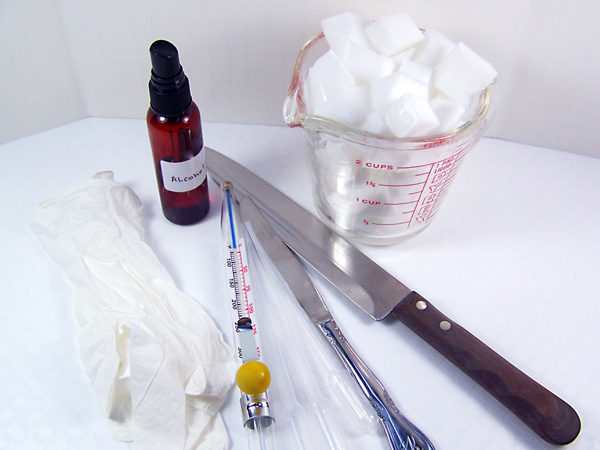
Microwave
Microwave safe glass container (2)
Sharp knife to cut soap into cubes
Spray bottle with rubbing alcohol
Butter knife for stirring soap (2)
Rubber gloves
Disposable pipette
Thermometer to monitor soap temperature
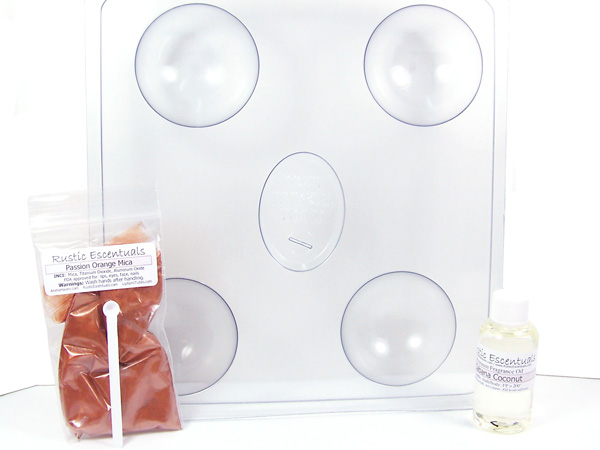
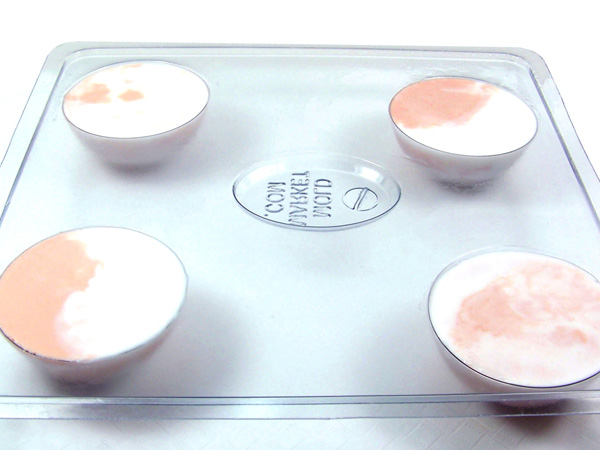
Small Bath Bomb Mold (4 cavities: to 3 oz soap each)
White Melt & Pour soap base
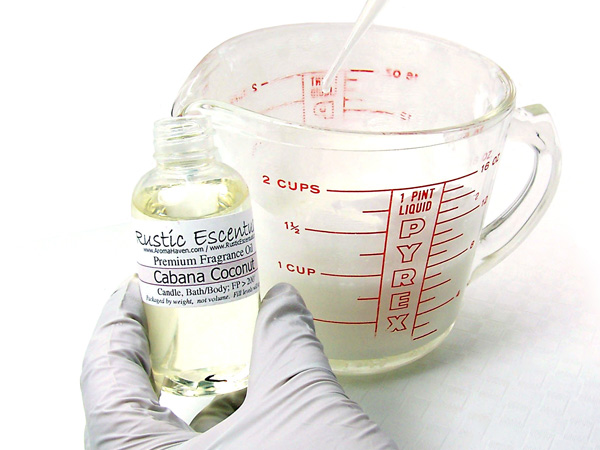
Bahama Coconut Fragrance Oil
Passion Orange Mica
.15cc scoop
Step 1
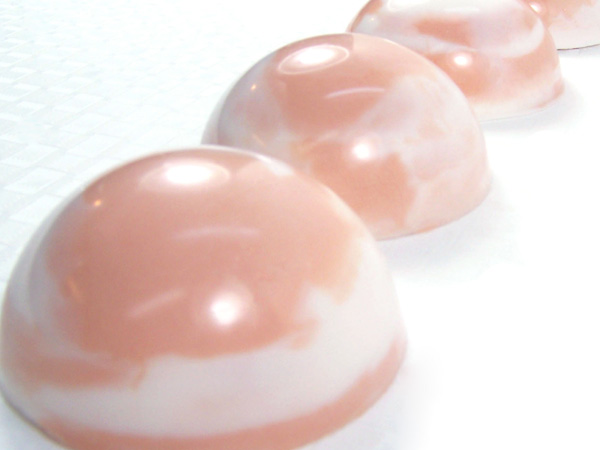
Cut up approximately 14 ounces of White Melt & Pour soap base into small cubes using a sharp knife.
Step 2
Split the soap base into two separate microwave safe containers – approximately 7 ounces each.
Step 3
Melt the soap base in the microwave using 30-second bursts until melted. Do not burn or boil, this will result in a poor quality rubbery soap. If there are any small chunks of soap left, stir slowly; the heat of the soap will melt these small chunks. TIP: There are four cavities in this mold and each holds approximately 3 ounces of soap – we are melting a little extra to take into account that some of the soap will stick to the container.
Step 4
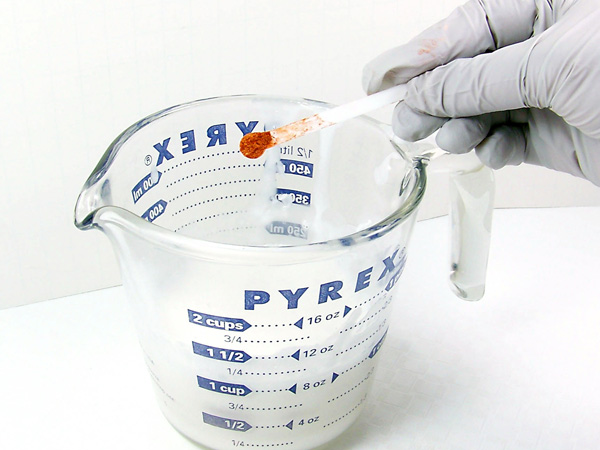
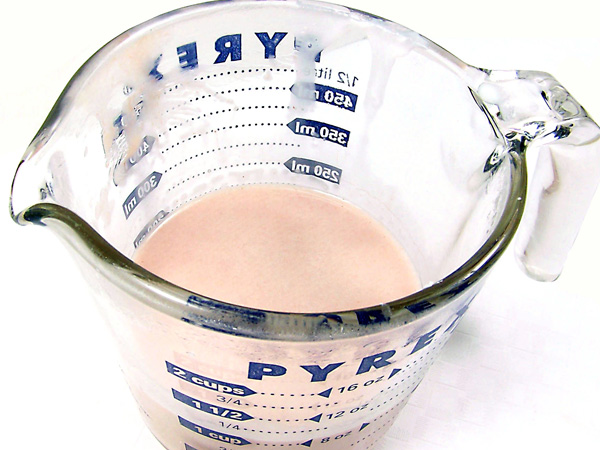
Taking one of the containers of melted white melt & pour soap base and add 2 to 3 scoops of Passion Orange Mica. Stir thoroughly. The second container of melted soap base will remain white. No added color is necessary.
TIP: For tips on how to incorporate mica into melt and pour soap base, see our How to Use Mica Colorants in Soap Tutorial.
Step 5
Using a pipette, add 4 ml of Bahama Coconut Fragrance Oil into each container and stir thoroughly.
Step 6
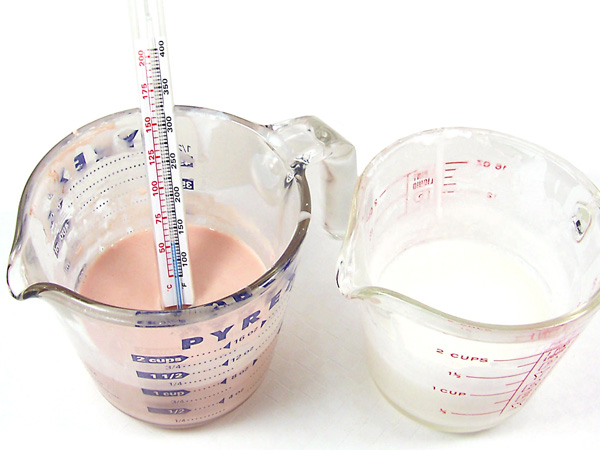
Here is the trick – If the soap is too hot when you pour, the two colors will blend together. You’ll end up just having a light orange soap. Using a thermometer, monitor the soap temperature. Each container of soap should be between 130° to 140° F. It’s best to have one cooler than the other.
TIP: This takes a bit of practice to get the pouring temperatures just right. If the soap cools down too much, quickly zap it in the microwave for 10 seconds.
Step 7
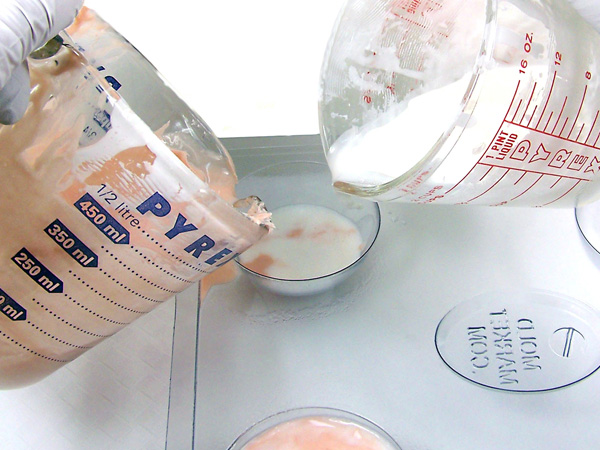
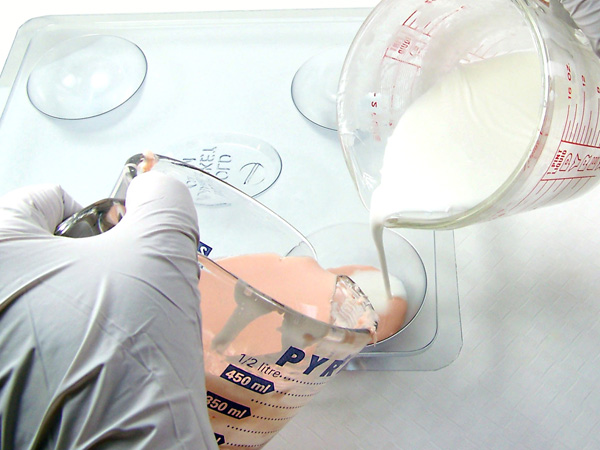
Now for the magic! Take both containers and slowly pour both at the same time. Midway through, stop pouring and move one of the soap containers slightly to a different area so you don’t pour both in the same spot as before. You’ll see the swirling begin. You can also alternate the pours; first pouring the orange, then the white.
Step 8
Finish off with a spritz of alcohol to remove any bubbles. Important! Do not move the soap mold until set.
Step 9
Wait 2-3 hours or overnight for the soap to completely cool and harden.
Step 10
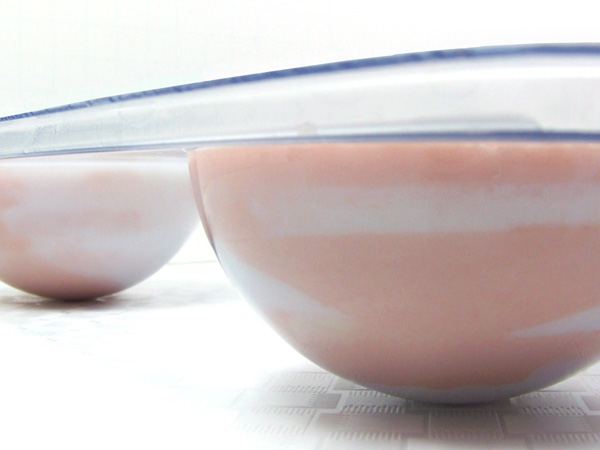
Turn the mold over carefully and slowly press on the bottom of the cavity to release each soap. You may have to pull the edges of the mold away from the soap slightly to add an air pocket.
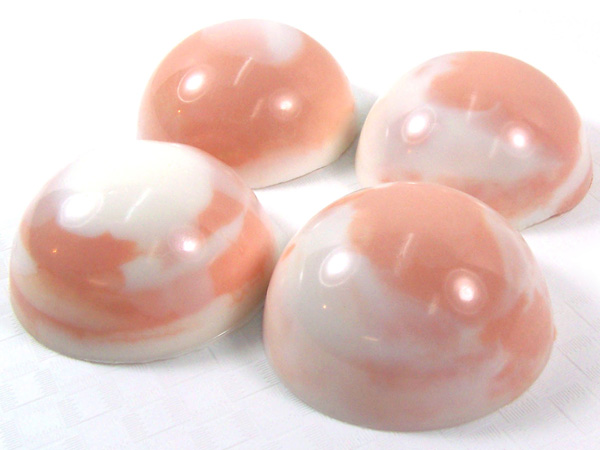
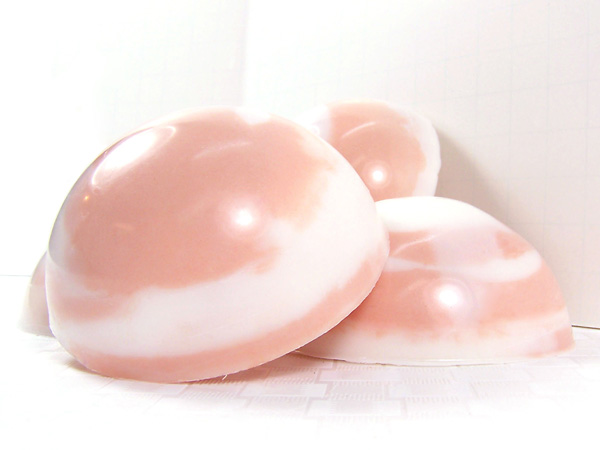
You can customize these with your choice of colors and choice of soap. If you want a bolder color, use the Ultra Clear Melt and Pour Soap Base with your choice of micas.