by Rustic Escentuals
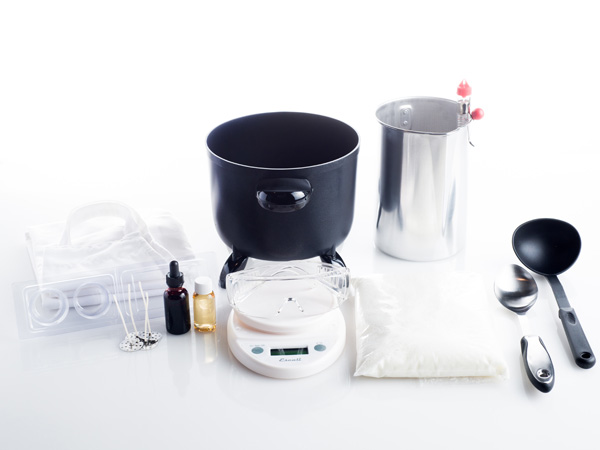
Materials List:
Votive/Pillar Wax
Suggestions
• KY 133 Versatile Paraffin Wax
• KY 143 Paraffin Pillar Wax
• KY Para-Soy Tart & Votive Blend (used in this tutorial)
Digital Scale
Candle Fragrance Oil
Candle Dye
Pour Pitcher
Thermometer
Clamshell Votive Mold
36-24-24 Zinc Votive Wicks w/self centering tabs (2)
Presto Pot or double boiler to melt wax
Metal Spoon to stir wax
Safety goggles
Apron to protect clothing
Wax paper, old newspapers or aluminum foil
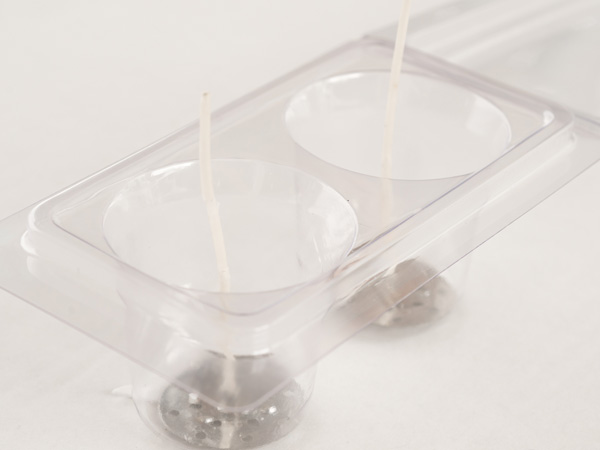
Step 1
Cover counter with wax paper, old newspapers or aluminum foil to make clean up easier. Prepare the clamshell mold by placing pre-tabbed wicks in the center of the cup. A pencil can be used to wrap the wick around to keep centered in the mold, if necessary. Set these off to the side.
Step 2
Melt the wax with the chosen method – Presto Pot or double boiler. Make sure to follow the wax manufacturer melting and pouring guidelines for correct temperatures. For this tutorial, KY Para-Soy Votive Tart Blend is being used so it will need to be heated to approx 165° F. Use the thermometer to accurately monitor the temperature.
Step 3
Set the pour pot on the digital scale and tare. Transfer needed amount of wax to pour pot – in this tutorial one clamshell votive set will be created, so 4.5 oz candle wax will be needed. Transfer 4.5 oz of wax, and add .4 oz of Rustic Escentuals Candle Fragrance Oil. Stir well (approx 2 min). Then add drops of candle dye until desired color is achieved.
Note: To test the wax color, add a few drops of the colored wax onto a white surface, like a paper plate, and let cool – this will give you a better idea of what the candle will look like when the candle cools. If the wax is not dark enough, add a bit more color, mix, and test again. Dyed candle wax appears darker when it is melted.
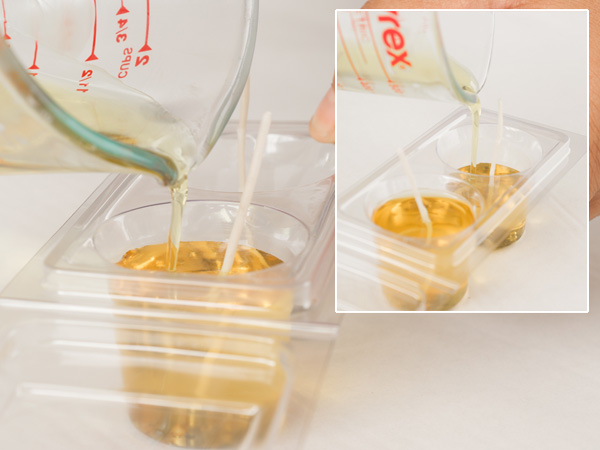
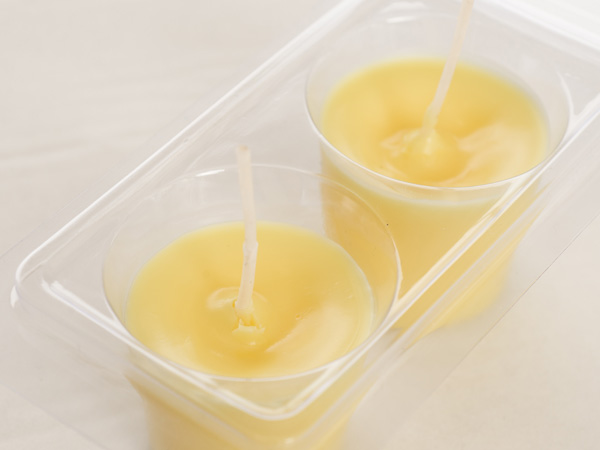
Step 4
When mixture has cooled to approx 155-160° pour into clamshells.
Note: Don’t overfill – fill until where the clamshell mold starts to flare out. This space is needed for the re-pour later.
Step 5
Keep remaining mixture heated to approx 165° while monitoring the first pour.
Step 6
Once the first pour has cooled enough that it has stopped shrinking, it should look close to the below photo, prepare to do the re-pour. Do the re-pour while the votives are still somewhat warm as it helps to ensure proper adhesion of the two layers.
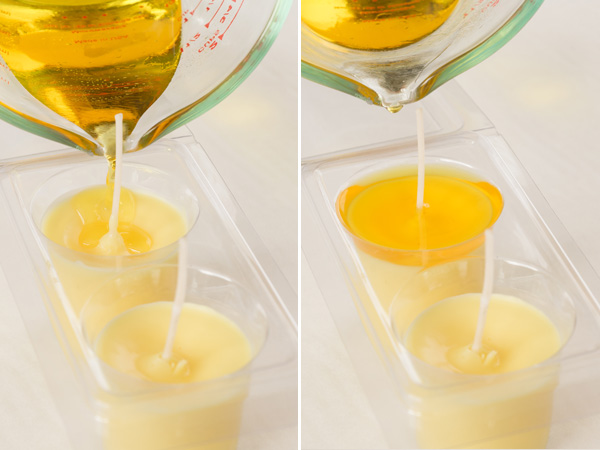
Step 7
For the re-pour, fill to the brim without overfilling. There will be some shrinkage, so for a nice even top they need to be full.
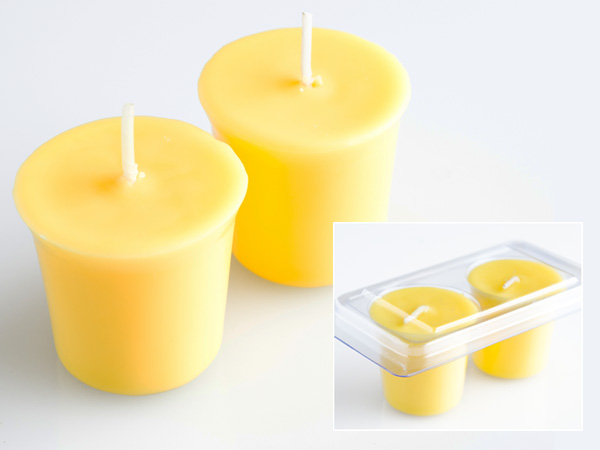
Step 8
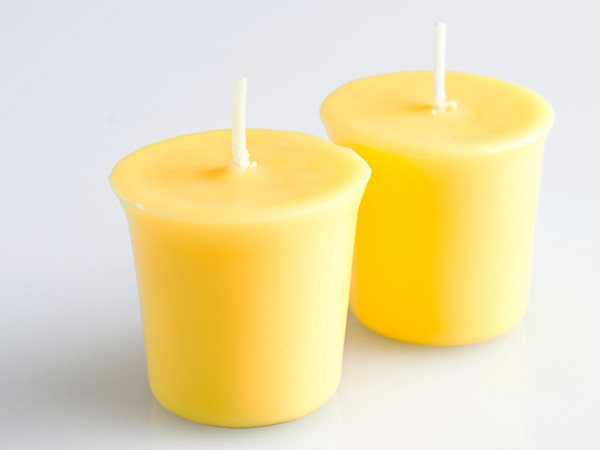
Let the candles cool completely. Once completely cool, trim the wick to approx. ¼ inch, bend lid over and snap into place. Allow candles to cure for 48 hours. When ready to burn, simply pop the votive out of the clamshell, place in an appropriate, tight-fitting glass votive holder and enjoy!
Notes:
*Wax weights are approximate and not exact.
** Wax, fragrance, and colorant selections in this tutorial are for demonstrative purposes only.
All measurements are by weight, not volume.
SOME SAFETY PRECAUTIONS
- Cover counter with wax paper, old newspapers or aluminum foil to make clean up easier.
- Be sure to wear safety goggles for eye protection. You do not want to be splashed in the eye with hot wax! Remember with wax – safety first.
- Waxes used in making candles are very similar to cooking oils – they are flammable and they are poured at high temperatures, but with certain precautions, accidents may be avoided. NEVER HEAT WAX ABOVE 210°F.
- For safety, wax should be melted in a double boiler. Wax should NEVER be heated directly over an open flame or burner. Direct heating can cause wax to explode and result in serious injury.
- Use of a thermometer is advised to ensure proper wax pouring temperature.
- Never leave hot wax unattended. Keep children and pets away from the area where wax is being melted and poured.
- Never pour water in a wax fire. Water will cause the fire to spread. To extinguish a fire in a pan, cover the pan with its lid. Use a dry chemical fire extinguisher.
- Never pour melted wax into the sink or other drains.