by Autumn Burgess
a cold-process soap made with yummy coconut milk
Items you will need
Safety goggles
Safety gloves
Glass measuring bowls (heat safe)
Thermometer
Silicone/plastic spatulas
Soap mold approved for cold process soap
Freezer paper for mold (if wood mold)
Digital scale
Stick blender
Whisk
8 oz palm oil
8 oz coconut oil
8 oz pure olive oil
1 oz castor oil
3.2 oz sodium hydroxide (lye)
3.59 oz distilled water
3.59 oz coconut milk
2 oz fragrance oil
Coloring (if desired)
Preparation in advance
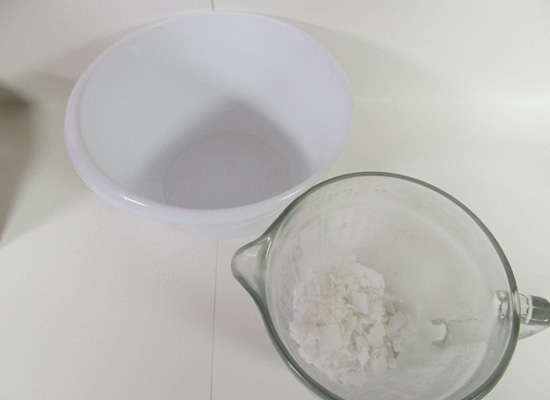
For this recipe, I start with semi frozen/slushy coconut milk and cold distilled water. This will speed up the cool down process for your lye mixture. When soaping with any kind of milk, I usually combine my oils and lye/water mixture around 90 degrees.
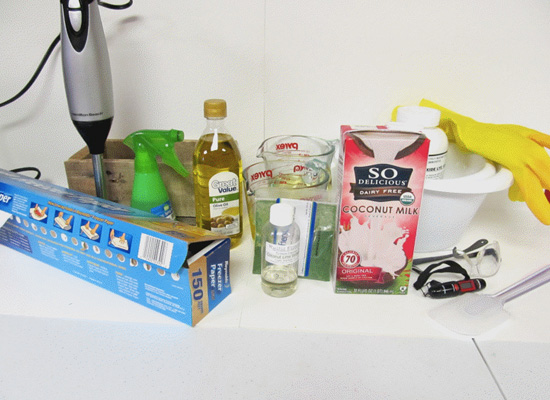
gather your supplies and get your milk and water ready
Let’s get started!
It’s important to understand the dangers when working with lye. Please take proper precautions. Suit up in your safety gear -put on rubber gloves and goggles. All measurements listed above are by weight, not volume. In a glass bowl, measure out your sodium hydroxide. Be careful not to inhale any of the fumes. Set aside. Next measure out your distilled water. I use a heat safe plastic bowl for my water. In a very well ventilated area, add your sodium hydroxide SLOWLY to your water mixture in several small batches, stirring continuously. It is very important that you never, ever add your water to your lye. Always add the lye to the water.
SLOWLY add your lye to the water
Stir your mixture until all the lye is dissolved and your liquid has turned clear. Take the temperature of your lye/water mixture.
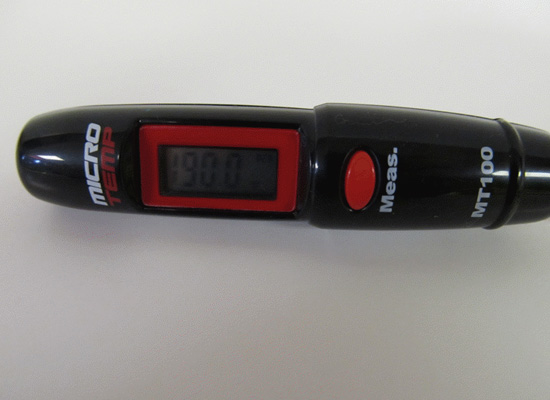
once the lye/water mixture is clear, check the temperature
Very HOT!! Remember, we need this to cool to around 90 degrees. While this is cooling, it’s time to get all your other items ready.
Prepare your mold. I am using a home built wooden mold. My recipe is for a 2lb batch of soap so I’m using my smaller loaf mold. Line your mold with freezer paper. Be sure the freezer paper is shiny side up for easy removal of your soap.
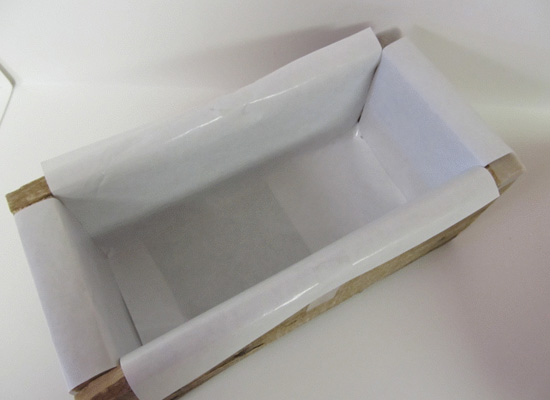
prepare your mold by lining with freezer paper, shiny side up
Next, melt all your oils. Palm oil and coconut oil are solid at room temperature. Melt in a microwave safe bowl and then weigh out 8 oz of each. Then weigh out 8 oz of your olive oil and 1 oz of castor oil. Both of these are already liquid. Combine all your oils together. Next, measure out your fragrance oil. I usually use about 2 oz of fragrance for a 2lb batch of soap. However I was a little short on my Coconut Lime Verbena fragrance so I ended up using about 1.5 oz.
Check the temperature of your lye again. Once it reaches around 80-90 degrees you are ready to begin. It’s important to combine your lye with your oils with they are within 10 degrees of each other. You may need to microwave your oils in short bursts to raise the temperature to within 10 degrees of your lye mixture. Take your oils from the microwave and let’s begin to combine.
Pour the lye/water solution slowly into your melted oils.
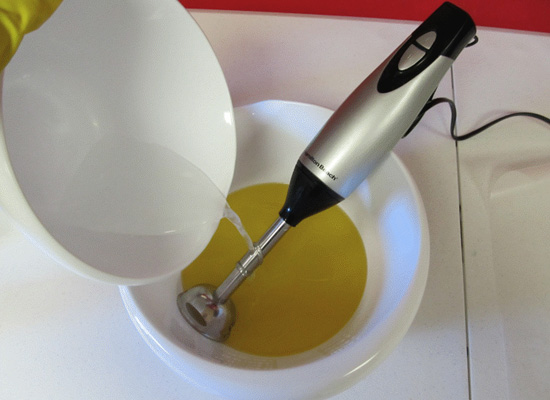
pour the cooled lye solution SLOWLY into your melted oils
Before you turn the stick blender on, tap it on the bottom of the bowl to release any air bubbles. Begin mixing on short bursts to start with and then mix until you reach a light trace. Slowly add your coconut milk in and combine well with the blender.
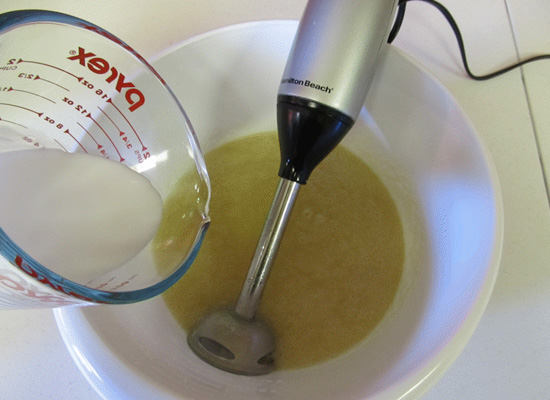
slowly add your coconut milk and combine well with blender
I mix until I reach a thick pudding consistency before I add color (if desired) and then my fragrance.
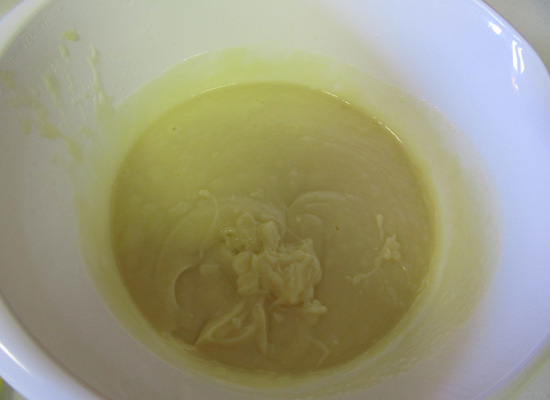
once soap has reached a thick pudding consistency, add color (optional) and fragrance
Stir in fragrance with the whisk. Once everything is completely combined, it’s time to pour into your mold.
Be sure to tamp the mold down every once in a while when filling to get out as many air bubbles as you can. When your mold is full, you can leave as is or give it a decorative top. Because my soap batter is so thick at this point, I decided to get creative with my top.
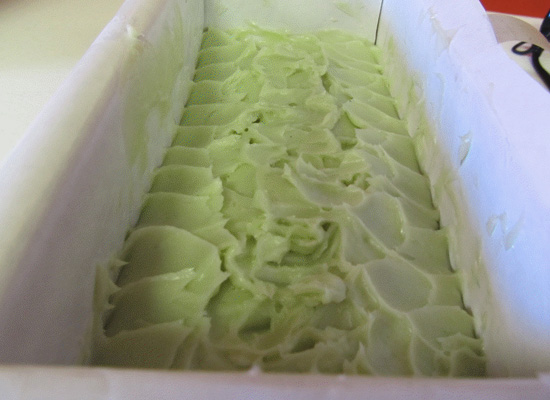
you can leave your soap as-is or do a decorative top
When soaping with milks, I do not insulate my soap, rather I put it in my soap refrigerator for 3 or 4 hours and then leave at room temperature for 24 hours before unmolding and cutting. (Patience!!)
Now on to the only party of soaping I dislike….the dishes.
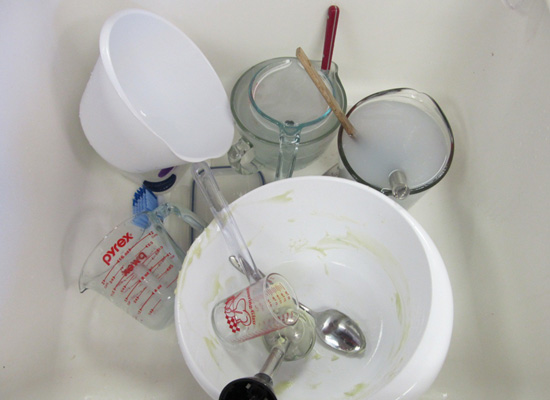
the not-so-fun part – cleaning up the dishes
Still use caution when cleaning up as you don’t want to splash any lye water on your skin.
After 24 hours, remove your soap from your mold by pulling up on the freezer paper. Gently pull down the paper on all sides.
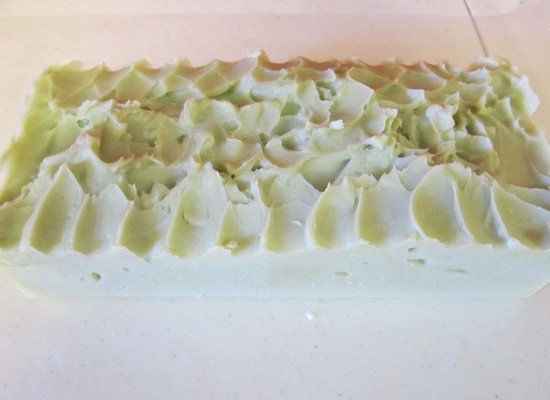
your soap log, ready for cutting
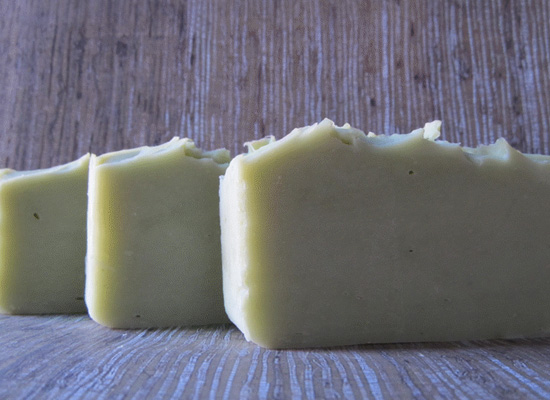
Cut your soap however you choose. I like to mark off on my wax paper 1” increments to aid in cutting.

you can use a ruler and wax paper to aid in cutting if desired
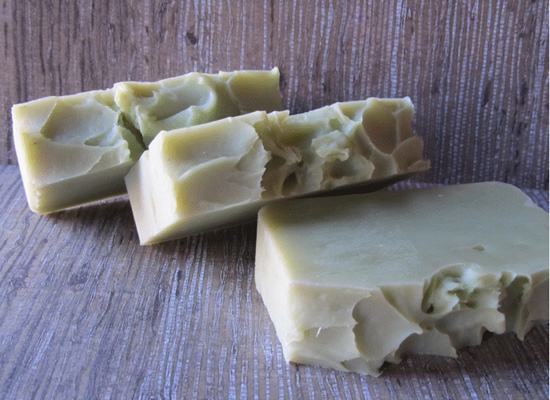
Your soap will need to cure for 4-6 weeks before using. Enjoy!!
let cure for 4-6 weeks before using
Autumn Burgess – Skin Sweets & Body Treats Bakery