by Rustic Escentuals
These Loofah Slices are so much fun to work with! Here is another Loofah soap tutorial, but with a different spin. We’re going to grind up the loofah before adding it to the soap. This makes a slightly gentler scrubby loofah soap. Don’t forget to check out the first Loofah Soap Tutorial!
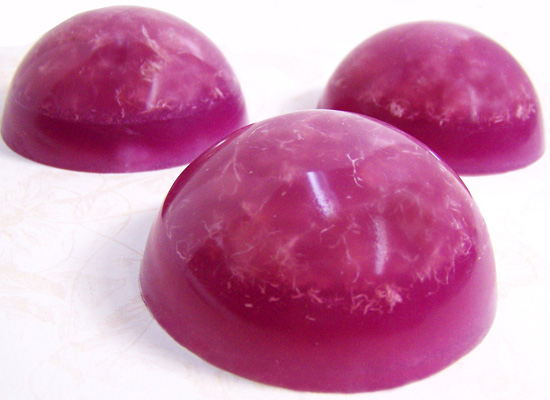
soap with ground up loofah… gentle exfoliation, here we come!
Supplies and equipment needed:
Microwave
Microwave safe glass containers
Sharp knife to cut soap into cubes
Spray bottle with rubbing alcohol
Butter knives for stirring soap
Rubber gloves
Coffee or spice grinder
Disposable pipettes
Large Bath Bomb Mold (4 cavities: 3 ounces per cavity)
Thermometer to monitor soap temperature
12 oz Natural Clear Melt & Pour soap base
Loofah Slices
Cranberry Salsa Fragrance Oil
Gel Soap Colorant in Black Cherry
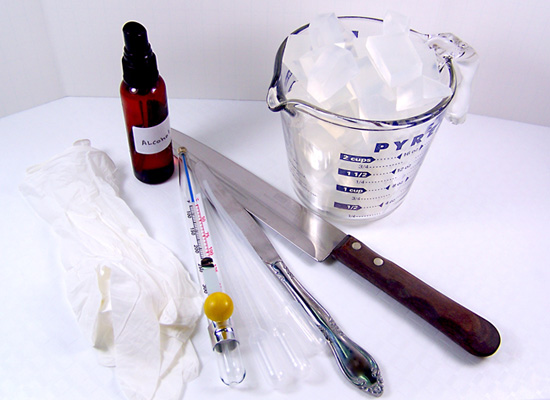
gather your basic supplies
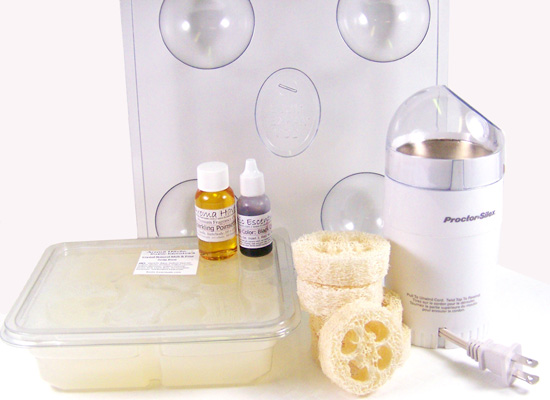
and your equipment and remaining ingredients
Preparing your Loofah
Step 1: Shred 1 – 2 slices of Loofah. To shred, place each slice one at a time into a coffee or spice grinder. You may need to cut up the loofah into smaller pieces first. TIP: Depending on the strength of the grinder, if you’re having difficulty shredding up the loofah, try wetting it first, then let dry completely after shredding and before use.
Safety Reminder: Some loofah pieces can get stuck between the blades, PLEASE unplug the grinder before removing the stuck pieces.
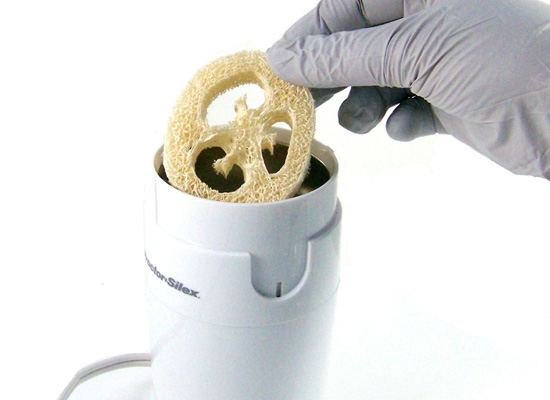
place your loofah slice into the grinder and shred
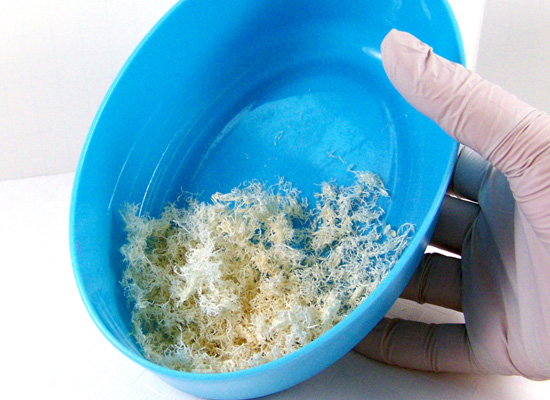
once it’s ground up, set aside until ready to use
Making your soap
Step 2: Cut up 12 ounces of Natural Clear Melt & Pour soap into small cubes using a sharp knife.
Step 3: Melt 6 ounces of the soap base in a microwave safe glass container. Melt in the microwave in 30-second bursts until melted. Do not burn or boil, this will result in a poor quality rubbery soap. If there are any small chunks of soap left, stir slowly; the heat of the soap will melt these small chunks.
Step 4: With the thermometer, make sure the soap base temperature is around 145 degrees before adding in any additives. When the temperature of your soap base is cool enough, mix in 3 – 4 drops of Gel Soap Colorant in Black Cherry. Stir slowly until mixed well.

once soap is cool enough, stir in the gel soap colorant
Step 5: Using a disposable pipette, add 3 ml of Cranberry Salsa Fragrance Oil. Stir in slowly until fully incorporated. Always stir your soap base slowly to avoid forming bubbles in the soap.
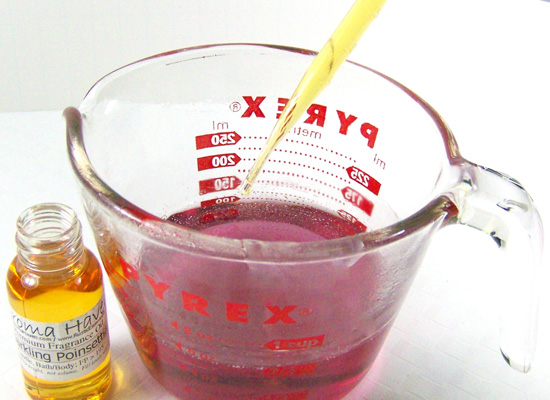
add fragrance oil and stir slowly until fully incorporated.. (smells yummy!)
Step 6: Slowly add the shredded loofah and stir well so the loofah shreds won’t clump. Add as little or as much as you want.

add your shredded loofah (as little or much as you want)
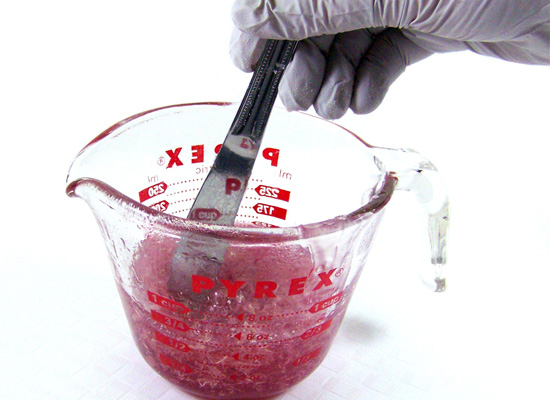
and stir well to avoid clumps of loofah shreds
Step 7: By the time you’ve added all additives, the soap should be cool enough to pour into your bath bomb mold. Remember, the soap should be around 135 degrees to prevent warping the mold. Pour slowly to avoid forming too many bubbles.
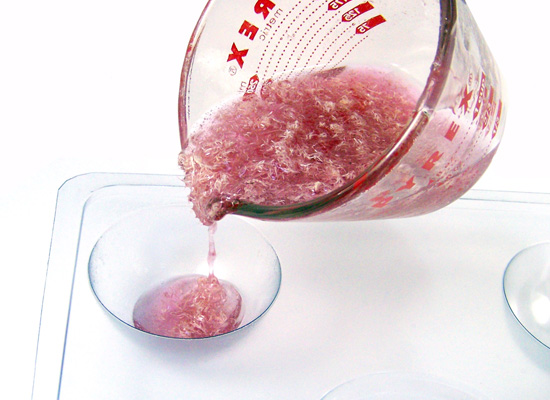
pour soap into mold (mold should be around 1/2 full)
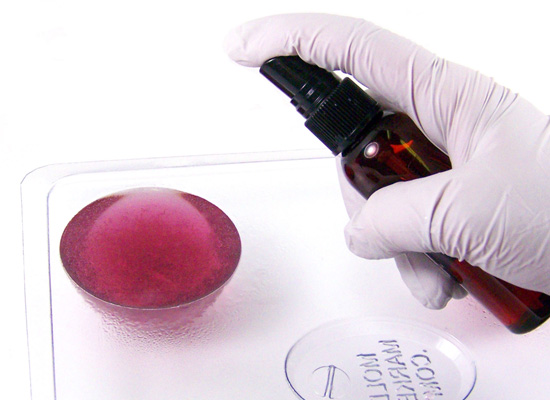
Step 8: After pouring, spritz with alcohol to get rid of any stray bubbles.
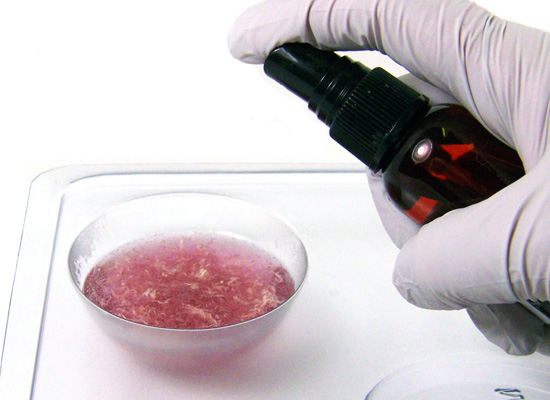
spritz with rubbing alcohol to remove any bubbles
Step 9: Let this first layer set for about 6 minutes.
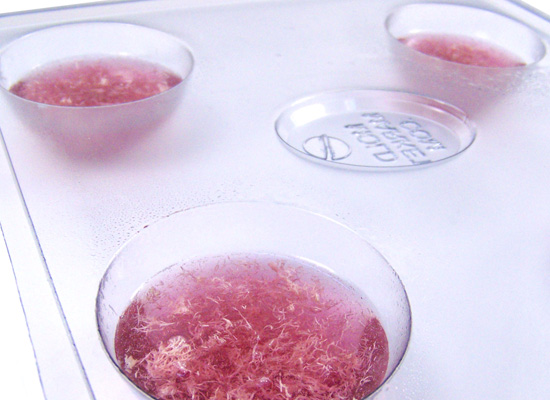
resting, cooling, waiting for the next layer
Step 10: Next, prepare the second layer following Steps 3 – 5 exactly. You will not be adding any shredded loofah to this batch.
Step 11: When the first layer of soap containing the shredded loofah has hardened enough, spritz each cavity liberally with alcohol to help the layers adhere together. Pour the second layer to the top of each cavity. Again, remember to make sure the soap base is around 135 degrees because you don’t want to warp the mold nor melt your first layer.
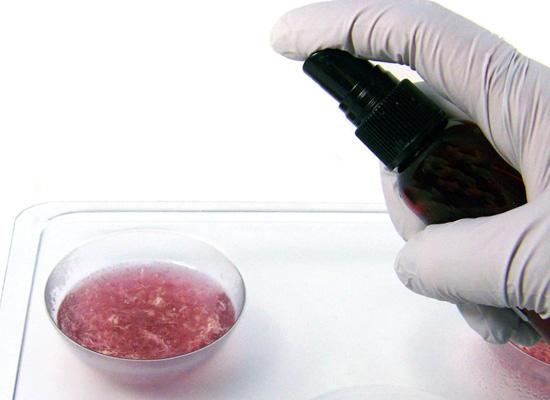
spritz to help the second layer adhere to the first
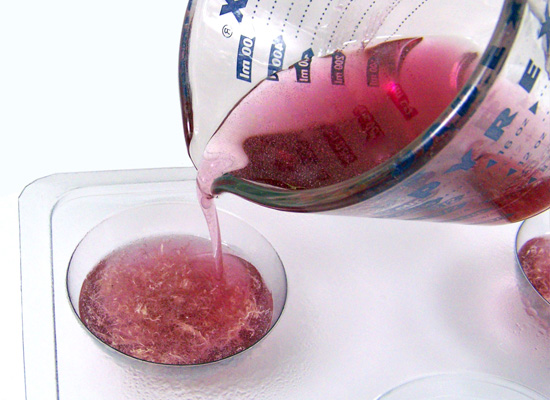
pour second layer to top of cavity
Step 12: After you poured the second and final layer, spritz each with alcohol.
one more spritz to remove any unwanted bubbles
Step 13: Wait about 3 hours for the soap to completely harden.

hurry up and harden!
Step 14: When completely hardened, turn the mold over carefully and slowly press on the bottom of the cavity to release the soap. Do not force it. If the soap won’t come out, wait another 1/2 hour or so. You can even pop the soap in the freezer for 5 minutes then try again.
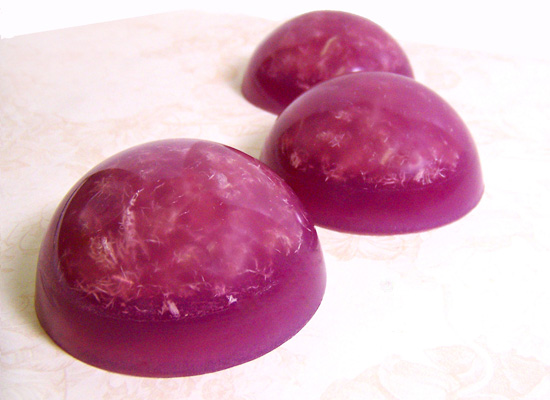
remove from mold and voila! beautiful loofah soap!
Have fun with the Loofahs! If there is a different loofah soap tutorial you’d like to see, let us know!
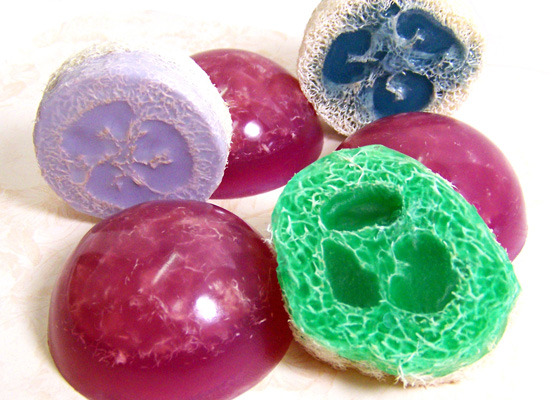
shredded loofah soap and loofah soap slices, loofah loofah!