by Rustic Escentuals
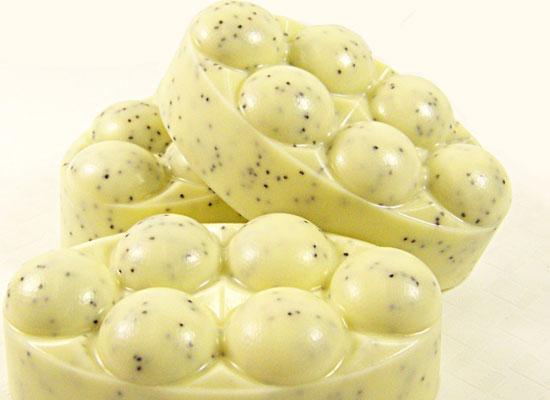
For all you lemon lovers out there here’s another tough working kitchen soap that smells deliciously lemony! It’ll help get rid of that garlic or onion scent that lingers on your fingers. We’ve added poppy seeds to impart some nice exfoliation. If you’re looking for an easy, lovely soap to make, look no further.
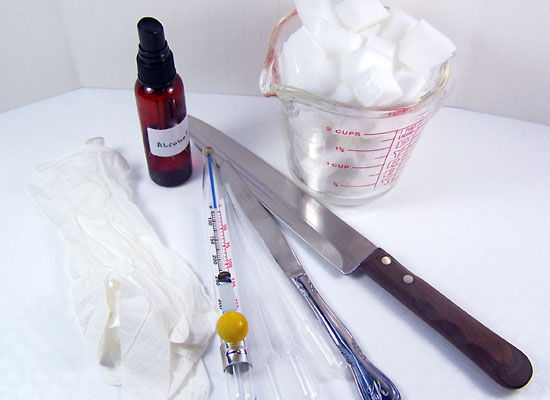
Supplies and equipment needed:
Microwave
Microwave safe glass container
Sharp knife to cut soap into cubes
Spray bottle with rubbing alcohol
Butter knives for stirring soap
Measuring spoon
Rubber gloves
Soap Mold
Disposable pipettes
Thermometer to monitor soap temperature
16 oz Goats Milk Melt & Pour soap base
Lemon Verbena Fragrance Oil
Gel Soap Colorant in Canary Yellow
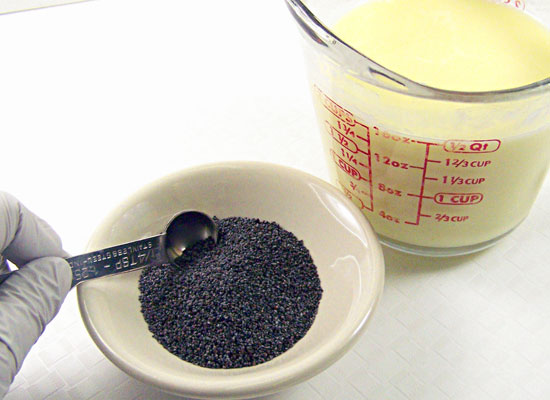
Poppy Seeds
Step 1: Cut up 16 ounces of Goats Milk Melt & Pour soap base into small cubes using a sharp knife.
Step 2: Melt the soap base in a microwave safe glass container. Melt in the microwave in 30-second bursts until melted. Do not burn or boil, this will result in a poor quality rubbery soap. If there are any small chunks of soap base left, stir slowly; the heat of the soap base will melt these small chunks.
Step 3: Use a thermometer to monitor the soap base temperature. I don’t like to add any fragrance oils or additives when the soap is too hot so I wait for it to cool to about 145 degrees.
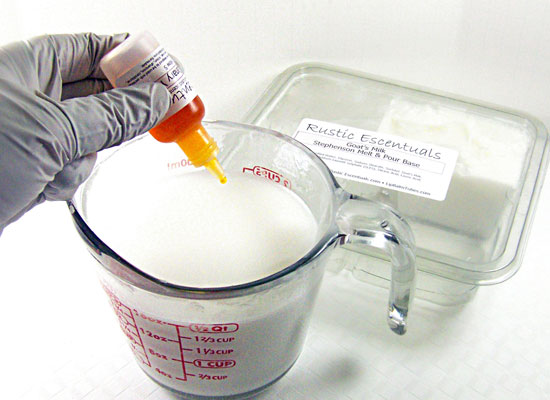
Step 4: Add 6-7 drops of Canary Yellow Gel Soap Colorant and stir slowly.
TIP: Always stir your soap base slowly when adding anything; this will help minimize bubbles in the soap base.
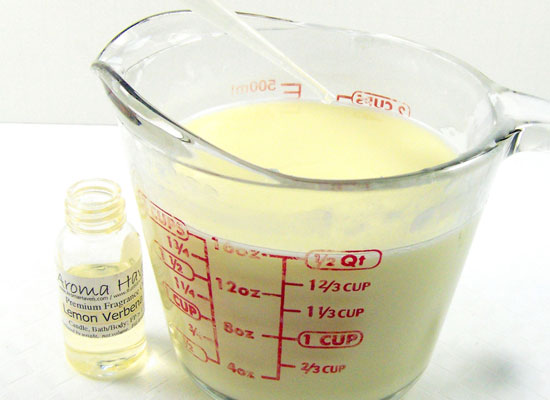
Step 5: Using a disposable pipette, add 6 ml of Lemon Verbena Fragrance Oil. Stir in slowly until fully incorporated.
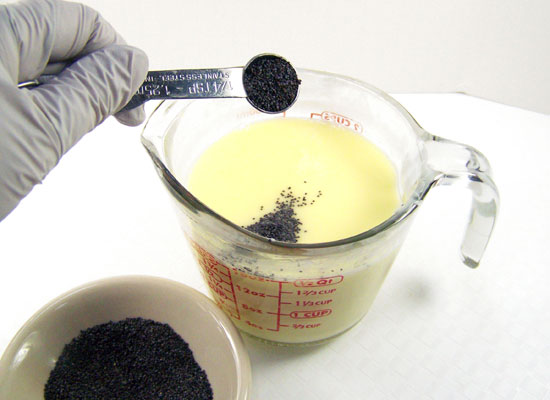
Step 6: Slowly add 1/4 teaspoon of poppy seeds to the soap base and stir. After it is fully incorporated add another1/4 teaspoon and continue to stir slowly. I like to stir in1/4 teaspoon at a time of any additives to avoid them clumping together in the soap. You can add as much or as little as you want, but try to keep it to no more than 1/2 tablespoon per pound of soap.
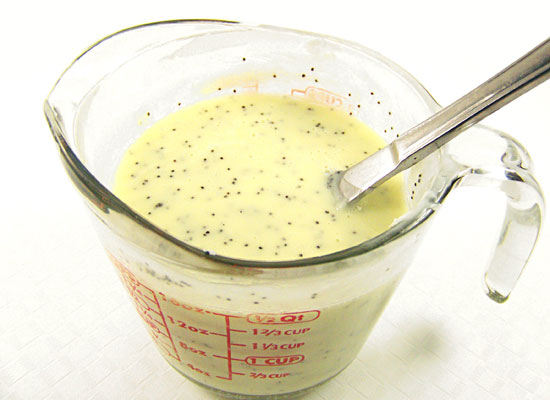
Step 7: As you learned in the Exfoliating Massage Bar Tutorial, the trick to keeping the exfoliant suspended throughout the soap base is to keep stirring slowly while you let it cool. It won’t be ready for pouring until you see the soap getting a bit lumpy. You may also see a thin skin forming on top of the soap base. Don’t worry about this; just stir back into the soap. This take a bit of patience, you don’t want to pour it until you reach this point.
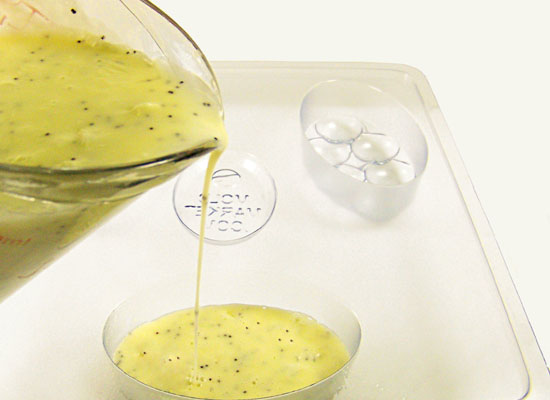
Step 8: You need to pay attention once you see the lumps and/or the skin forming. If you wait too long it could start to set pretty fast. Pour it into your Soap Mold quickly. If soap has set and it’s hard to pour, you’ll have to heat up your soap again and start over. Practice makes perfect! It may look a little clumpy when pouring, but don’t worry it’ll come out great.
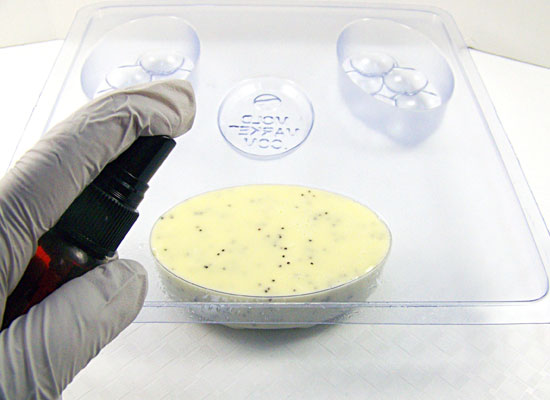
TIP: You can spritz the empty soap mold cavity to help the soap base flow smoothly into any designs or indentions your soap mold may have.
Step 9: Finish off with a final spritz of alcohol to remove any bubbles.
Step 10: Wait 2-3 hours for the soap to completely harden.
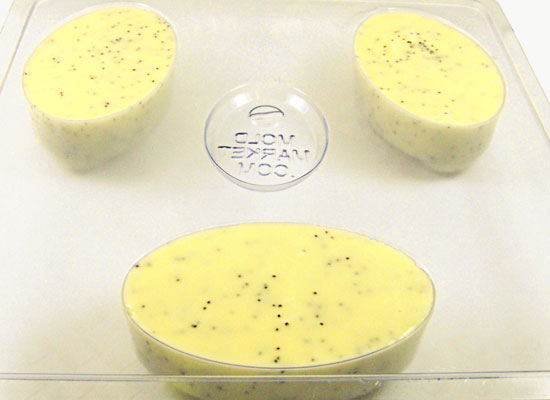

Step 11: Turn the mold over carefully and slowly press on the bottom of the cavity to release the soap. Do not force it. If the soap won’t come out, wait another 1/2 hour or so. You can even pop the soap in the freezer for 5 minutes then try again.
Enjoy and get cooking! If you like this tutorial, check out the Coffee Kitchen Soap tutorial for more tough kitchen odor removers!
