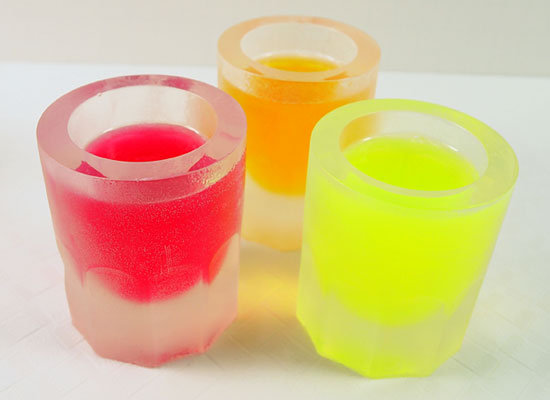
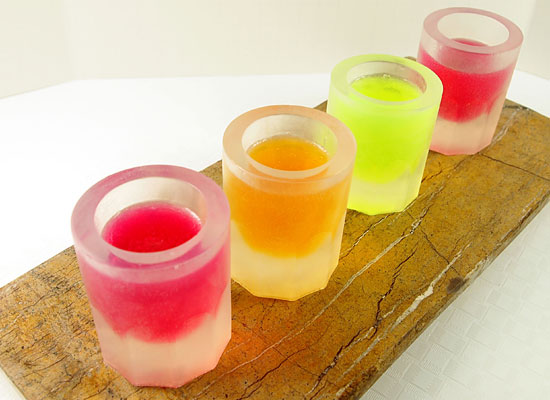
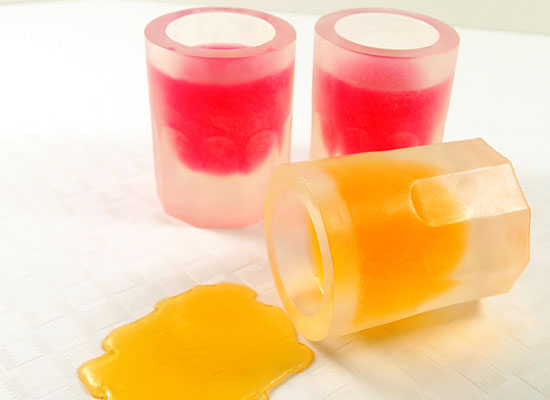
Looks just like a chilled shot glass filled with an awesome tiny cocktail, but it’s not! It’s a super cute soap that’s sure to put a smile on anyone’s face.
Supplies and equipment needed
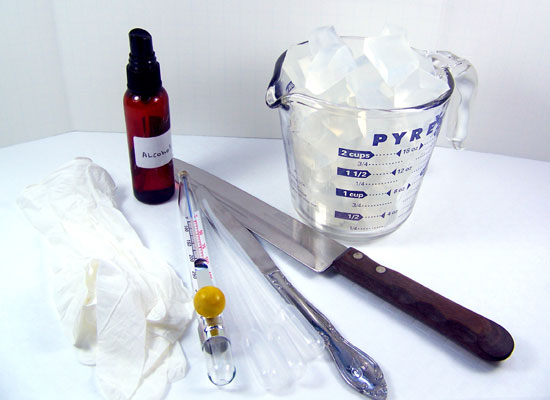
Microwave safe glass containers
Sharp knife to cut soap into cubes
Spray bottle with rubbing alcohol
Butter knives
Rubber gloves
Cool Shooters Silicone Mold (4 cavities)
Disposable pipettes
Thermometer to monitor soap temperature
18 oz Ultra Clear Melt & Pour soap base
Sex on the Beach Fragrance Oil
Soap Gel Colors in True Red, Peach, and Lime

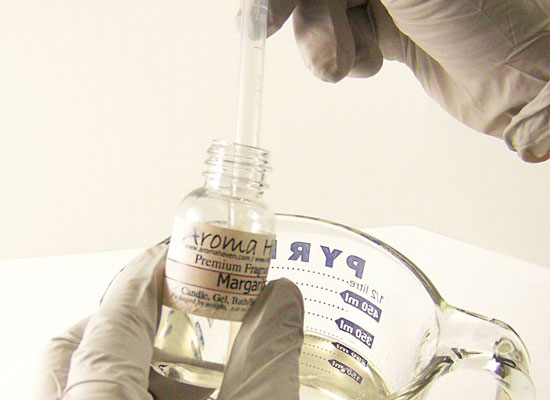
Step 1: Take 12 ounces of cubed Ultra Clear Melt and Pour soap base and place in a microwave safe glass container. Melt in the microwave in 30-second bursts until melted. Be careful, boiling your soap base will result in a poor quality rubbery soap.
Step 2: The soap base is left un-colored. Using a disposable pipette, add 4 ml of Sex on the Beach Fragrance Oil to the soap base and stir slowly. Note: the soap base may appear cloudy at first; however, just keeps stirring slowly and the soap will clear right up again.
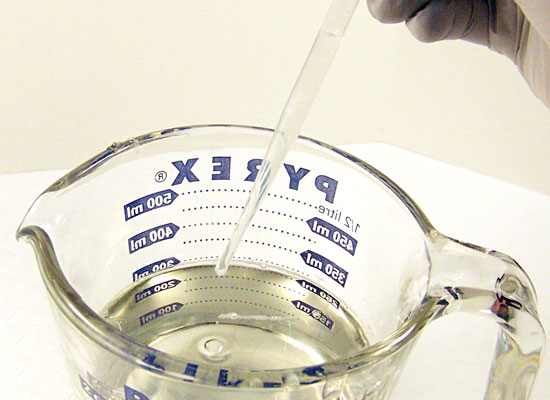
Step 3: Take the Cool Shooters Silicone Mold and pour 3 oz of the clear scented soap base into each cavity. Make sure your cavity is right side up!
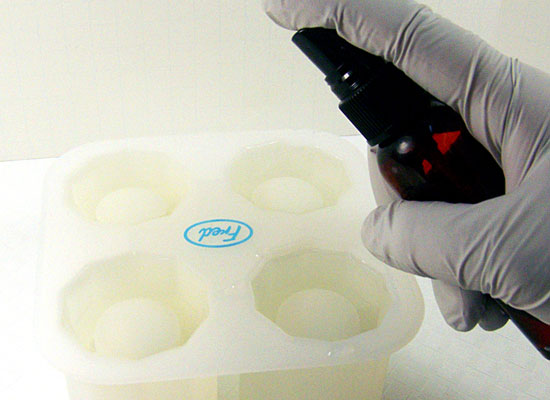
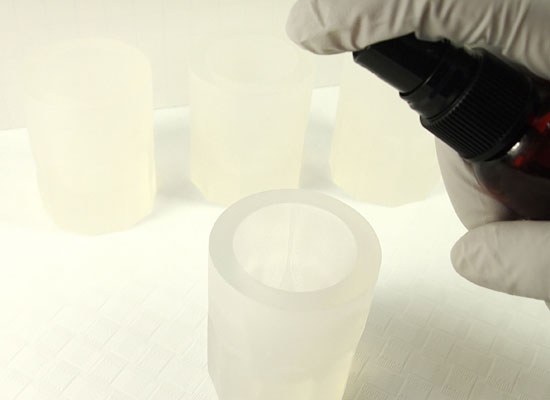
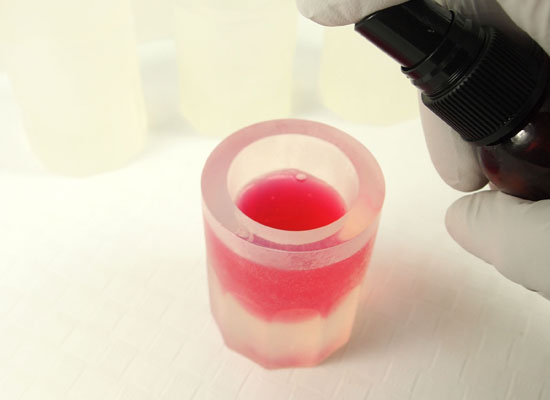
Step 4: Spritz soap with alcohol to remove any bubbles that may have formed while pouring.
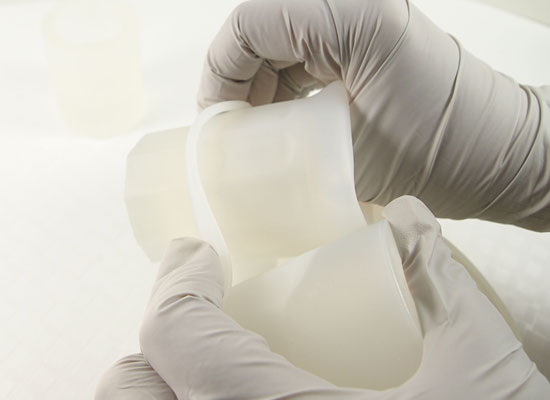
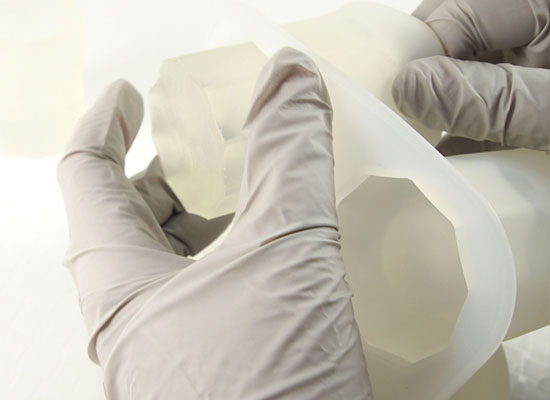
Step 5: Wait for your soap “shot glasses” to set completely before attempting to remove. Working with silicone is great, but the soap will take a little longer to set. I waited 1 hour and then popped them into the freezer. After 5 – 10 minutes, I was able to easily take them out of the silicone mold.
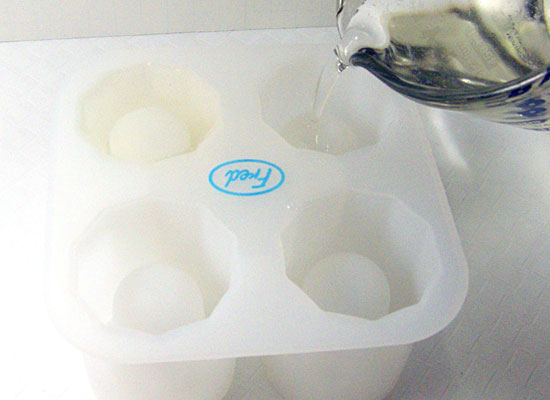
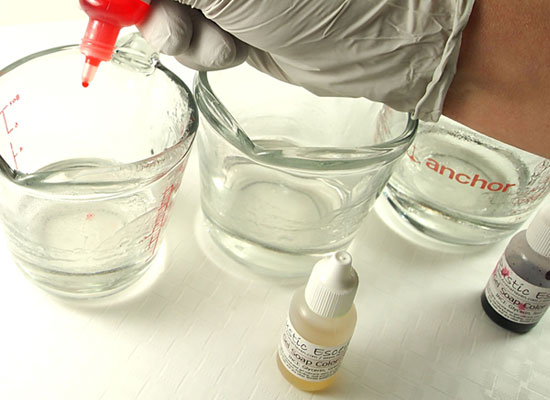
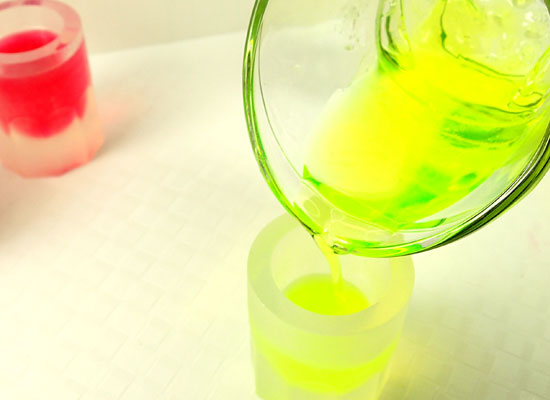
Step 6: Now that your “glass” is all set, it’s time to pour the “drink” portion of your soap. Take 6 ounces of the Ultra Clear Melt and Pour soap base and place in a microwave safe glass container. Melt in the microwave in 20-second bursts until melted. Split your melted soap base into 3 containers, 2 oz in each.
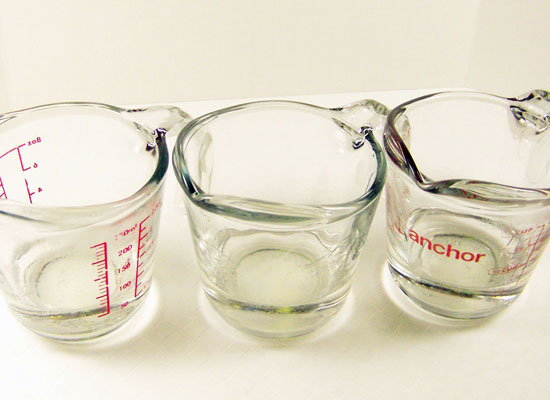
Step 7: After the melted soap base has been separated, using your disposable pipette, add 1 ml of the Sex on the Beach fragrance oil to each container and stir slowly.
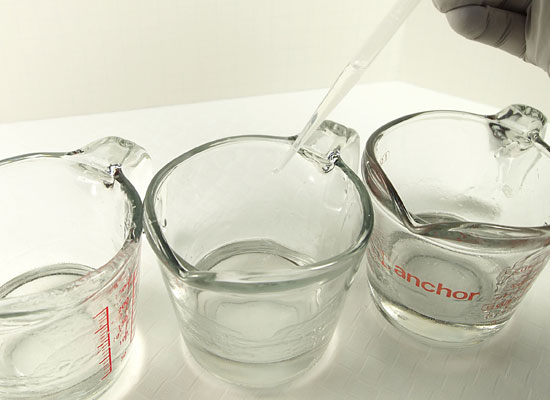
Step 8: Next, to each container of soap base, add 3 drops of soap colorant and stir slowly. 3 drops of True Red, 3 drops of Lime and 3 drops of Peach.
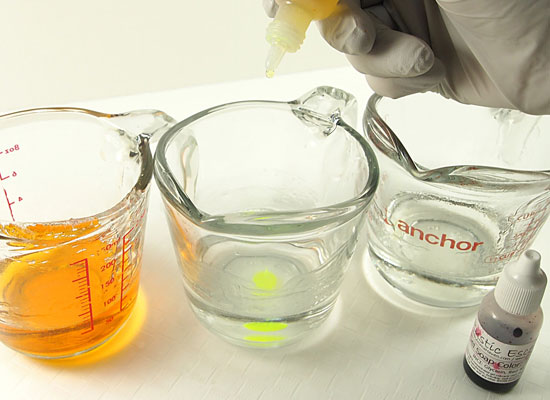
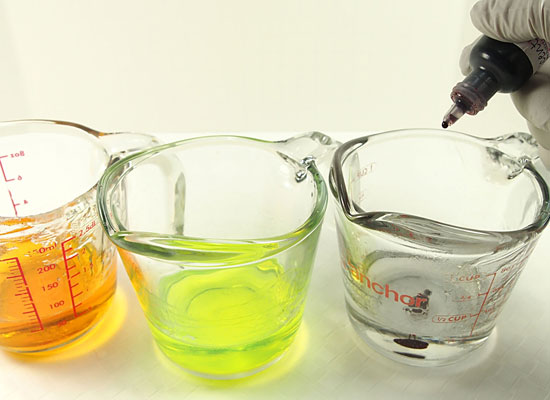
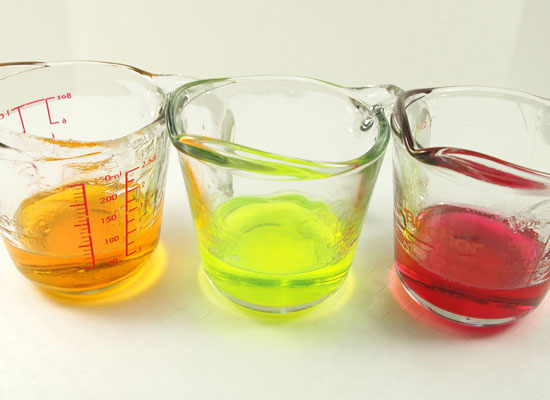
Step 9: Use a thermometer to monitor the soap base temperature, it should be about 130° or cooler to avoid melting your “shot glass” soap. If soap base is too warm, keep stirring slowly until soap reaches 130°.
Step 10: Spritz your “shot glasses” with alcohol to ensure that the layers adhere together.
Step 11: Pour the colored soap base into each cavity making sure that you don’t pour all the way to the top. Leave about 1/2 inch of space at the top.
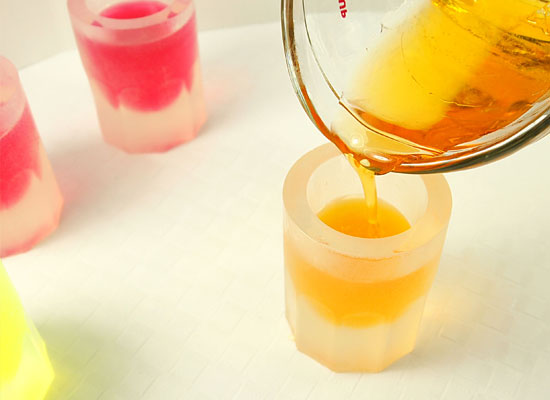
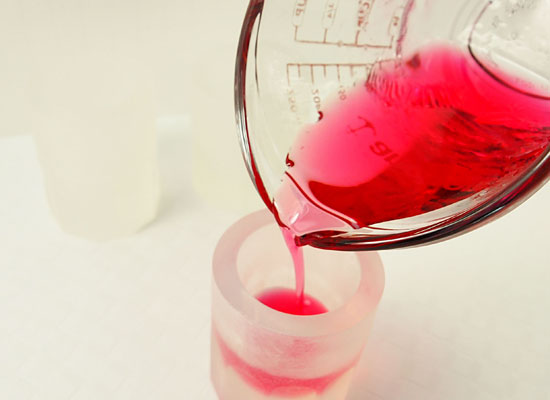
Step 12: Optional: Spritz with alcohol to remove bubbles from the top of your poured soap. You may want to leave the bubbles to give it a more authentic “drink” look.
Step 13: Allow to completely set – approximately 1 hour.