by Rustic Escentuals
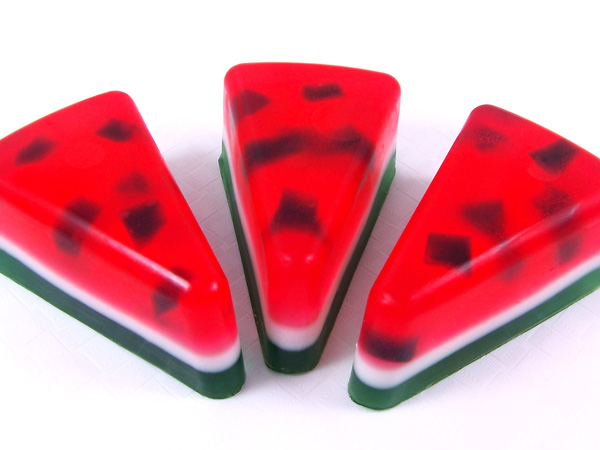
In honor of our recent National Watermelon Day, celebrate by making some luscious, summery Watermelon Soap! This is a great soap tutorial to help you honor the end of summer and also have ease of use by utilizing a silicone soap mold. So, let’s have some soapy fun!
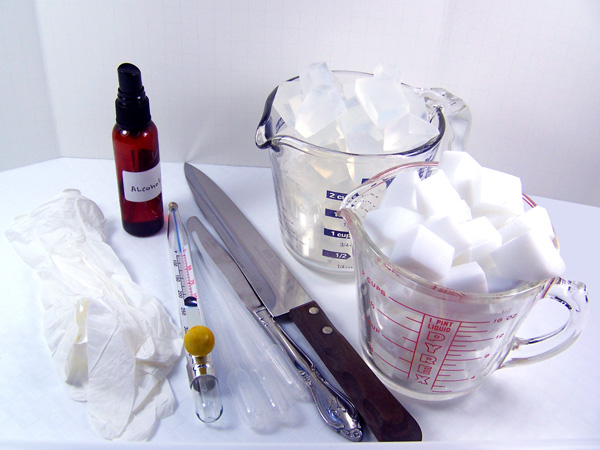
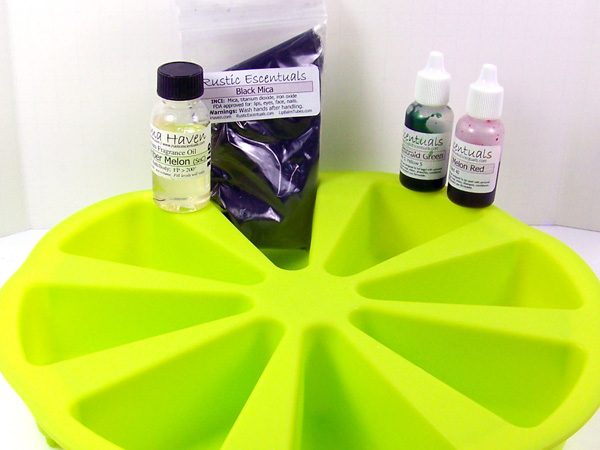
Supplies and equipment needed:
Microwave safe glass containers
Sharp knife to cut soap
Spray bottle with rubbing alcohol
Butter knives
Rubber gloves
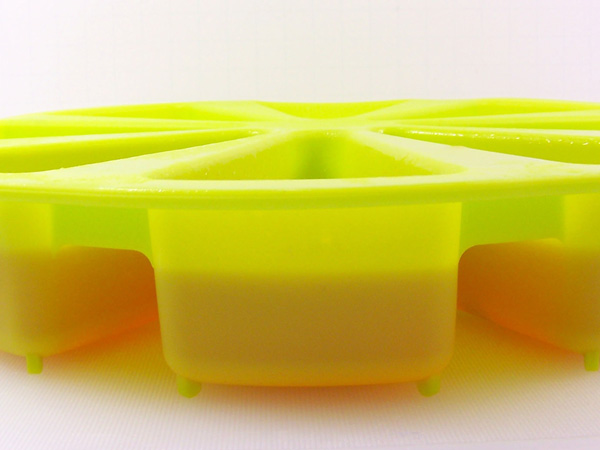
Oval Bar Silicone Mold**
Disposable pipettes
Thermometer
18 ounces of Ultra Clear Melt & Pour soap base
3 oz of White Melt and Pour soap base
Gel Soap colorants in Emerald Green and Melon Red
Black Mica
Watermelon Sorbet Fragrance Oil
.15 scoop
** We no longer carry the slice by slice mold shown in this tutorial. The oval silicone mold will work perfectly in place of that mold.
Making the Watermelon Seeds
If you don’t have any black soap in your stash to use it’s a good idea to make these well ahead of time and store for later use. These will be made using Black Mica. Note: There is no need to add fragrance oil because it is not a lot of soap.
For tips on how to incorporated Micas into soap, see our Mica Tutorial.
Step 1:Take 3 ounces of cubed Ultra Clear Melt and Pour soap base and place in a microwave safe glass container. Melt in the microwave in 10 — 15 second bursts until melted. This is not a lot of soap so be careful that you don’t boil the soap.
Step 2: Using a .15 scoop, add 1.5 scoops of Black Mica to the melted soap base and mix slowly with a butter knife until fully incorporated.
Step 3: Pour into any readily available mold and let set for approximate 1 hour.
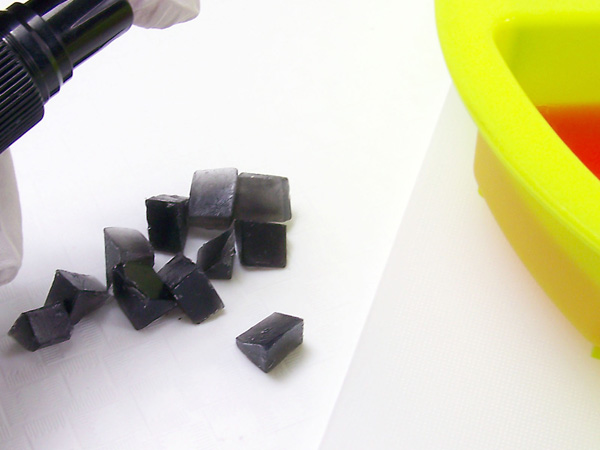
Step 4: Once set, take out of mold and cut into small seed-shaped pieces and set aside.

Making the Soap
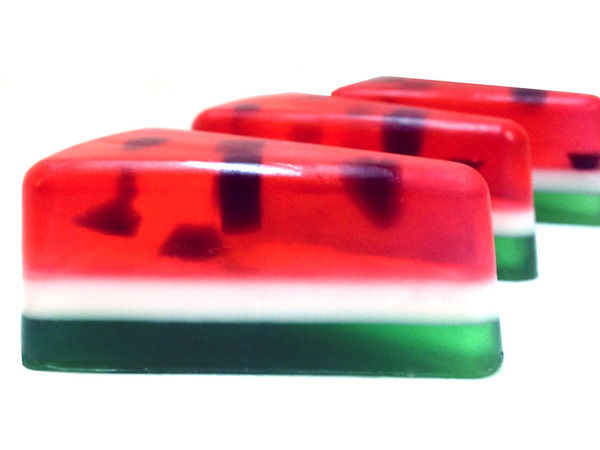
3 watermelon wedges will be made in this soap tutorial. If you want to make more, adjust the amount of soap base accordingly. Each bar of soap will weigh 6 ounces and will need the following amounts:
Red layer: 3 ounces
White layer: 1 ounce
Green layer: 2 ounces
Step 1: Melt 9 oz Ultra Clear melt and pour soap in a microwave in 30 – second bursts until melted. Do not burn or boil, this will result in a poor quality rubbery soap. If there are any small chunks of soap left, stir slowly; the heat of the soap will melt these small chunks.
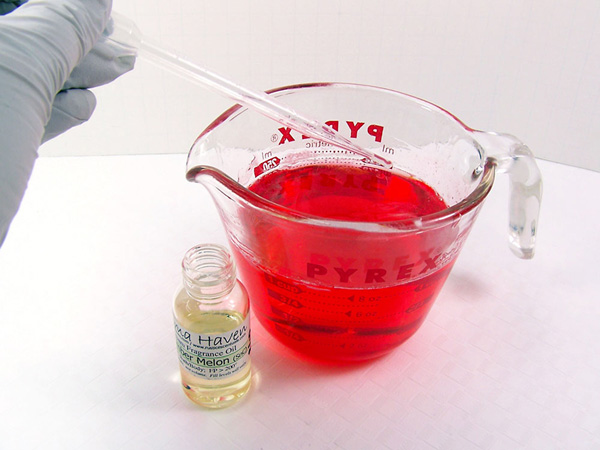
Step 2: Add 6 drops of Melon Red Gel Colorant to the melted soap base and stir slowly.

Step 3: Using a disposable pipette add 5 ml of soap scent. For this soap tutorial, we chose Watermelon Sorbet fragrance oil. Stir in slowly until fully incorporated. Always stir the soap base slowly to avoid forming bubbles in the soap.
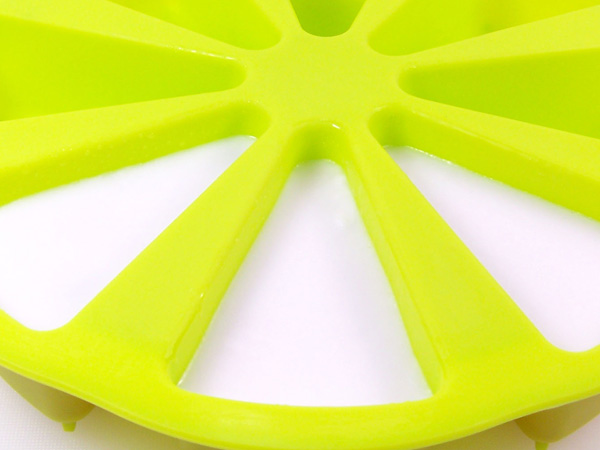
Step 4: Set the silicone soap mold on an even surface.
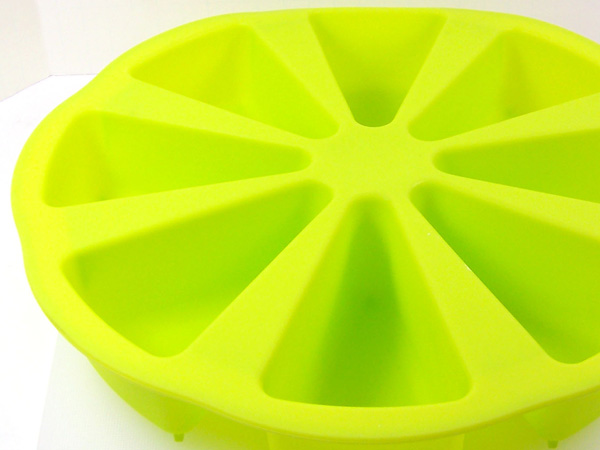
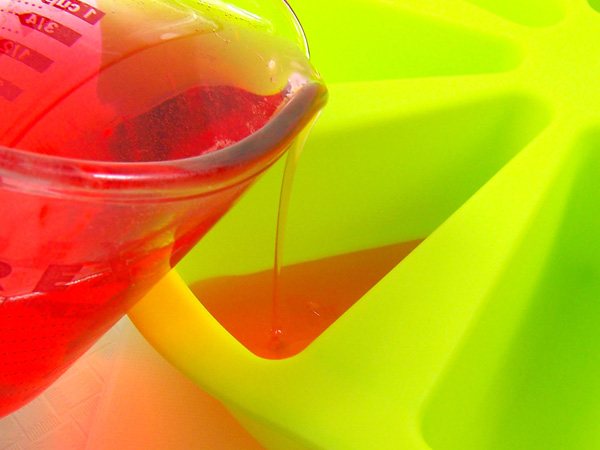
Step 5: Taking the melon red soap, pour a small amount in each cavity and let set. This will create a smooth top on the soap. Remember – the bottom of the soap mold will be the top of the finished soap.
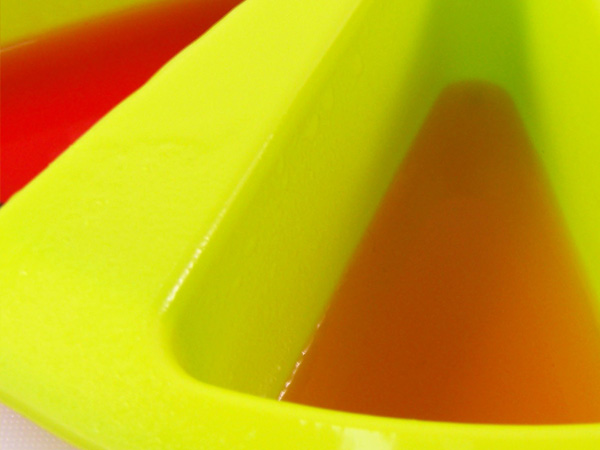
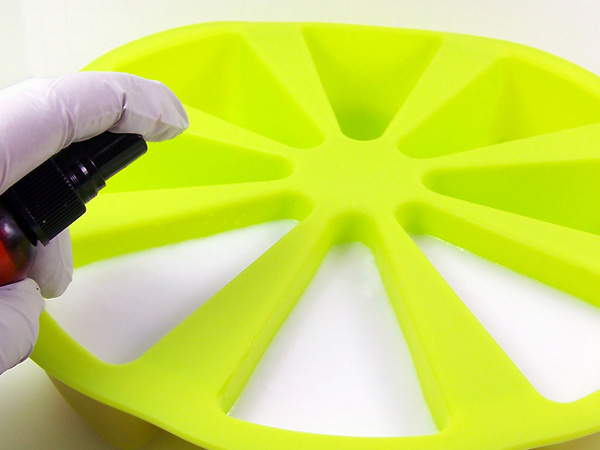
Step 6: Once set (approximately 5 minutes), spritz this layer and some of the previously made seeds with alcohol and place 2 – 3 seeds randomly in each cavity.
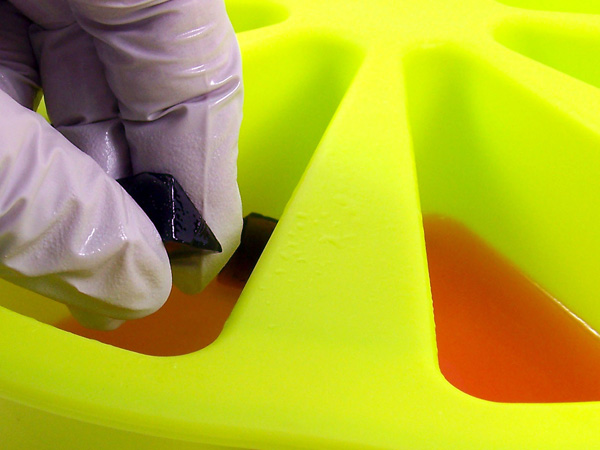
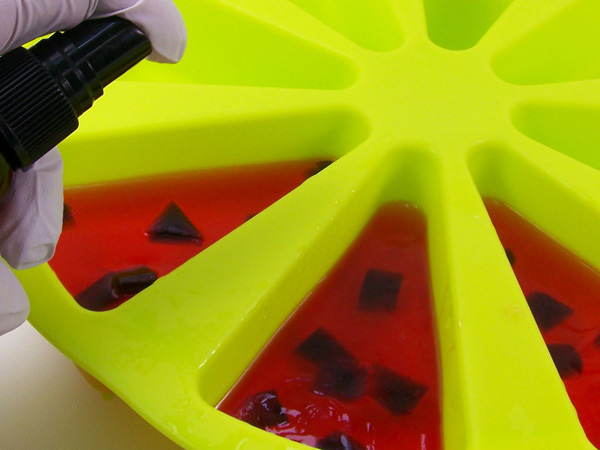
Step 7: Once the seeds are placed in the mold, spritz with alcohol and then pour more red melted soap to cover them.
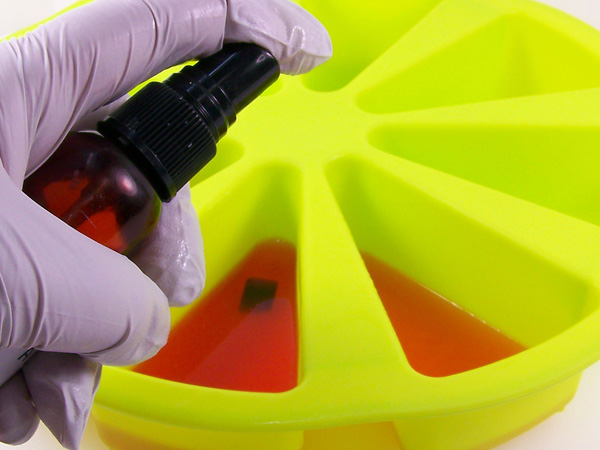

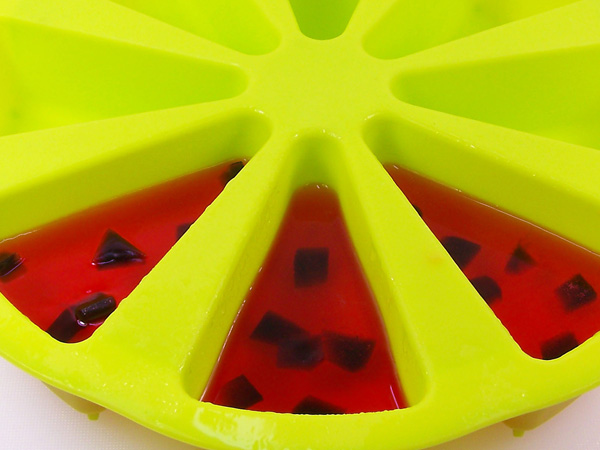
Step 8: Repeat steps 6 – 7 using more seeds until you’ve poured 3 ounces of red soap into each cavity. Use about 7 to 10 seeds for each soap. Let this layer set for approximately 15 minutes.
Step 9: While the melon layer is hardening, prepare the second layer using 3 ounces of White Melt and Pour soap base and 1 ml of soap fragrance oil. Do not color this layer.
Step 10: Use a thermometer to monitor the white soap temperature – it should be about 140° to prevent the soap from melting between the layers.
Step 11: Make sure the melon layer has hardened enough. If you are able to dent in the soap with your finger, wait a minute or two more because you want the second layer supported enough without bowing in. Spritz the melon layer liberally with alcohol (don’t forget the edges). This will help the layers adhere to each other. There’s nothing worse than layers separating after all your hard work!
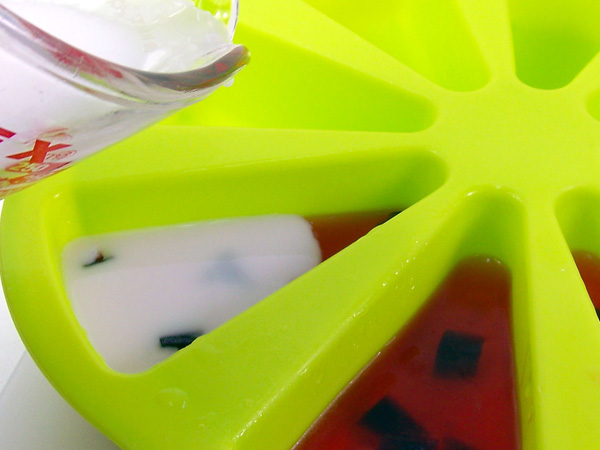
Step 12: When the temperature is right, pour the white soap in each cavity using one ounce each. Spritz with alcohol to remove any bubbles.
Step 13: Let soap sit for 10 — 12 minutes to form a hardened layer.
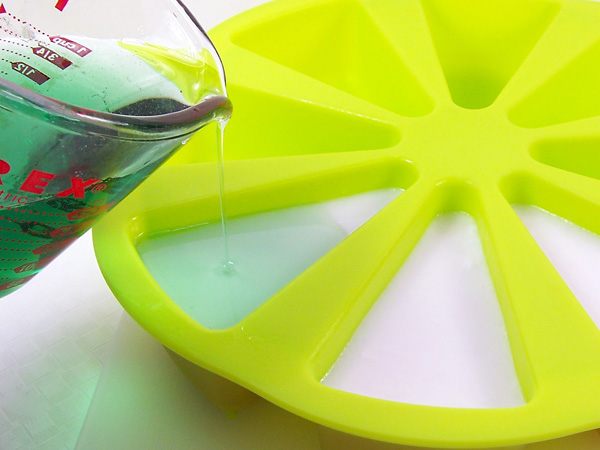
Step 14: While white layer is setting, prepare the green layer by melting 6 ounces of Clear Melt and Pour soap base, using 6 drops of Emerald Green Gel Colorant and 3 ml fragrance oil.
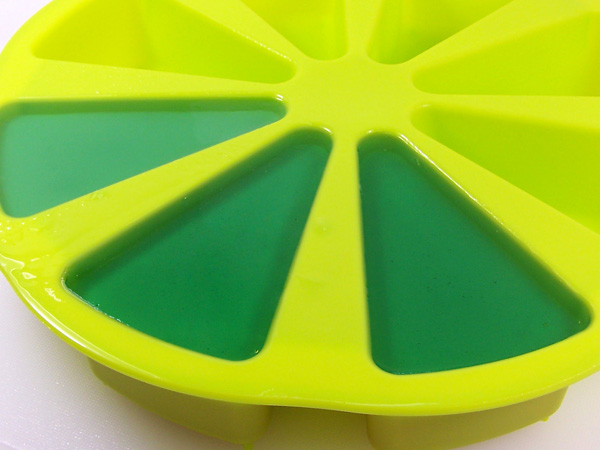
Step 15: Monitor the temperature of the green soap and when it reaches about 140 degrees, spritz the hardened white layer liberally with alcohol and pour the green soap all the way to the top of the mold. Follow this with a final spritz of alcohol to remove any bubbles.
Step 16: Let the soaps set completely, approximately 2 to 3 hours or even overnight if possible.

Step 17: Turn mold over and slowly press on the corners of the mold to release the soap. Enjoy!