by Rhonda Gaylord
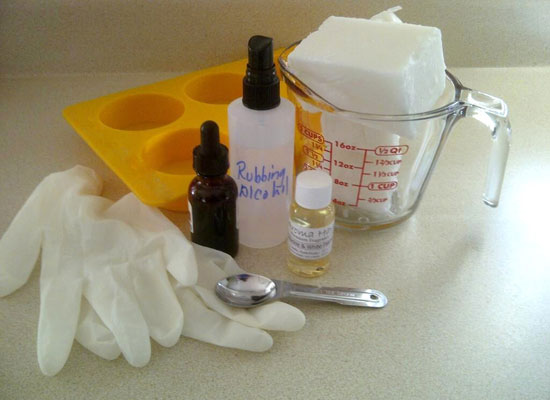
Gather all of your supplies together before starting. Supplies needed to make basic melt & pour soap are:
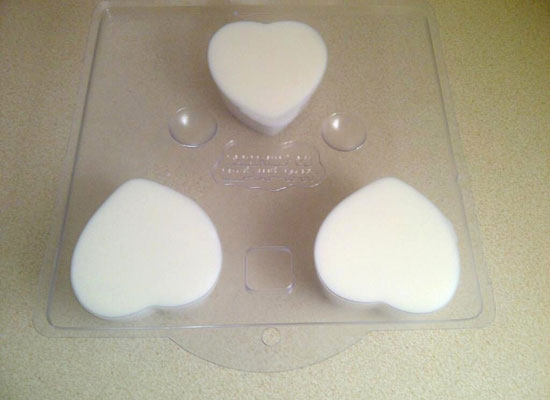
Soap mold
M&P soap
Scales
Body safe fragrance
Gloves for sanitary purpose
Sharp knife to cut soap into cubes
Glass bowl or glass measuring cup
Measuring spoons
Spoon to stir
Plastic Wrap
Spray bottle of rubbing alcohol
Microwave or stove
Soap/Body safe dye – optional
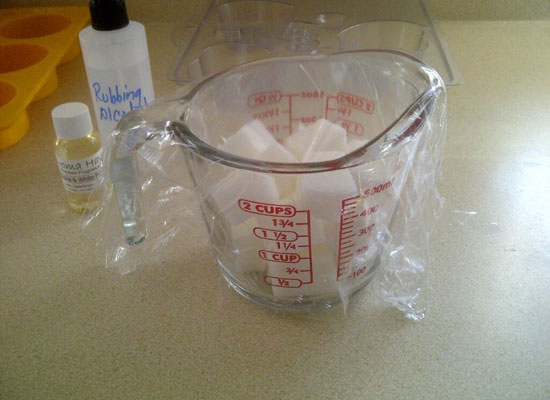
Weigh out your soap, depending upon what size mold you are using, and cut your soap base into small cubes. Cutting the soap base into cubes will help melt your soap faster without using a lot of cooking time (heat). Use glass bowls, don’t use plastic bowls. Plastic will leech the fragrance oil, glass is always best!
If you don’t know how much your mold holds, fill the mold with water then dump the water into a measuring cup. I use about 1/2 – 1oz more soap base than what the mold holds. It’s better to have too much ready than not enough.

Cover the glass bowl with plastic wrap and put into the microwave*, using 30 second intervals. It’s very important to not to overheat the soap base – it could ruin the integrity of the soap base. Covering the bowl will help keep the moisture inside – melt & pour soap is glycerin based, glycerin is what pulls the moisture into your skin.
*You can use a stove using the double boiler method. Boil a pan of water on the stove; place your glass bowl of soap base inside the pan of boiling water until melted.
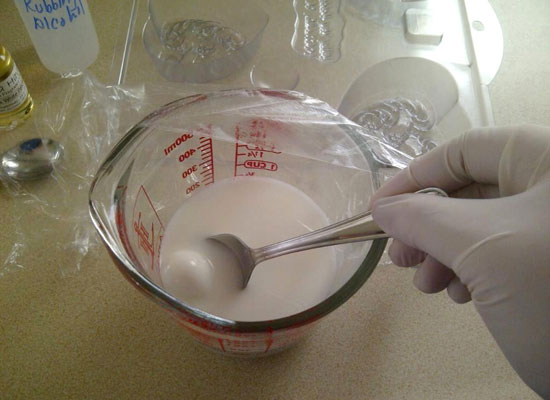
Stir the soap to make sure it’s completely melted. If any clumps exist, recover with plastic wrap and melt in 30 second intervals.
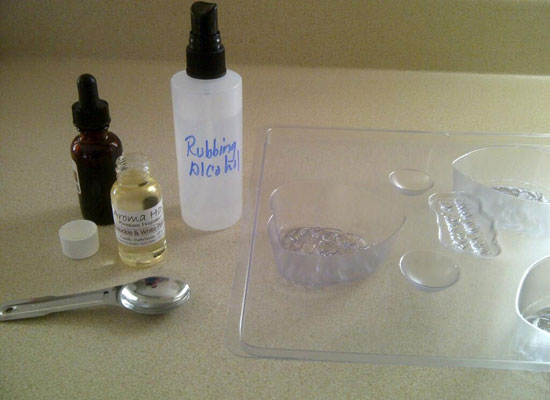
While the soap base is melting, make sure you have your mold, rubbing alcohol, fragrance oil, soap coloring, measuring spoon and stirring spoon ready. You won’t have time to look for your supplies once the melt & pour soap bases is melted. You will need to work fast so that your soap base doesn’t cool or form a “skin” on top.
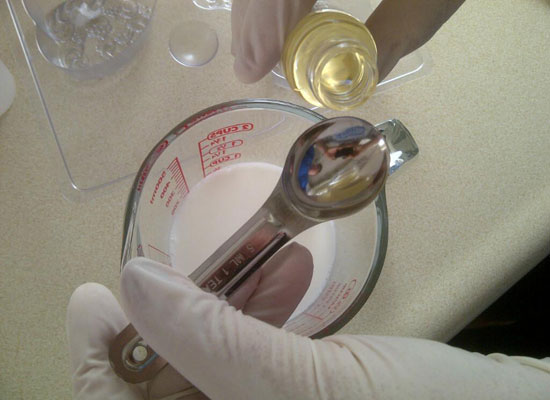
After the soap base is completely melted, you can add your soap color and fragrance oil. Please check with your supplier/manufacturer for the fragrance and color load for your particular soap base.
Depending upon how strong the fragrance, I use 1/2 – 1 tablespoon of fragrance per pound of soap base. I don’t color my soaps, it’s a personal preference.
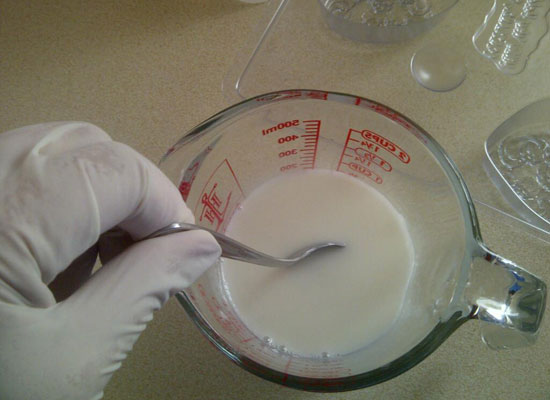
Working quickly, stir in the fragrance oil and soap coloring, trying not to stir in too many air bubbles into the soap base. Do not use candle dyes for coloring, they will not work!
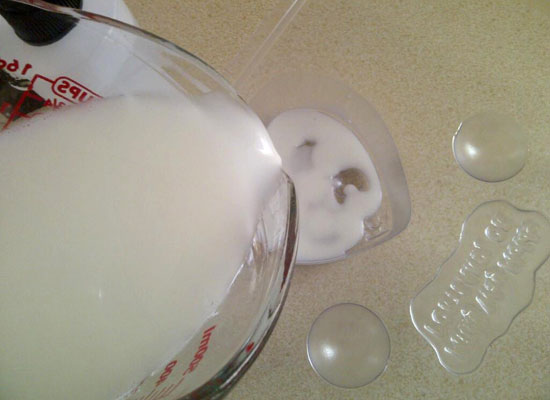
Pour the soap base into your soap mold then spritz with rubbing alcohol to get rid of the air bubbles on top. Make sure the mold is in a safe place that won’t get bumped BEFORE pouring into the mold. Once the soap base is in the soap mold it needs to stay stationary for about an hour or so.
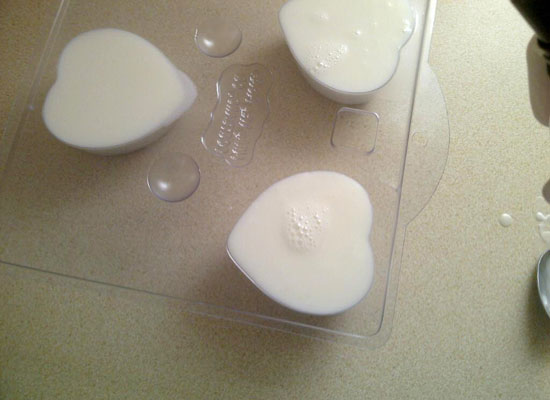
After an hour, I gently touch the top to see how hard it is, if it’s still soft, I’ll put it in the fridge for 20-30 minutes. You can leave them sit overnight then unmold in the morning. Wrap, label and sell!
Spritz with rubbing alcohol 2-3 times will get rid of the air bubbles so that they are smooth.
After an hour, I gently touch the top to see how hard it is, if it’s still soft, I’ll put it in the fridge for 20-30 minutes. You can leave them sit overnight then unmold in the morning. Wrap, label and sell!