by Rustic Escentuals
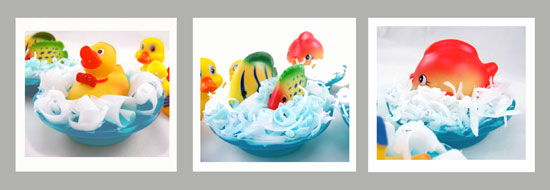
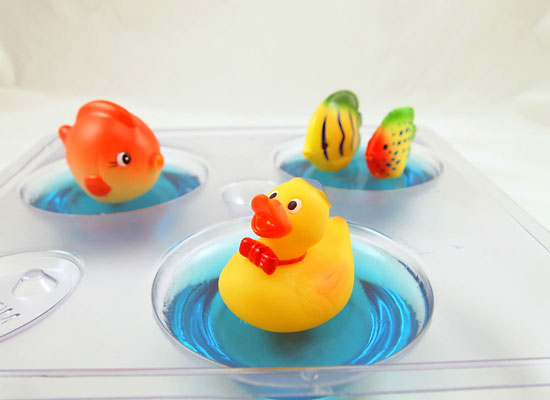
There really is nothing cuter than this soap. These fly off the table at craft shows and are wonderful for baby showers. Learn how to make these wonderful soaps. You don’t have to stick with ducks though, see below for a cute change. I will also be posting a tutorial at a later date showing a bit of twist using the same mold, so keep an eye out for it!

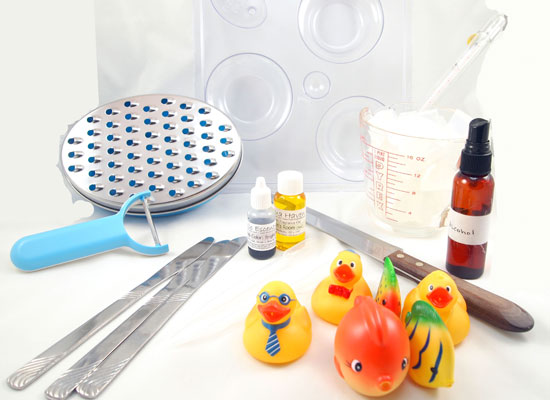
Supplies and equipment needed:
Microwave safe glass containers
Sharp knife to cut soap into cubes
Spray bottle with rubbing alcohol
Butter knives
Wax Paper
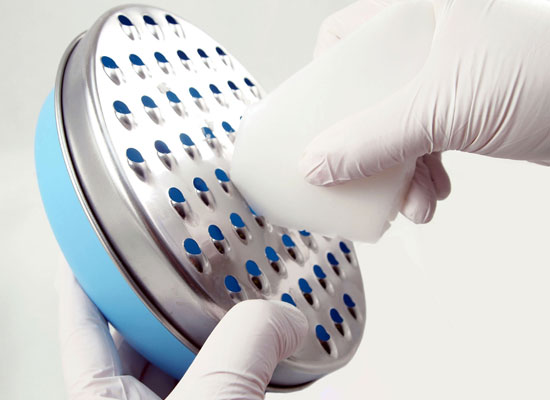
Rubber gloves
Vegetable Peeler
Cheese Grater
Duck Pond Soap Mold (5.7 ounce capacity)
Disposable pipettes
Thermometer to monitor soap temperature
16 oz Ultra Clear Melt & Pour soap base
White Melt & Pour Soap Base
Gel Soap colorant in Bright Blue
Childrens Room Fragrance Oil
Toys (ducks or fish)
I will be using three versions of “waves” in this tutorial, try one or all three. Prepare these in advance.
Step 1: Take a chunk of White Melt and Pour Soap Base and using the cheese grater, grate about 1/2 cups worth.
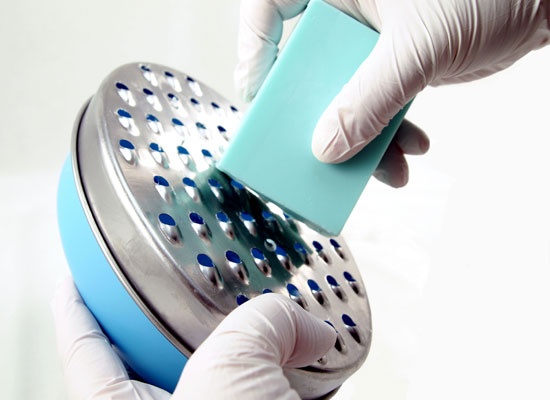
Step 2: Using blue soap: Take 2 – 3 ounces of White Melt and Pour Soap base and melt in a microwave on 20 second bursts until melted. Do not burn or boil. Add 2 drops of Bright Blue Gel Soap Colorant and pour into any mold that you have handy. Let harden completely. Remove from mold and grate about 1/2 cups worth. Save the remainder for future use by wrapping tightly in plastic wrap.
Step 3: Taking a piece of White Melt and Pour Soap Base, peel long thin strips off of it using a carrot peeler. They will curl on their own. If needed, help the curl along a bit by using your fingers to curl the strips.
You’ll have 3 sets of waves all ready to go!

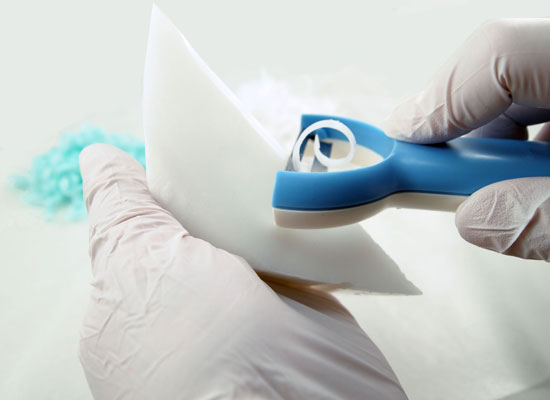
Step 4: Cut up 16 oz of Ultra clear Melt & Pour into small cubes.
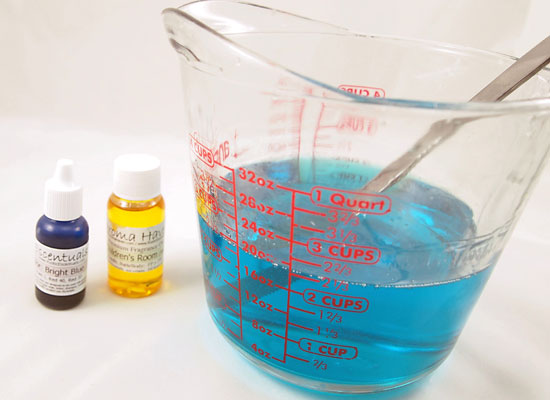
Step 5: Take the cubed soap and place in a microwave safe glass container. Melt in the microwave in 30-second bursts until melted. Be careful that you don’t boil the soap, boiling will result in a poor quality rubbery soap. If there are small chunks of soap still un-melted, stir slowly until melted.
Step 6: Mix in 4 ml of Children’s Room Fragrance Oil using the disposable pipette and 5 drops of Gel Soap Colorant in Bright Blue and stir slowly until mixed well.
Tip: Always stir slowly when adding colorants, fragrances or any type of additions to your soap base to avoid creating any more bubbles than you have to.
Step 7: Use a thermometer to monitor the soap temperature; it should be about 130° to avoid warping your mold. If soap is too hot, keep stirring slowly until soap reaches 130°. This mold can take temperatures up to 135-145 degrees, but as a habit, I keep to 130 degrees.
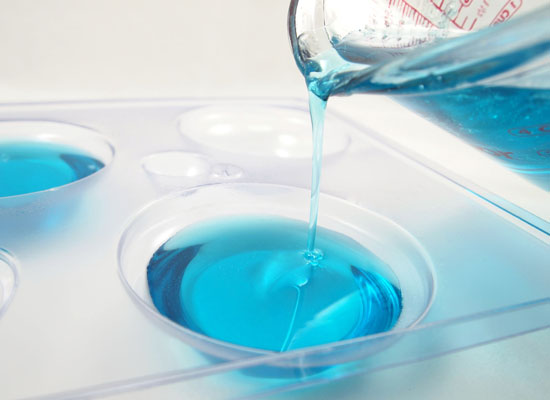
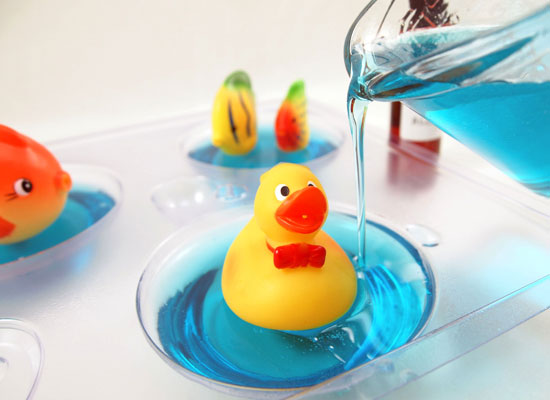
Step 8: Using the Duck Pond Soap Mold, pour the blue soap into each cavity until you reach just above the first lip of the mold. Don’t pour all the way up. Remember to pour slowly to avoid excess bubbles.
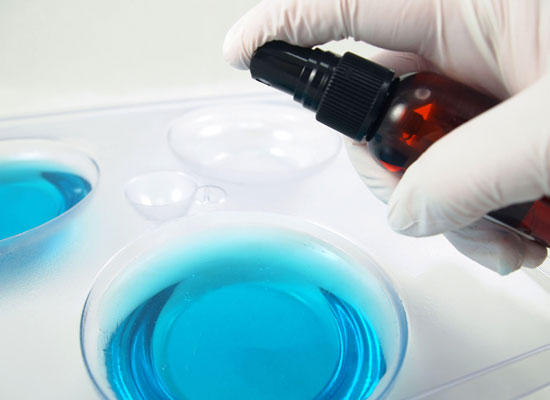
Step 9: Spritz the soap with rubbing alcohol to get rid of any bubbles that formed while you were pouring.
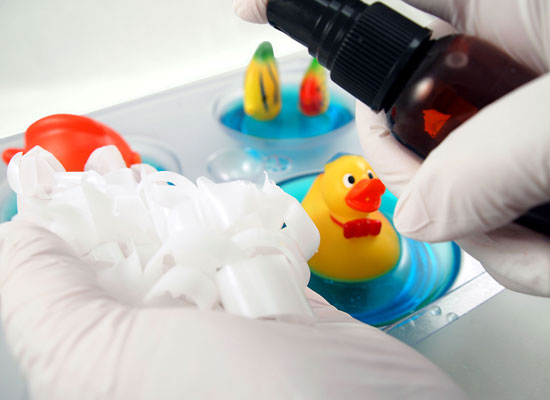
Step 10: Let soap sit for a short while, monitor carefully, you only want the top of the soap to harden enough to hold the toy. Gently press with your finger to test the layer. When the layer is strong enough, spritz with alcohol to help the layers and toy stick together and place toy on top. (It took about 5 minutes for the layer to harden enough for me to place the toys on top). Pour the rest of the way to the top of the mold with the blue soap. You will be covering the bottom portion of the toy with the soap. Spritz with alcohol to remove any bubbles.
Step 11: Working quickly and before this second layer forms a skin on top, spritz your soap waves with alcohol to help them embed into the blue soap and sprinkle your grated soap or curls (the waves) onto the blue soap. You want them to sink in slightly. Build up the “waves” by adding more on top. Try mixing the white and blue grated soap waves for a different look. Let the soap set.
TIP: When adding the second layer of blue soap and the soap waves, work with one cavity at a time to avoid problems with blue soap hardening before you can get the waves in.
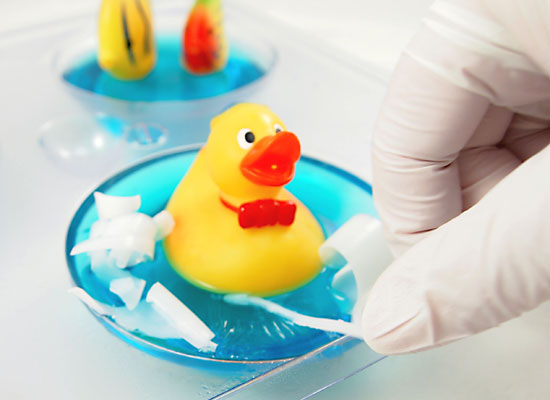

Step 12: Melt 1 oz. of clear soap base and let cool to about 125 -130 degrees – you don’t want to melt the waves. Spritz the waves with alcohol and drizzle this soap lightly over the waves to help set them into the soap.
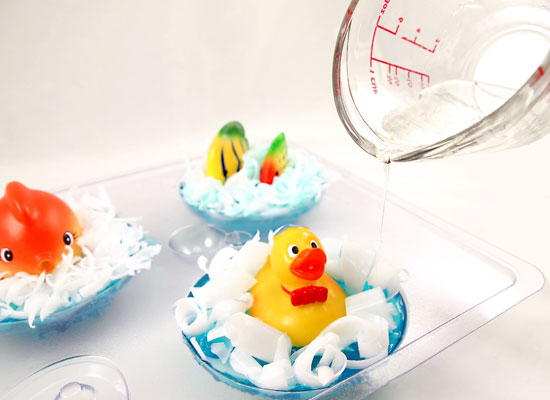
Step 13: Wait 2-3 hours for the soap to completely harden. Turn over carefully and slowly press on the bottom of the mold to release the soap. Do not rest the toy on the table; you don’t want to destroy all your hard work by knocking the toy out. Tip: If the soap won’t come out, wait another 1/2 hour or so – don’t fight it. You can even pop the soap in the freezer for 5 minutes but I don’t recommend longer than that.
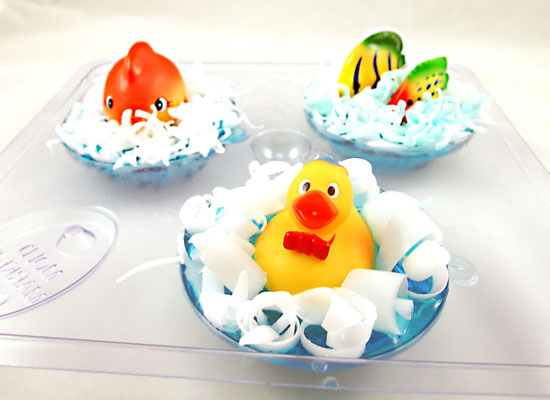
Note: Change it up some, I found some squirting Water Fish toys that look awesome. The pictures below show you how the soaps look with toys other than ducks. Stay tuned for a tutorial using a variation of this!