Herbs and oils just seem to go together! This tutorial will be using a cold infusion method to create simple oil infusions. Infused oils are a great way to experiment and add to future bath and body products. They are wonderful in handmade soaps, lotions, balms and any other items that you add oil to. We will be starting with Calendula, Rose Hips, and the always-wonderful Lavender. This method is our preferred method, avoiding heat and possible moisture being introduced into the infusions. All you need is time. This is not an overnight product; you’ll need to plan ahead because it will take 4 to 6 weeks to complete.
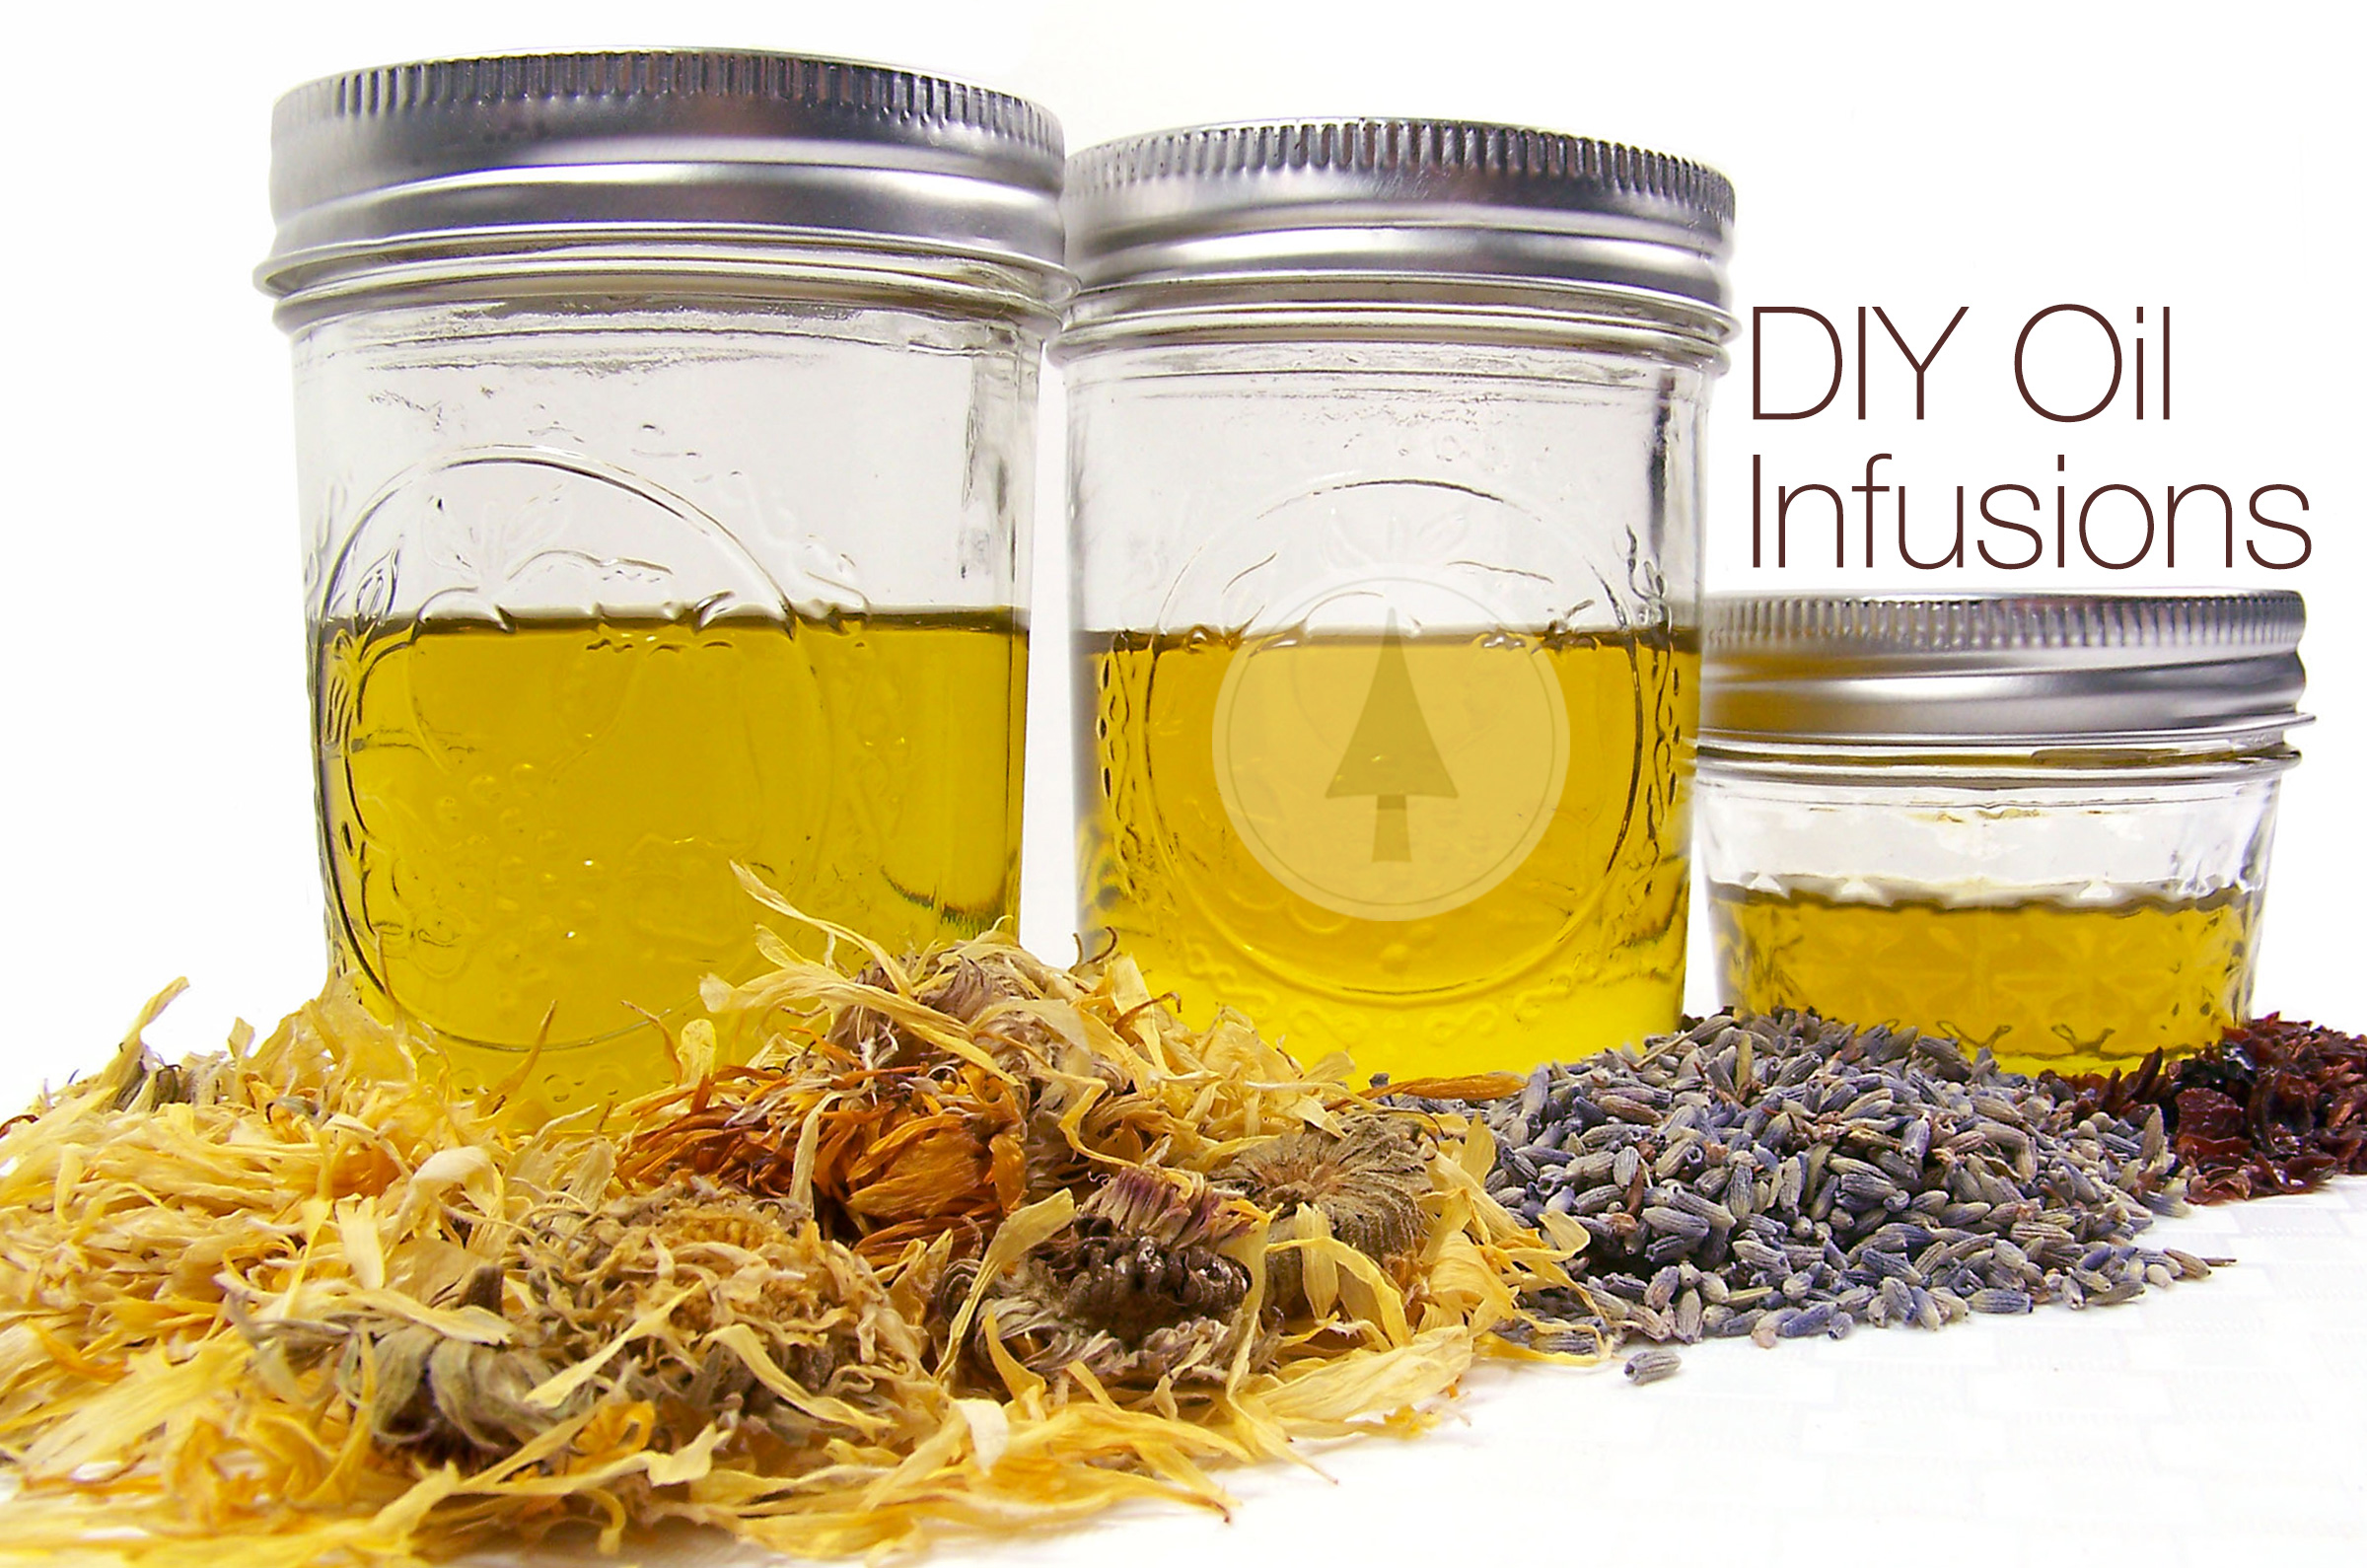
Supplies and equipment needed:
Measuring cup (optional)
Rubber gloves
Coffee filters (1 to 2 for each jar)
Dried Herbs such as Calendula, Lavender, or Rosehips (enough to fill your jar 3/4 of the way)
Mason Jars (various sizes) – Remember to sterilize them prior to use.
Apricot Kernel Oil, Sweet Almond Oil, and Jojoba Oil (amount varies depending on your jar size)

HERBS
Some herbs lend themselves better to herbal infusions than others. We recommend that you research and find what you like and what you plan on using the herbal infusions for. For this tutorial, we are using Calendula, Lavender, and Rosehips.
IMPORTANT: It is important to use dried herbs. If using fresh herbs or herbs that are not thoroughly dry, the moisture in the herbs can cause the oils to go rancid and provide an environment for mold to grow.
Shelf life of oils used in this tutorial:
Jojoba Oil: 12-24 months from purchase
Apricot Kernel Oil: 12 months from purchase
Sweet Almond Oil: 12 months from purchase
For more information on our Carrier Oils, visit our website.
Step 1
Starting with the dried Calendula, fill the jar more than half way, but don’t pack it in tightly.
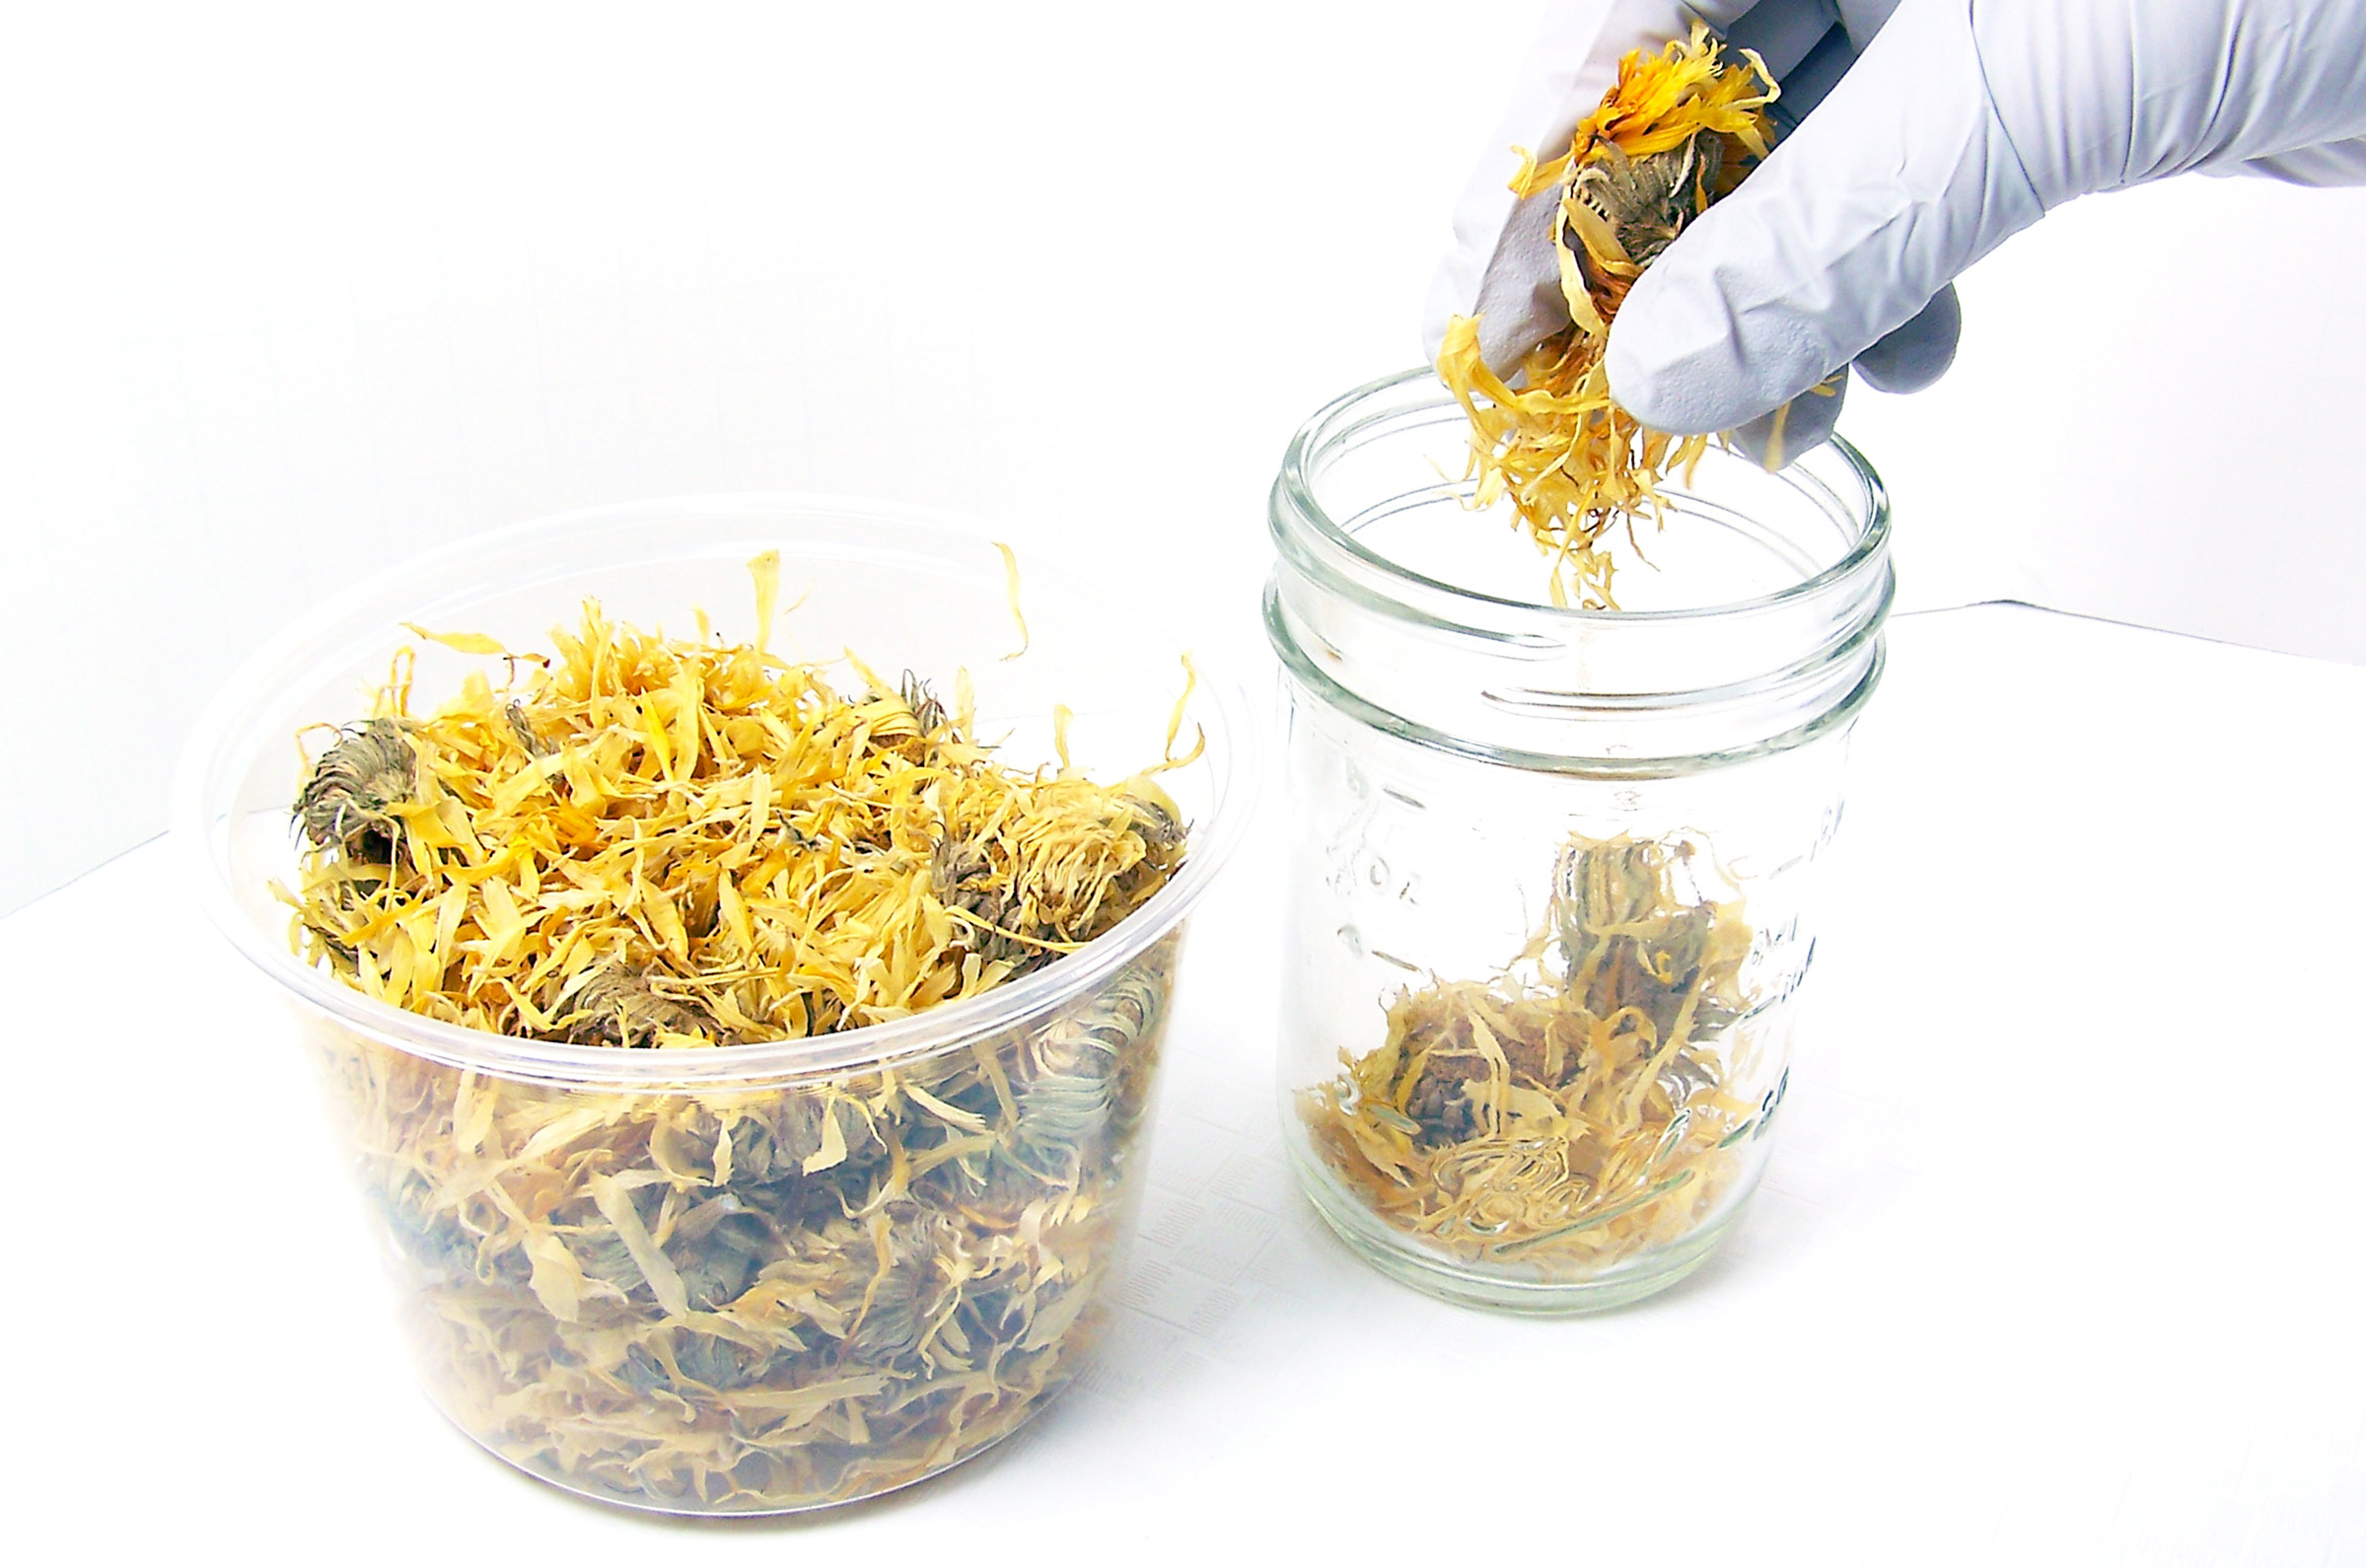
Step 2: You will need to eyeball how much Sweet Almond Oil you’ll need. Pour straight from its container or place in a glass measuring cup and slowly pour over the Calendula. You’ll want to cover the herbs completely with at least a half-inch of extra oil on the top. The herbs may expand a bit so leave some room at the top.
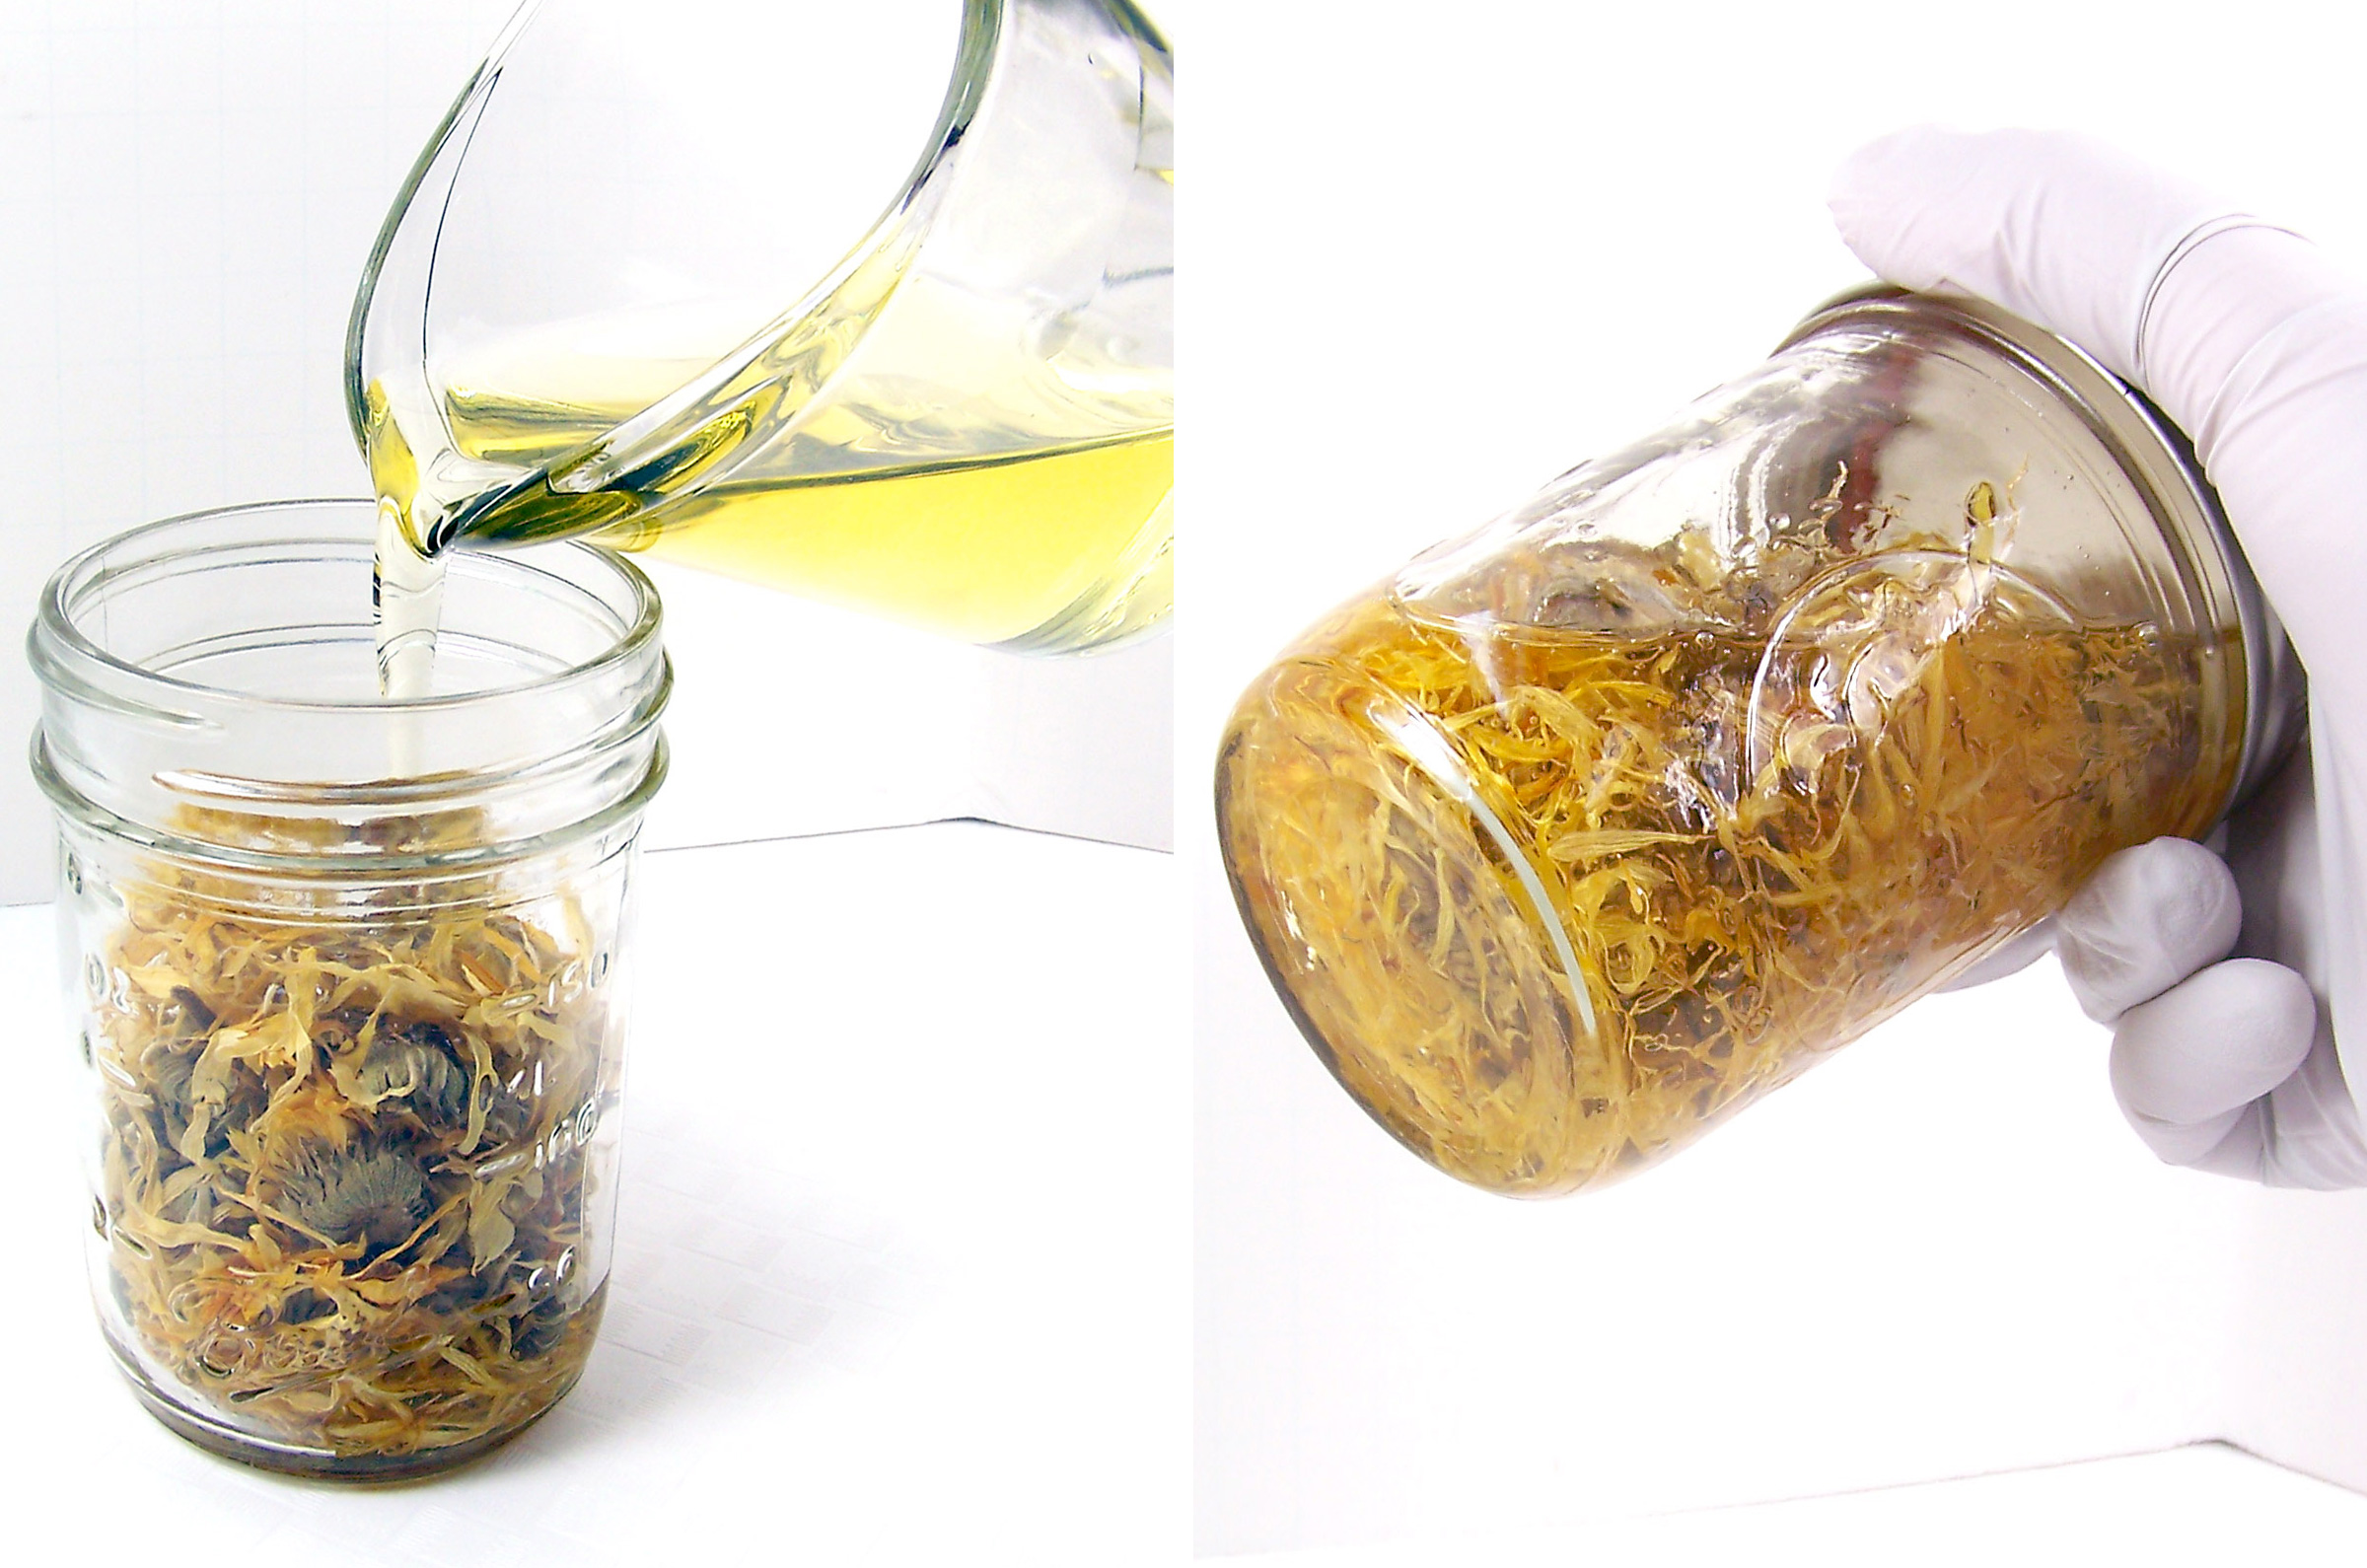
Step 3: Place the lid on the jar tightly and shake lightly. This is important so you can ensure all of the herbs are submerged in oil. Take a look after you’ve shaken to see if you need to add a bit more oil. If you see lots of air bubbles, you can stir with a knife or spoon to release the bubbles. Add more oil if needed.
Step 4: Repeat using Rosehips and Jojoba Oil.
Step 5: Repeat using Lavender buds and Apricot Kernel Oil
Step 6: Label the jar with the name of herb, oil, and date. You won’t remember later, so please take the time to label it now.
Step 7: This is an important step. Shake each jar daily for 4 to 6 weeks and keep in a cool, dry spot, out of direct sunlight. This step will prevent some of the herbs from settling at the top and drying out. This doesn’t take long at all, just make sure to keep them handy so you don’t forget about them.
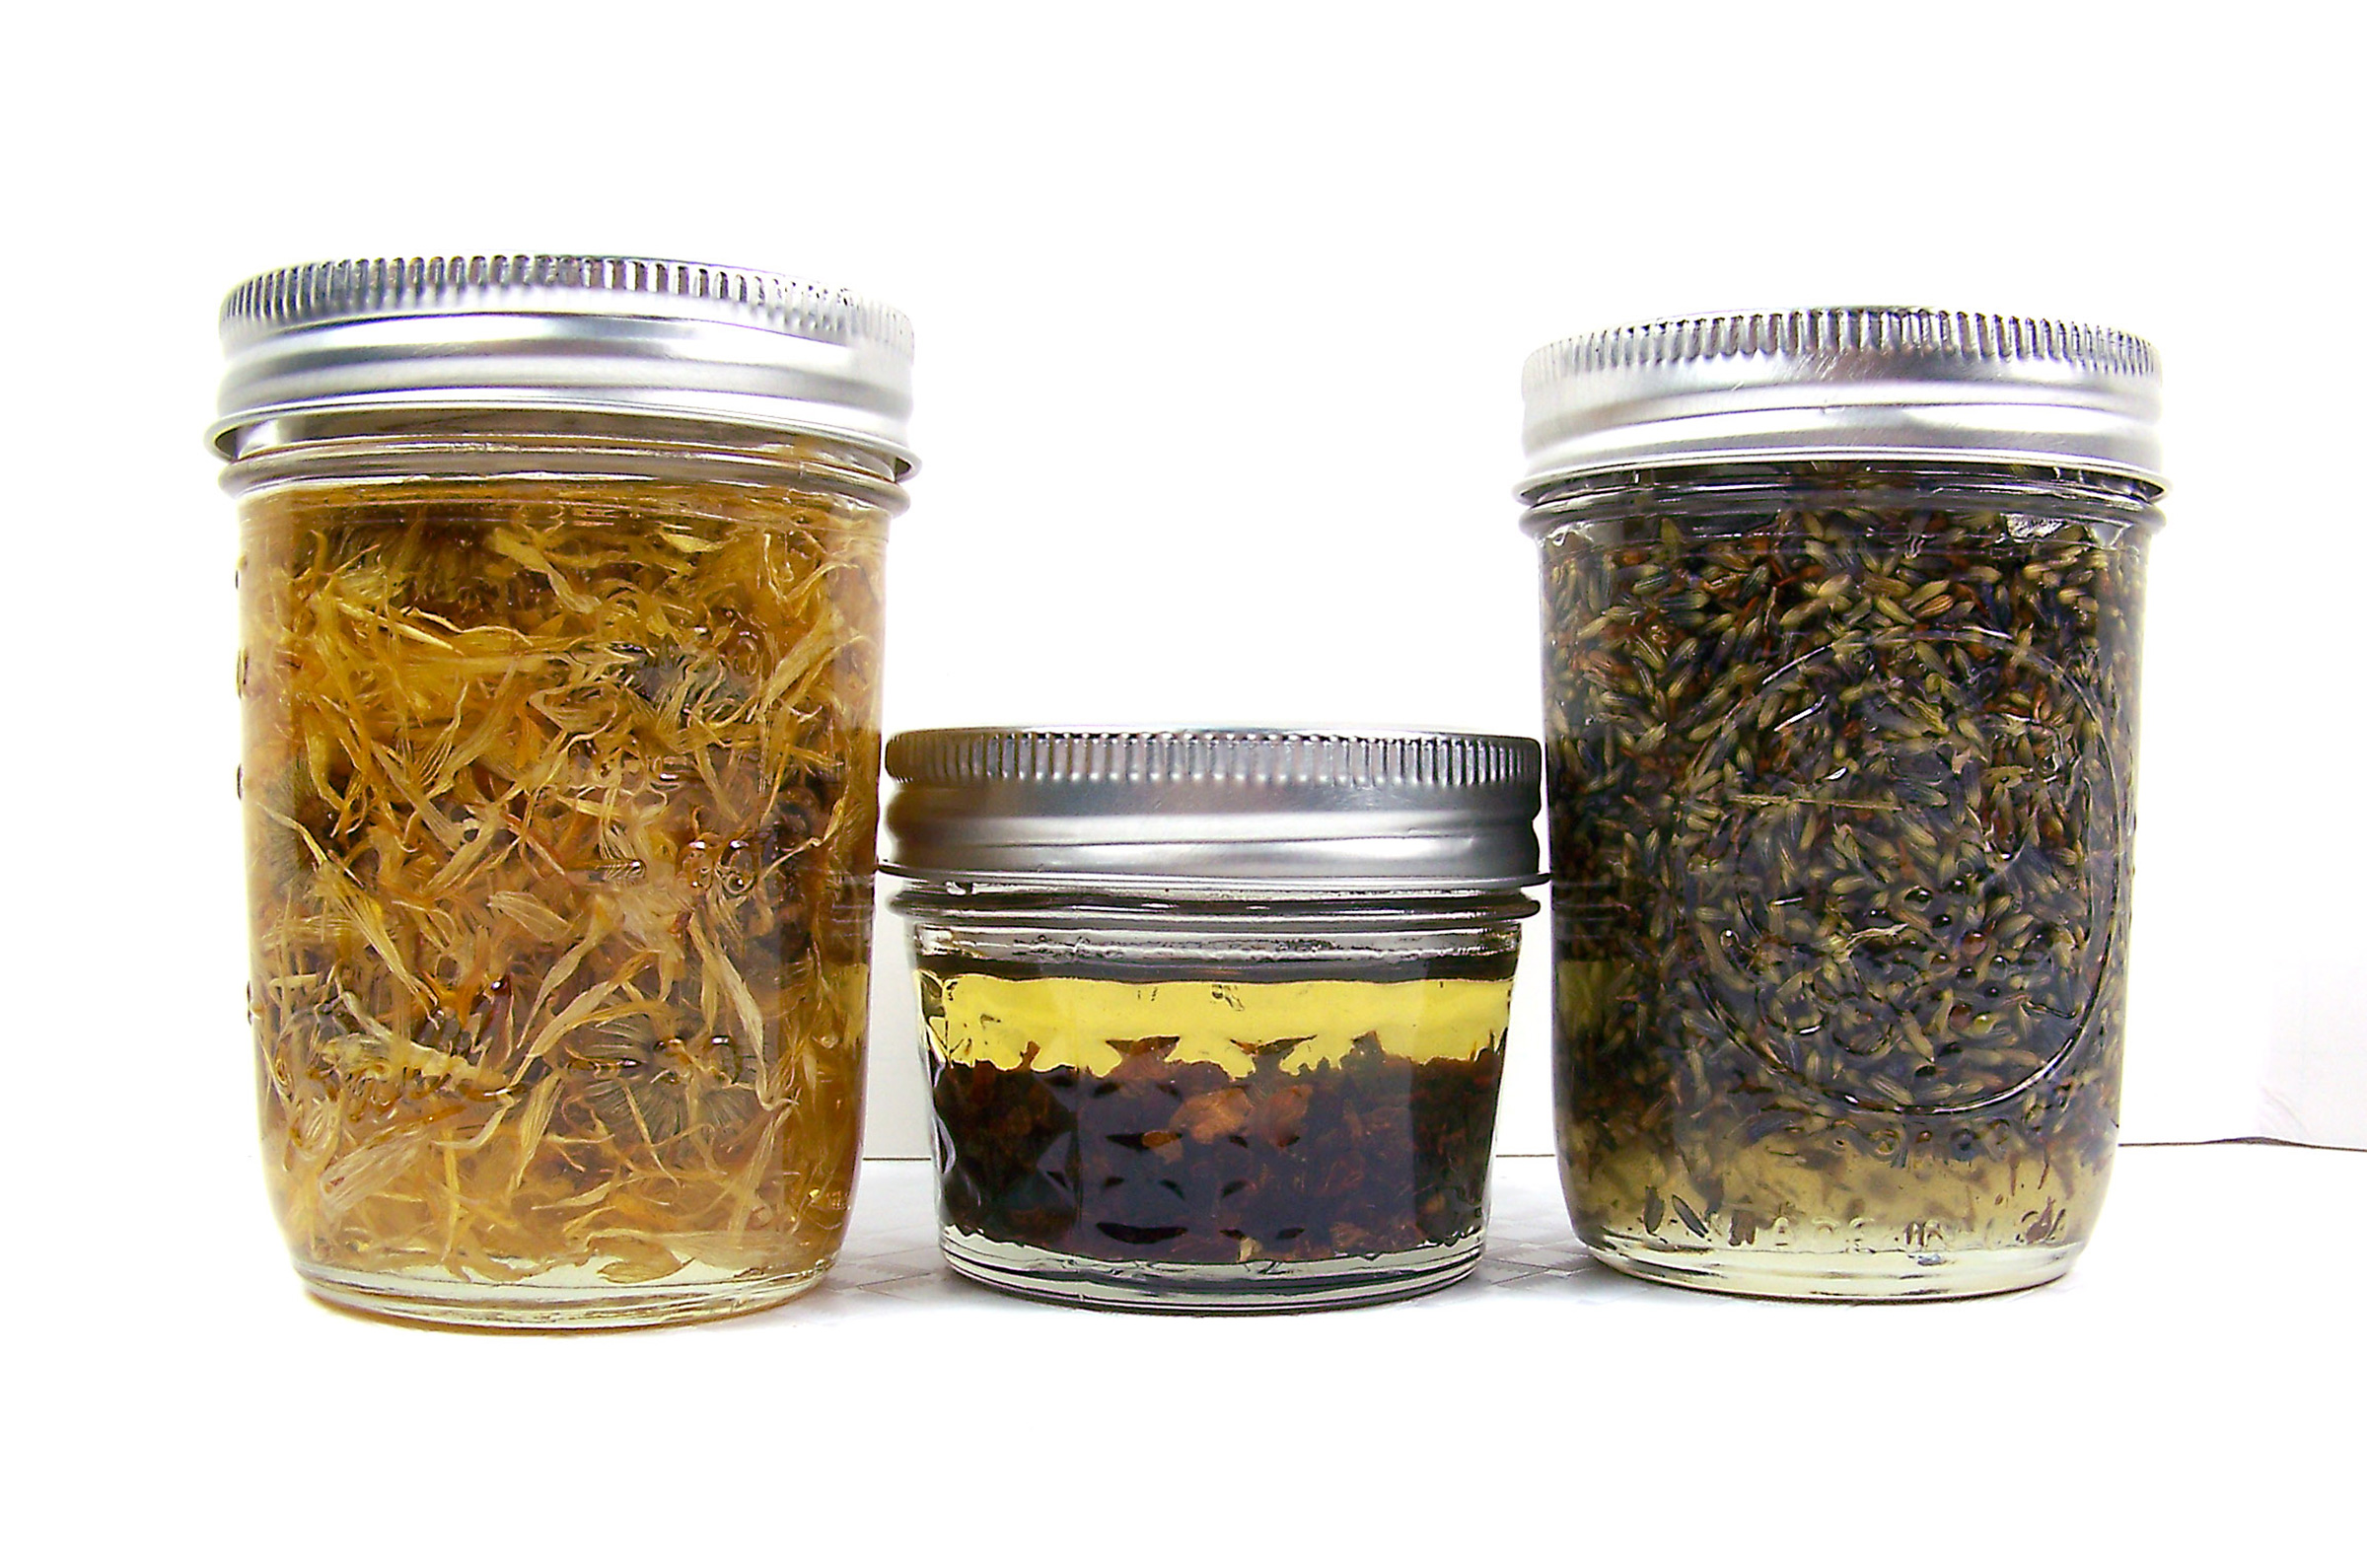
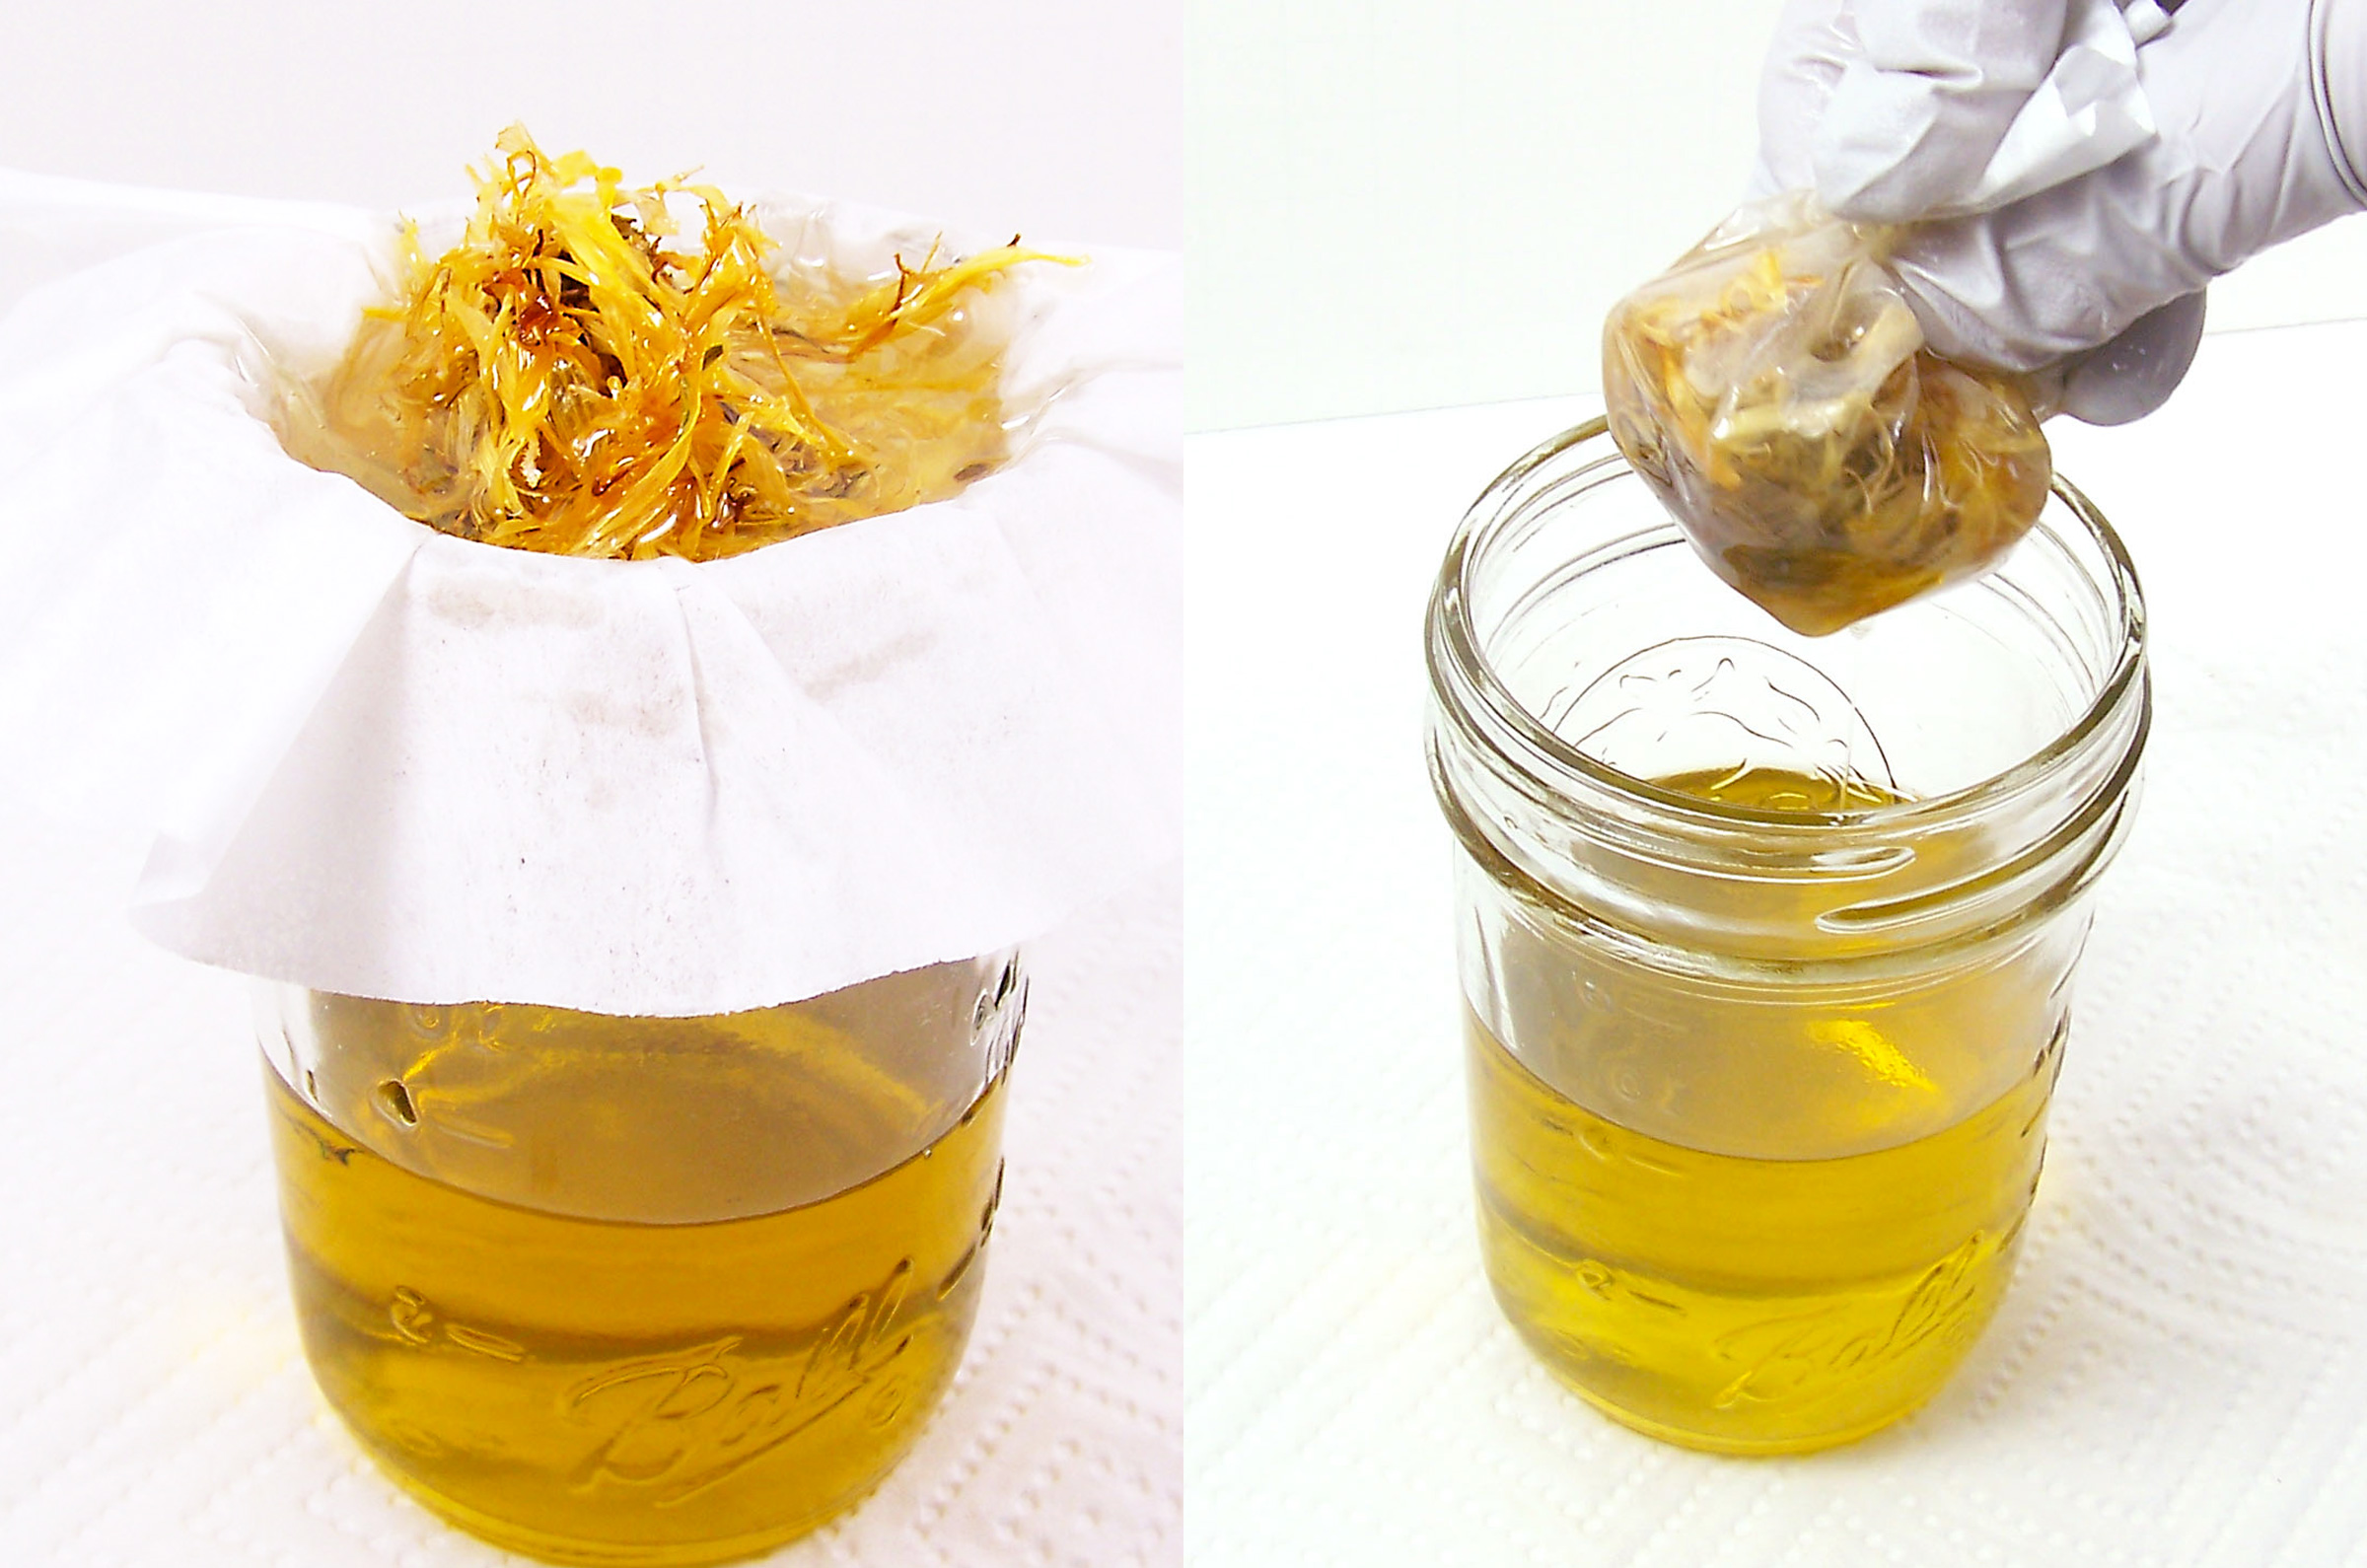
Step 8: When 4 to 6 weeks have passed, strain the herbs using a coffee filter – it does a great job filtering! Place one coffee filter over a clean, sterilized jar and press it slightly into the jar.
Step 9: Slowly pour the herbal mixture into the center of the coffee filter. The oil will eventually drain into the jar, keeping the herbs in the coffee filter.
Step 10: When all of the oil is drained (it may take 30 to 45 minutes), twist the coffee filter, squeezing the last bit of oil into the jar.
Step 11: Cap tightly with the lid and keep in a cool dark, dry place. The infused oil will last as long as the shelf life of the oil you used. Don’t forget to have these jars labeled! The infusions don’t really change the color of the oils and you may not be able to tell which is which later.
TIP: You can extend the shelf life of the infused oils by keeping them in your refrigerator. You can also add Vitamin E to the oils (no more than 1%).

You can now use the infused oil as is, or use in lotion, creams, or balms.
