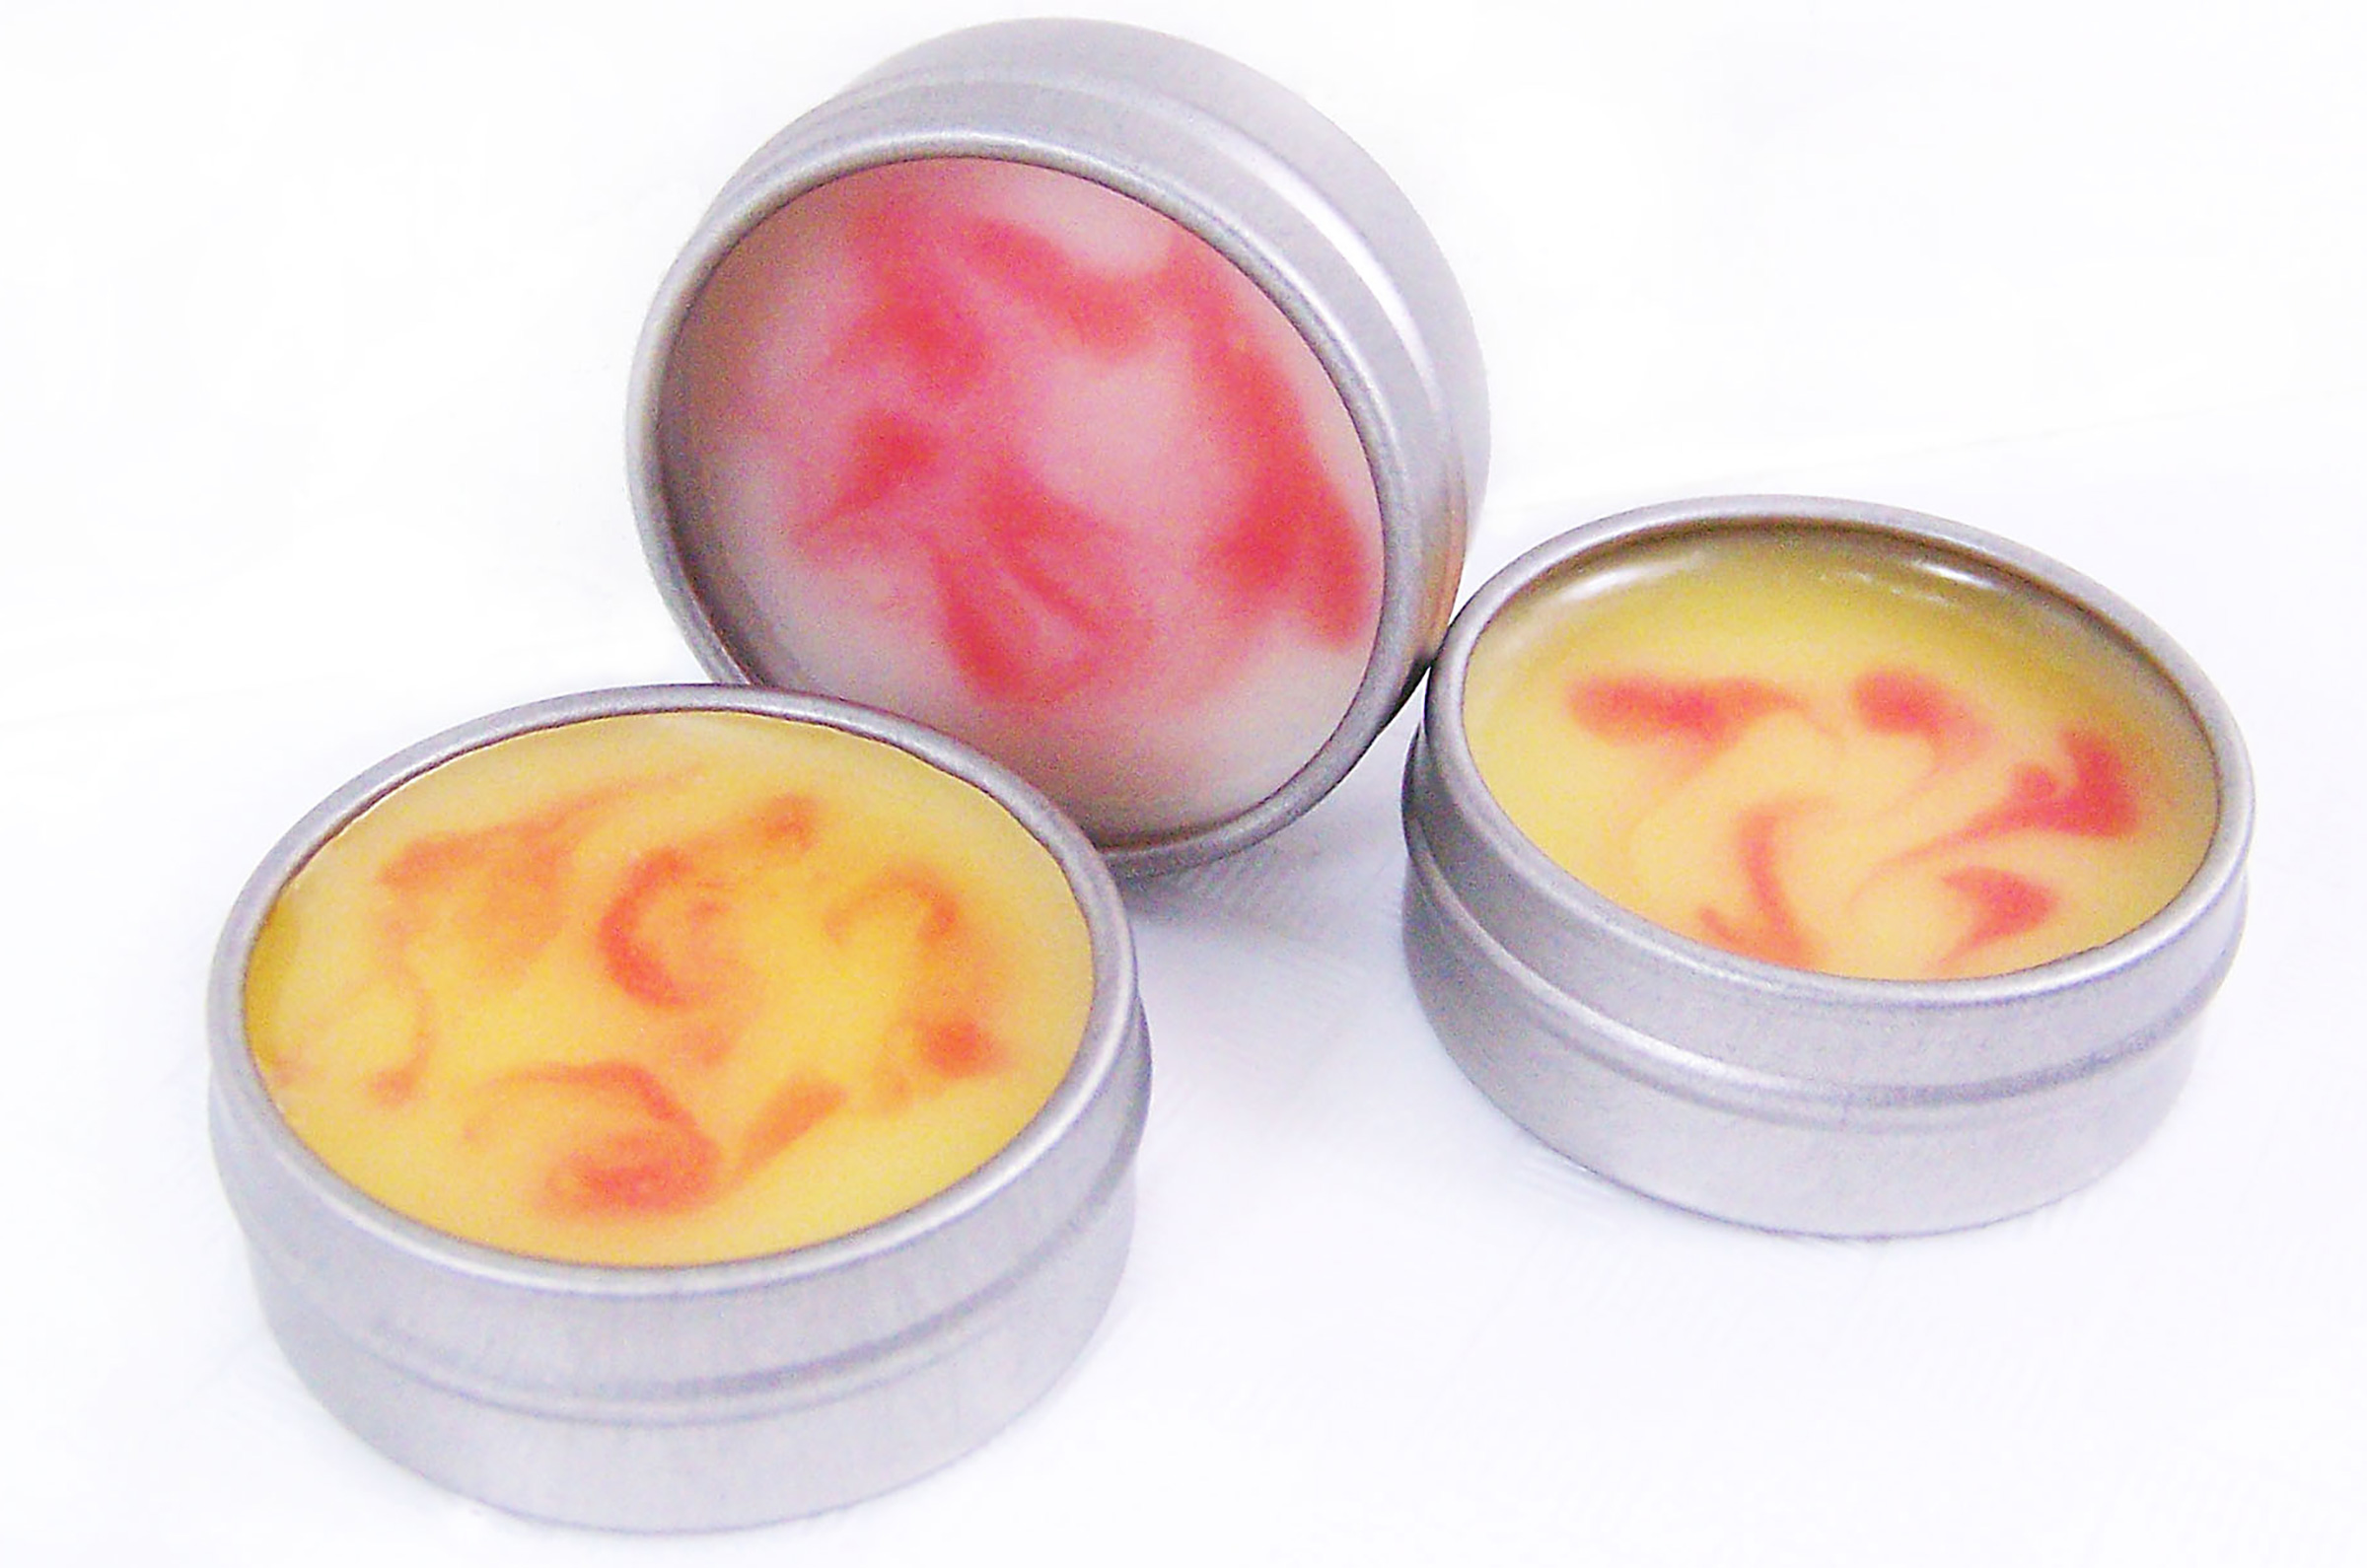
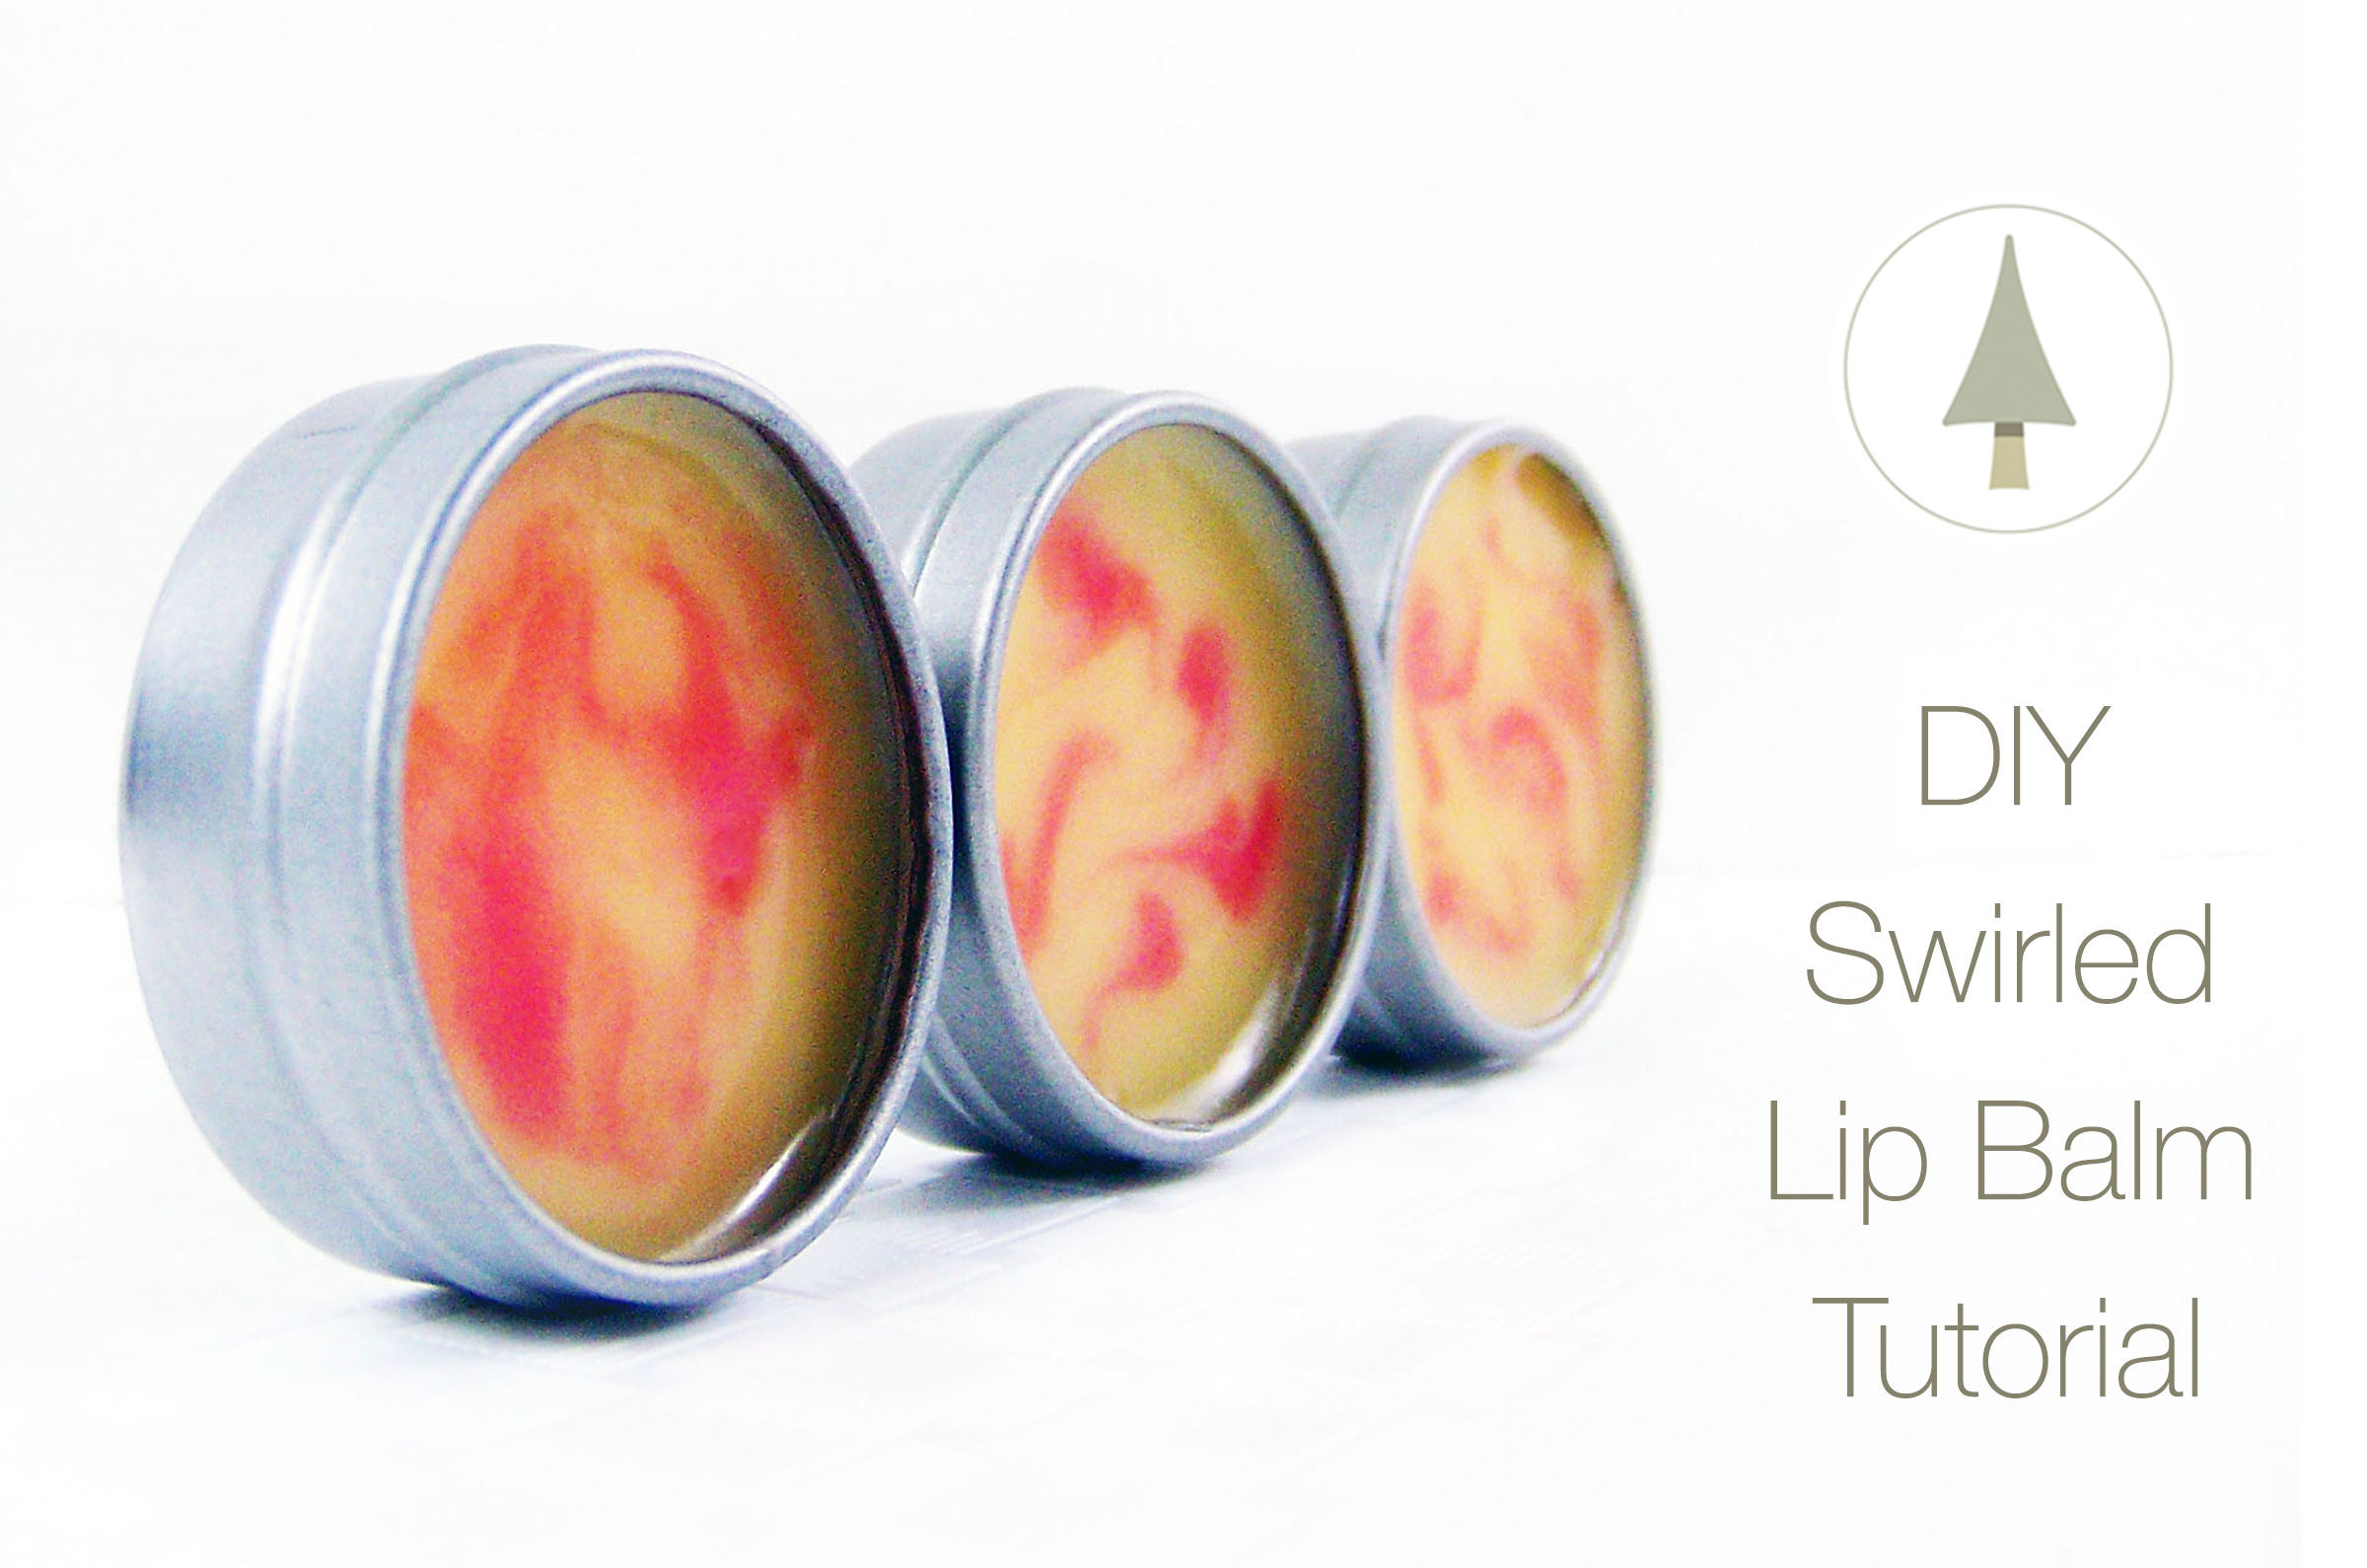
This tutorial will show you how to add a little pizzazz to single colored lip balms. These can be customized to someone’s favorite colors & flavors or as special shower and party favors.
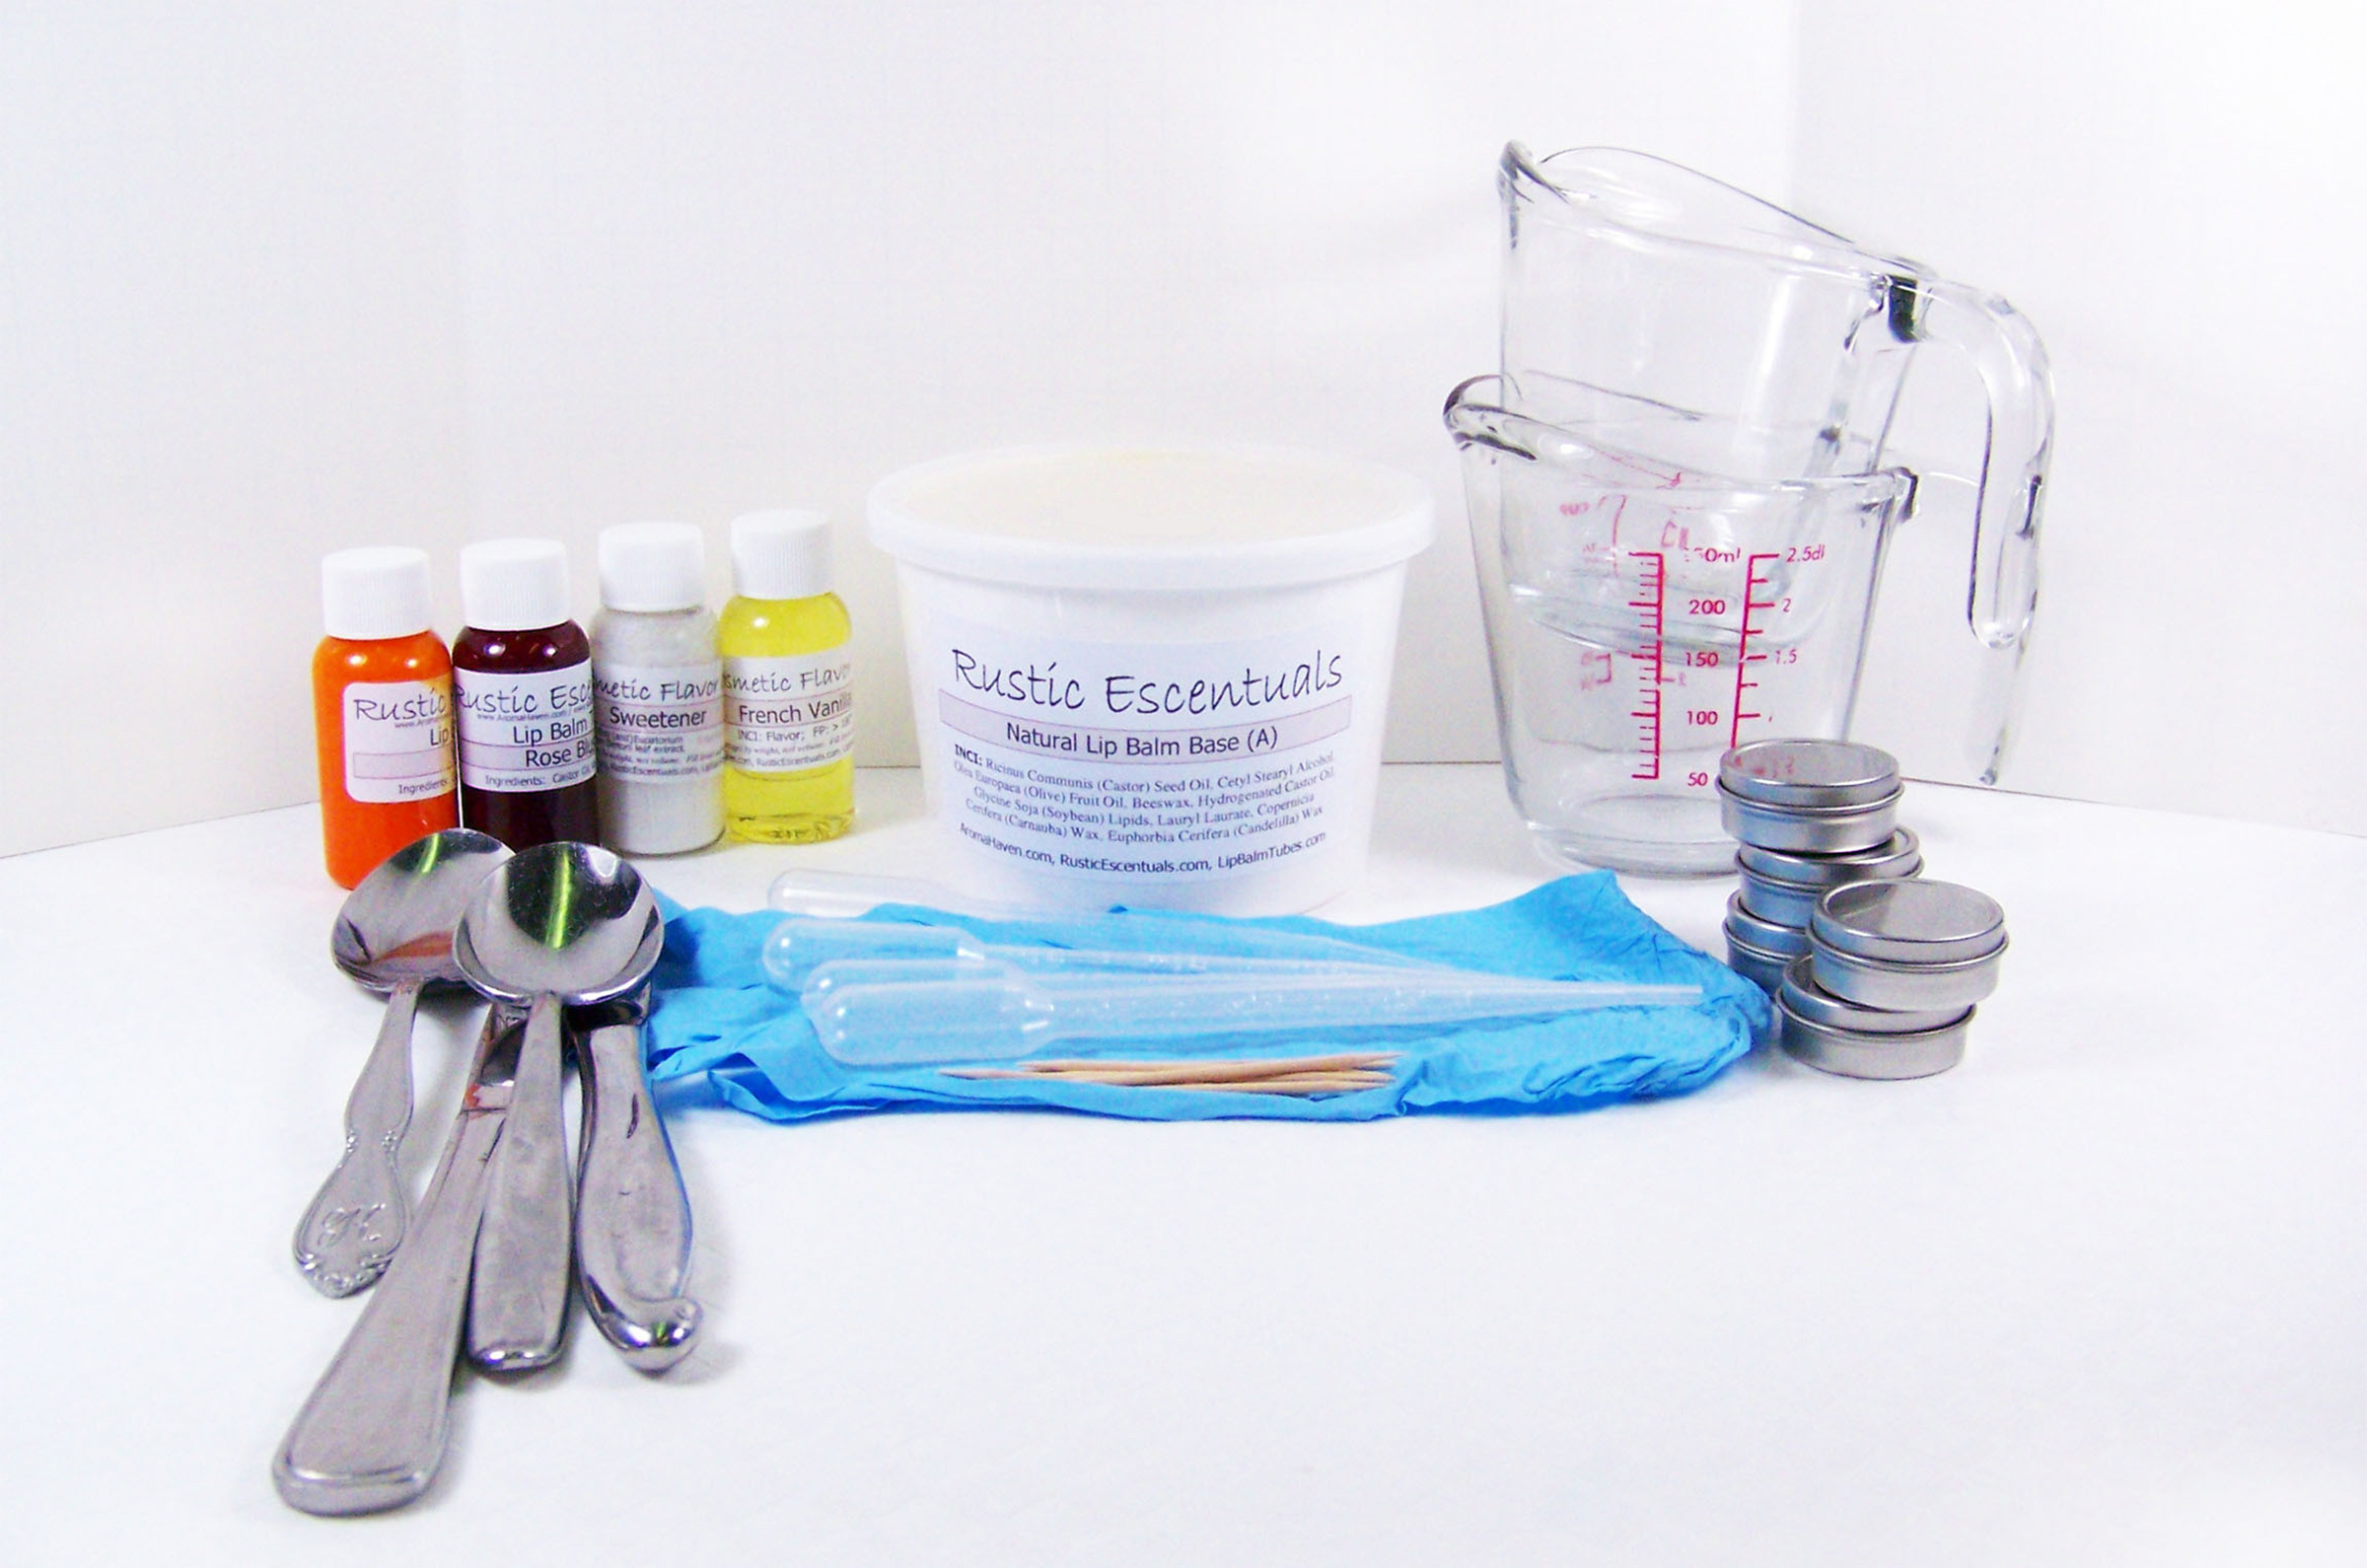
Supplies and Equipment Needed
Spoons or butter knives for stirring
Rubber gloves
Glass measuring cups
Toothpicks
Microwave or electric mini melting pot
Digital Scale
Disposable pipettes
.25 oz Round Lip Balm Tins
Natural Lip Balm Base
French Vanilla Lip Balm Flavoring Oil
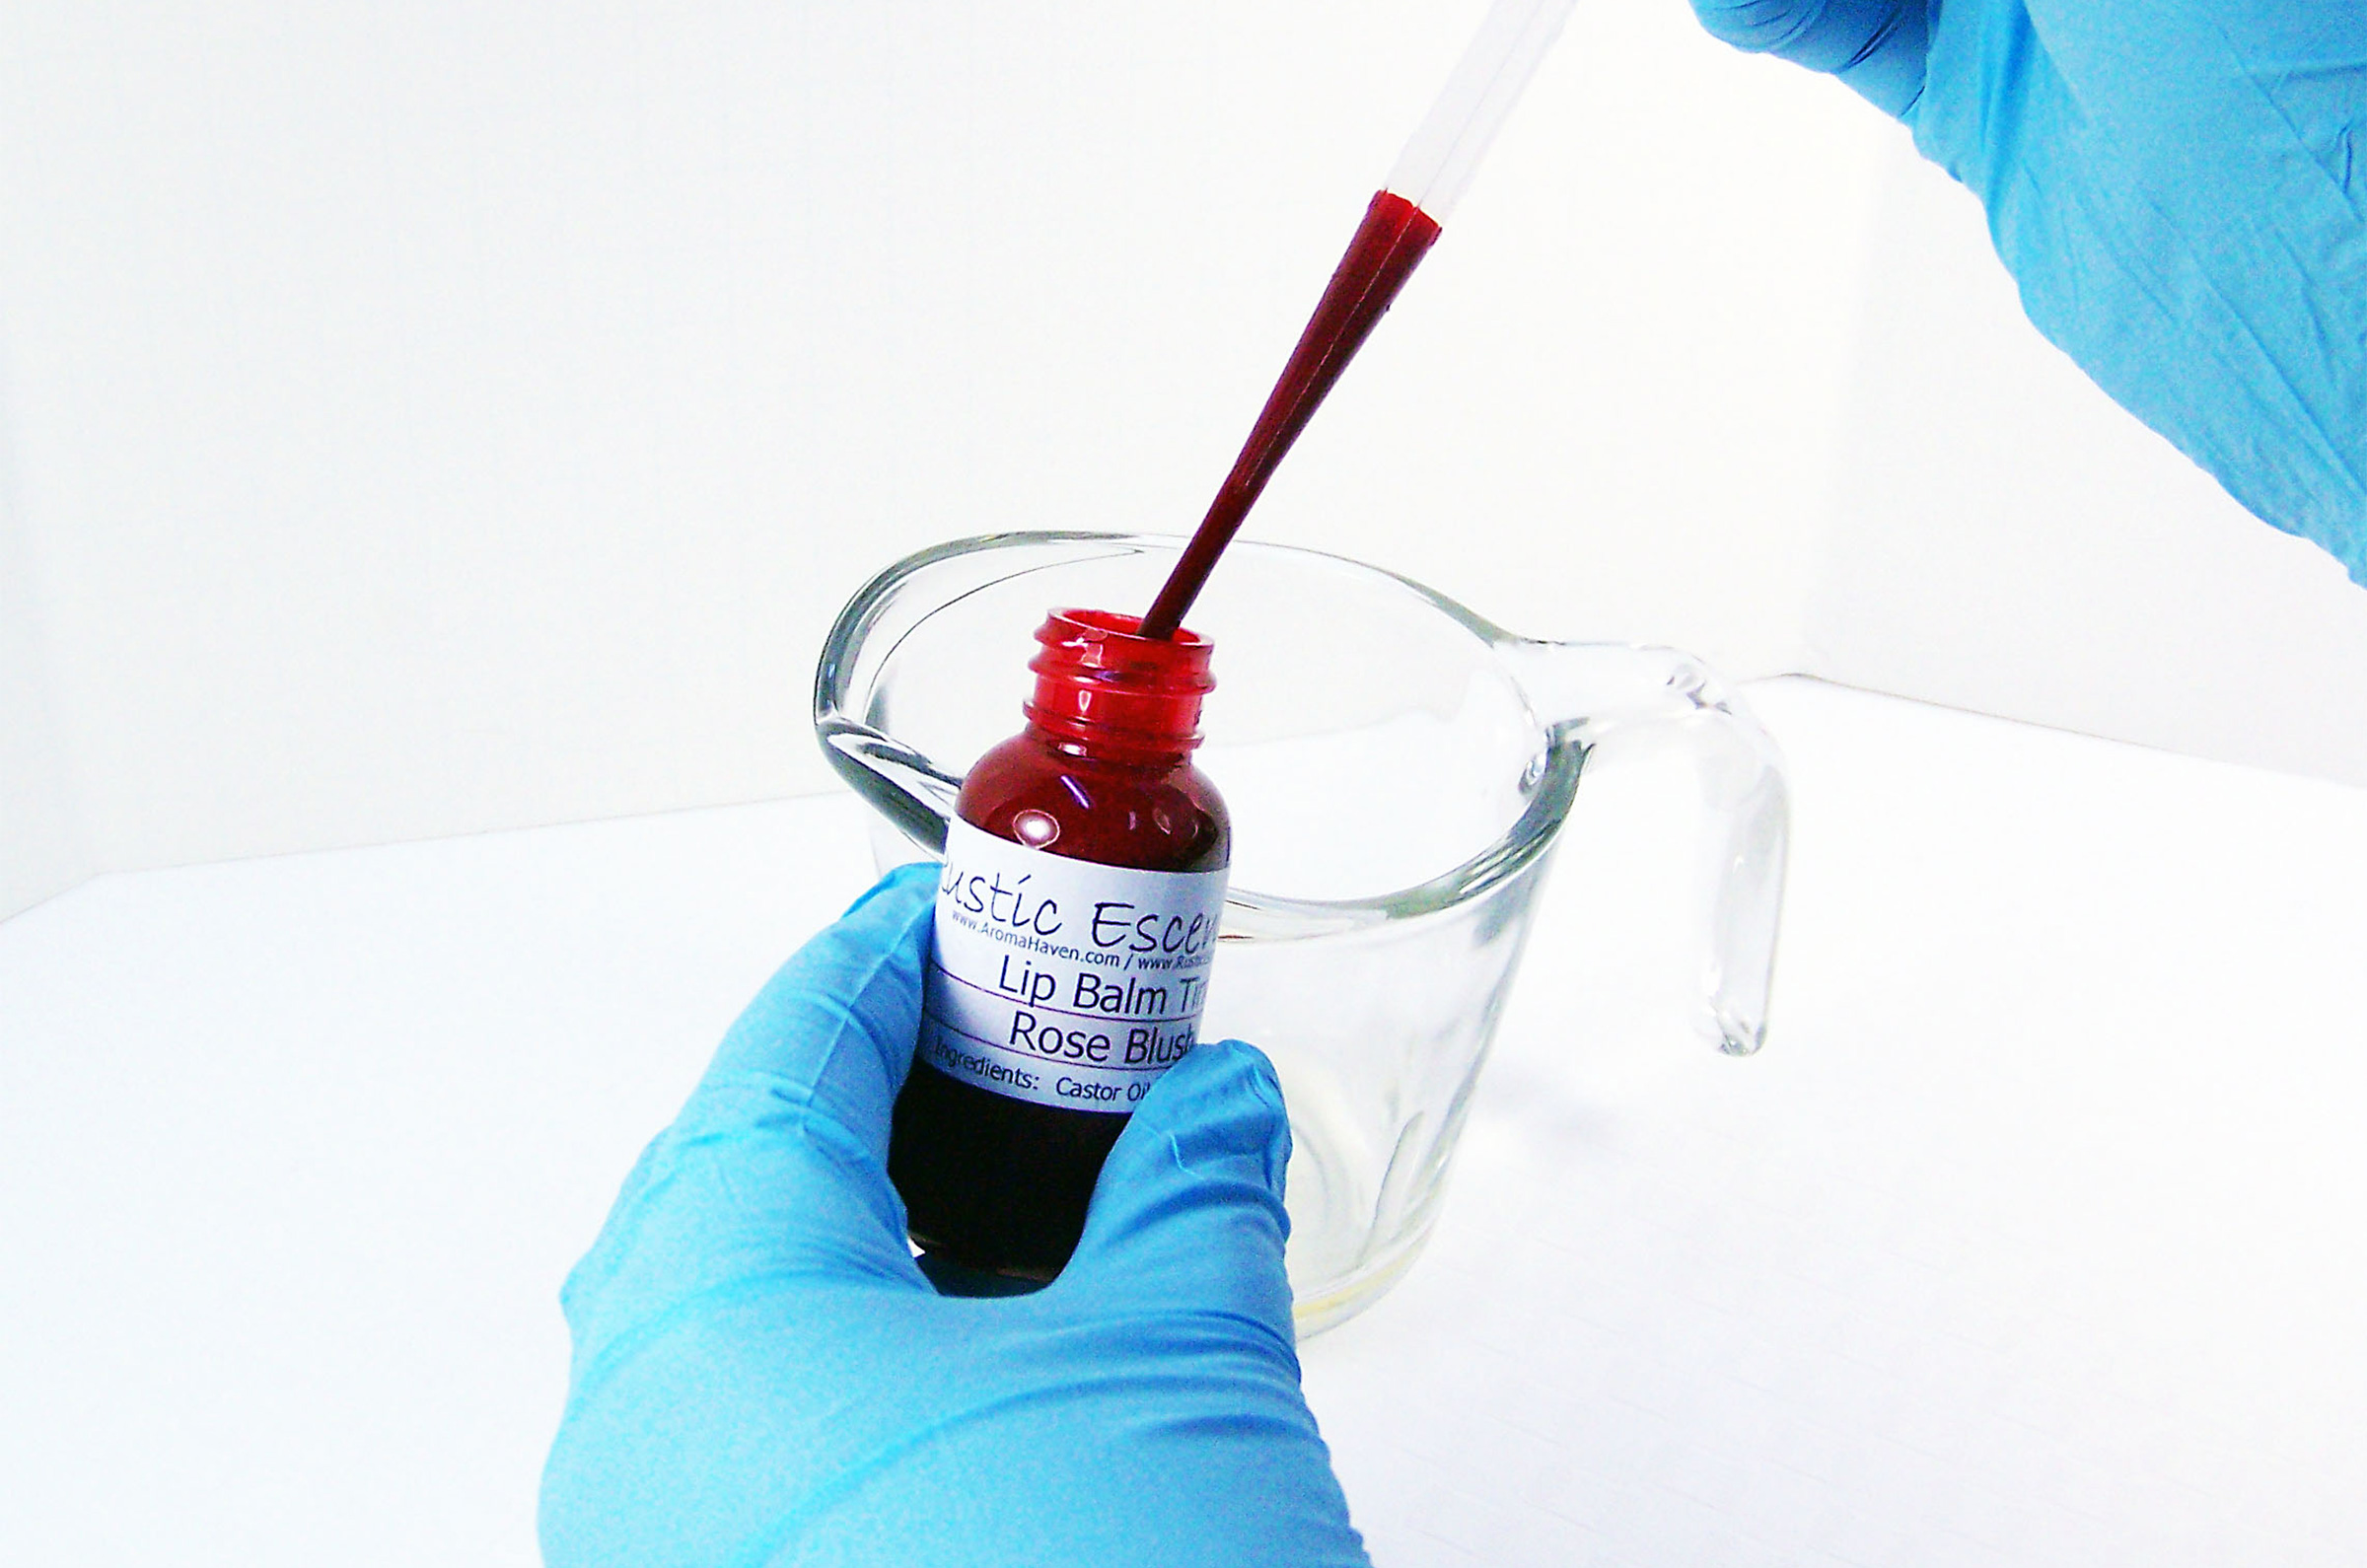
Rose Blush Lip Balm Tint
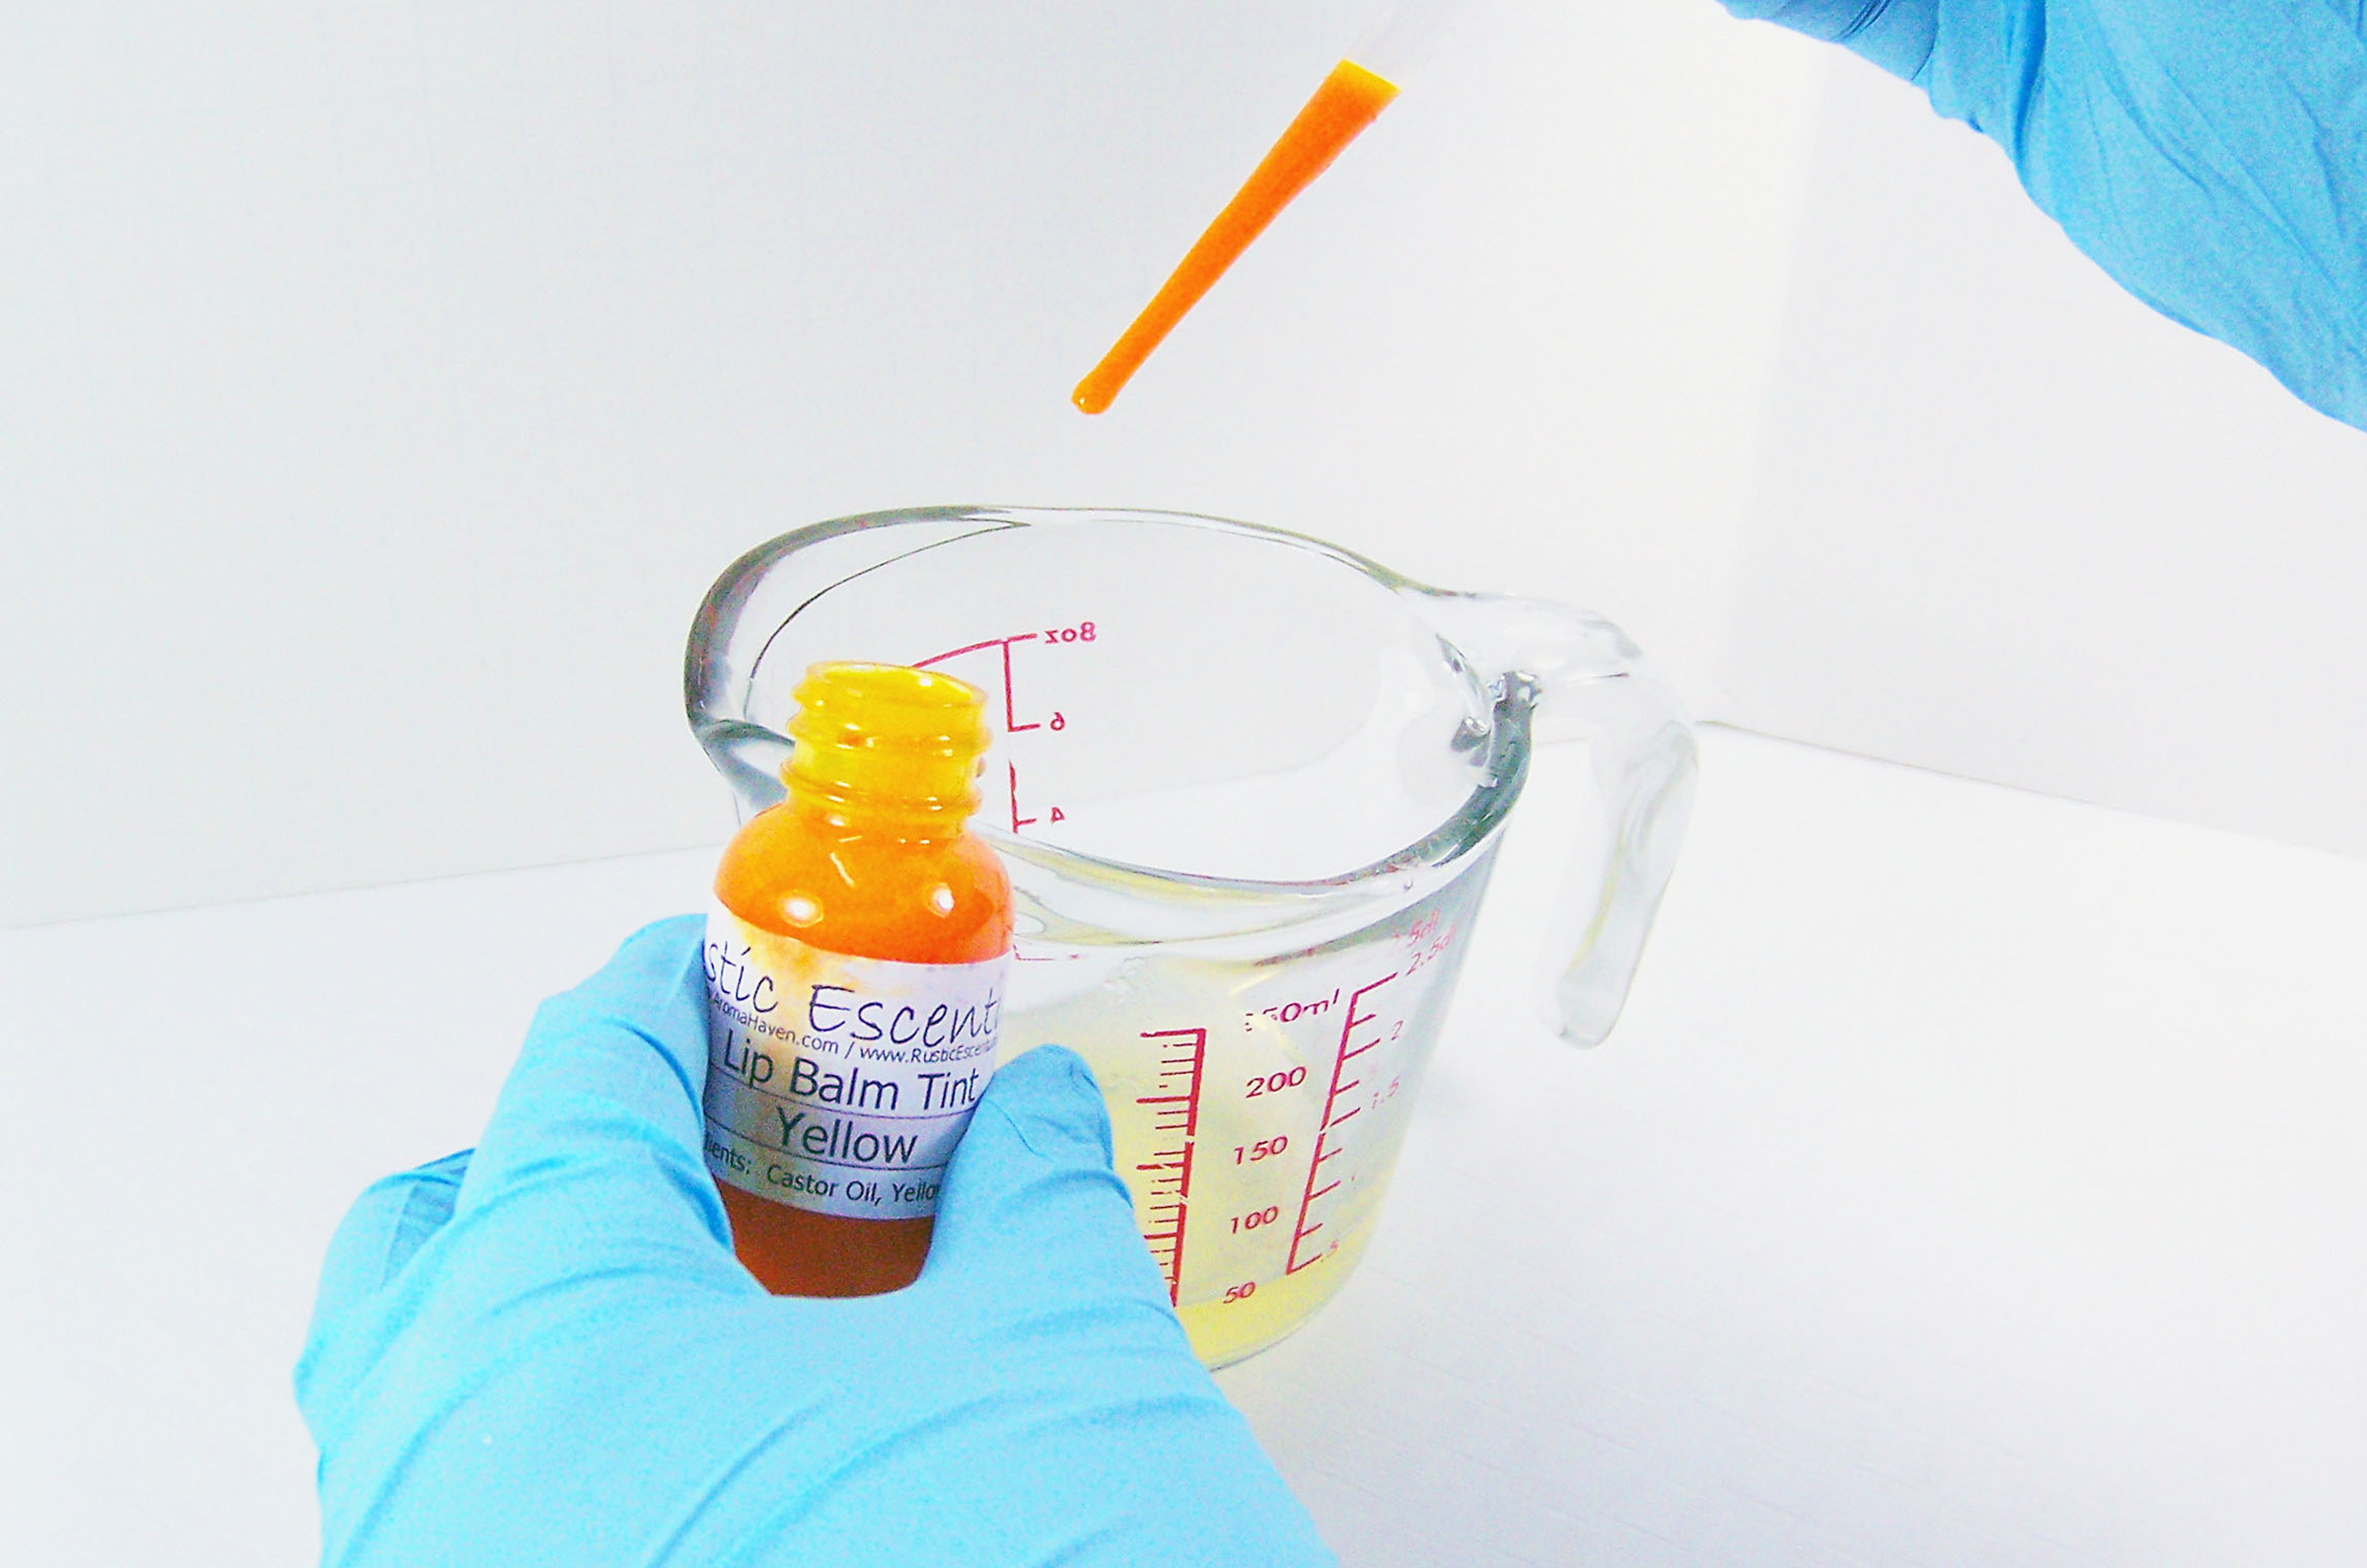
Yellow Lip Balm Tint
Lip Balm Sweetener (optional)
General flavor oil percentages for lip balms are up to 3% (Multiply your product weight by .03 and the resulting number is the weight of the flavor oil you should add.) I prefer to start with 1% and adjust up, as it is easier to add more than to reduce it.
If using a pipette to dispense your flavor oils into 1 ounce of base:
6 drops of flavor oil = 1%
12 drops of flavor oil = 2%
18 drops of flavor oil = 3%
Step 1: Place the glass container on your scale and tare out the container (zero out the scale). Measure out 1 ounce of Natural Lip Balm Base.
Step 2: Slowly melt the lip balm base in a microwave for 30 seconds at a time until fully melted. Do not overheat! Slowly stir between each 30 seconds. It took me 2 turns at the microwave to fully melt this amount of balm.
Optional: if you have Mini Melting Pot, add the measured lip balm base to this pot instead of the microwave.
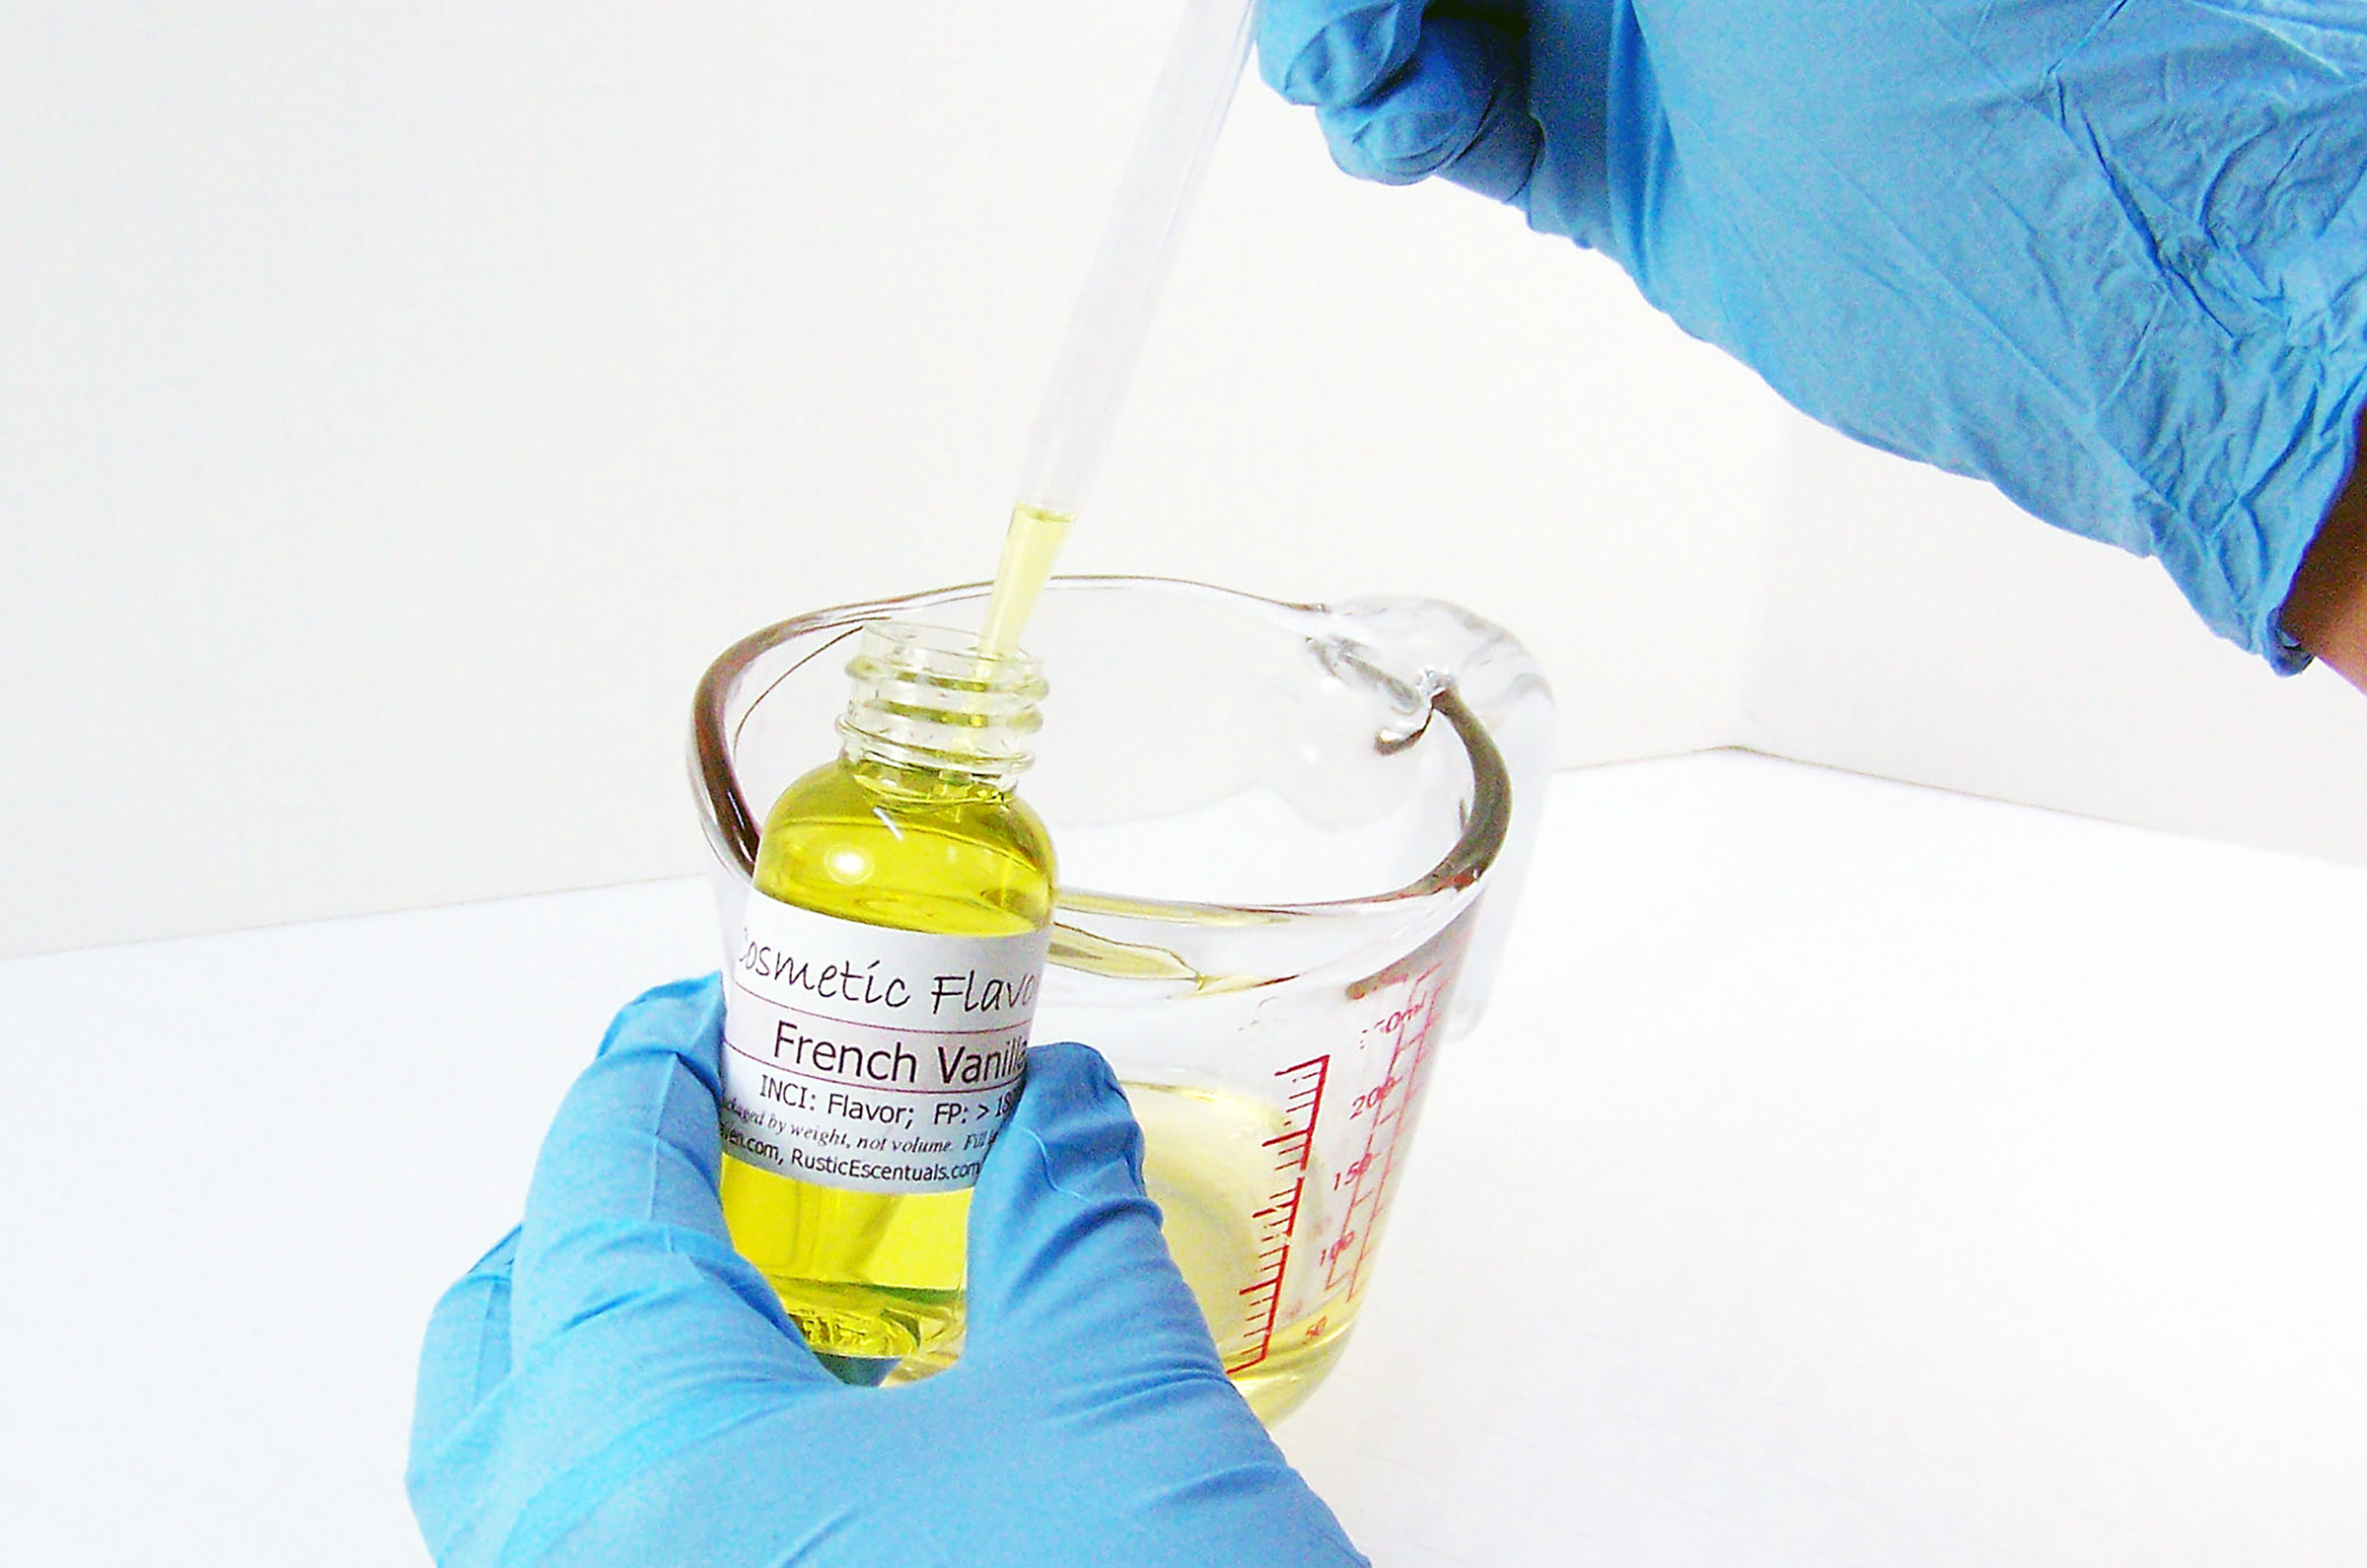
Step 3: Add French Vanilla Flavor oil to the melted lip balm base using a disposable pipette. Start with 1% and if necessary, work your way up to 3%. I chose to use 3% in this tutorial.
Remember – for 1 oz of balm:
6 drops = 1%
12 drops = 2%
18 drops = 3%
Step 4: (optional) Using the same process as in Step 3, add the sweetener. I chose to add 2%, however, you can add up to 3% in your lip balm. Stir slowly until fully incorporated.
Note: The sweetener may be in a solid state in your bottle – simply warm by placing the uncapped bottle in your microwave for about 20 seconds or placing the bottle in a hot water bath.
TIP – How to test if your lip balm is flavored or sweet enough: Take a clean pipette and drop one or two drops onto your palm and let it cool (within seconds). You can then test this small amount on your lips to see if you need to add more flavor oil or sweetener. Do not exceed recommended dosage.
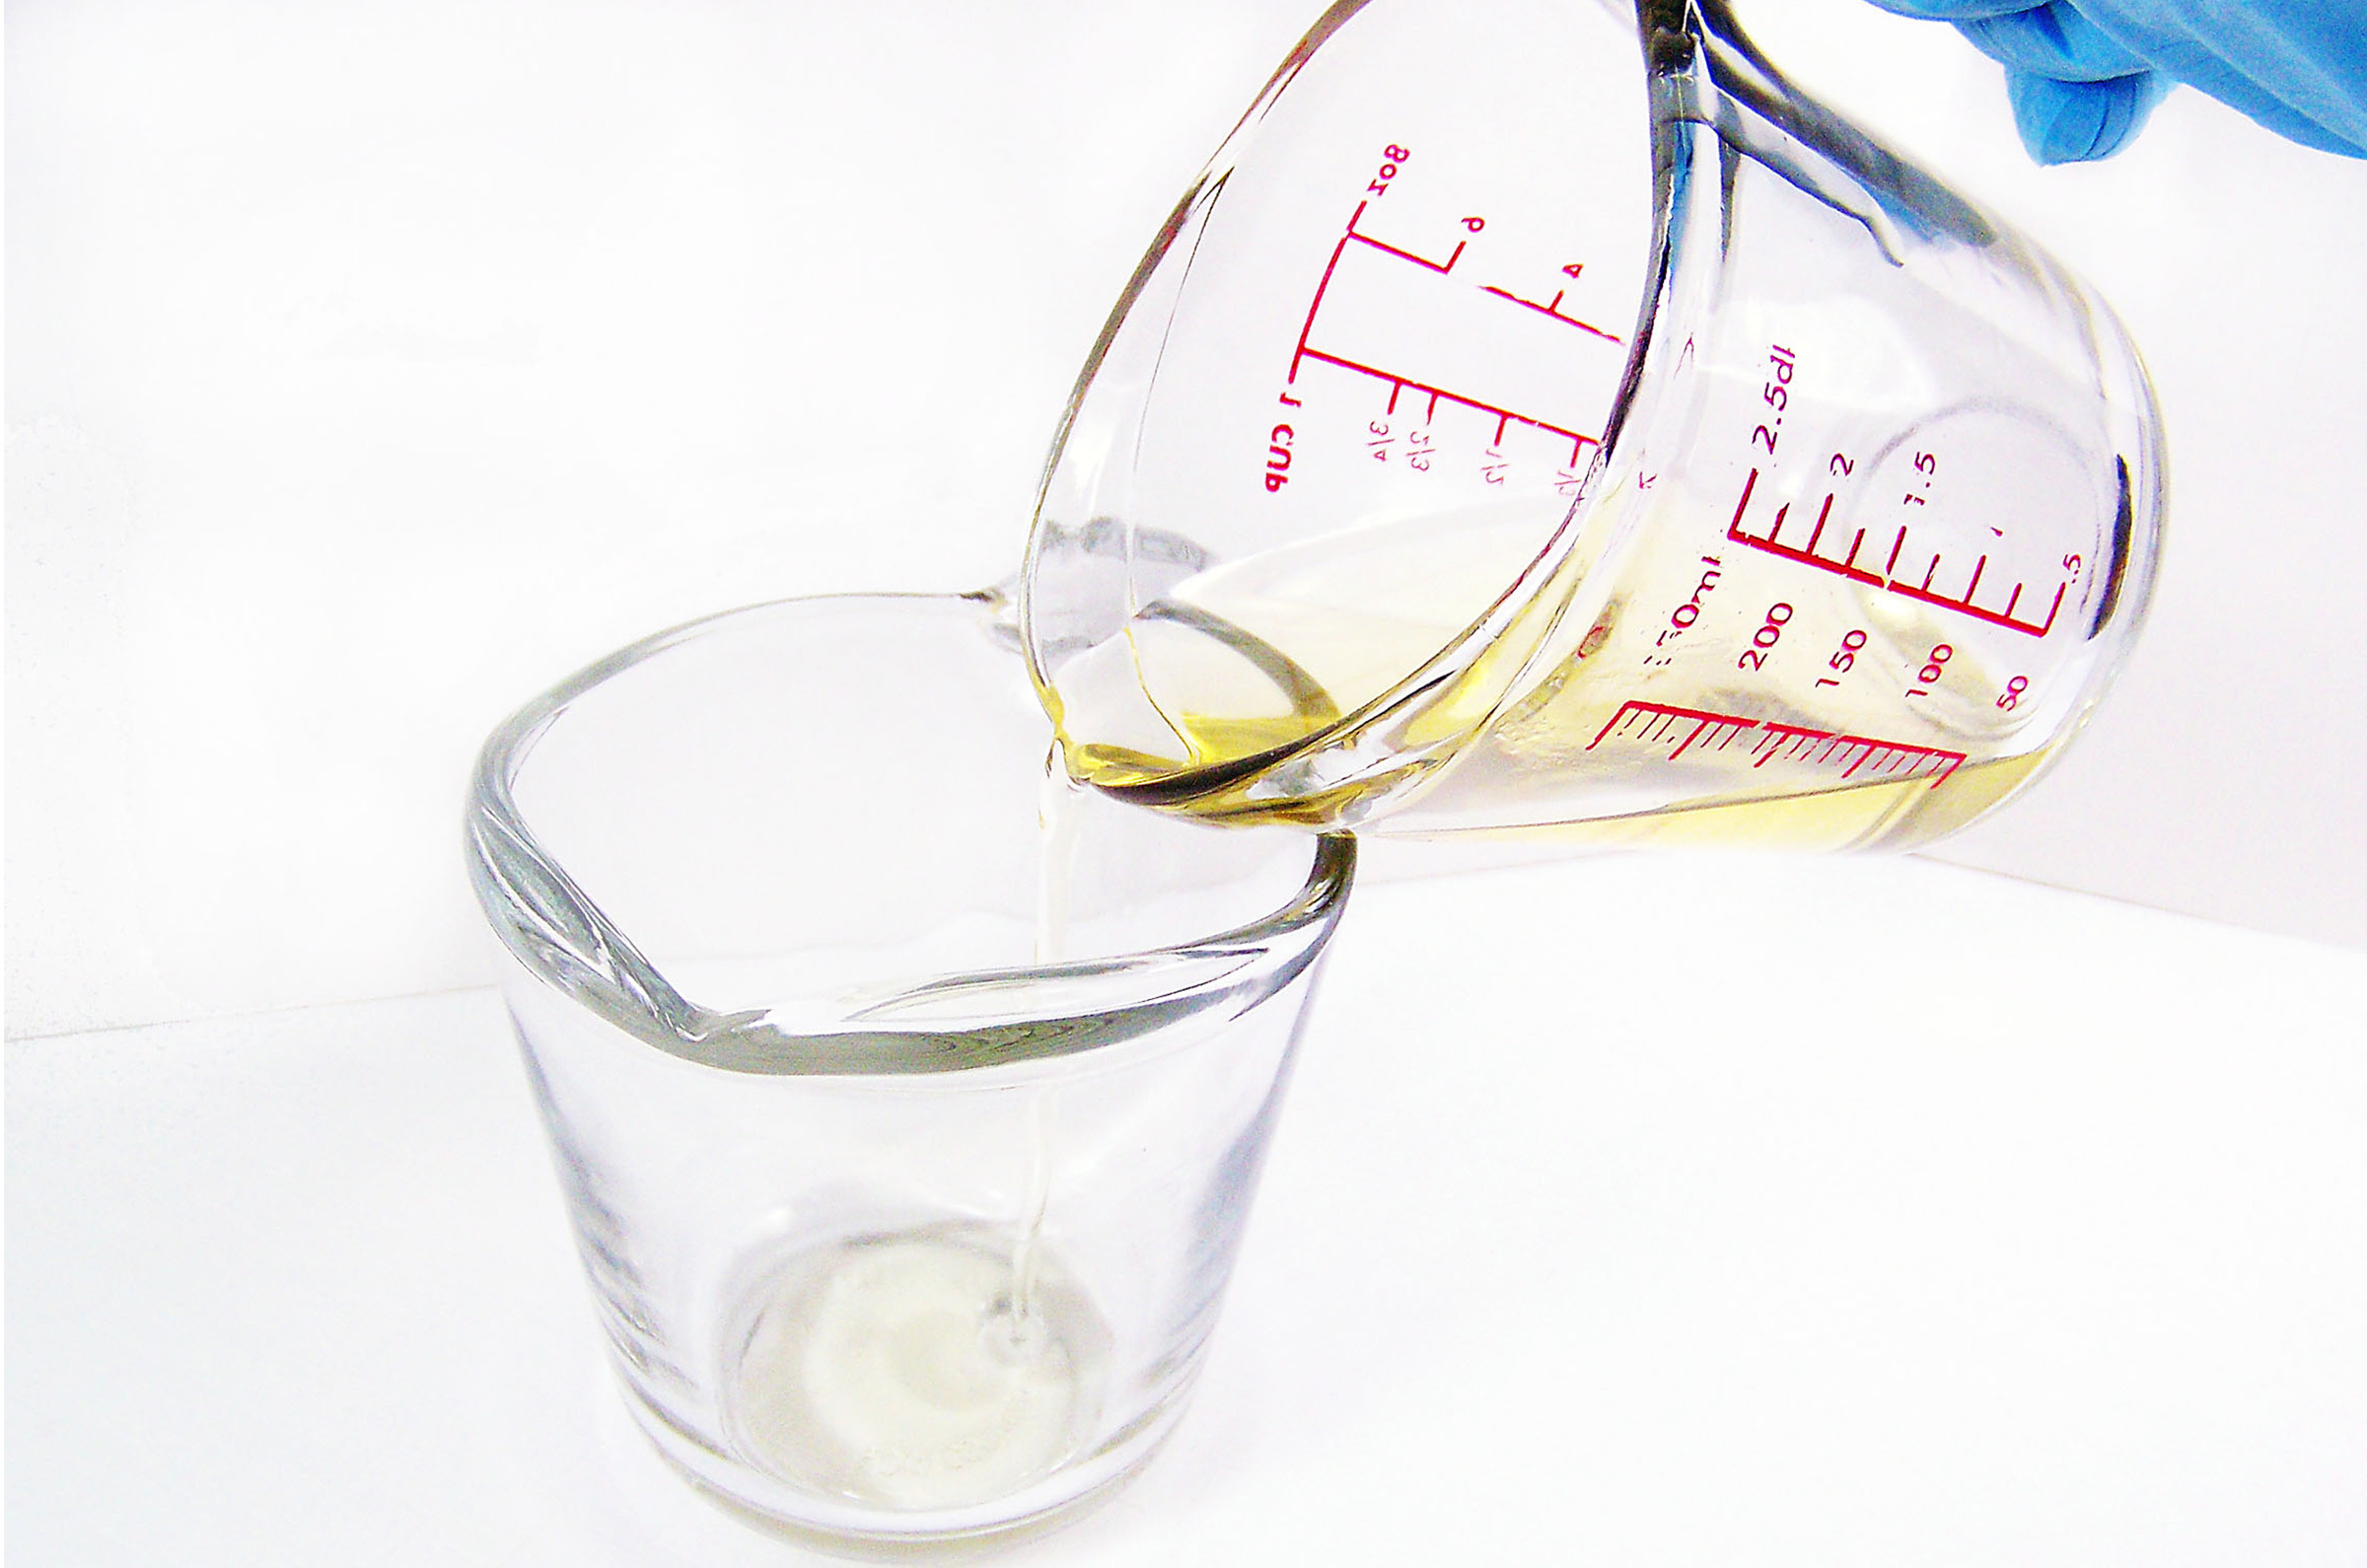
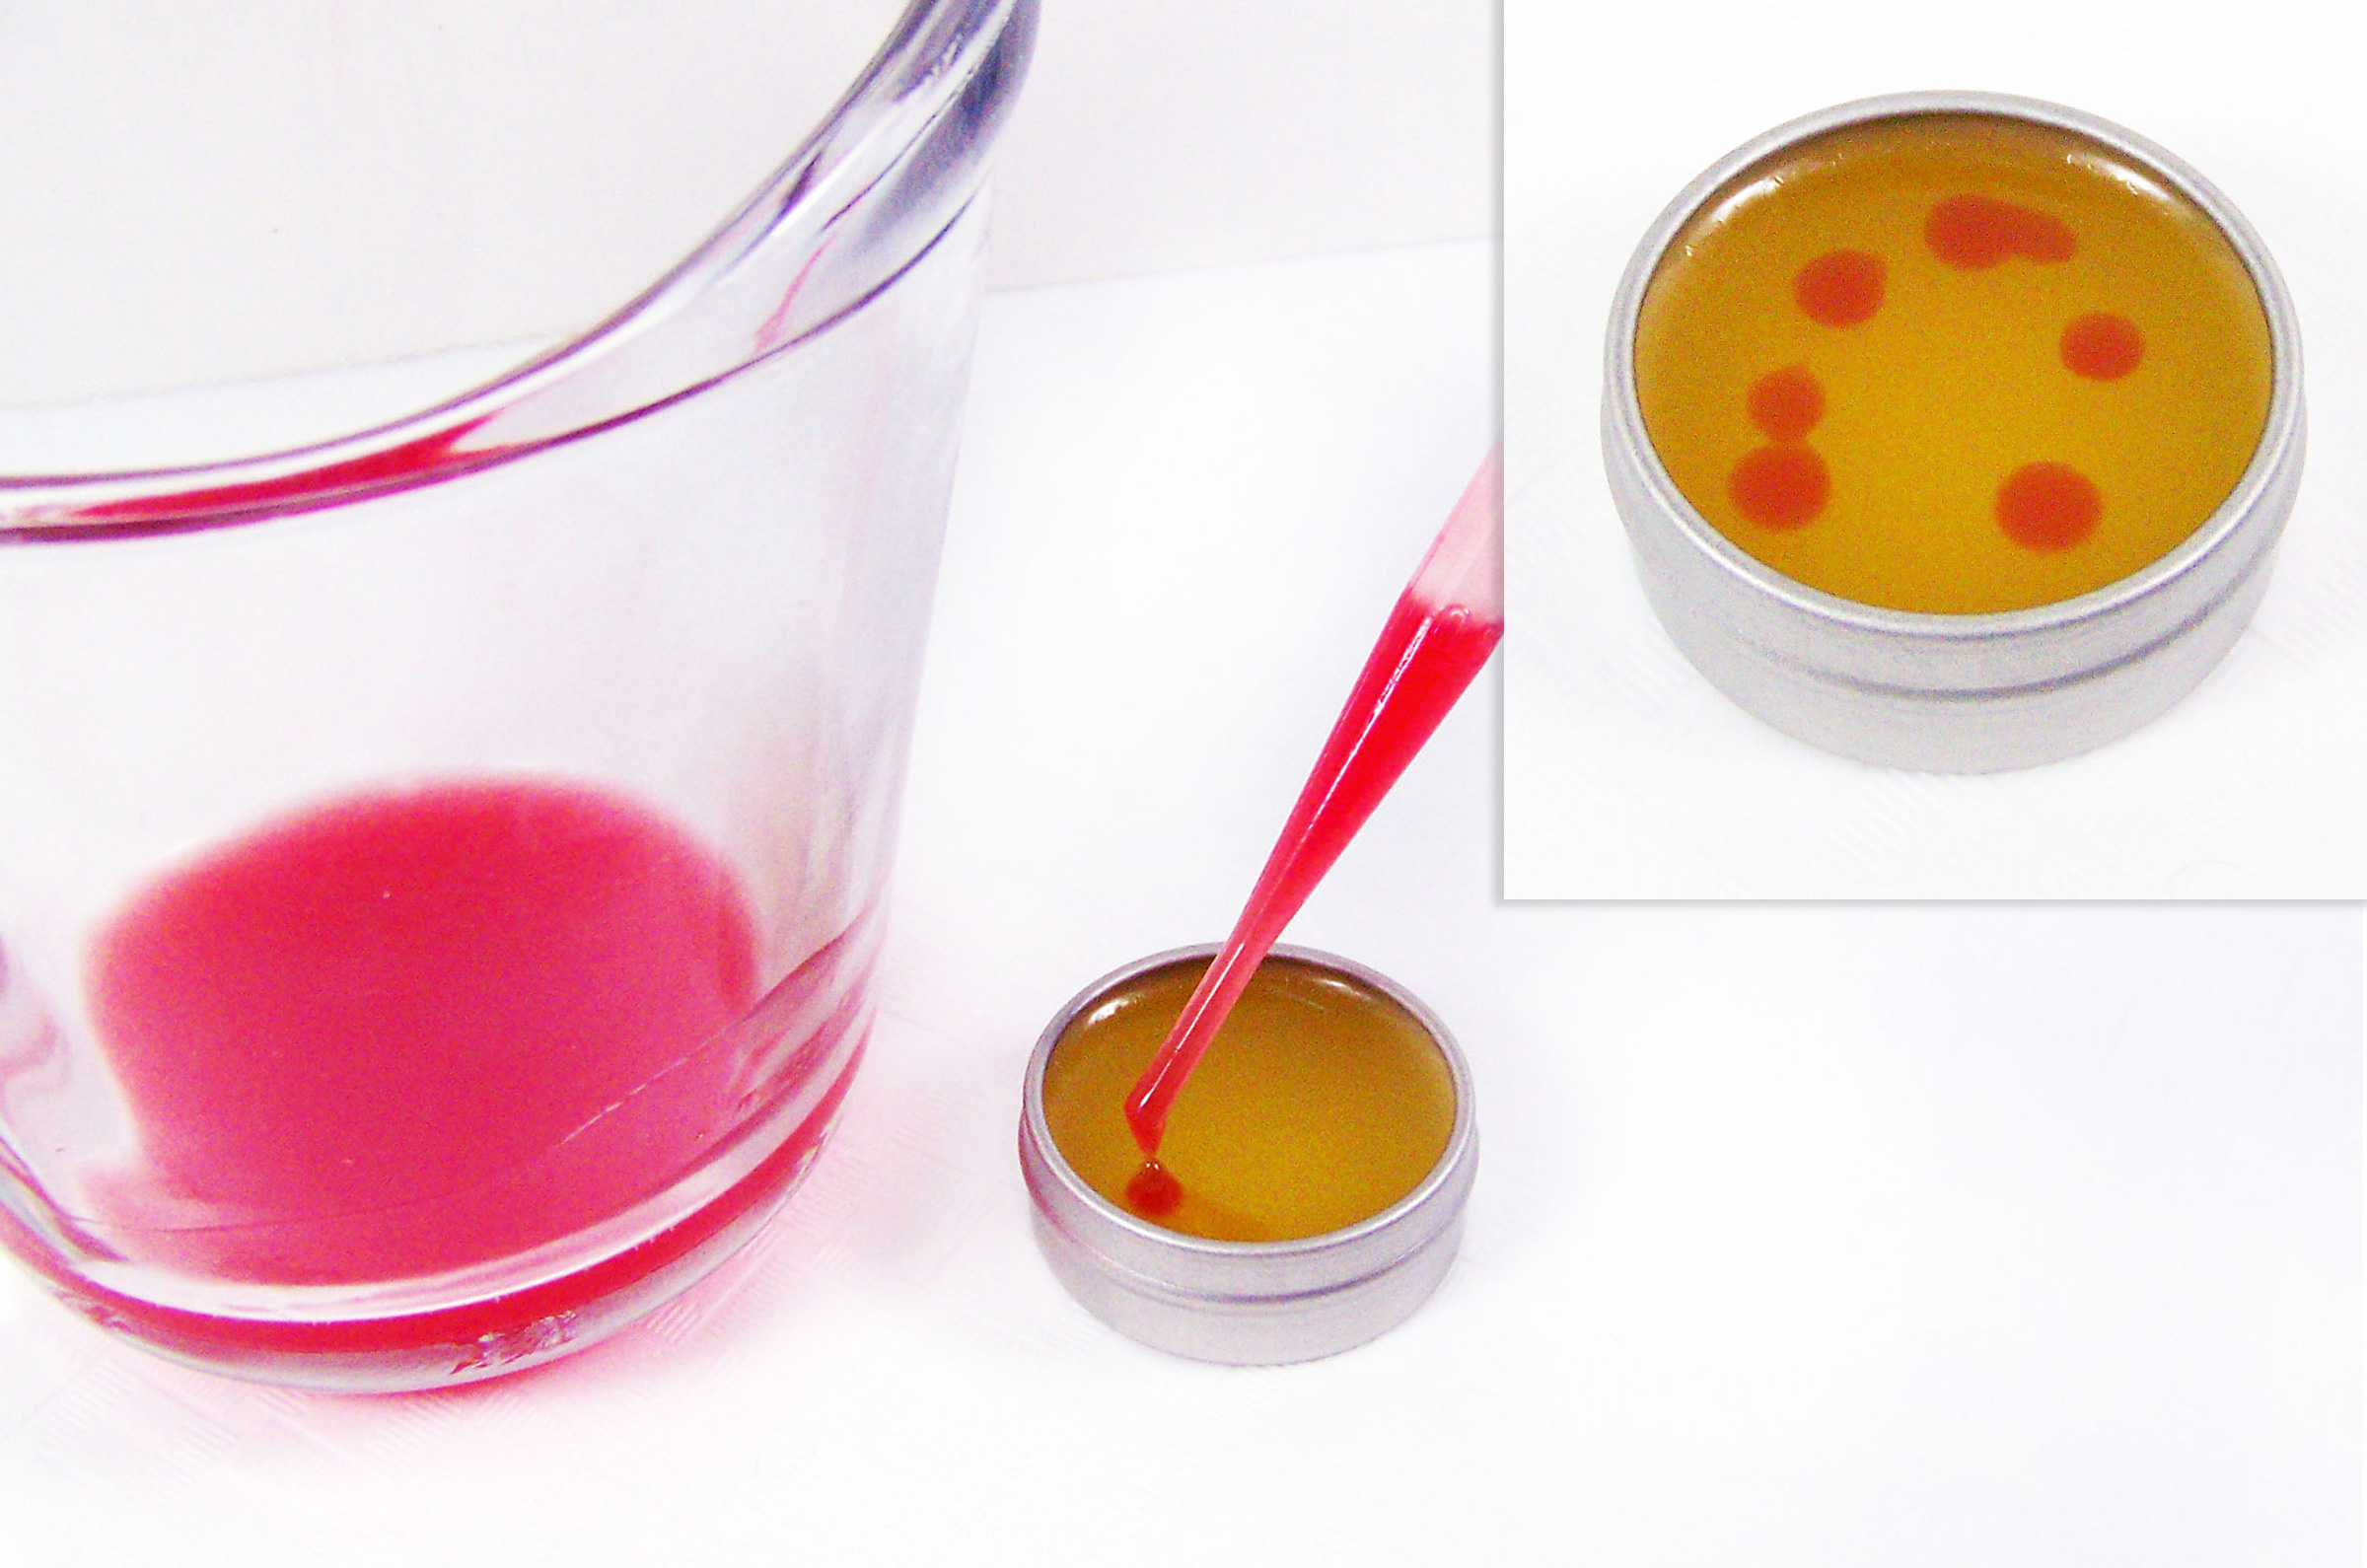
Step 5: Pour a little of the lip balm into a separate measuring cup and set aside. This will be colored a contrasting color for the swirls.
Step 6: Add 2 drops of the Yellow Lip Balm Tint in your original container of lip balm base and stir completely to incorporate. Set aside.
Step 7: Take the container from Step 5 and add 2 drops of Rose Blush Lip Balm Tint and stir completely to incorporate. Set aside.
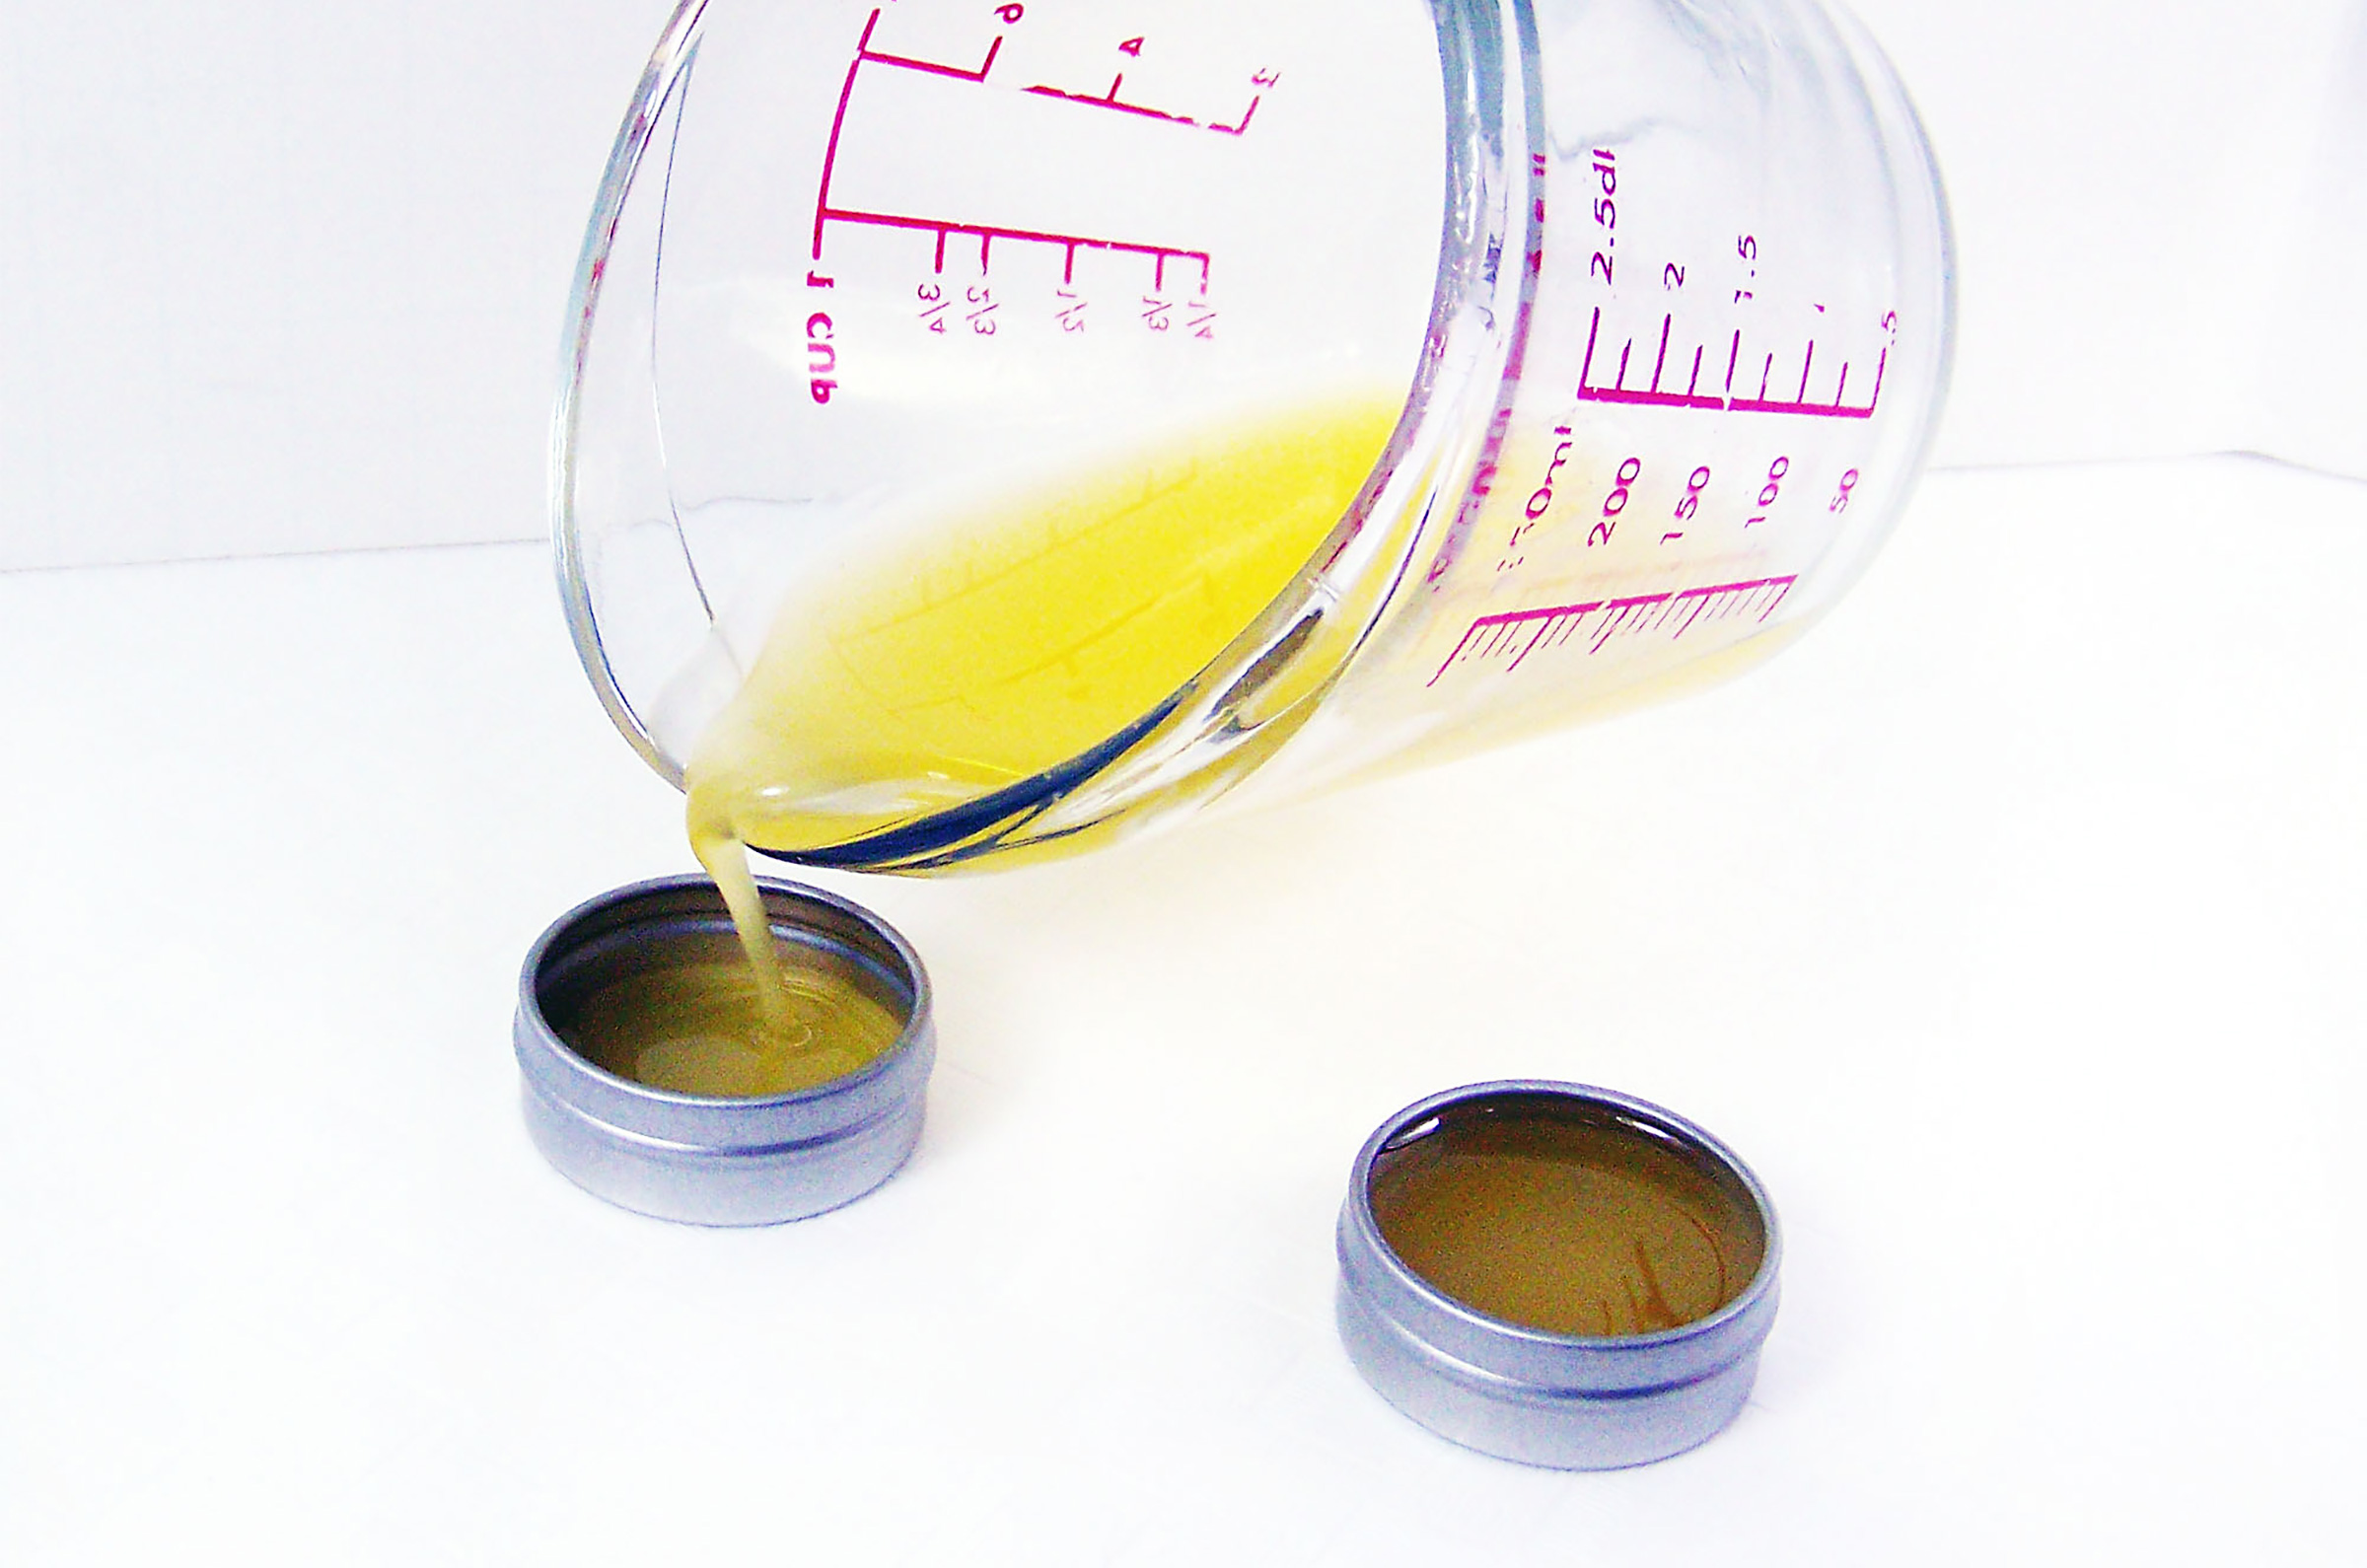
Step 9: Let the balm set in the tin for about 1 minute. You want it to cool off a bit, but still be in a liquid form. If the lip balm is too hot, you won’t be able to get a distinct swirl.
Step 10: Take the Rose tinted balm and using a clean pipette, drop little bits of red into the yellow balm.
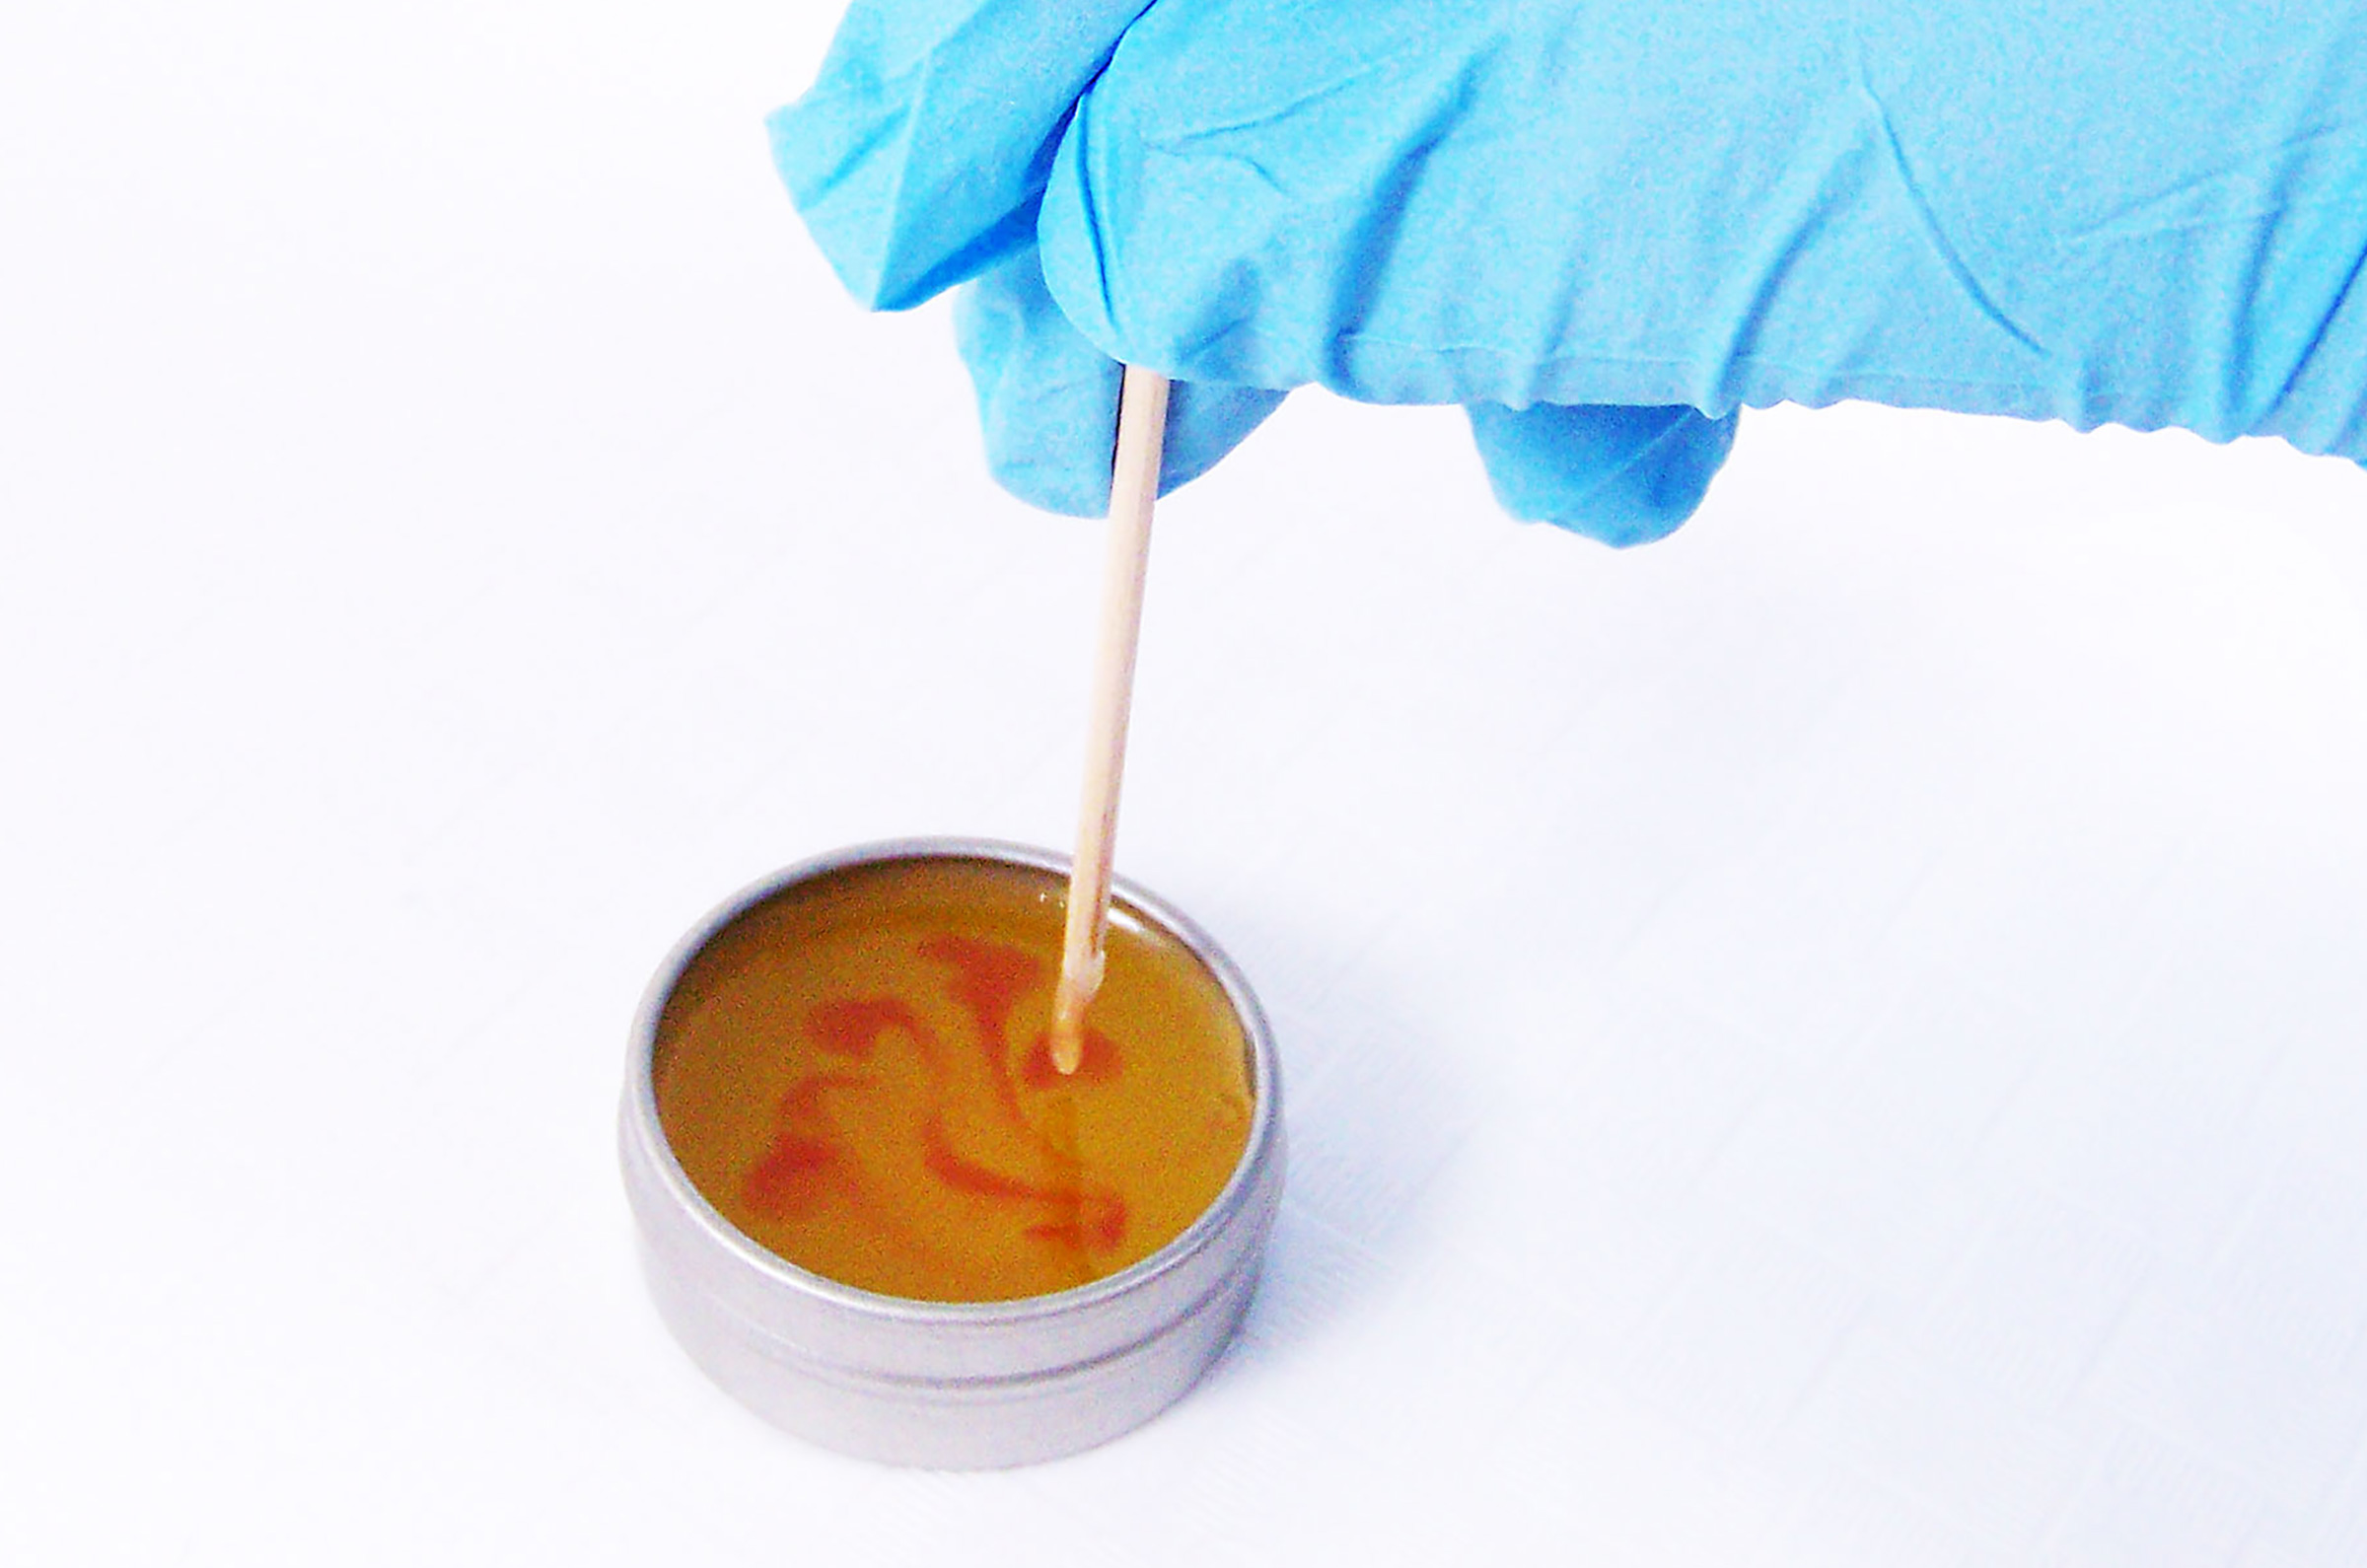
Step 11: Take a clean toothpick and slowly dip the toothpick into the red dots and make swirls. You can swirl in circles and sideways…any way you like. Maybe try making some heart designs!
Step 12: Once you’re finished swirling, let it completely harden and cool before you attempt to move it.
Step 13: Allow to cool completely before putting the lid back onto your tin – this will eliminate any condensation from heat. You can use any lip balm tints that you have to customize the balms. Have fun with colors and flavors!