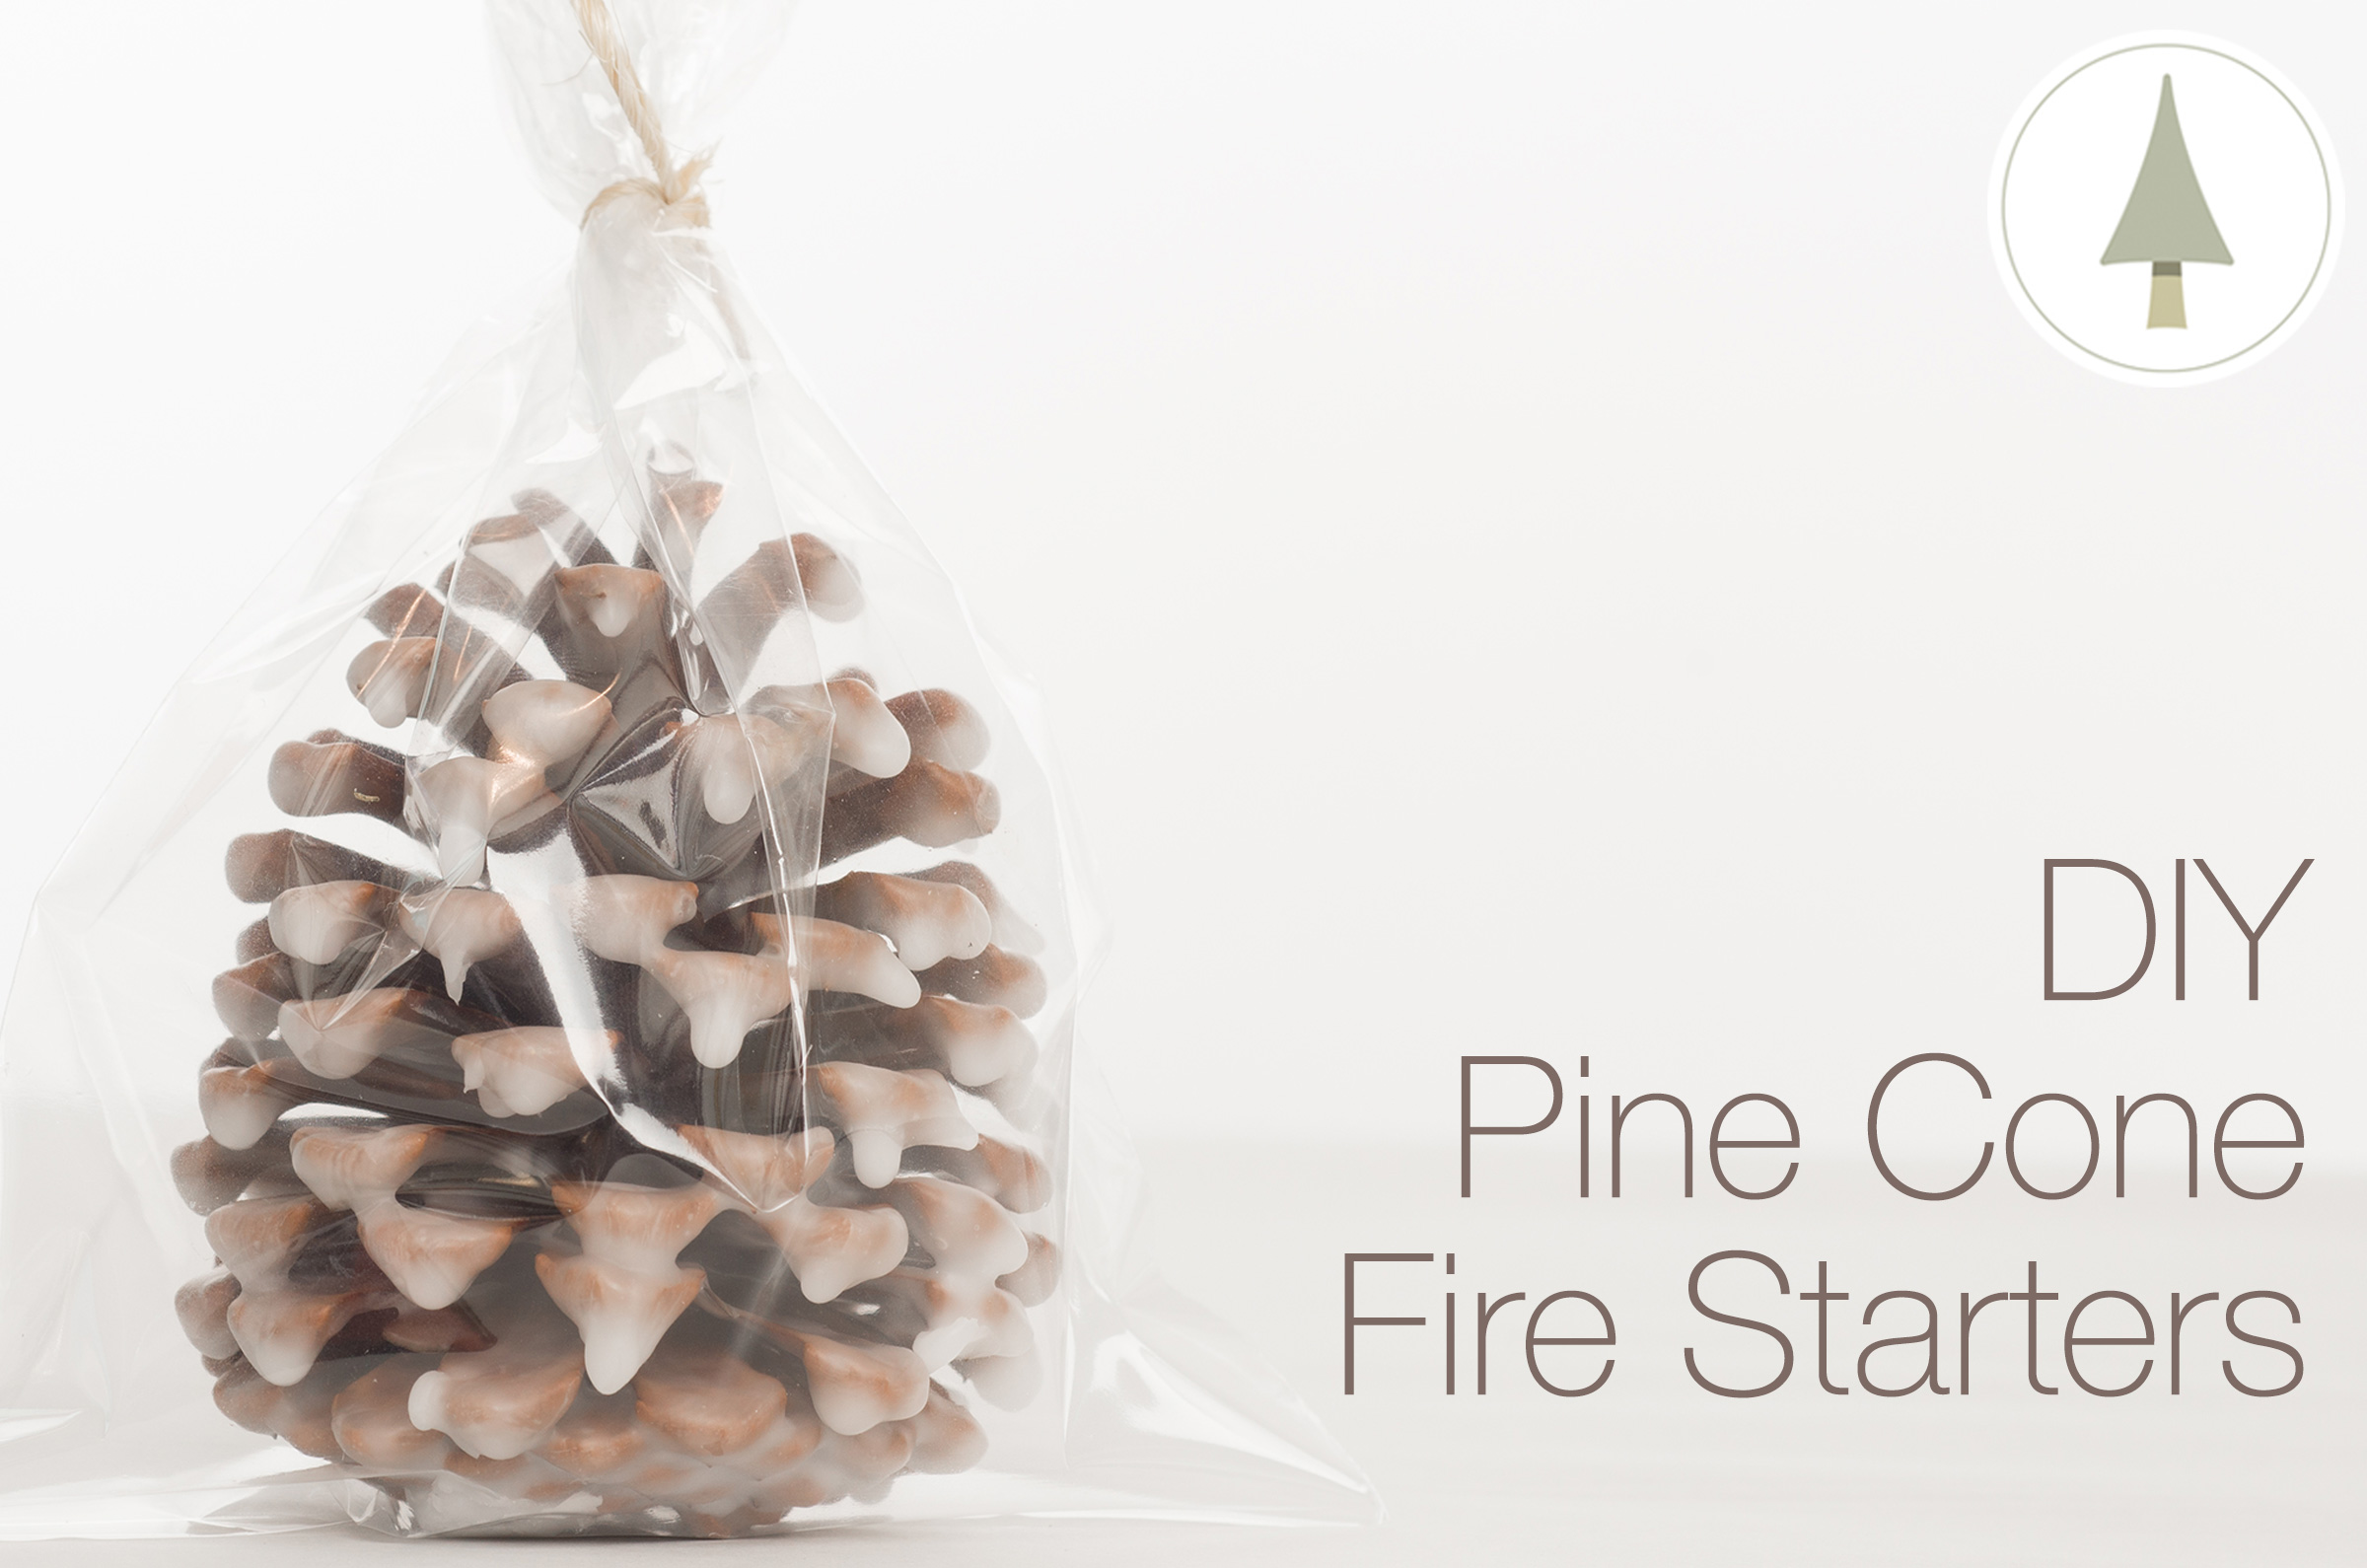
Pine cones make great fire starters and are easy to coat with wax. You can make them more decorative by using colored wax. Make sure you use pine cones that are clean and dry. Pine cone fire starters are great for camping and gift giving – they’re decorative and functional!
Materials List:
Votive/Pillar Wax (higher melt point wax works best – container candle wax is not recommended)
KY 143 Paraffin Pillar Wax
Dry pine cones
Candle Dye (optional)
Thermometer
Long tweezers, needle nose pliers, or BBQ tongs
Presto Pot or double boiler to melt wax
Wax paper
Bags to package finished fire starters
Safety goggles
Apron to protect clothing
Wax paper, old newspapers or aluminum foil

Step 1
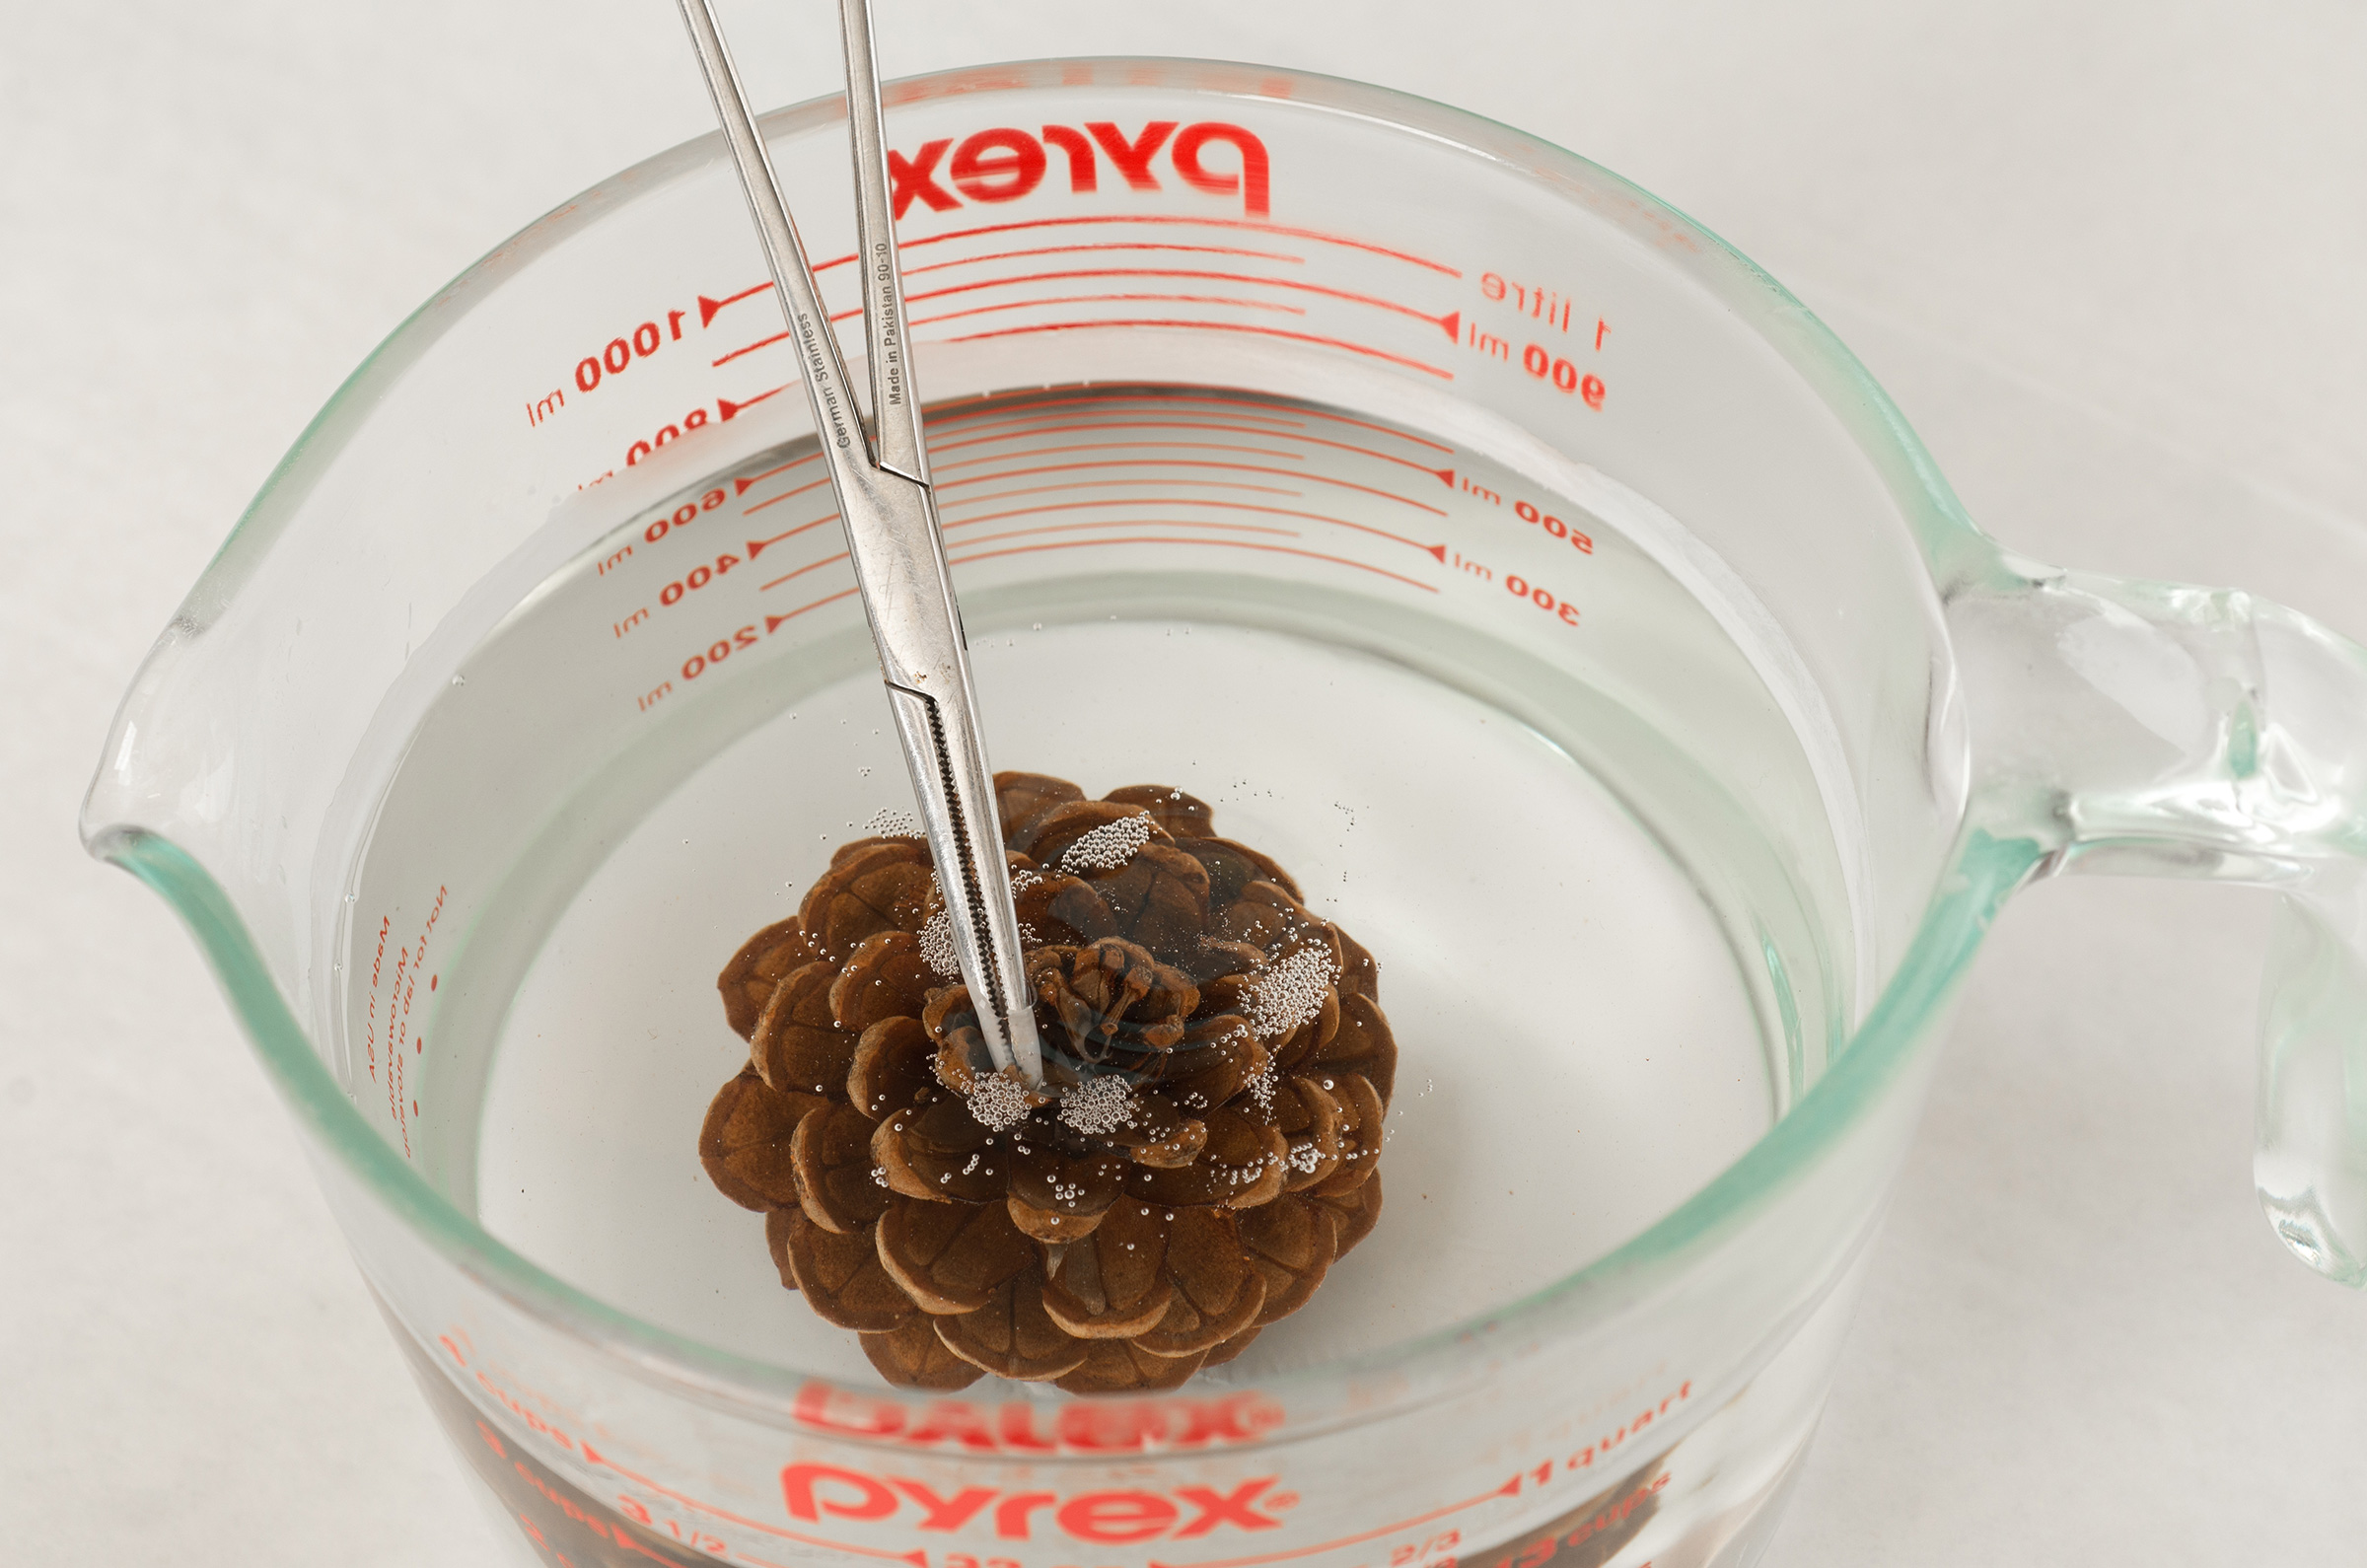
Cover counter with wax paper, old newspapers or aluminum foil to make clean up easier. Melt the wax with the chosen method – presto pot or double boiler. Make sure to follow the wax manufacturer melting and pouring guidelines for correct temperatures.
For this tutorial, KY 143 Paraffin Wax is being used so it will need to be heated to approximately 180°F. Use the thermometer to accurately monitor the temperature.

Step 2
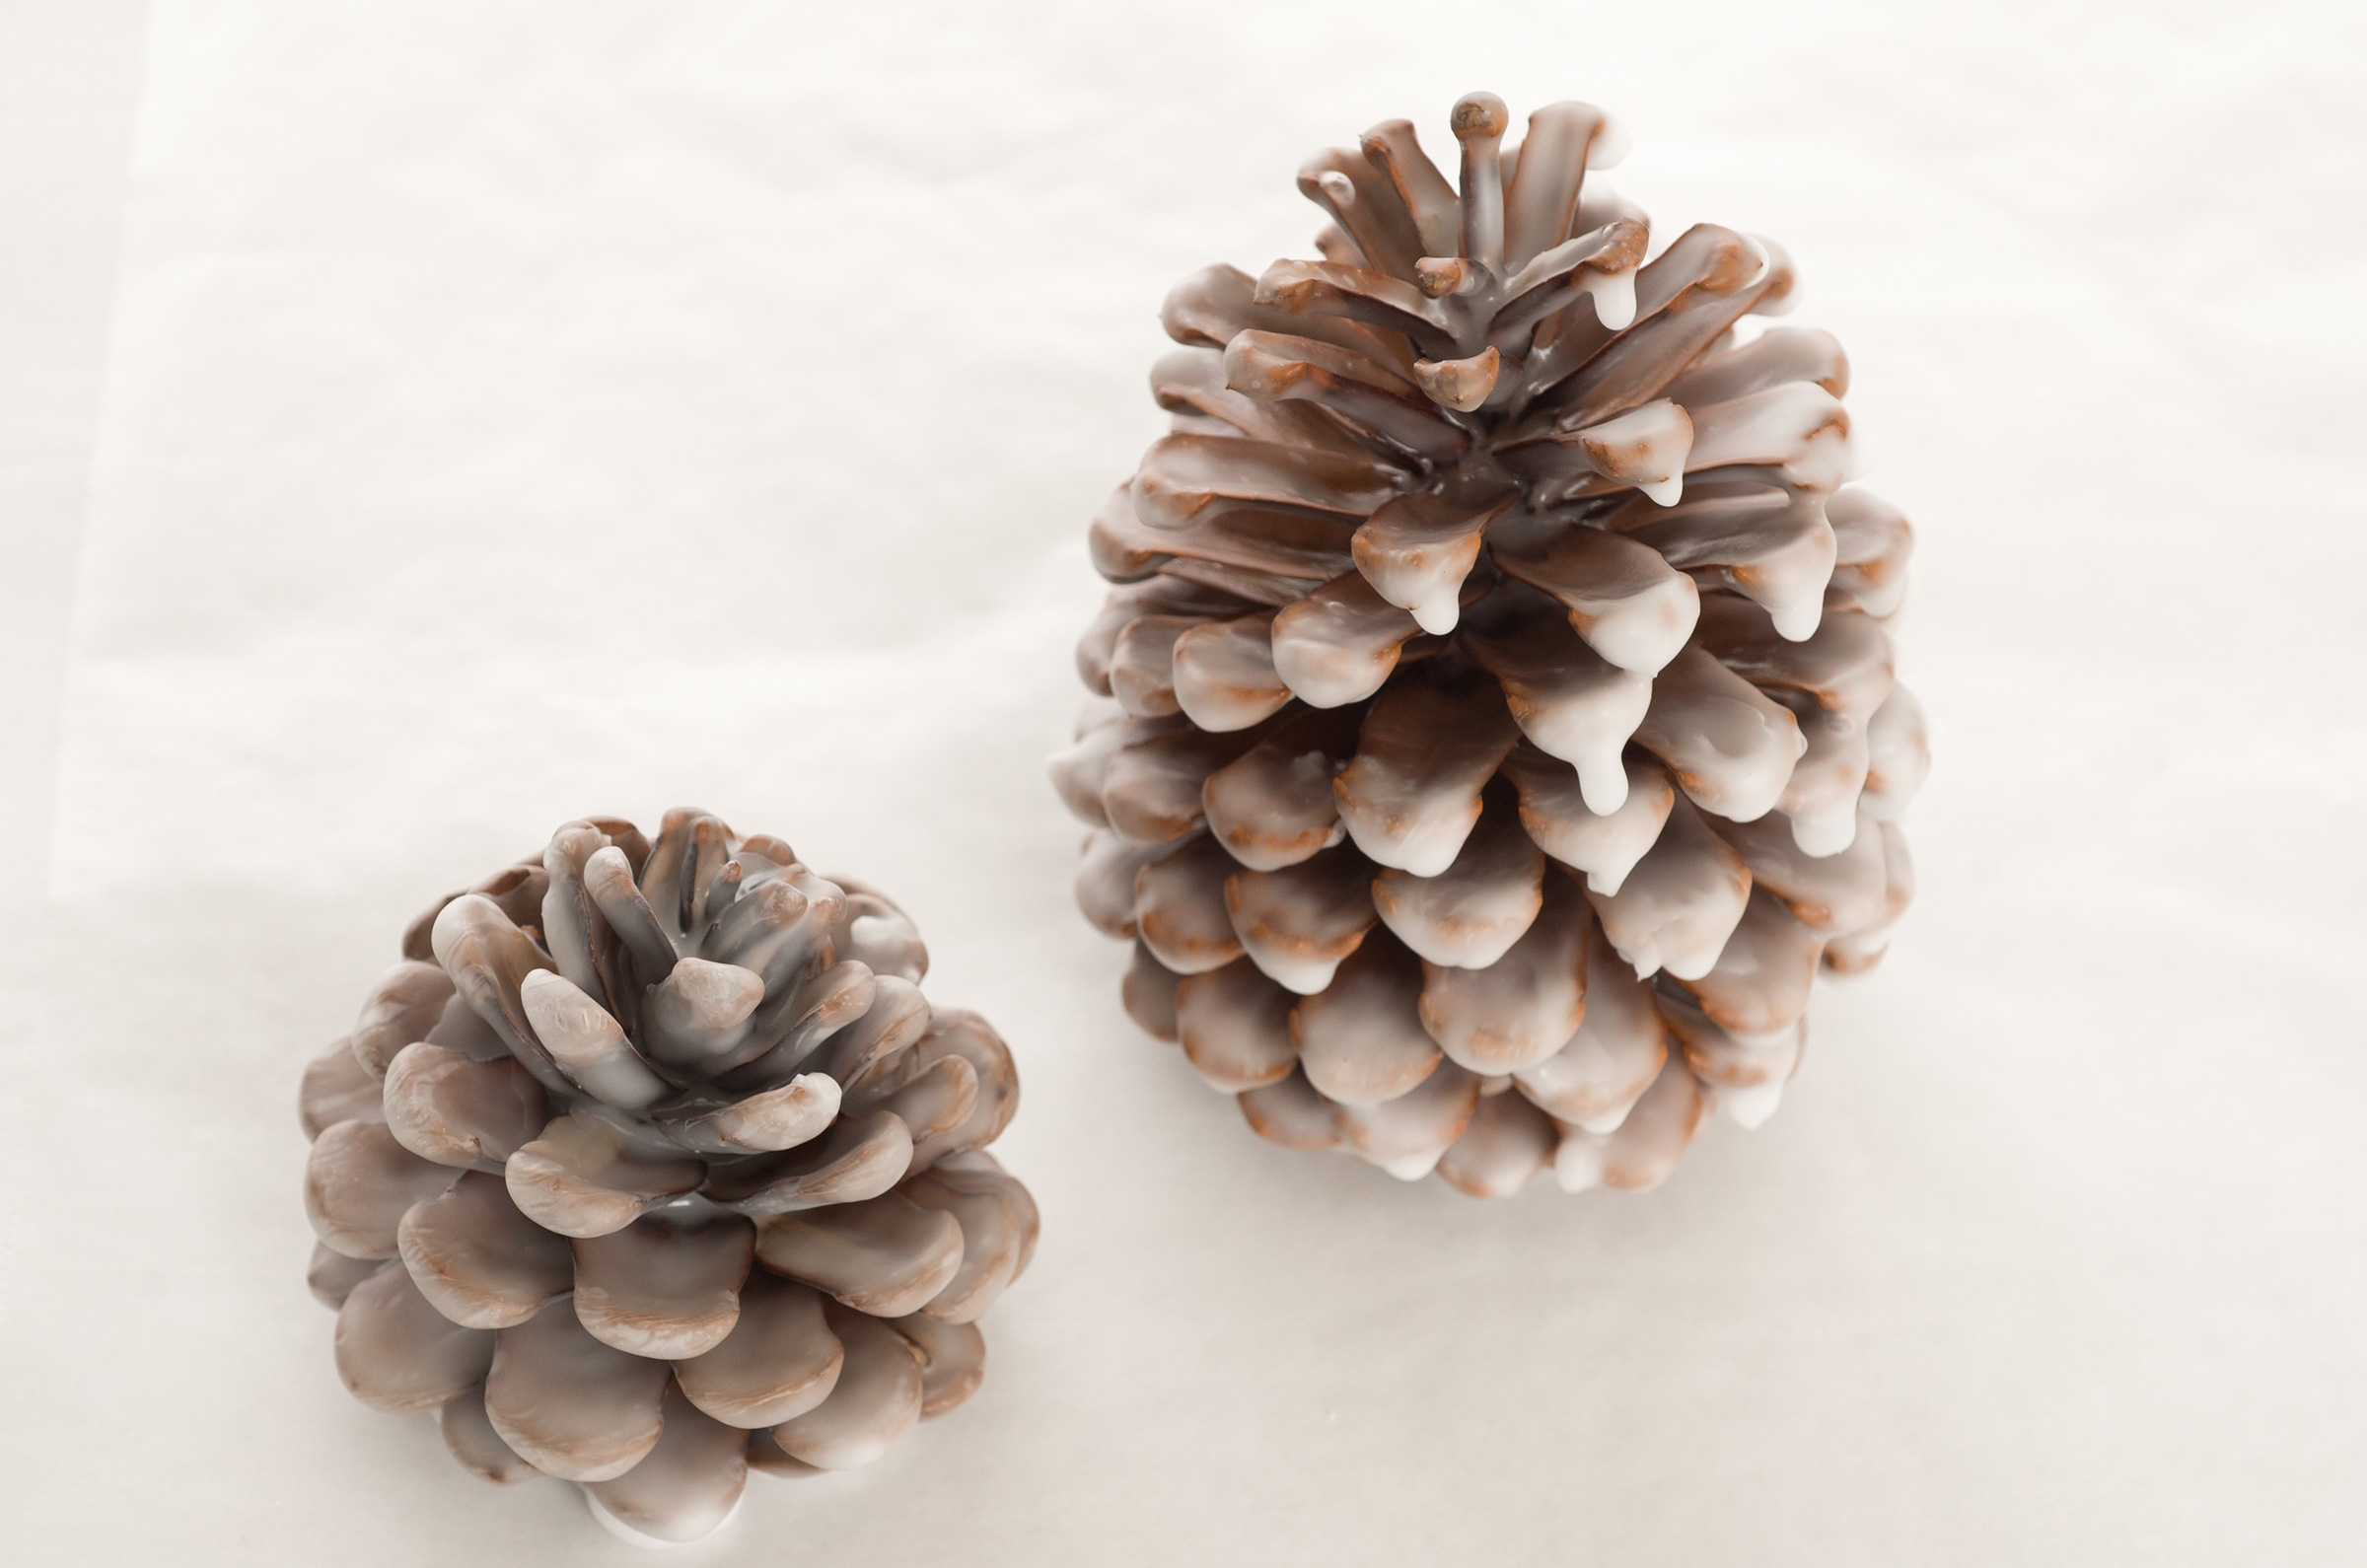
Once wax is melted, take the tweezers and dip the pine cone into the melted candle wax. Let the cone sit in the wax for a few seconds to allow it to soak up the wax. When the pine cone is saturated with the candle wax, pull it up above the wax to let the excess drip off and place on a piece of wax paper to dry. Continue this process until the number of fire starters is achieved.
Step 3
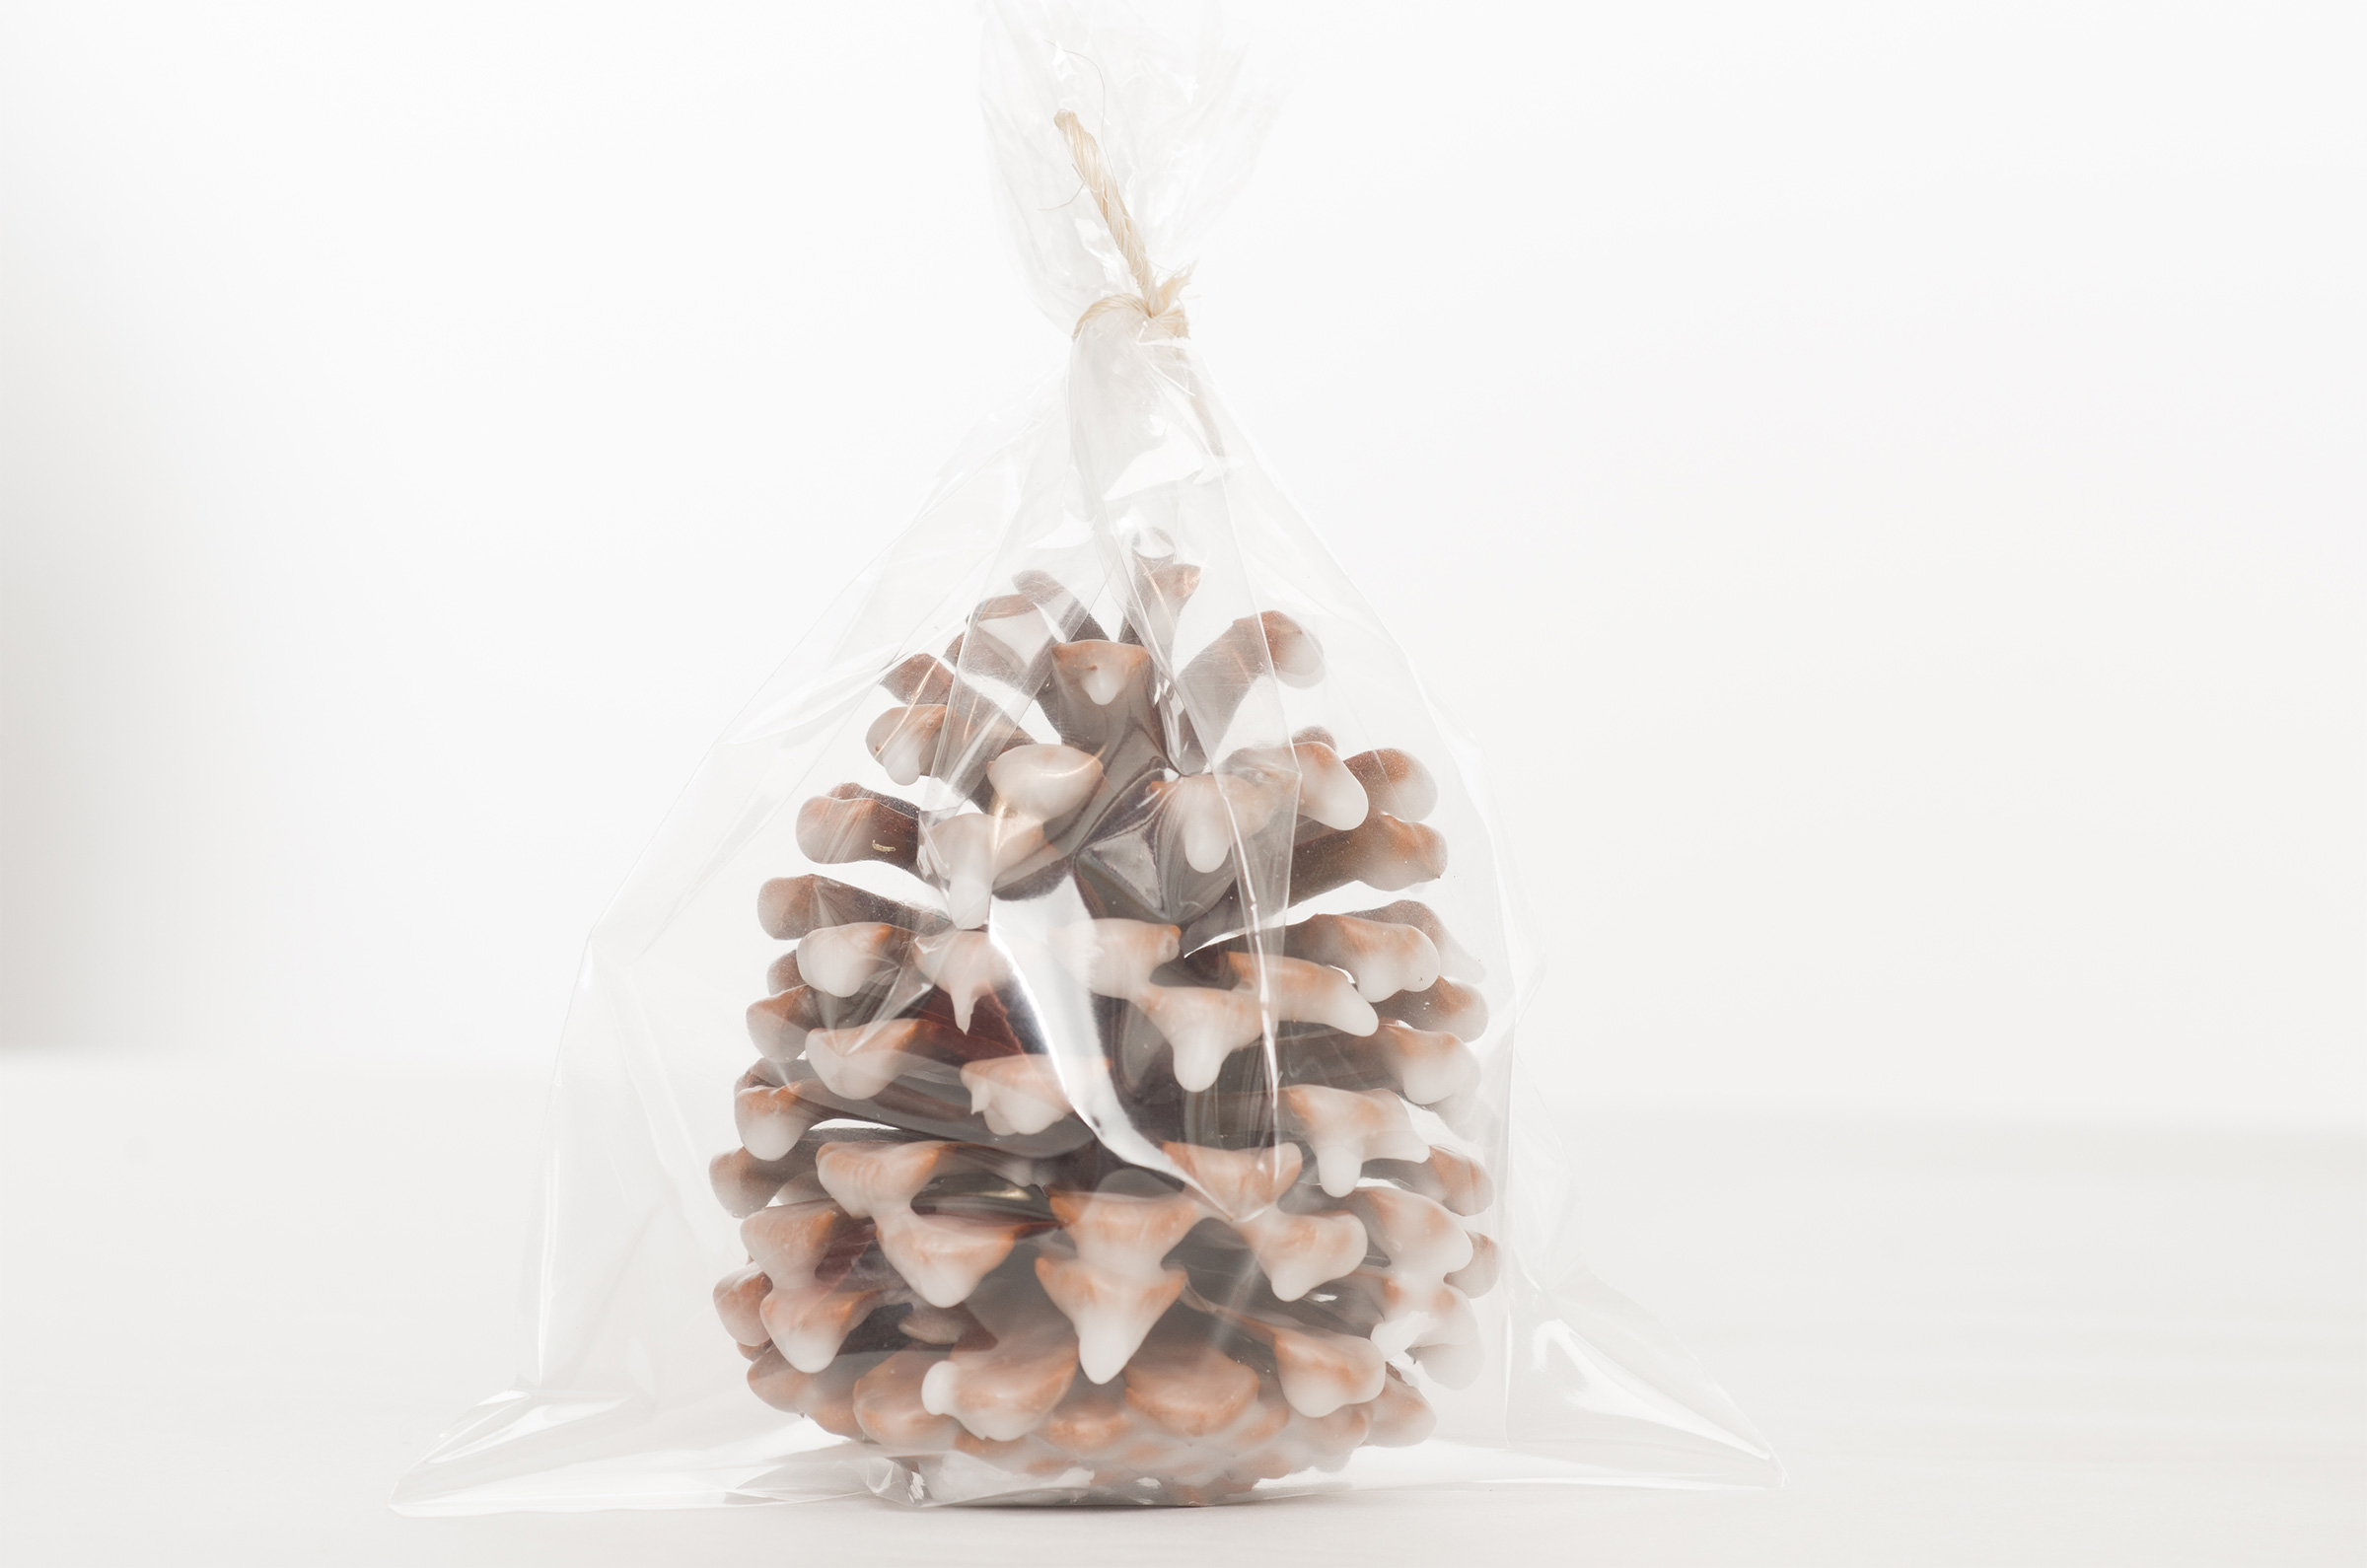
When the pine cones are cooled and dry, package in a small cello bag.
To use:
Place in outdoor fireplace or fire pit and light.
SOME SAFETY PRECAUTIONS
- Cover counter with wax paper, old newspapers or aluminum foil to make clean up easier.
- Be sure to wear safety goggles for eye protection. You do not want to be splashed in the eye with hot wax! Remember with wax – safety first.
- Waxes used in making candles are very similar to cooking oils – they are flammable and they are poured at high temperatures, but with certain precautions, accidents may be avoided. NEVER HEAT WAX ABOVE 210°F.
- For safety, wax should be melted in a double boiler. Wax should NEVER be heated directly over an open flame or burner. Direct heating can cause wax to explode and result in serious injury.
- Use of a thermometer is advised to ensure proper wax pouring temperature.
- Never leave hot wax unattended. Keep children and pets away from the area where wax is being melted and poured.
- Never pour water in a wax fire. Water will cause the fire to spread. To extinguish a fire in a pan, cover the pan with its lid. Use a dry chemical fire extinguisher.
- Never pour melted wax into the sink or other drains.