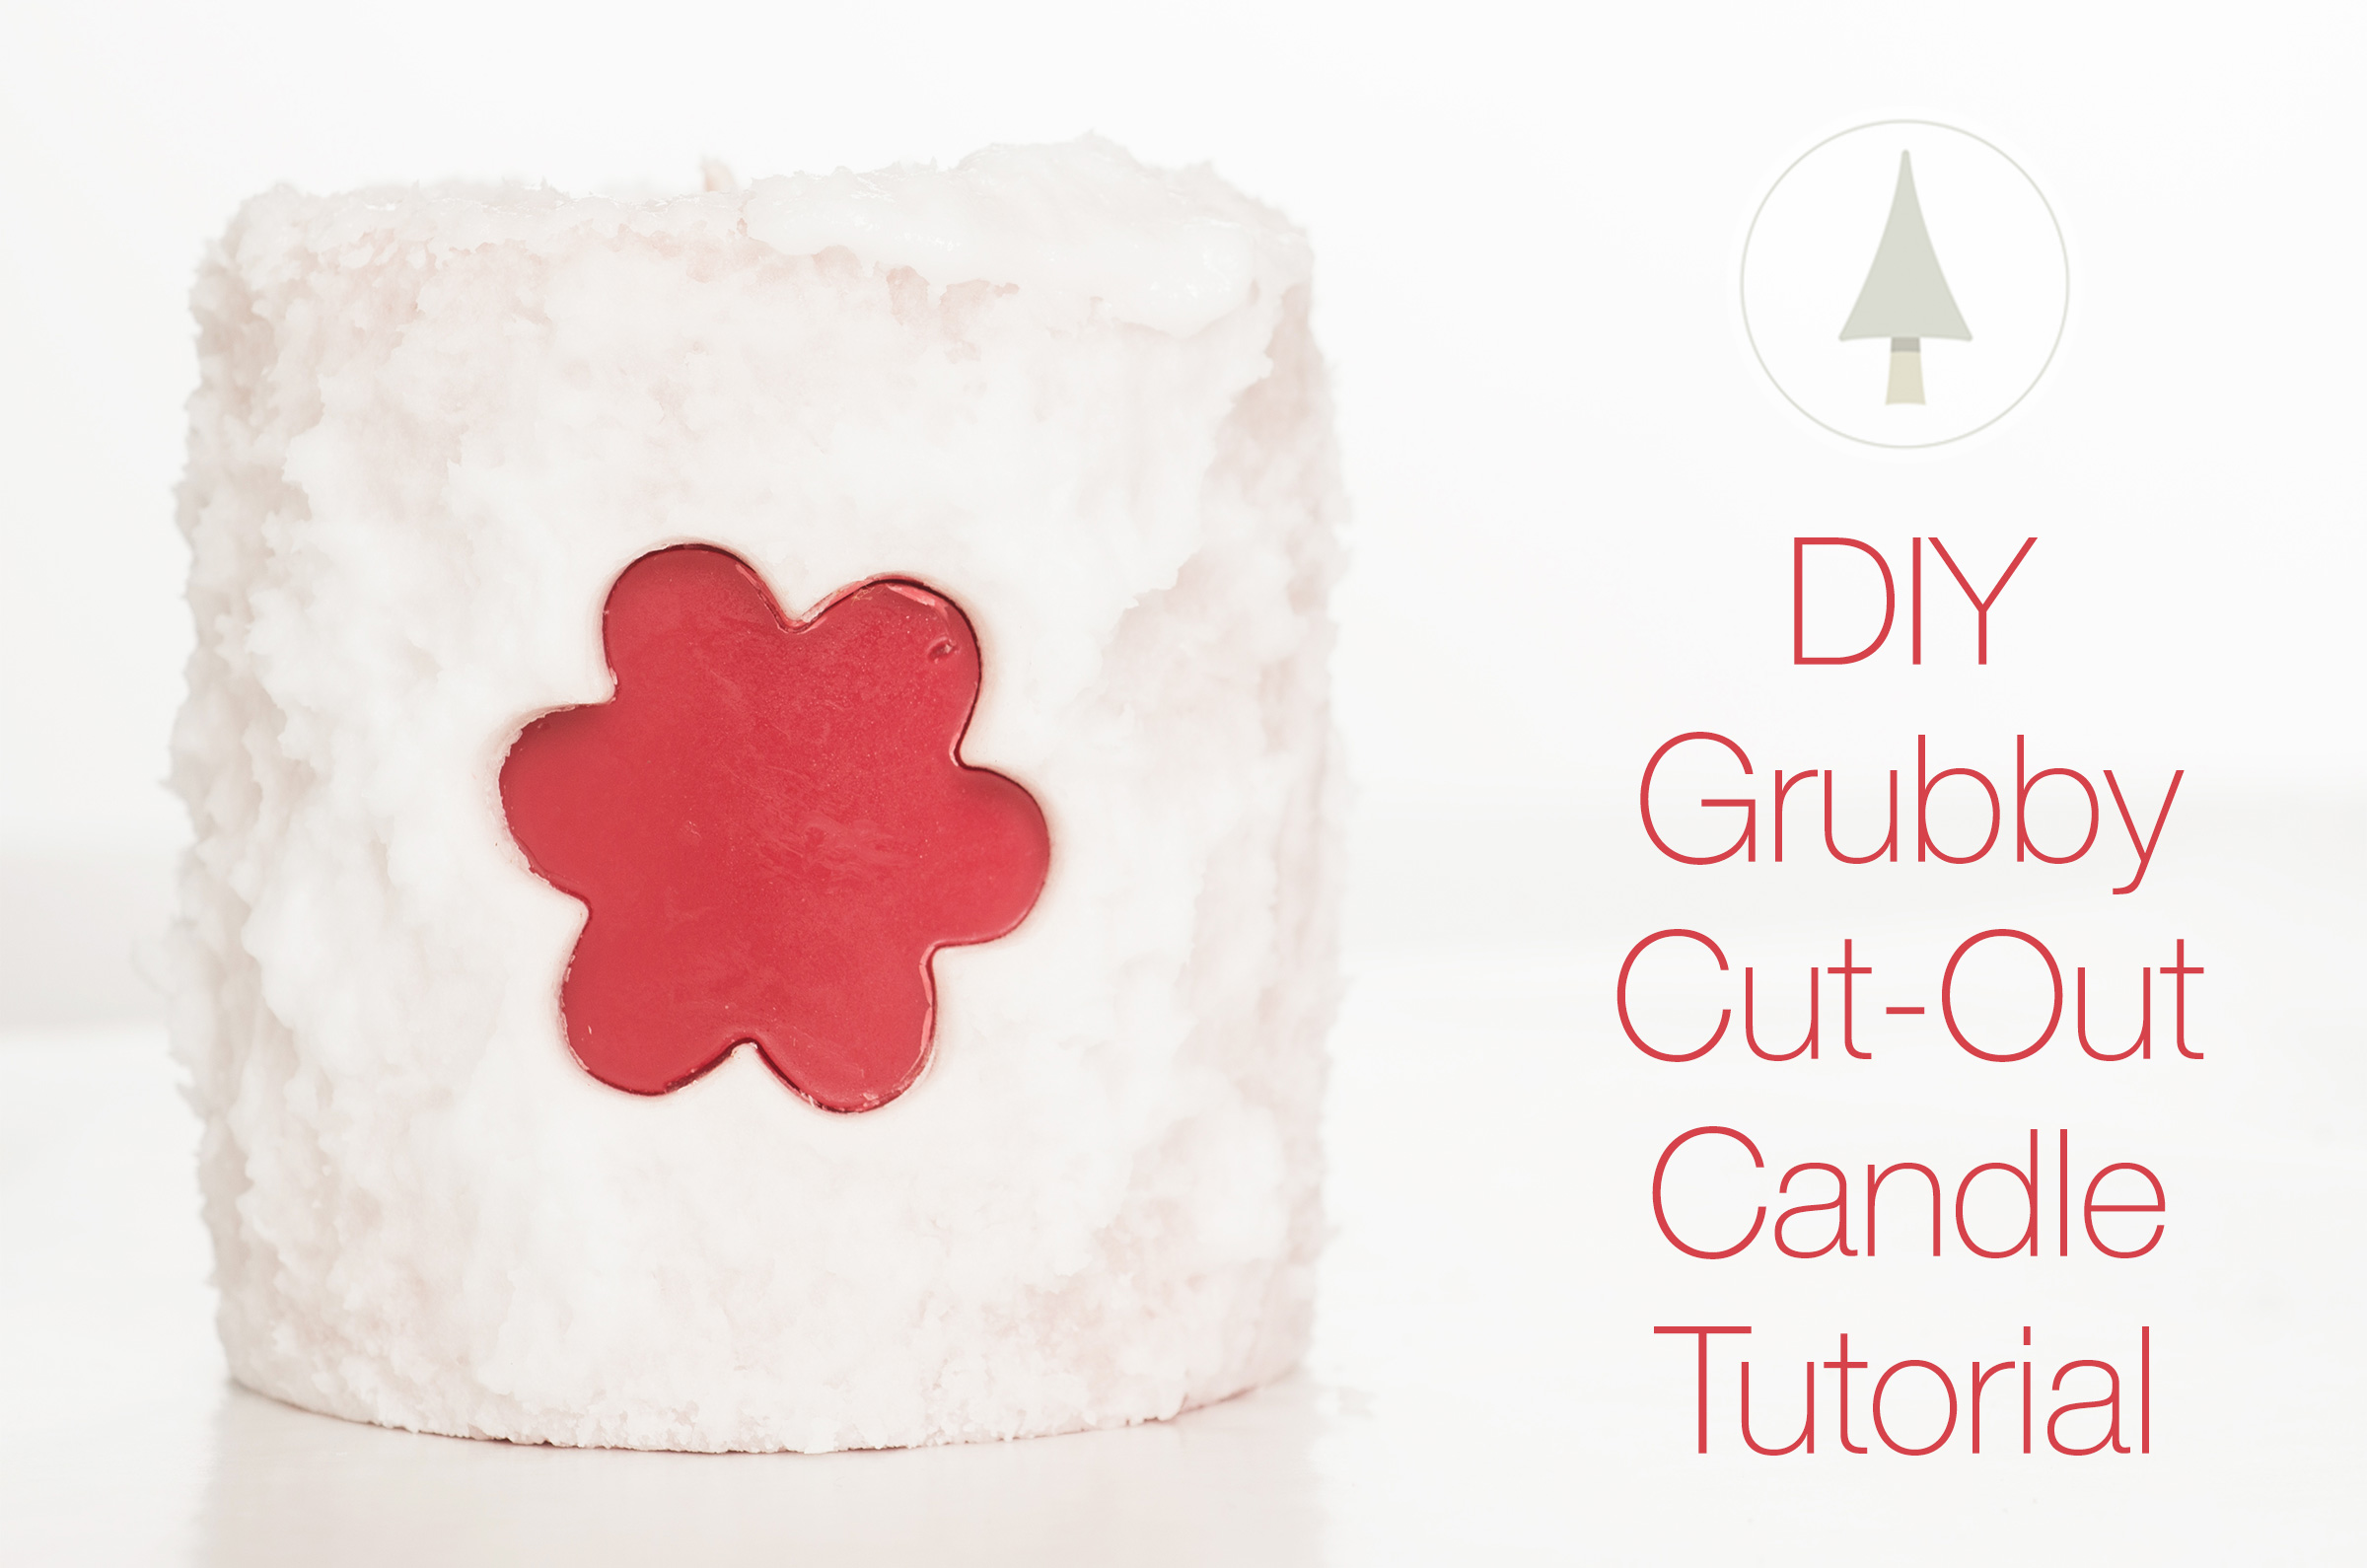
Grubby Cut-out candles take grubbies to the next level! These candles are visually appealing because they combine a variety of colors and textures in one candle. The whipped wax gives a nice outer texture to the candle while the inner pillar color adds a completely different color view to the cut-out. This is also a great way to use up your “not so perfect” candles. If you don’t want to pour a pillar candle to make for this project, you can easily use a store-bought candle and give it some extra pizzazz with a little creativity. Have fun experimenting with candle making and add your own personal touches for seasonal, special occasion, and holiday candles!
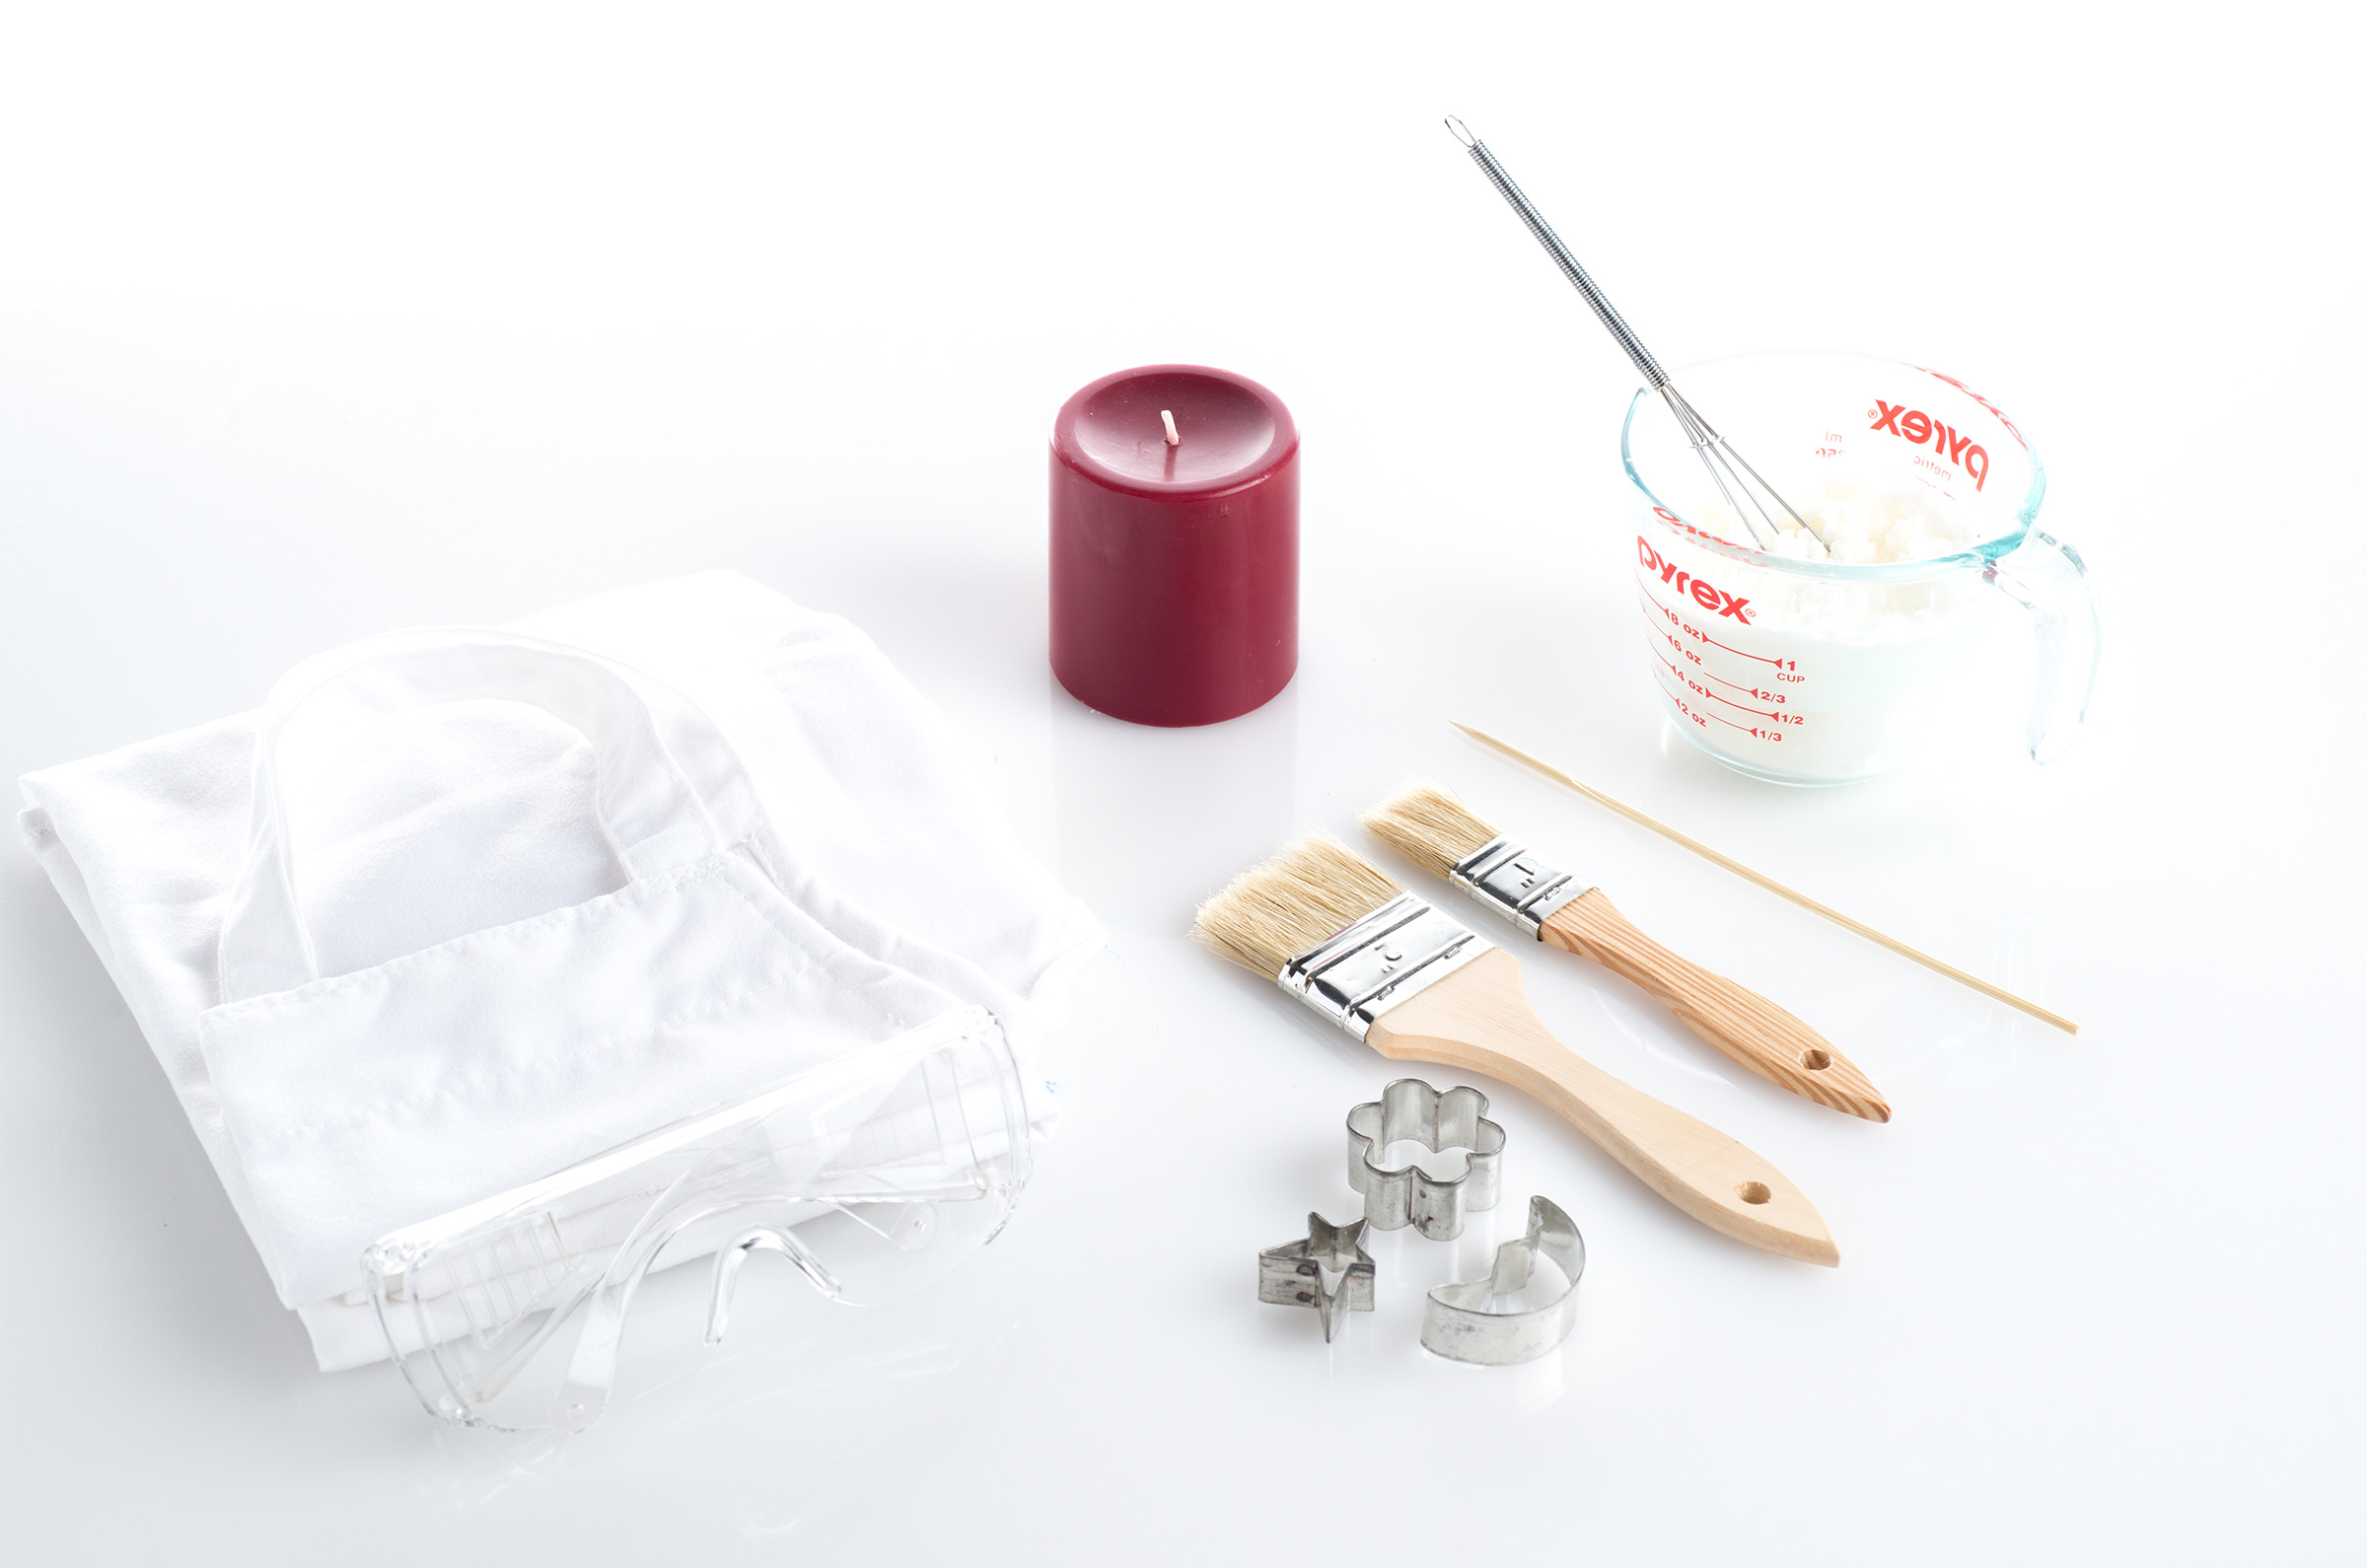
Materials Needed:
Pre-poured Pillar Candle (any size), a great way to use *not so perfect* candles
Whipped Wax – refer to Whipped Wax tutorial
1-2″ Bristled Paint Brush
Small cookie cutter in desired shape (metal works best)
Detailing Tool, bamboo skewer, or an instrument with a sharp edge
Newspapers, wax paper, etc. to cover work area
Tip: Contrasting colors work best with this technique. Use one color for the inner core pillar candle and another for the whipped candle wax.
Step 1
Using newspaper, wax paper etc. cover your entire work area. This candle making project can and will get messy!
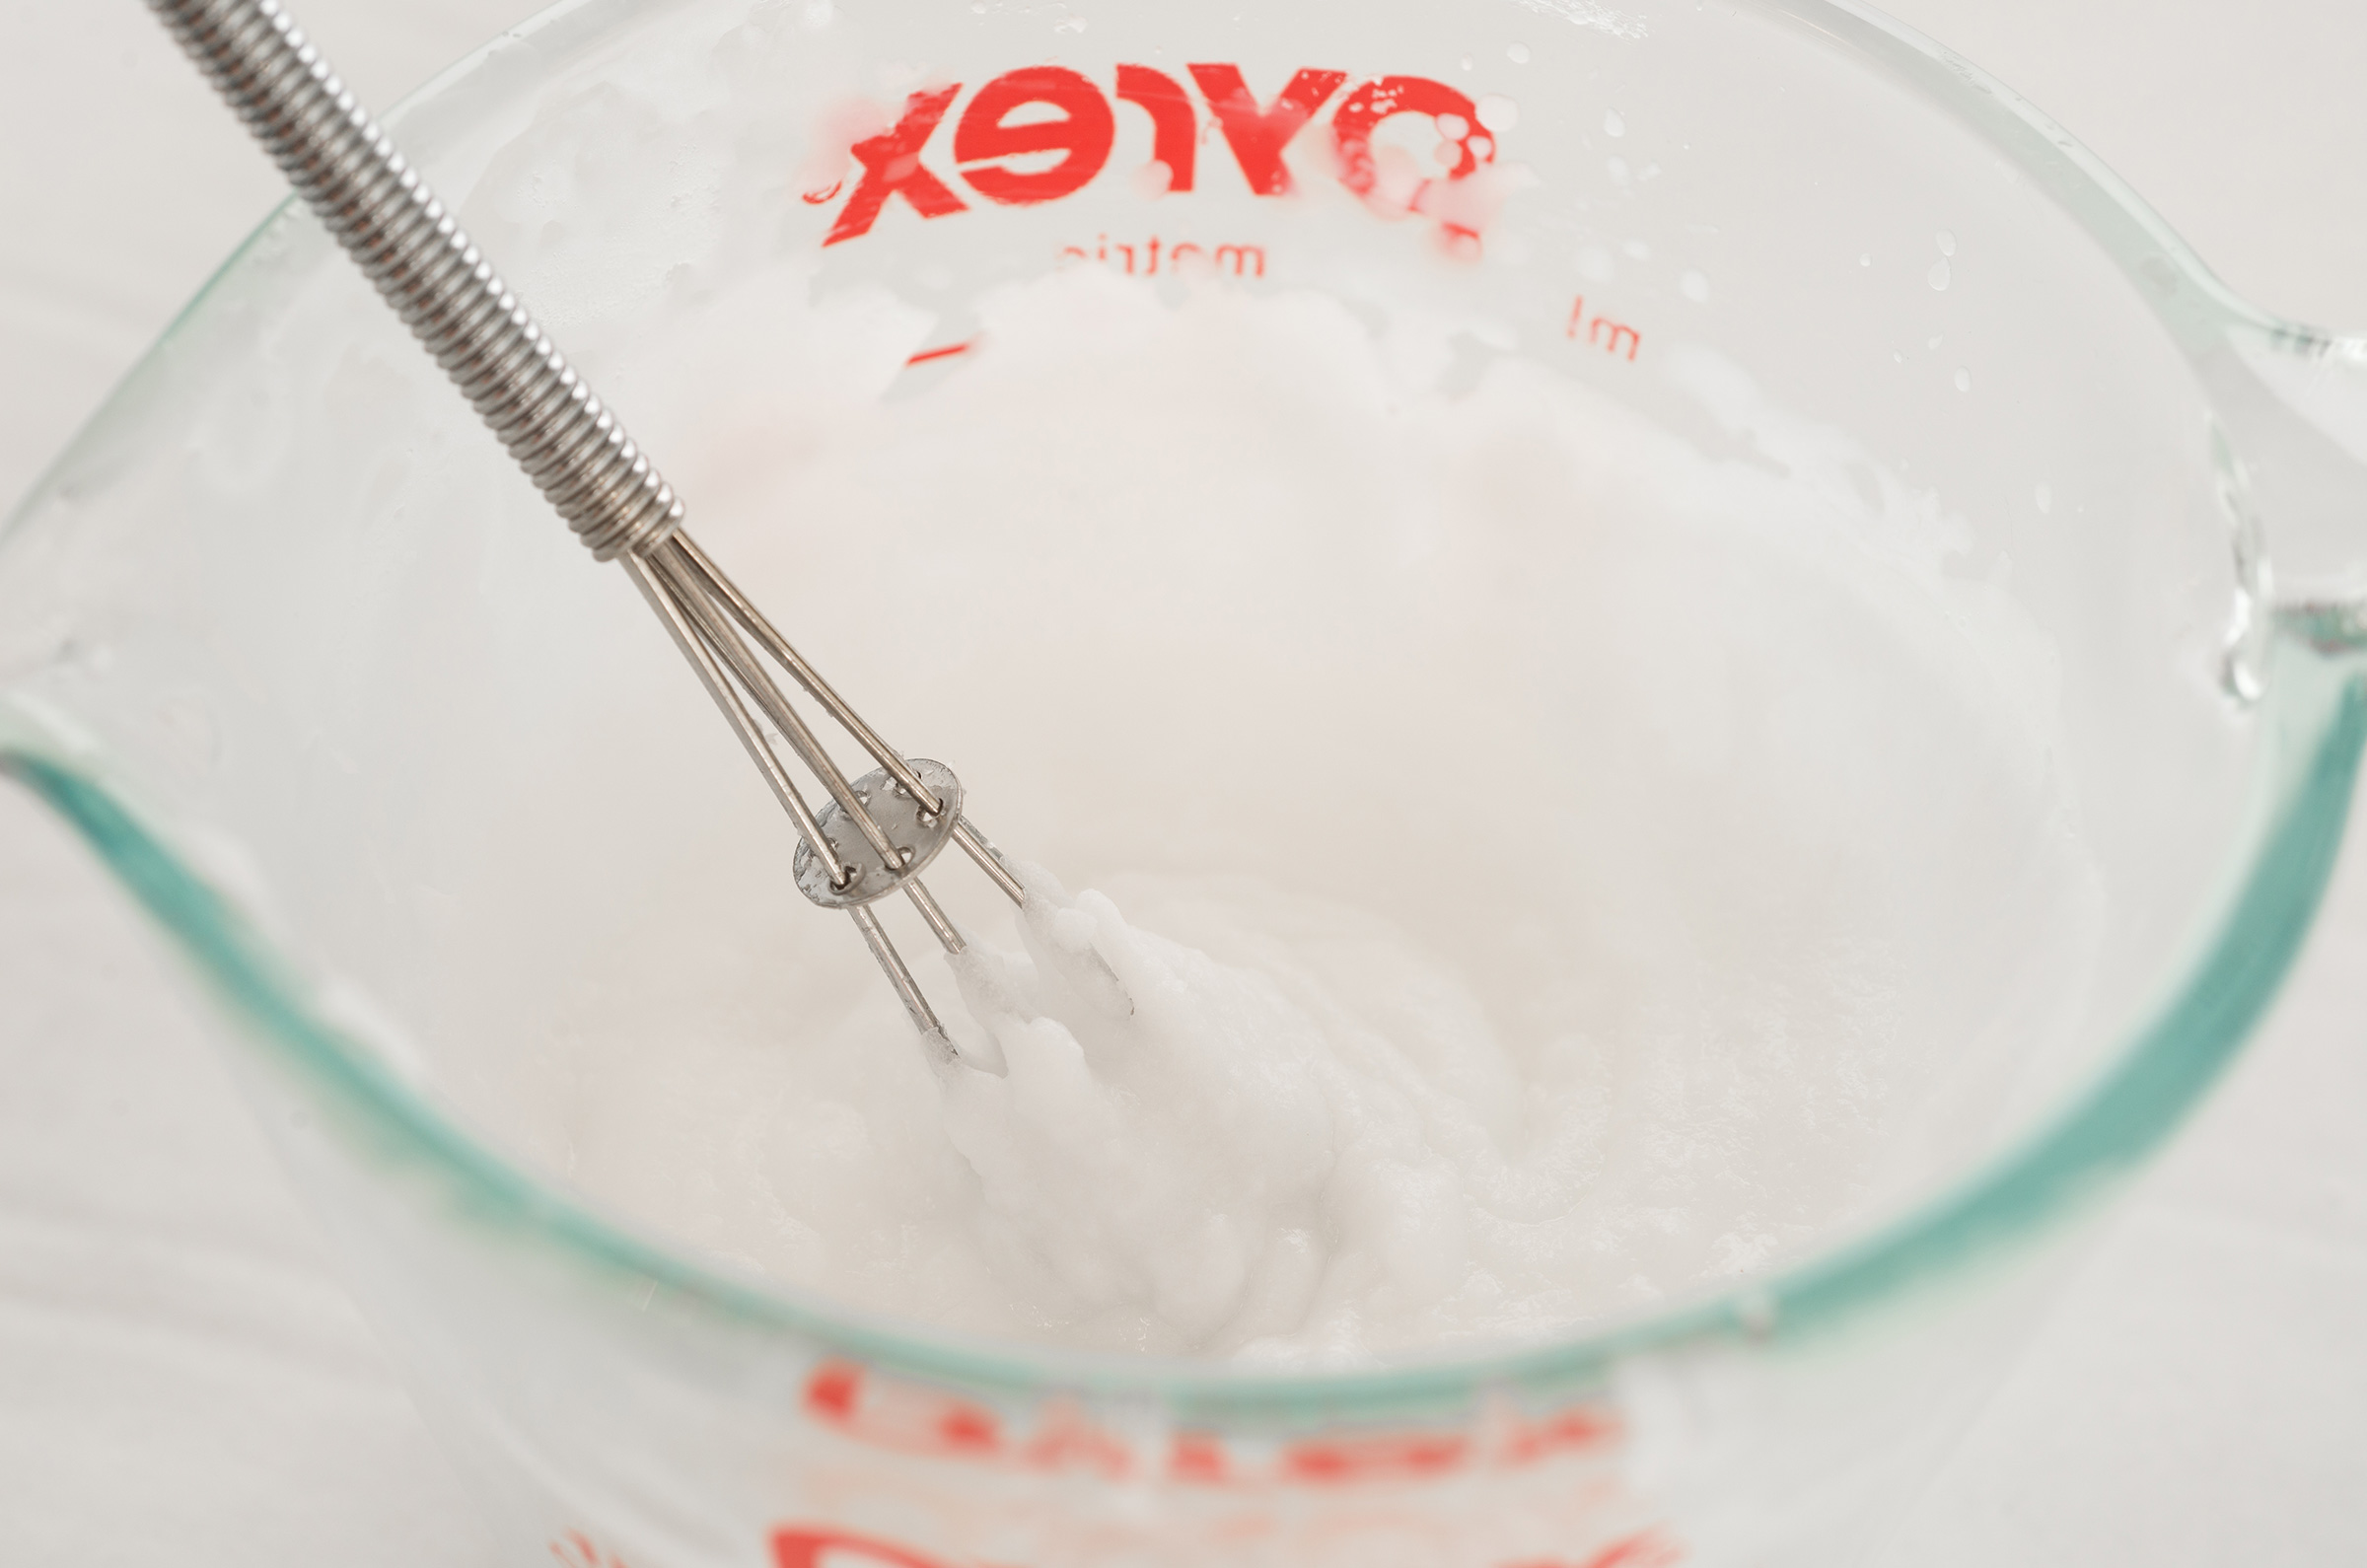
Step 2
Refer to the Whipped Wax Tutorial and have the whipped candle wax ready to go.
Step 3
Hold the pre-poured pillar candle with one hand at the top & bottom of the candle. Smaller pillars are easier to maneuver throughout the process but any size pillar can be used.
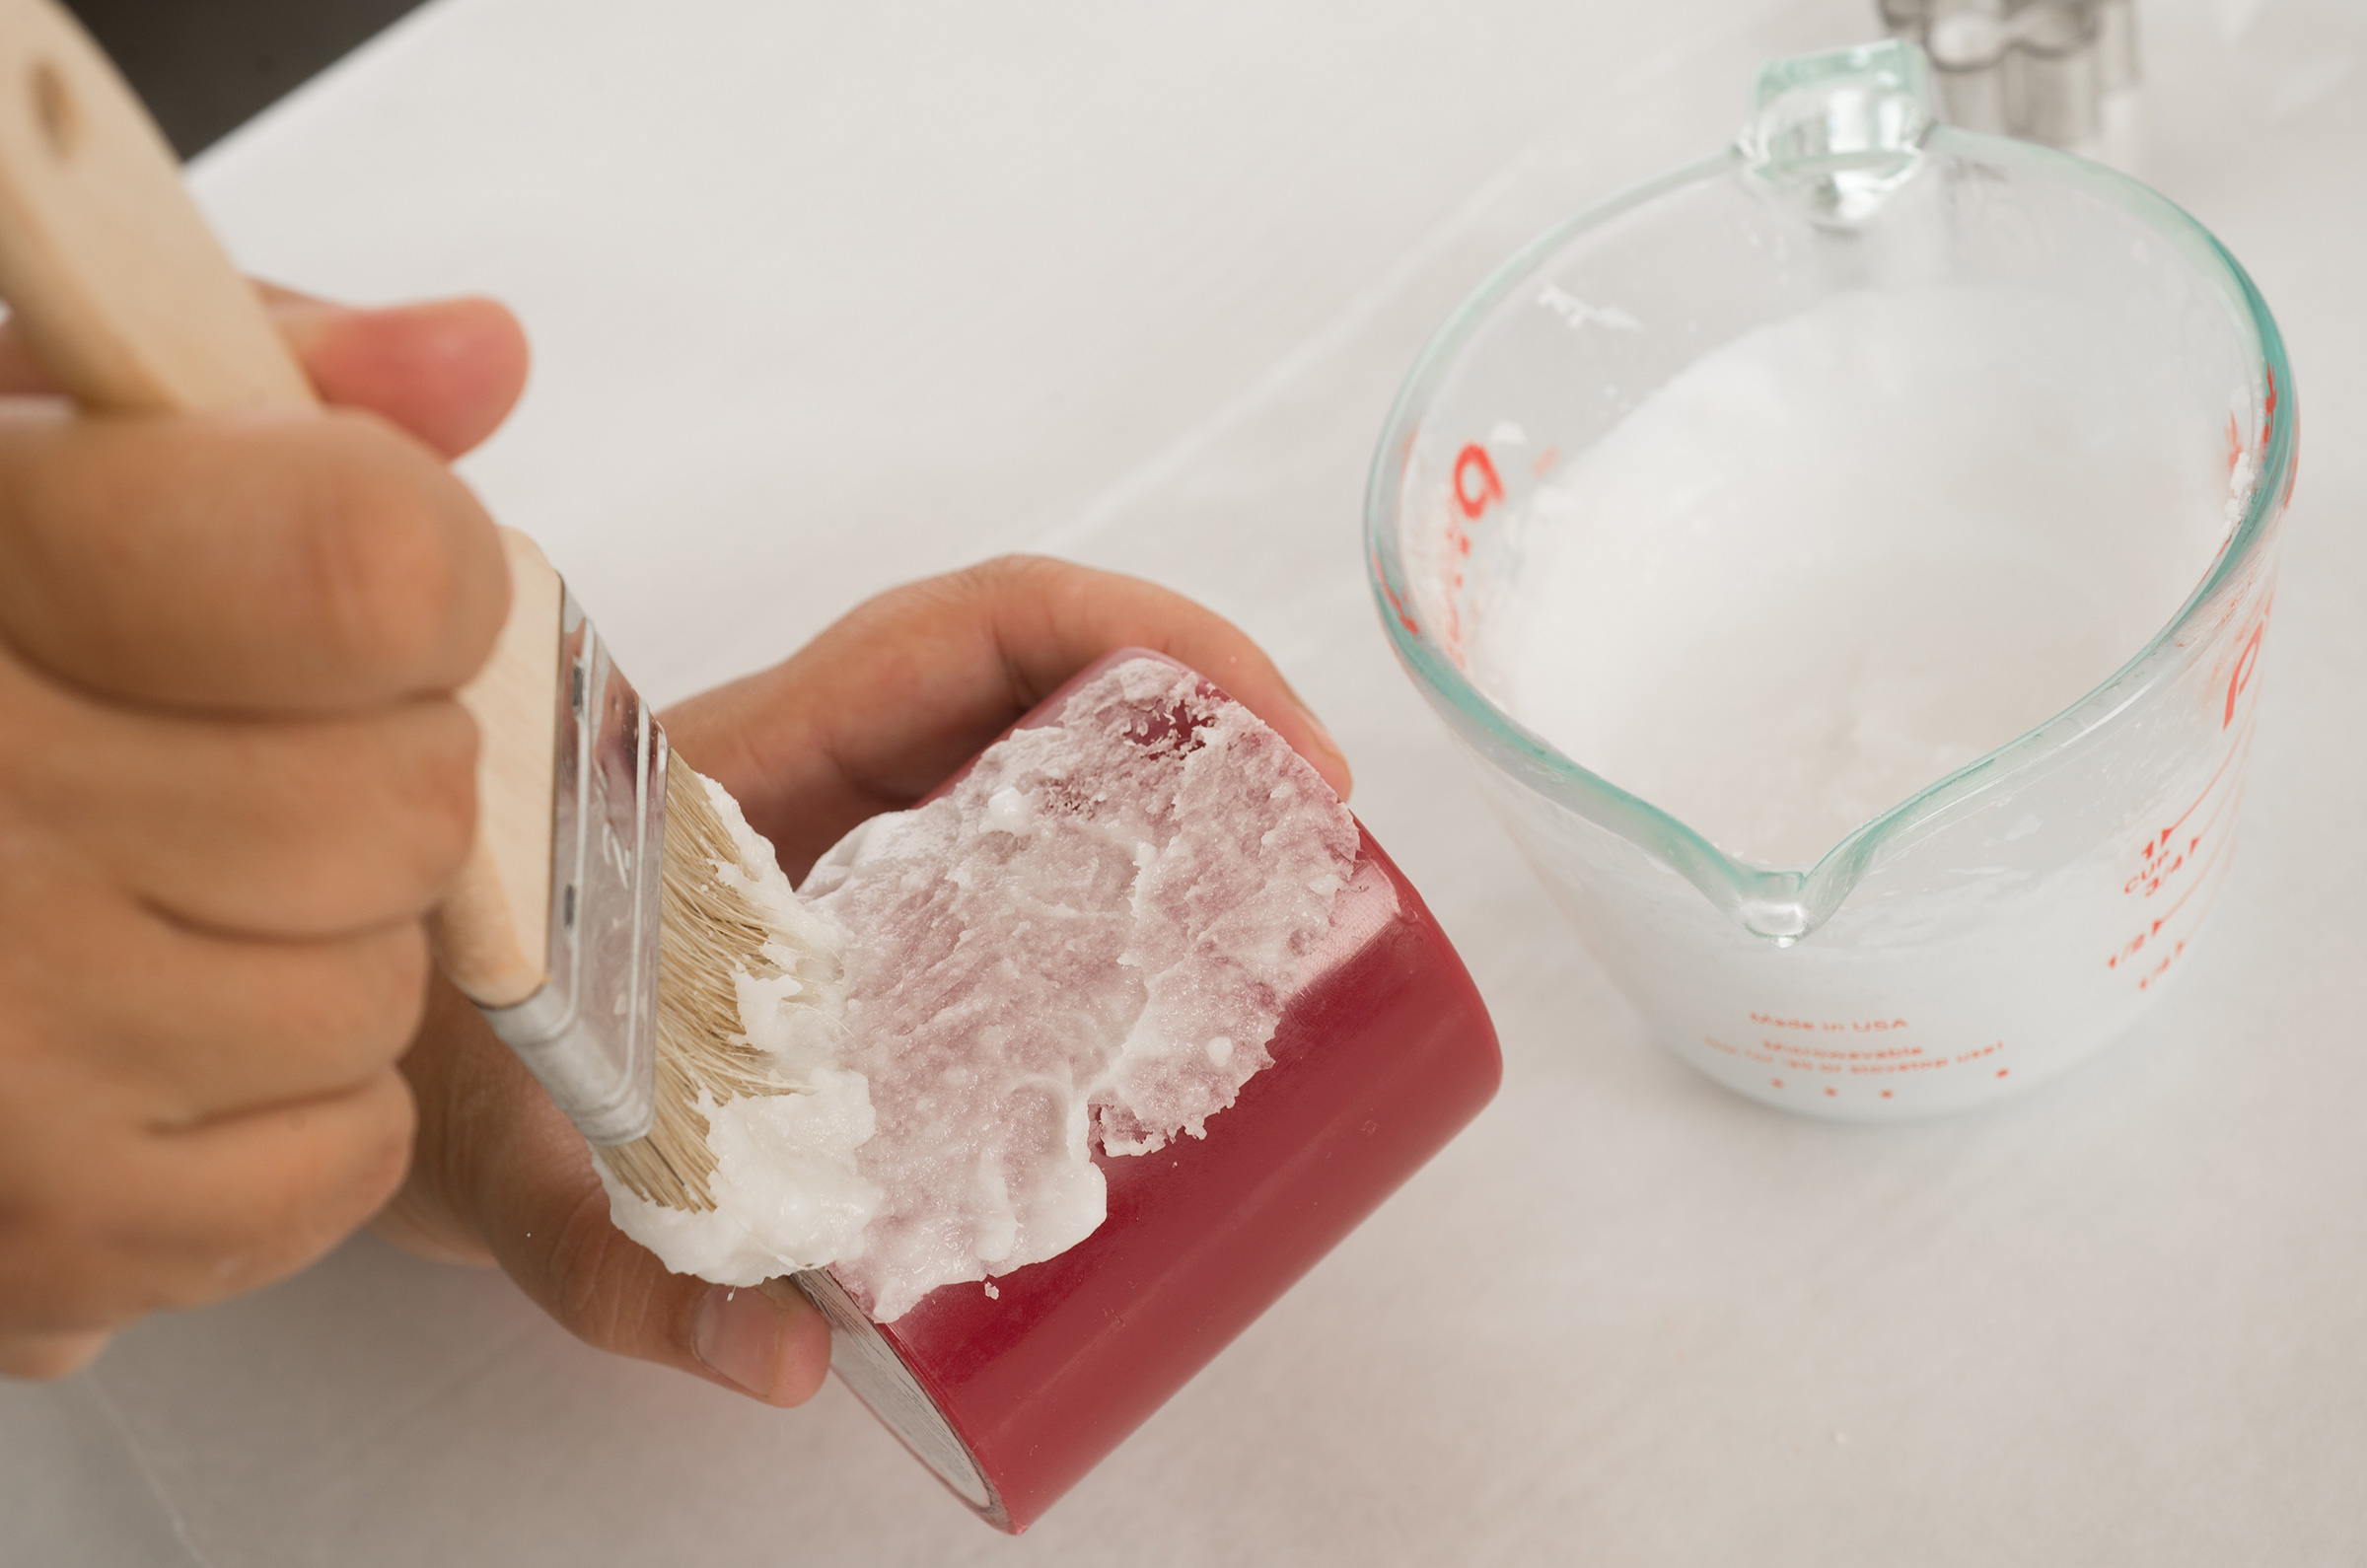
Step 4
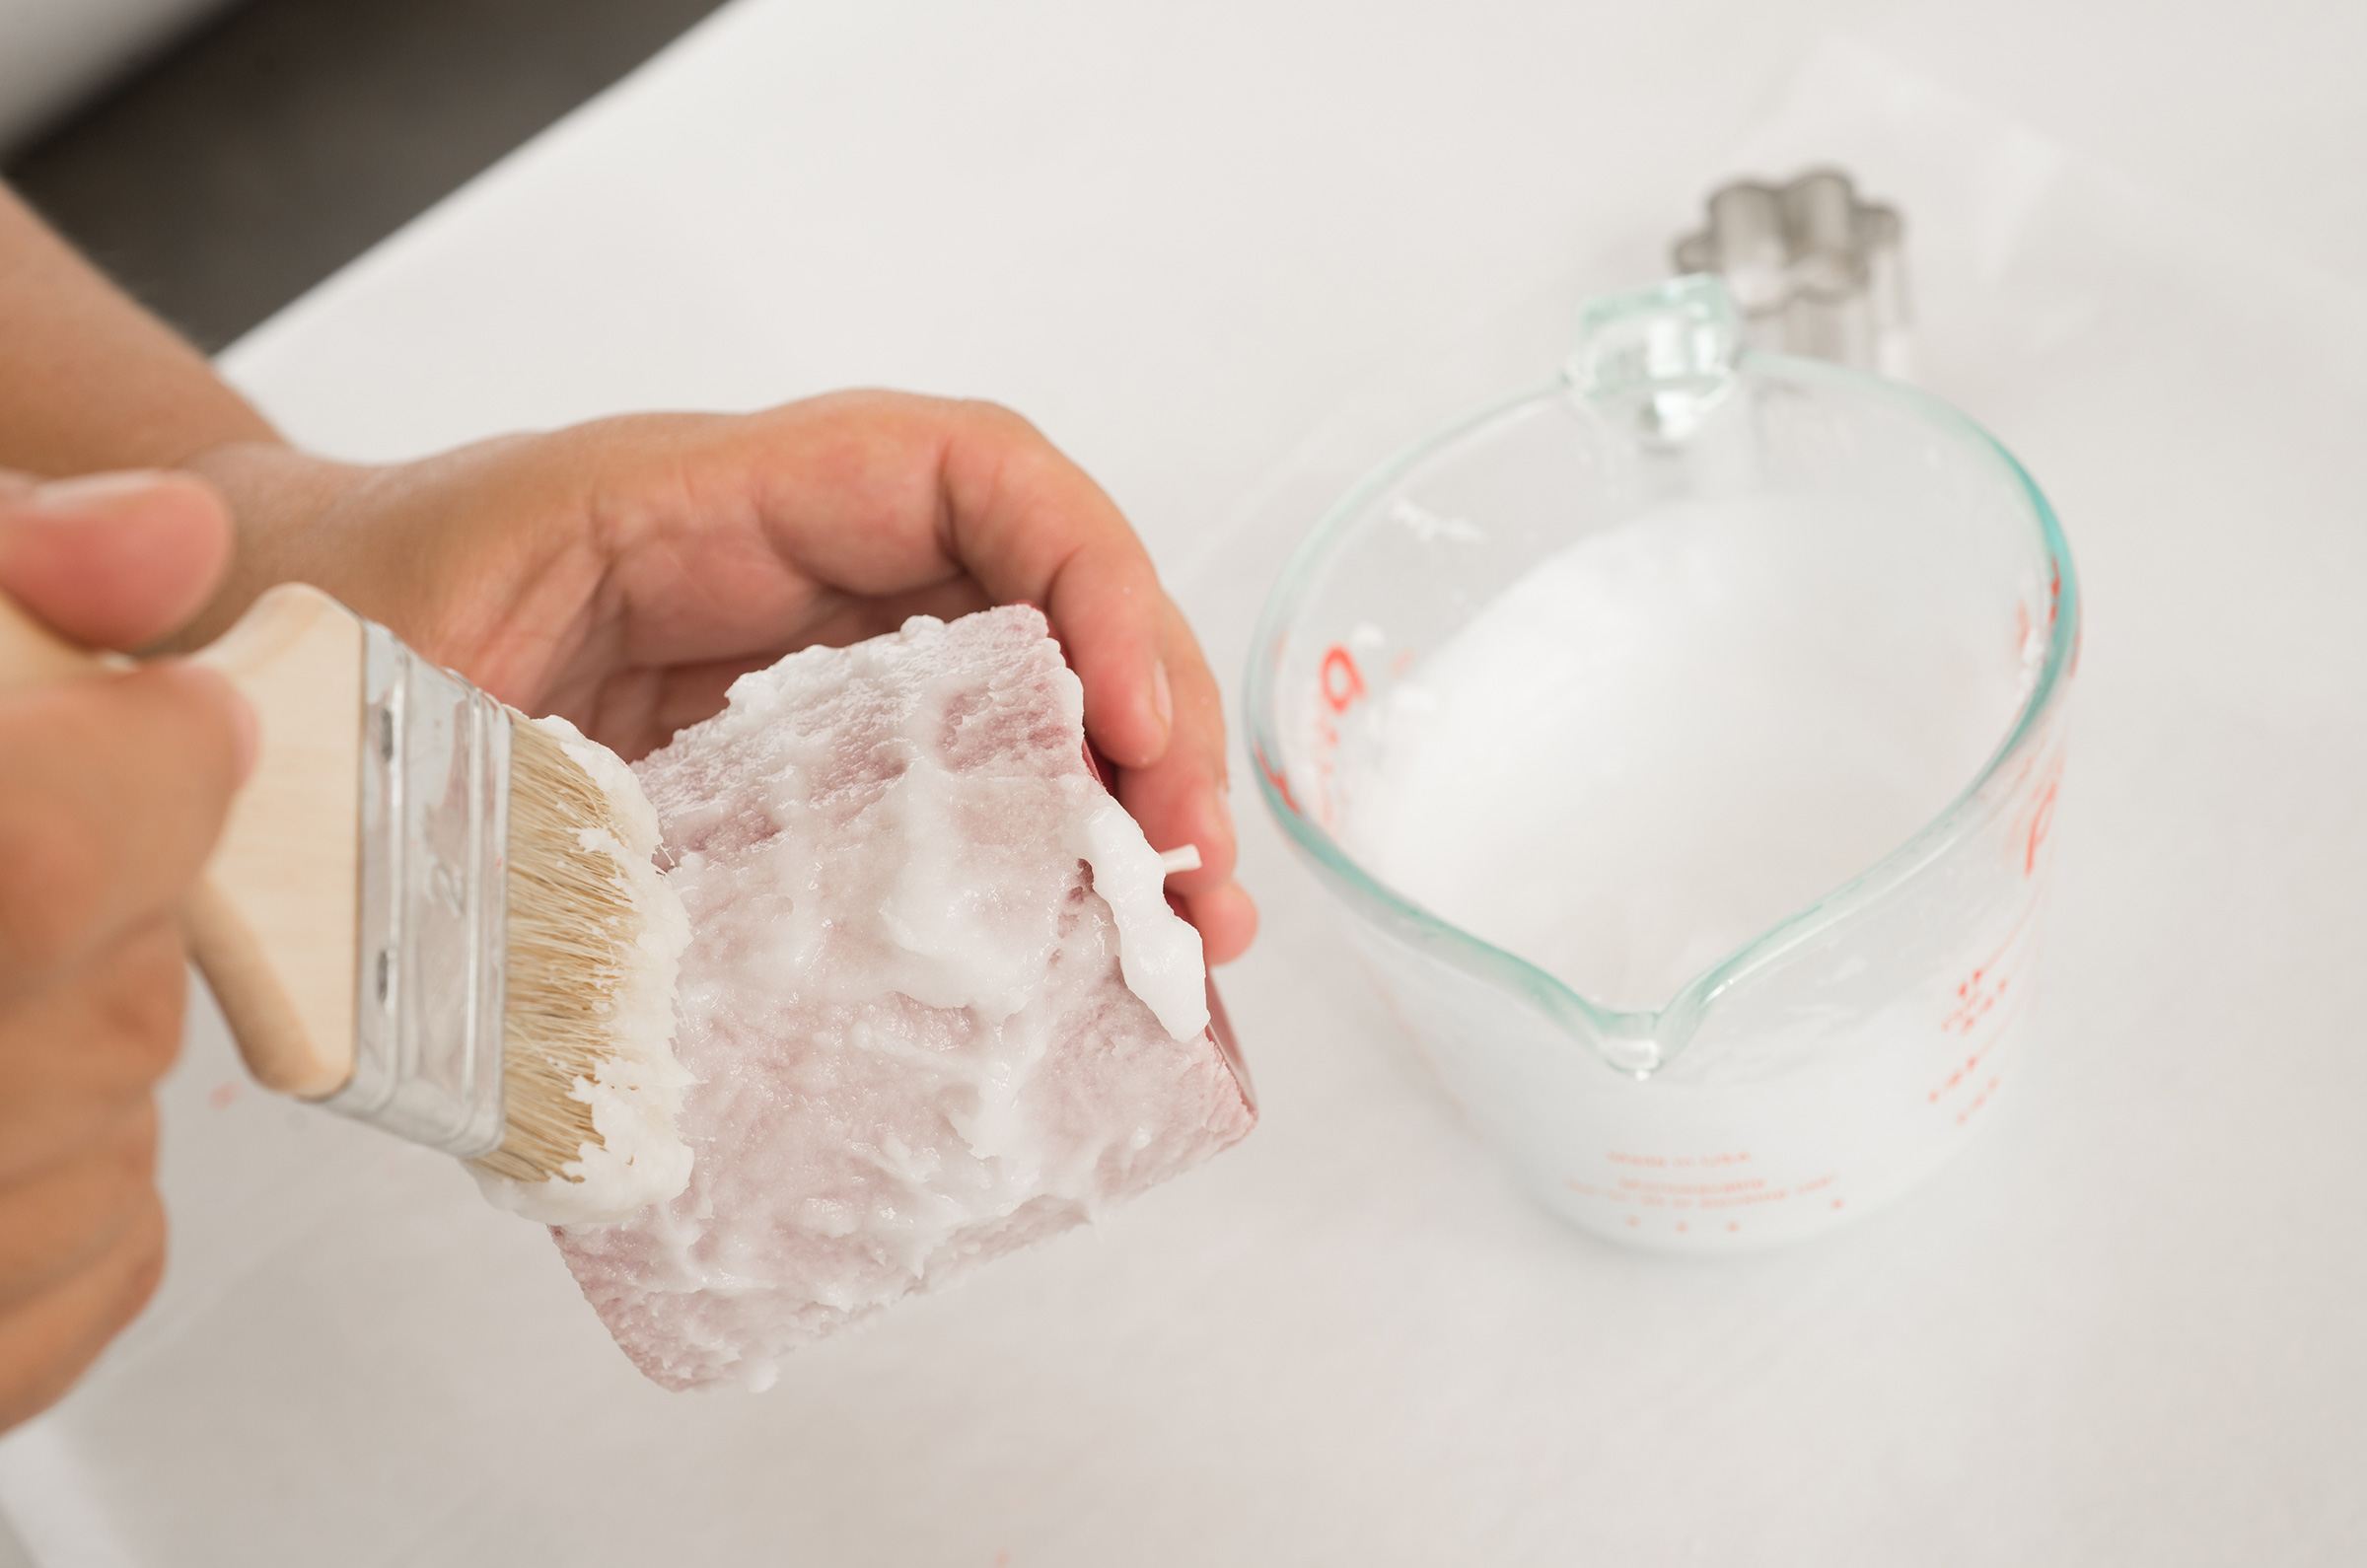
Dip the paint brush into the whipped wax getting a good amount of wax on the bristles. Start at the bottom of the candle and quickly dab the wax from the paint brush onto the surface of the candle, re-dipping in the whipped wax as needed working upwards and across in a random pattern. Repeat this process until entire surface of candle is covered. No need to grubby the bottom of the candle because a smooth surface is needed to keep the candle level when burning. This process can be repeated as many times as necessary until the desired look is achieved.
Step 5
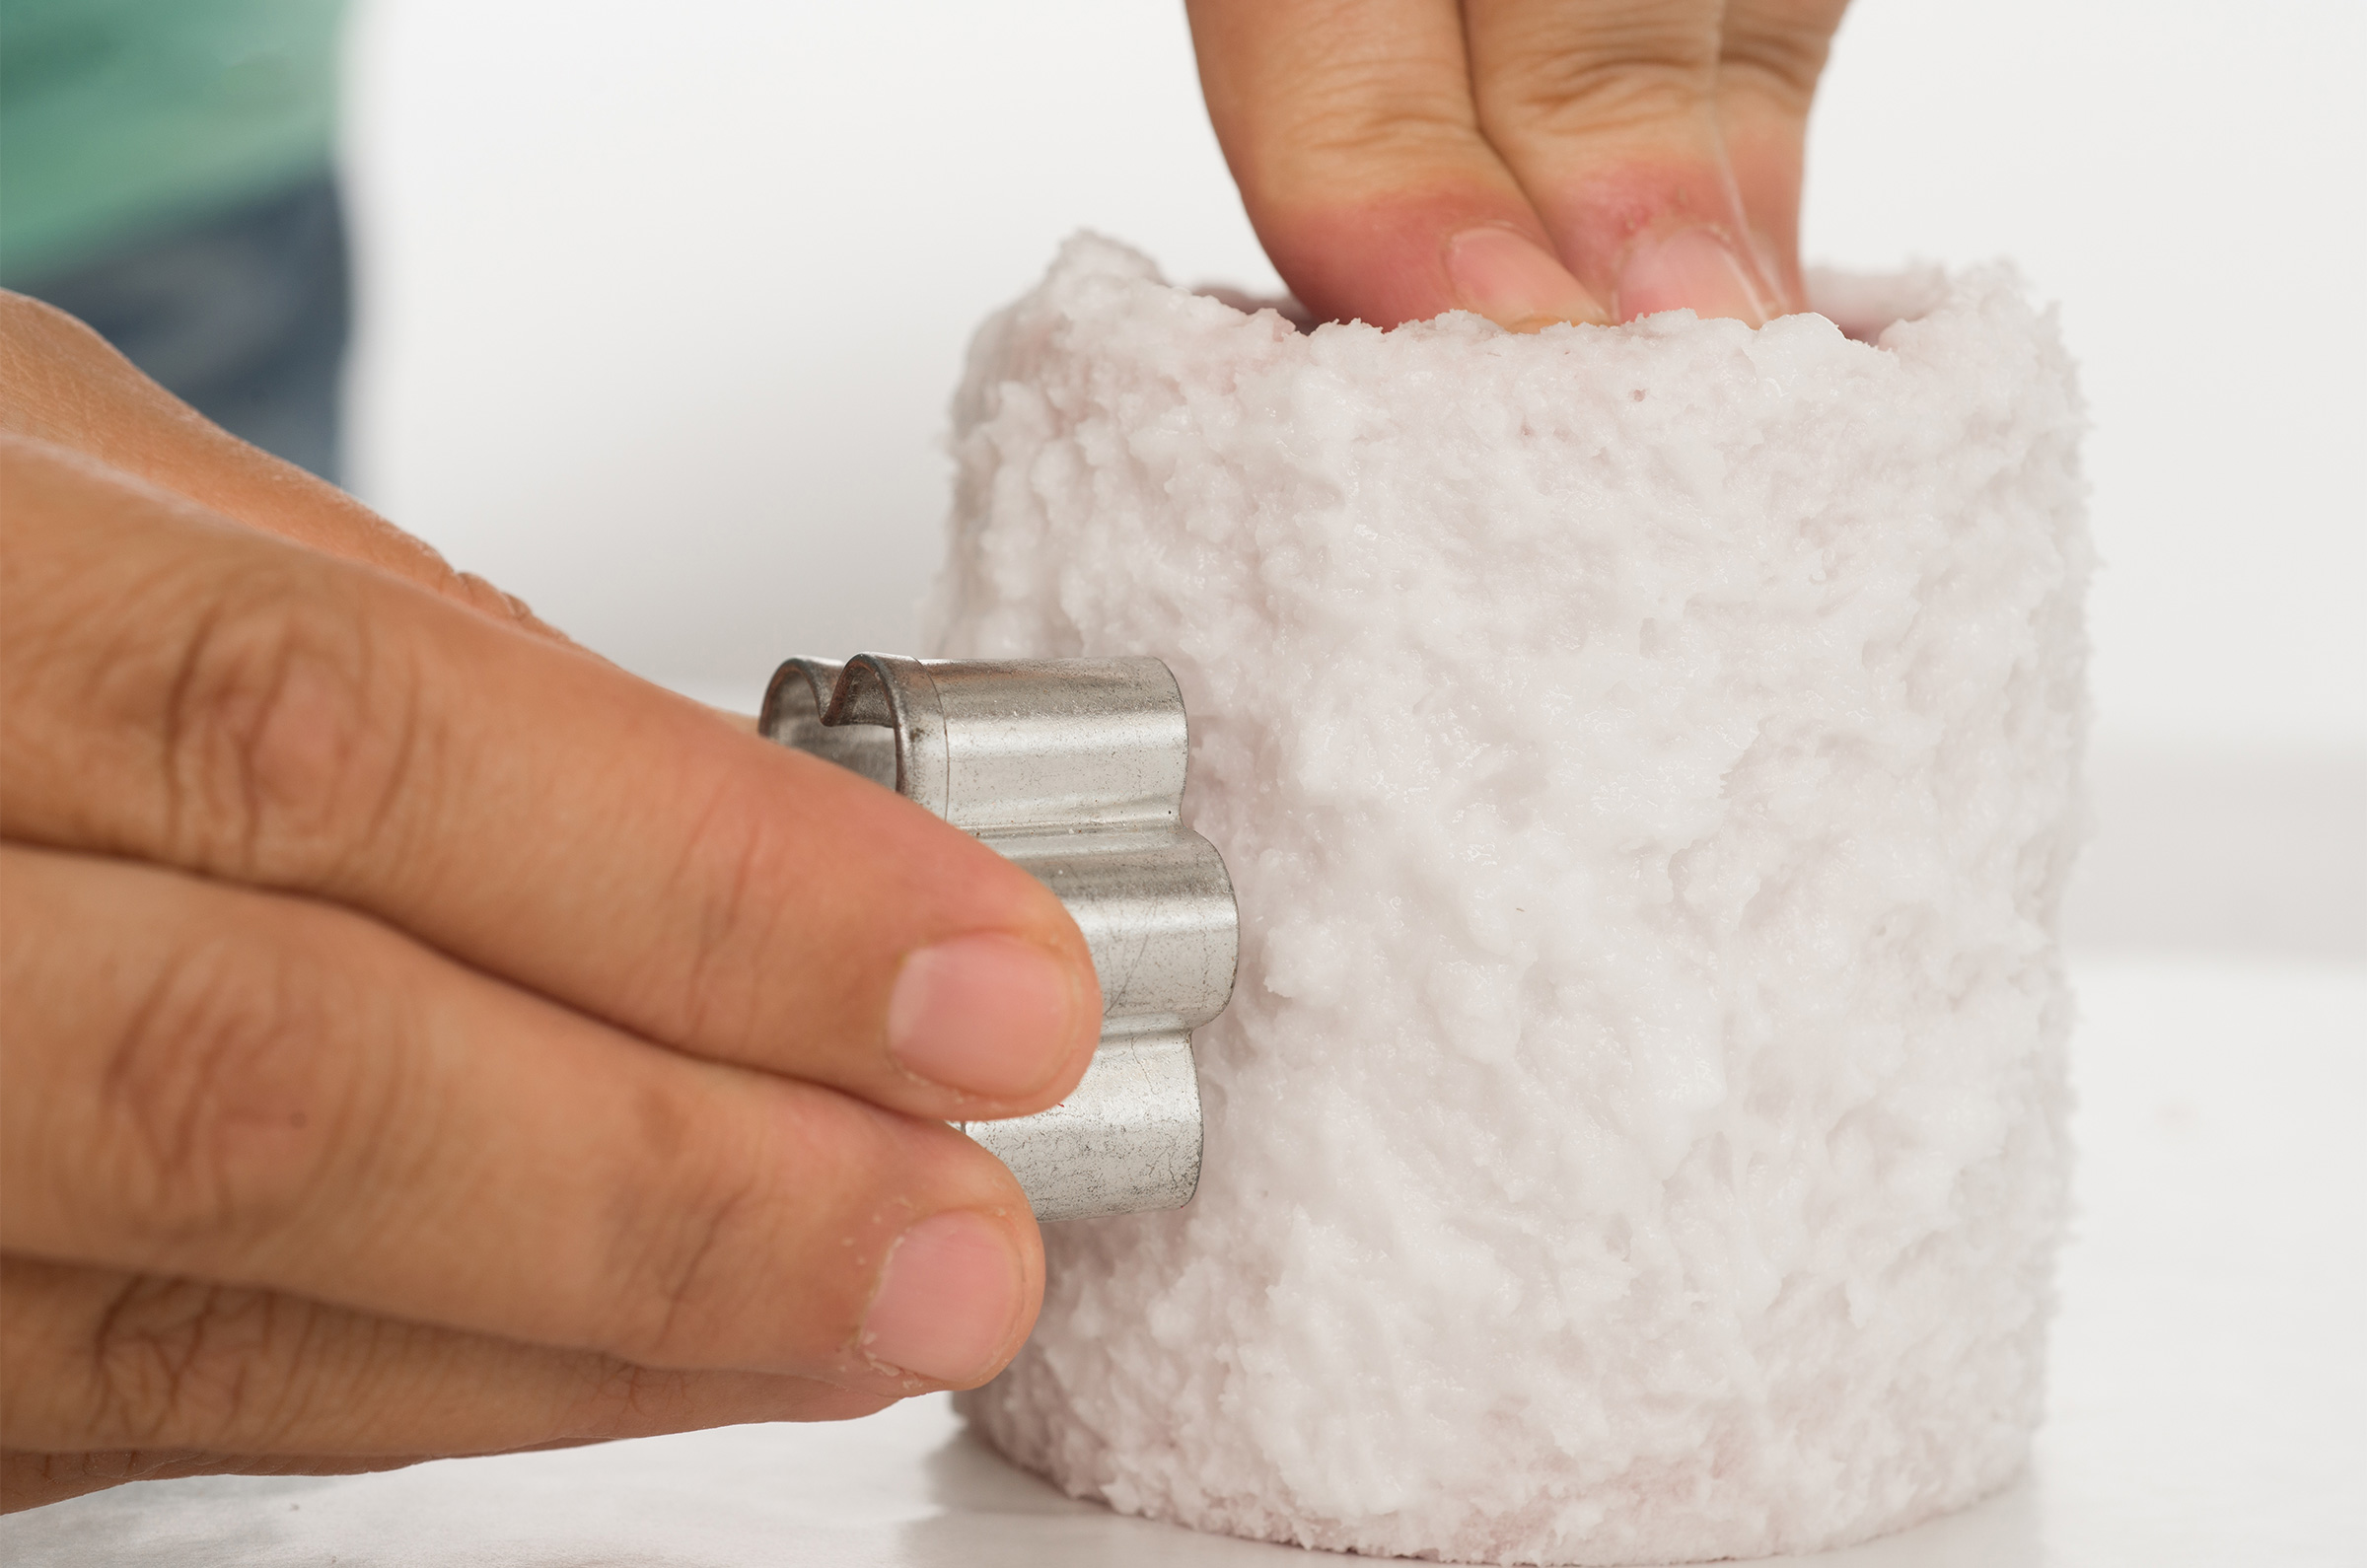
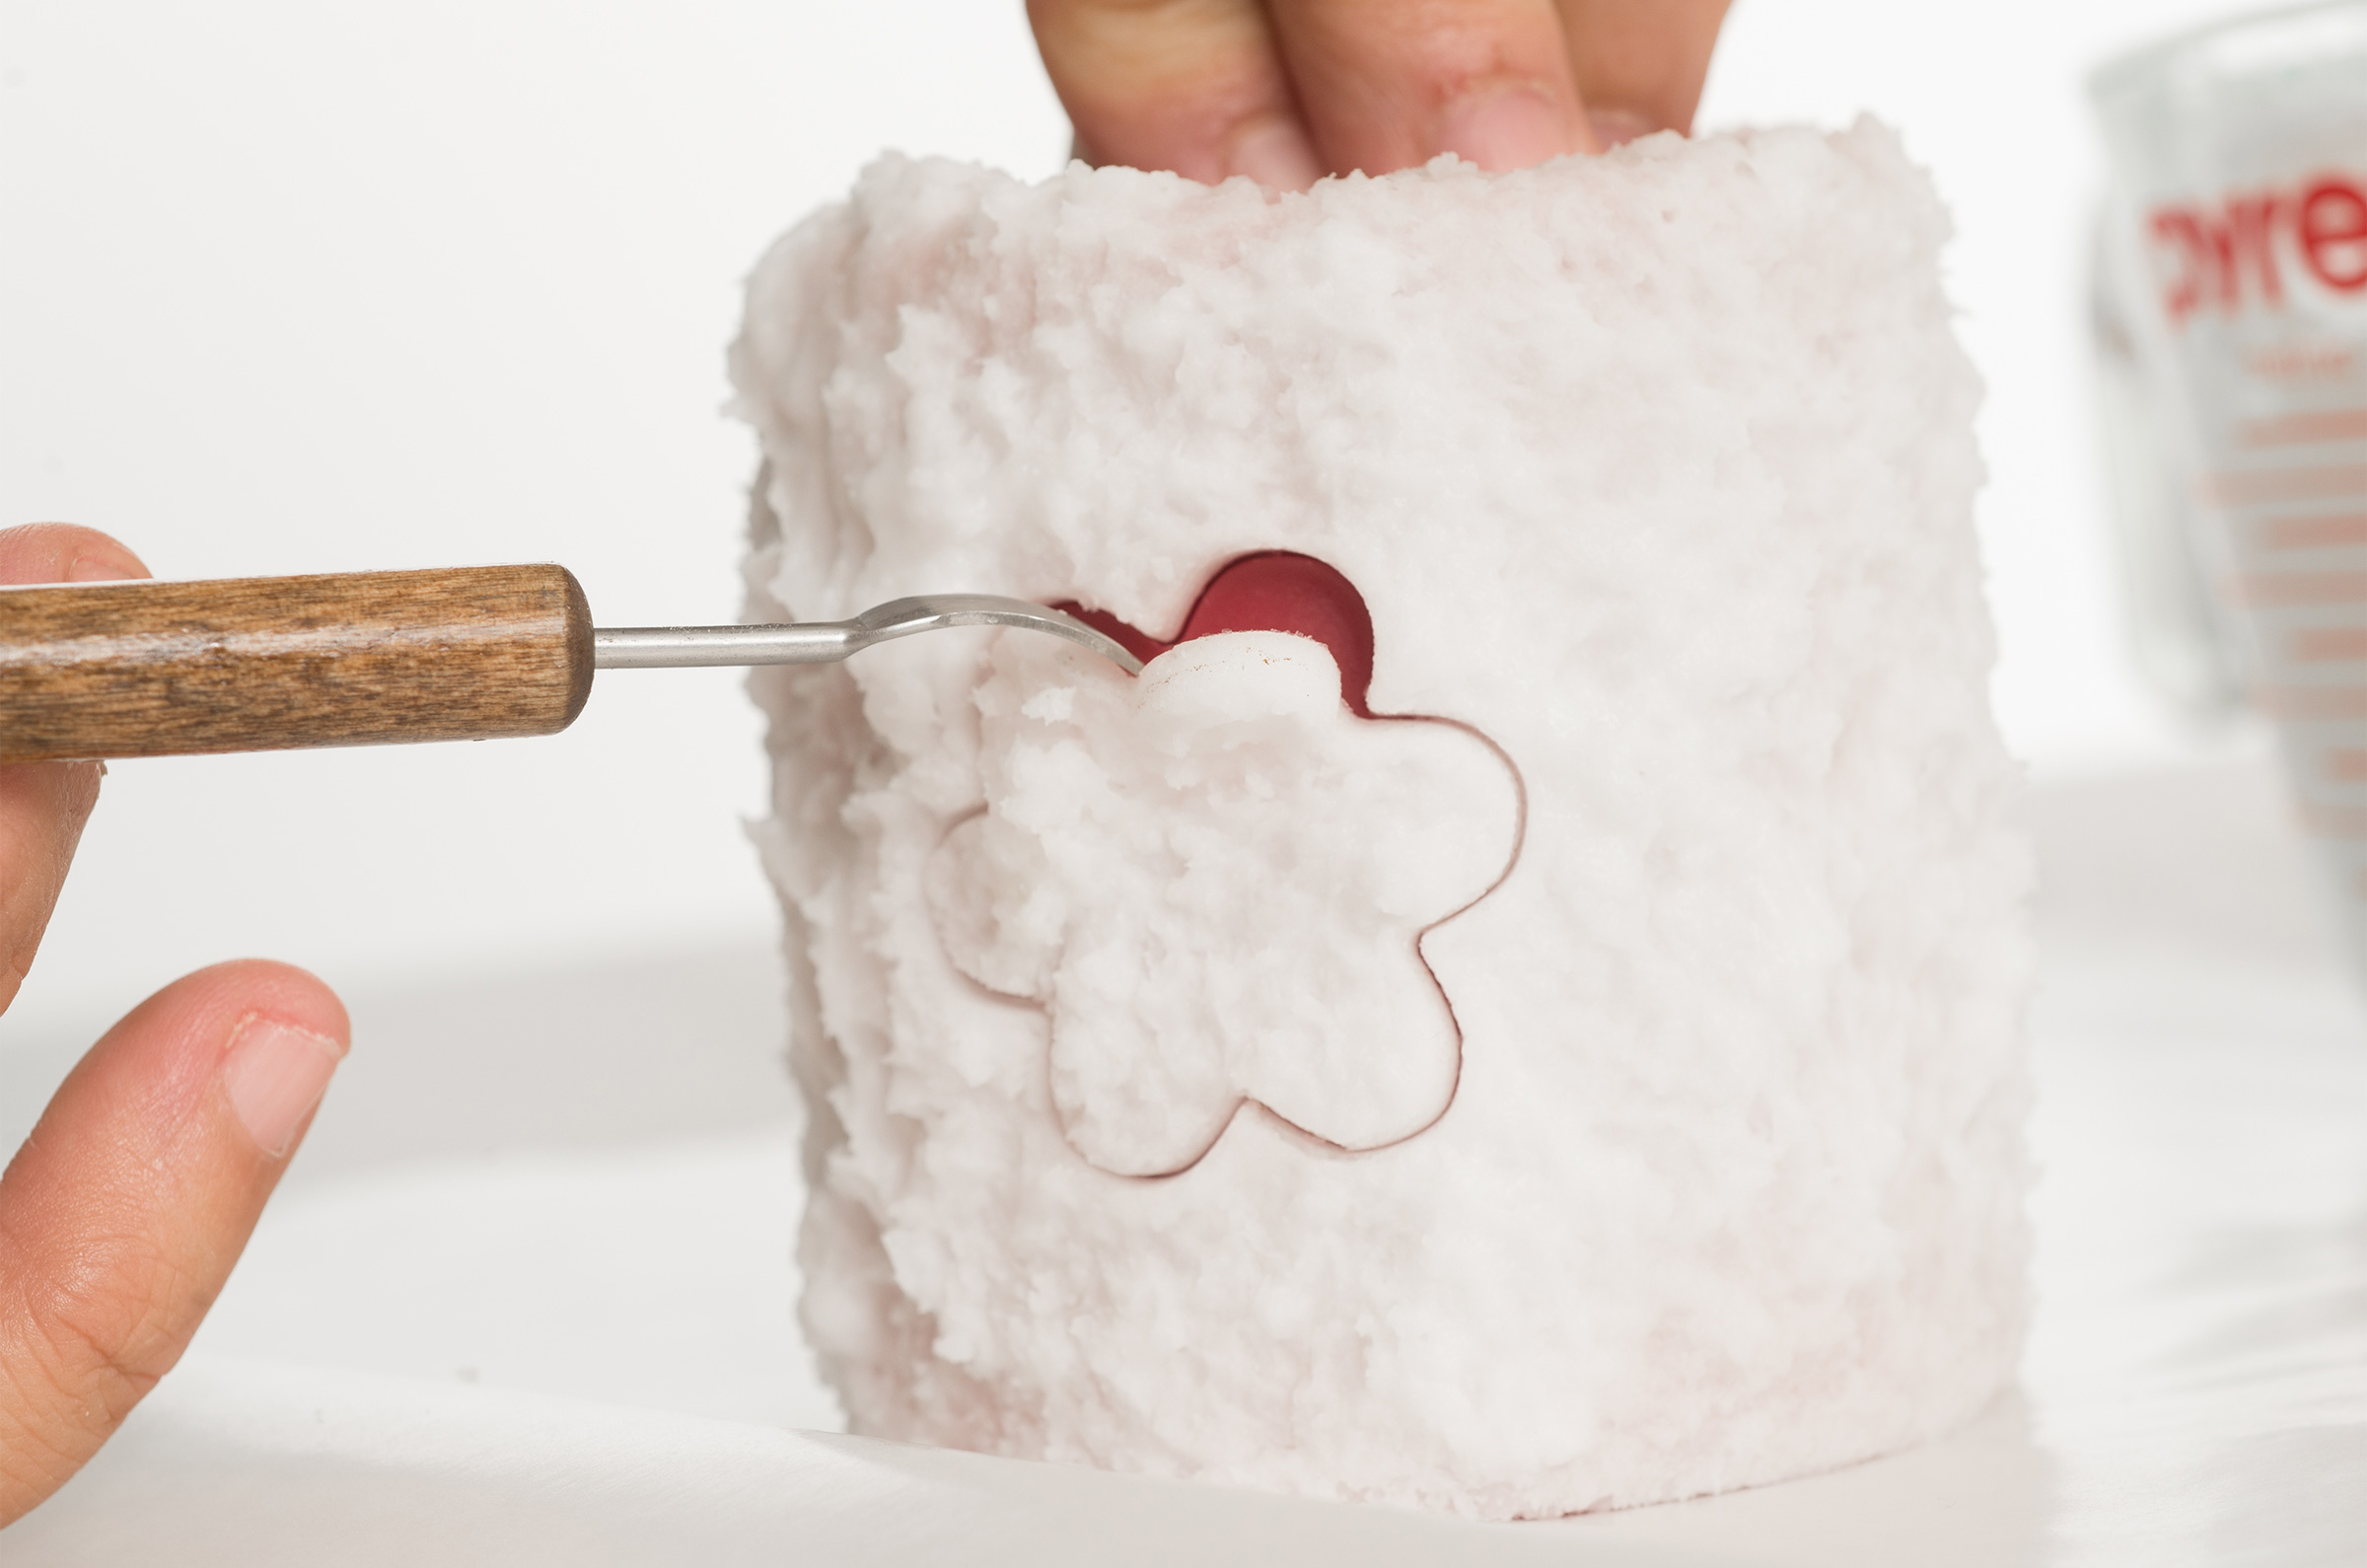
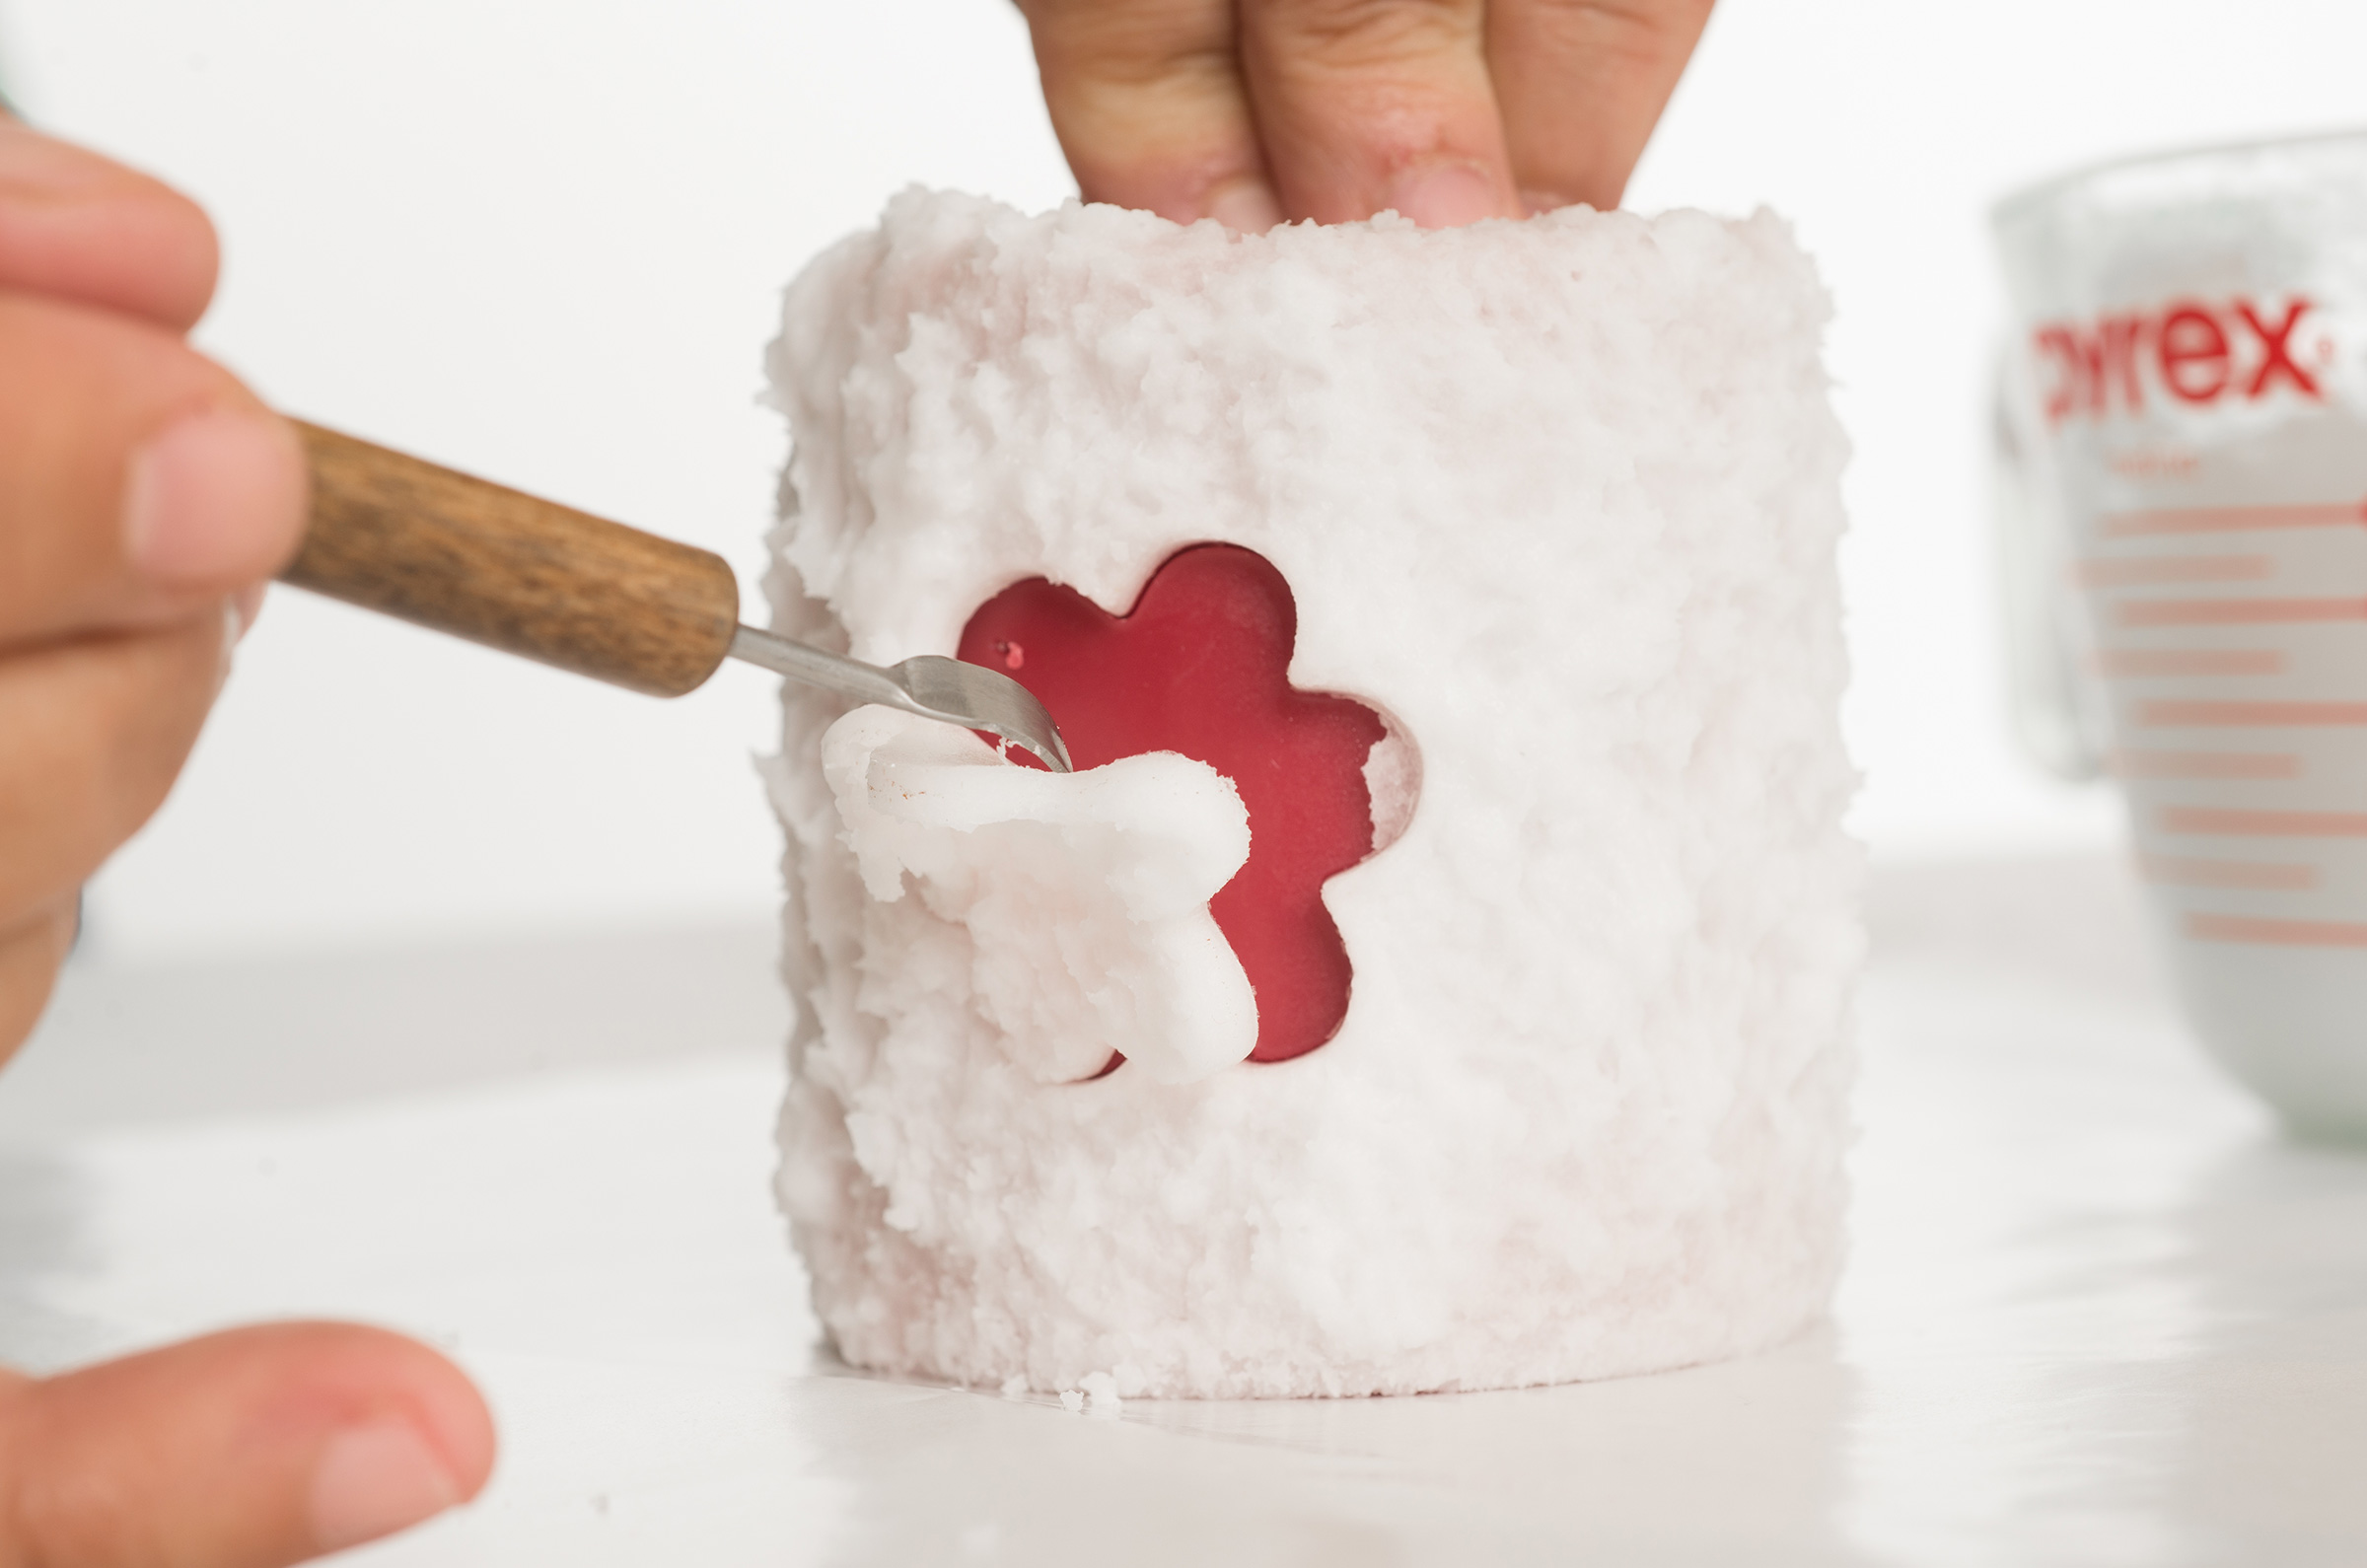
While the grubby wax is still warm and somewhat pliable, take the cookie cutter and push gently into the side of the candle. If using a round pillar, the cookie cutter will need to be rocked slightly to the left & right to ensure a good cut. When the entire shape is embedded into the grubby wax, gently remove the cutter. This process can be repeated around the entire candle or as desired. Once the shape(s) are cut, use the Detailing Tool or bamboo skewer to gently remove the cutout. Be very careful to not disturb the wax surrounding the cutout – too much force can remove the surrounding wax.
If some wax is left on the candle surface of the cutout, gently scrape the wax out of the shape with a butter knife. When the surface is coated and cutouts are complete, place candle on the prepared, covered work area. Repeat the grubby process for the top of the candle, working from the outside in. The grubby wax may need to be warmed at this point to get a good coating for the top of the candle if it has set up for too long.
Tip: This is a process that takes practice and a quick hand. If the wax hardens too quickly, the cutout won’t work as well. Start with one cutout. When comfortable with the process, try adding more cutouts.
SOME SAFETY PRECAUTIONS
- Cover counter with wax paper, old newspapers or aluminum foil to make clean up easier.
- Be sure to wear safety goggles for eye protection. You do not want to be splashed in the eye with hot wax! Remember with wax – safety first.
- Waxes used in making candles are very similar to cooking oils – they are flammable and they are poured at high temperatures, but with certain precautions, accidents may be avoided. NEVER HEAT WAX ABOVE 210°F.
- For safety, wax should be melted in a double boiler. Wax should NEVER be heated directly over an open flame or burner. Direct heating can cause wax to explode and result in serious injury.
- Use of a thermometer is advised to ensure proper wax pouring temperature.
- Never leave hot wax unattended. Keep children and pets away from the area where wax is being melted and poured.
- Never pour water in a wax fire. Water will cause the fire to spread. To extinguish a fire in a pan, cover the pan with its lid. Use a dry chemical fire extinguisher.
- Never pour melted wax into the sink or other drains.