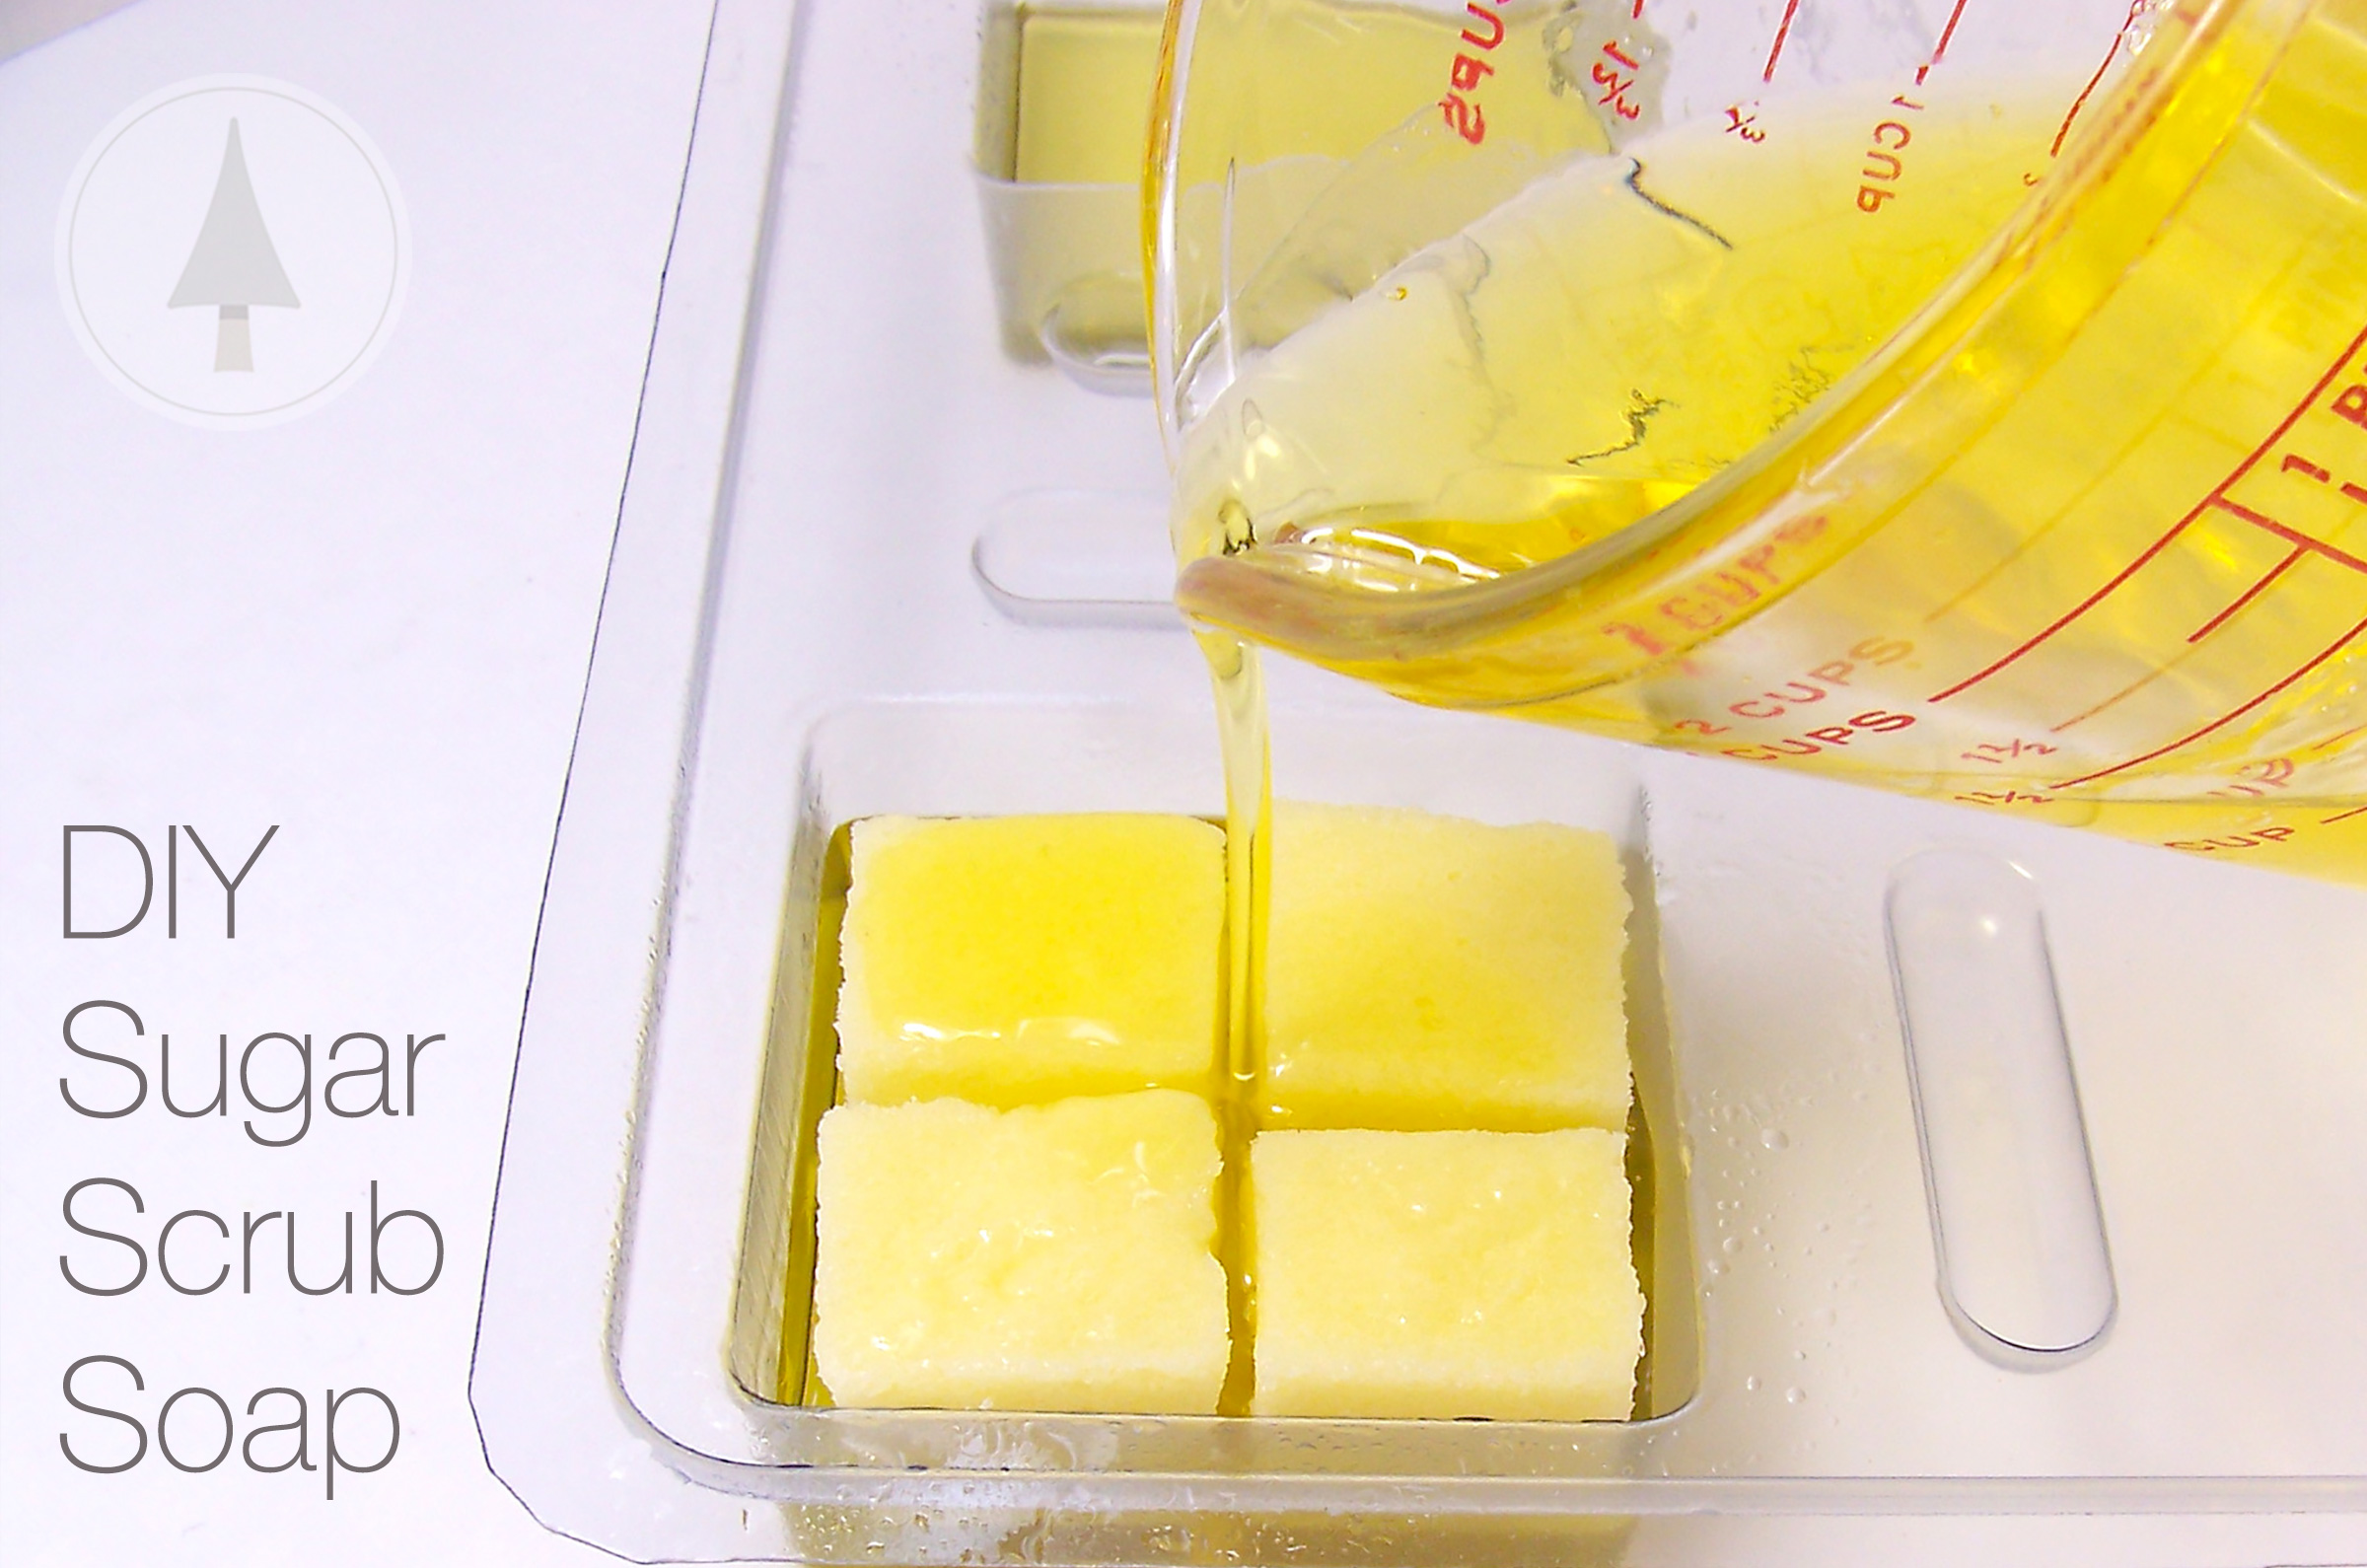
This tutorial will show you how to make a Solid Sugar Scrub Soap, which will provide you with a wonderful exfoliating, moisturizing lather. These are helpful to have on hand both summer and winter when the skin can get dry from the sun, wind, and being outside for extended periods of time. Coordinate the scents with matching colors for beautiful soaps!
* Please note: since this tutorial was originally published, we have discontinued the mold shown. We can recommend any of the silicone cavity molds we carry. Your choice!
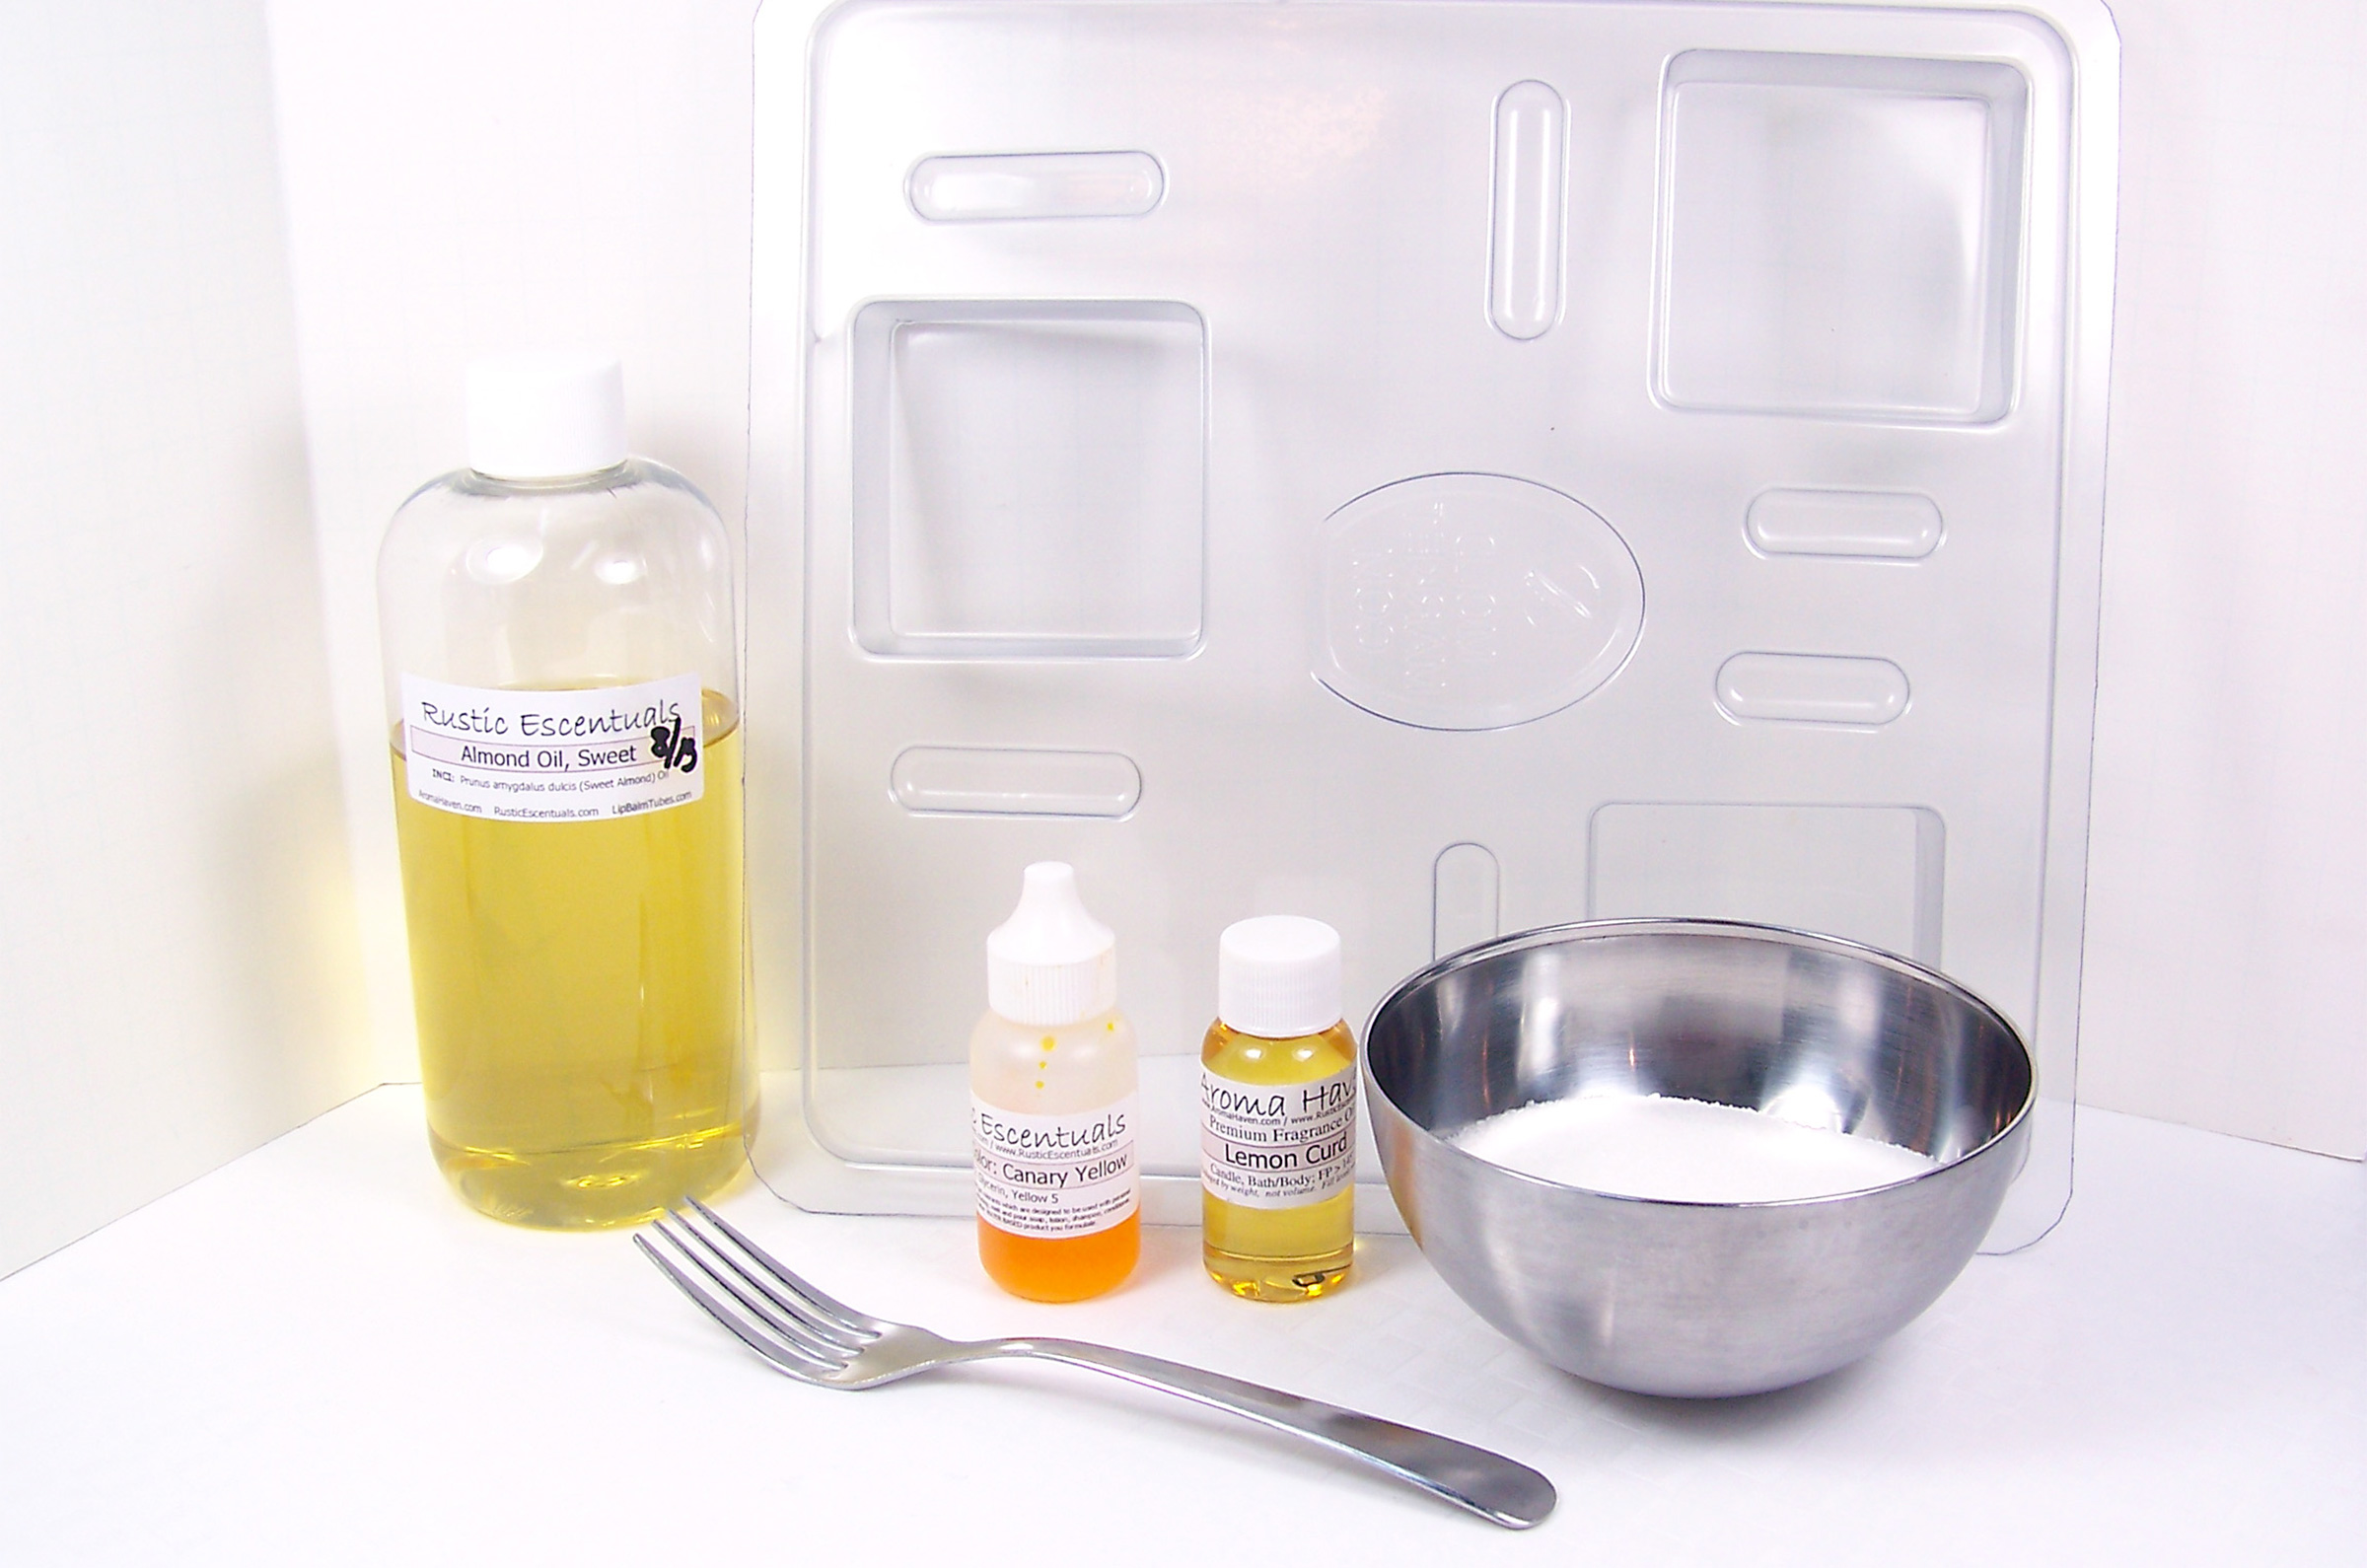
Supplies and Equipment Needed
Sharp knife to cut soap base into cubes
Fork
2 Microwave safe containers
Spray bottle with rubbing alcohol
Butter knives for stirring soap
Rubber gloves
Digital Scale
6 ounces sugar
Silicone Mold of choice *
Sweet Almond Oil (2 oz)
UltraClear Melt & Pour soap base (7 oz)
Goat Milk Melt and Pour soap base (2 oz)
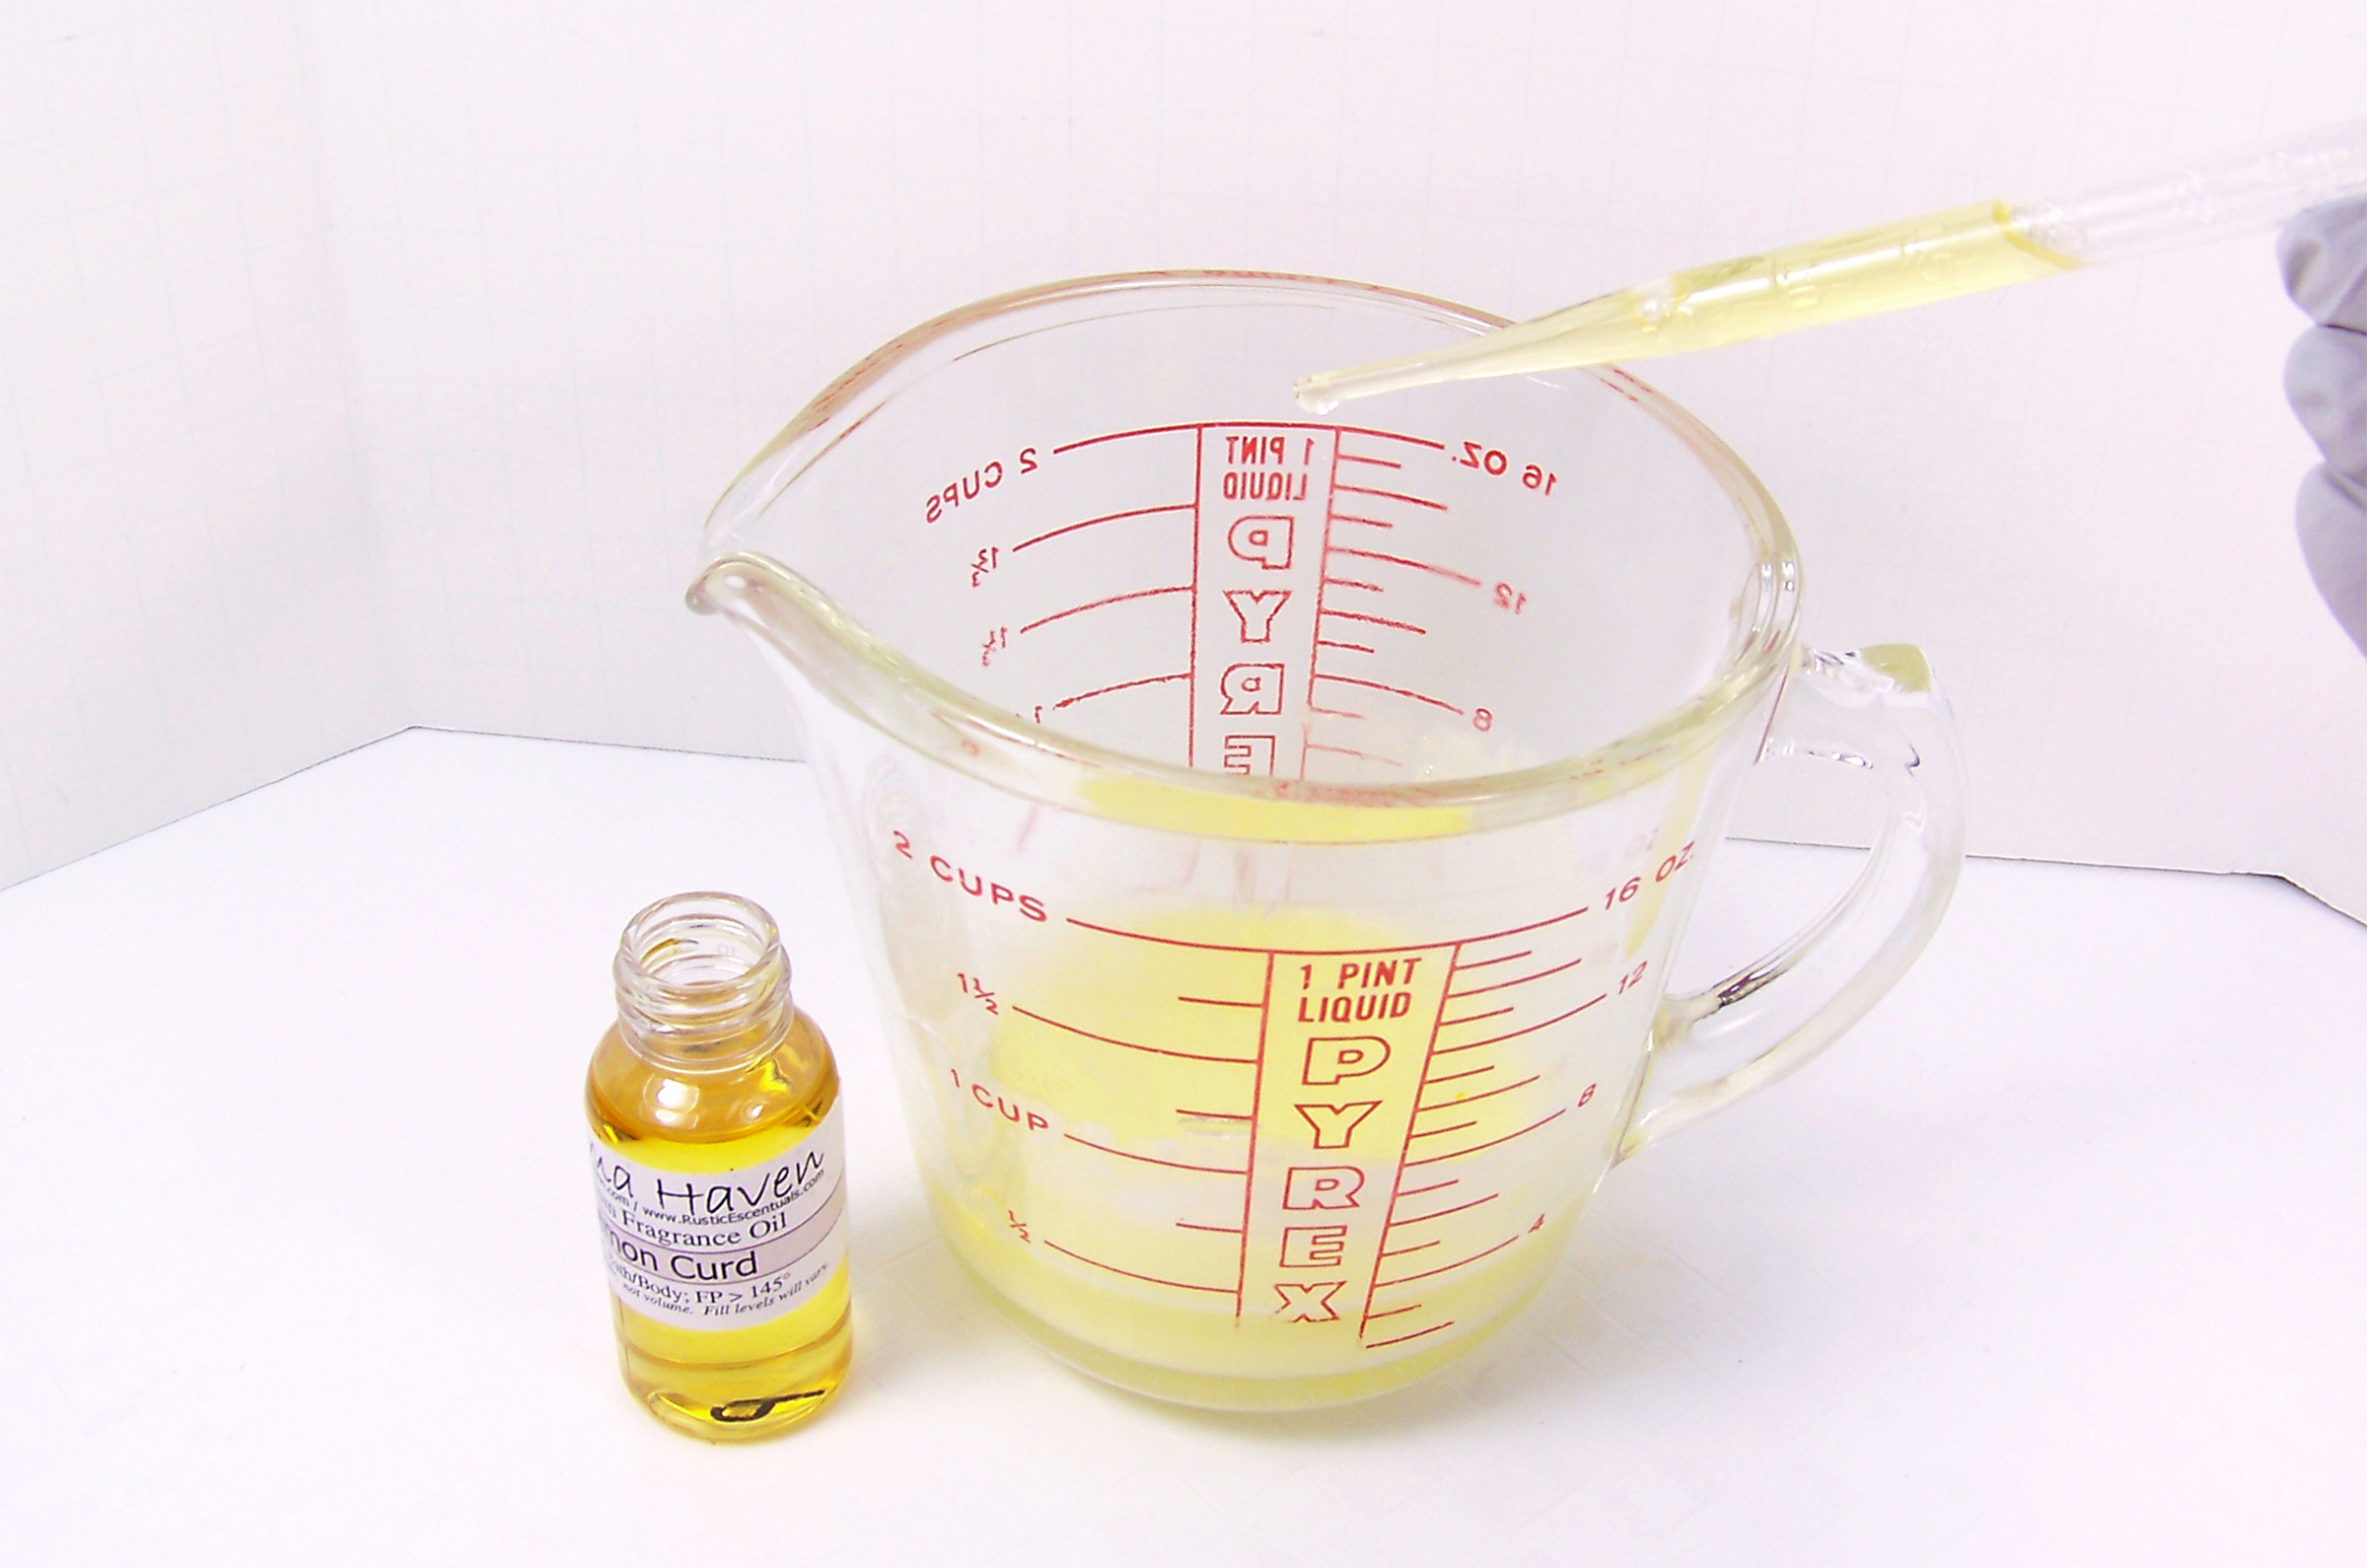
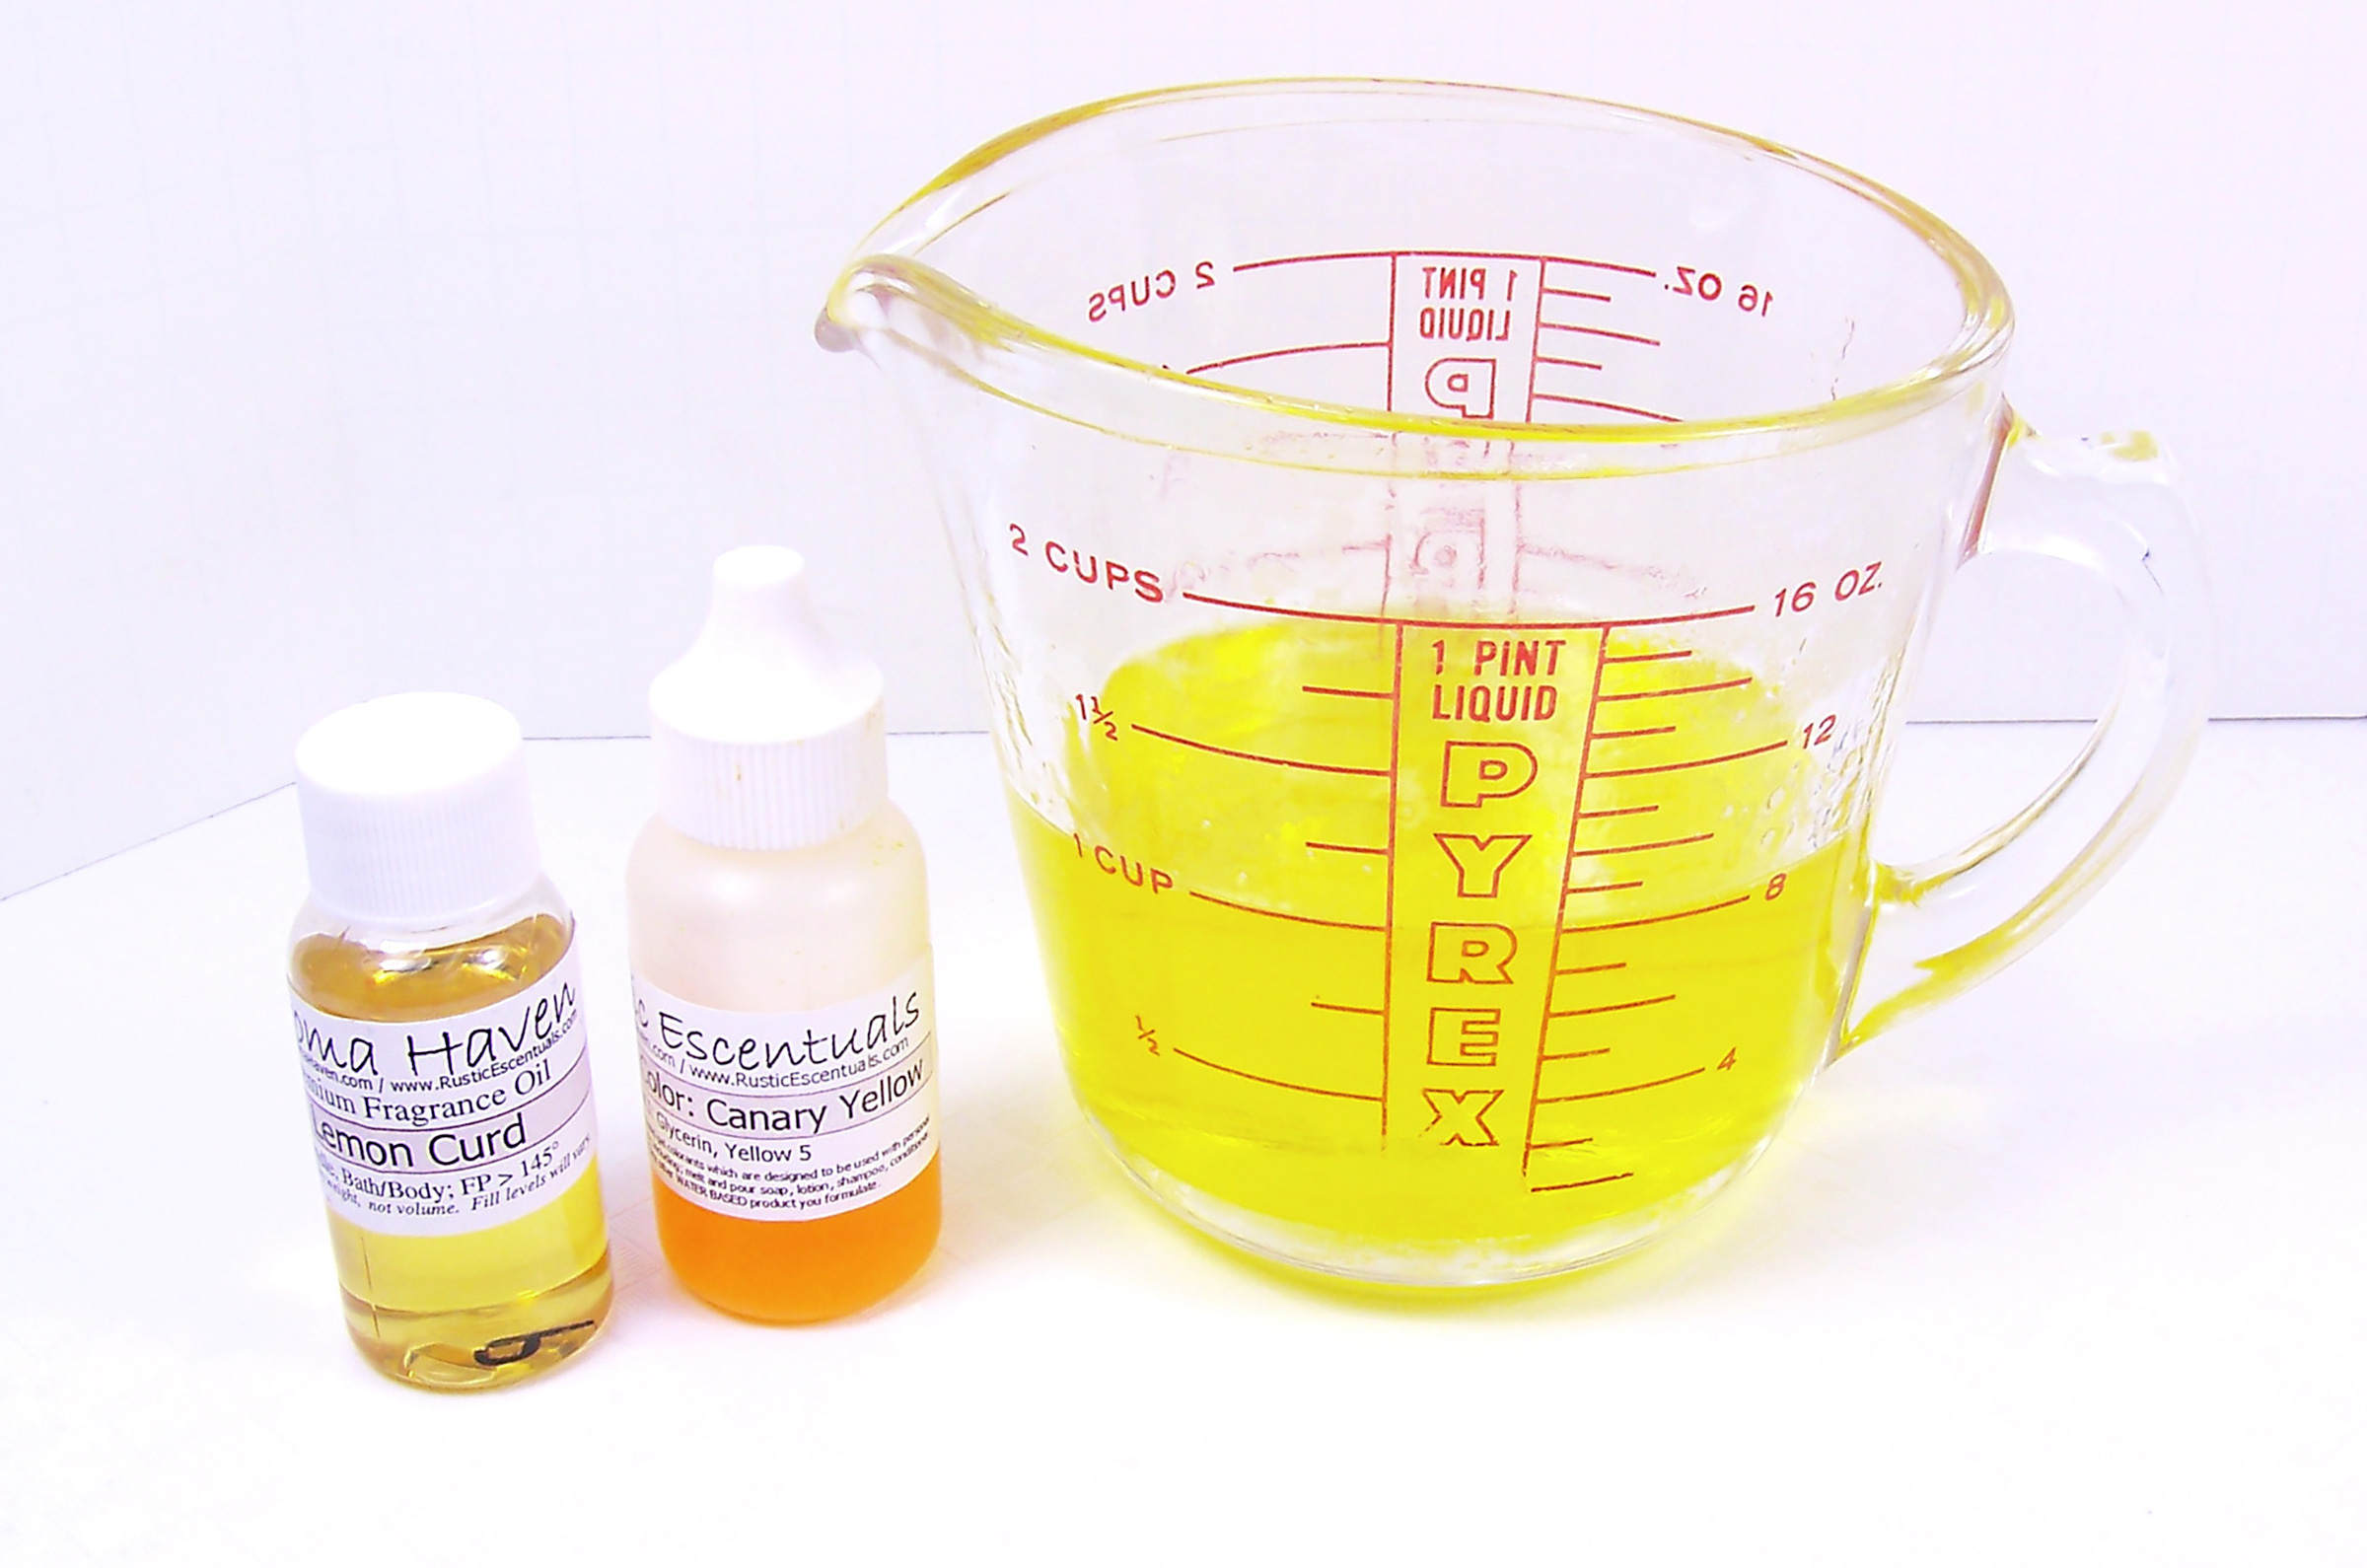
Soap Fragrance Oil
Gel Soap Colorant in Lemon Yellow
Disposable pipettes
Step 1
Using a scale, weigh out the following ingredients:
2 oz of Goat Milk Melt and Pour soap base
2 oz of Sweet Almond Oil
6 ounces of sugar
Step 2
Using a microwave safe container, melt 2 ounces of Goat Milk Melt and Pour soap base in a microwave for approximately 15 seconds. Repeat at 10-second increments if necessary.
Step 3
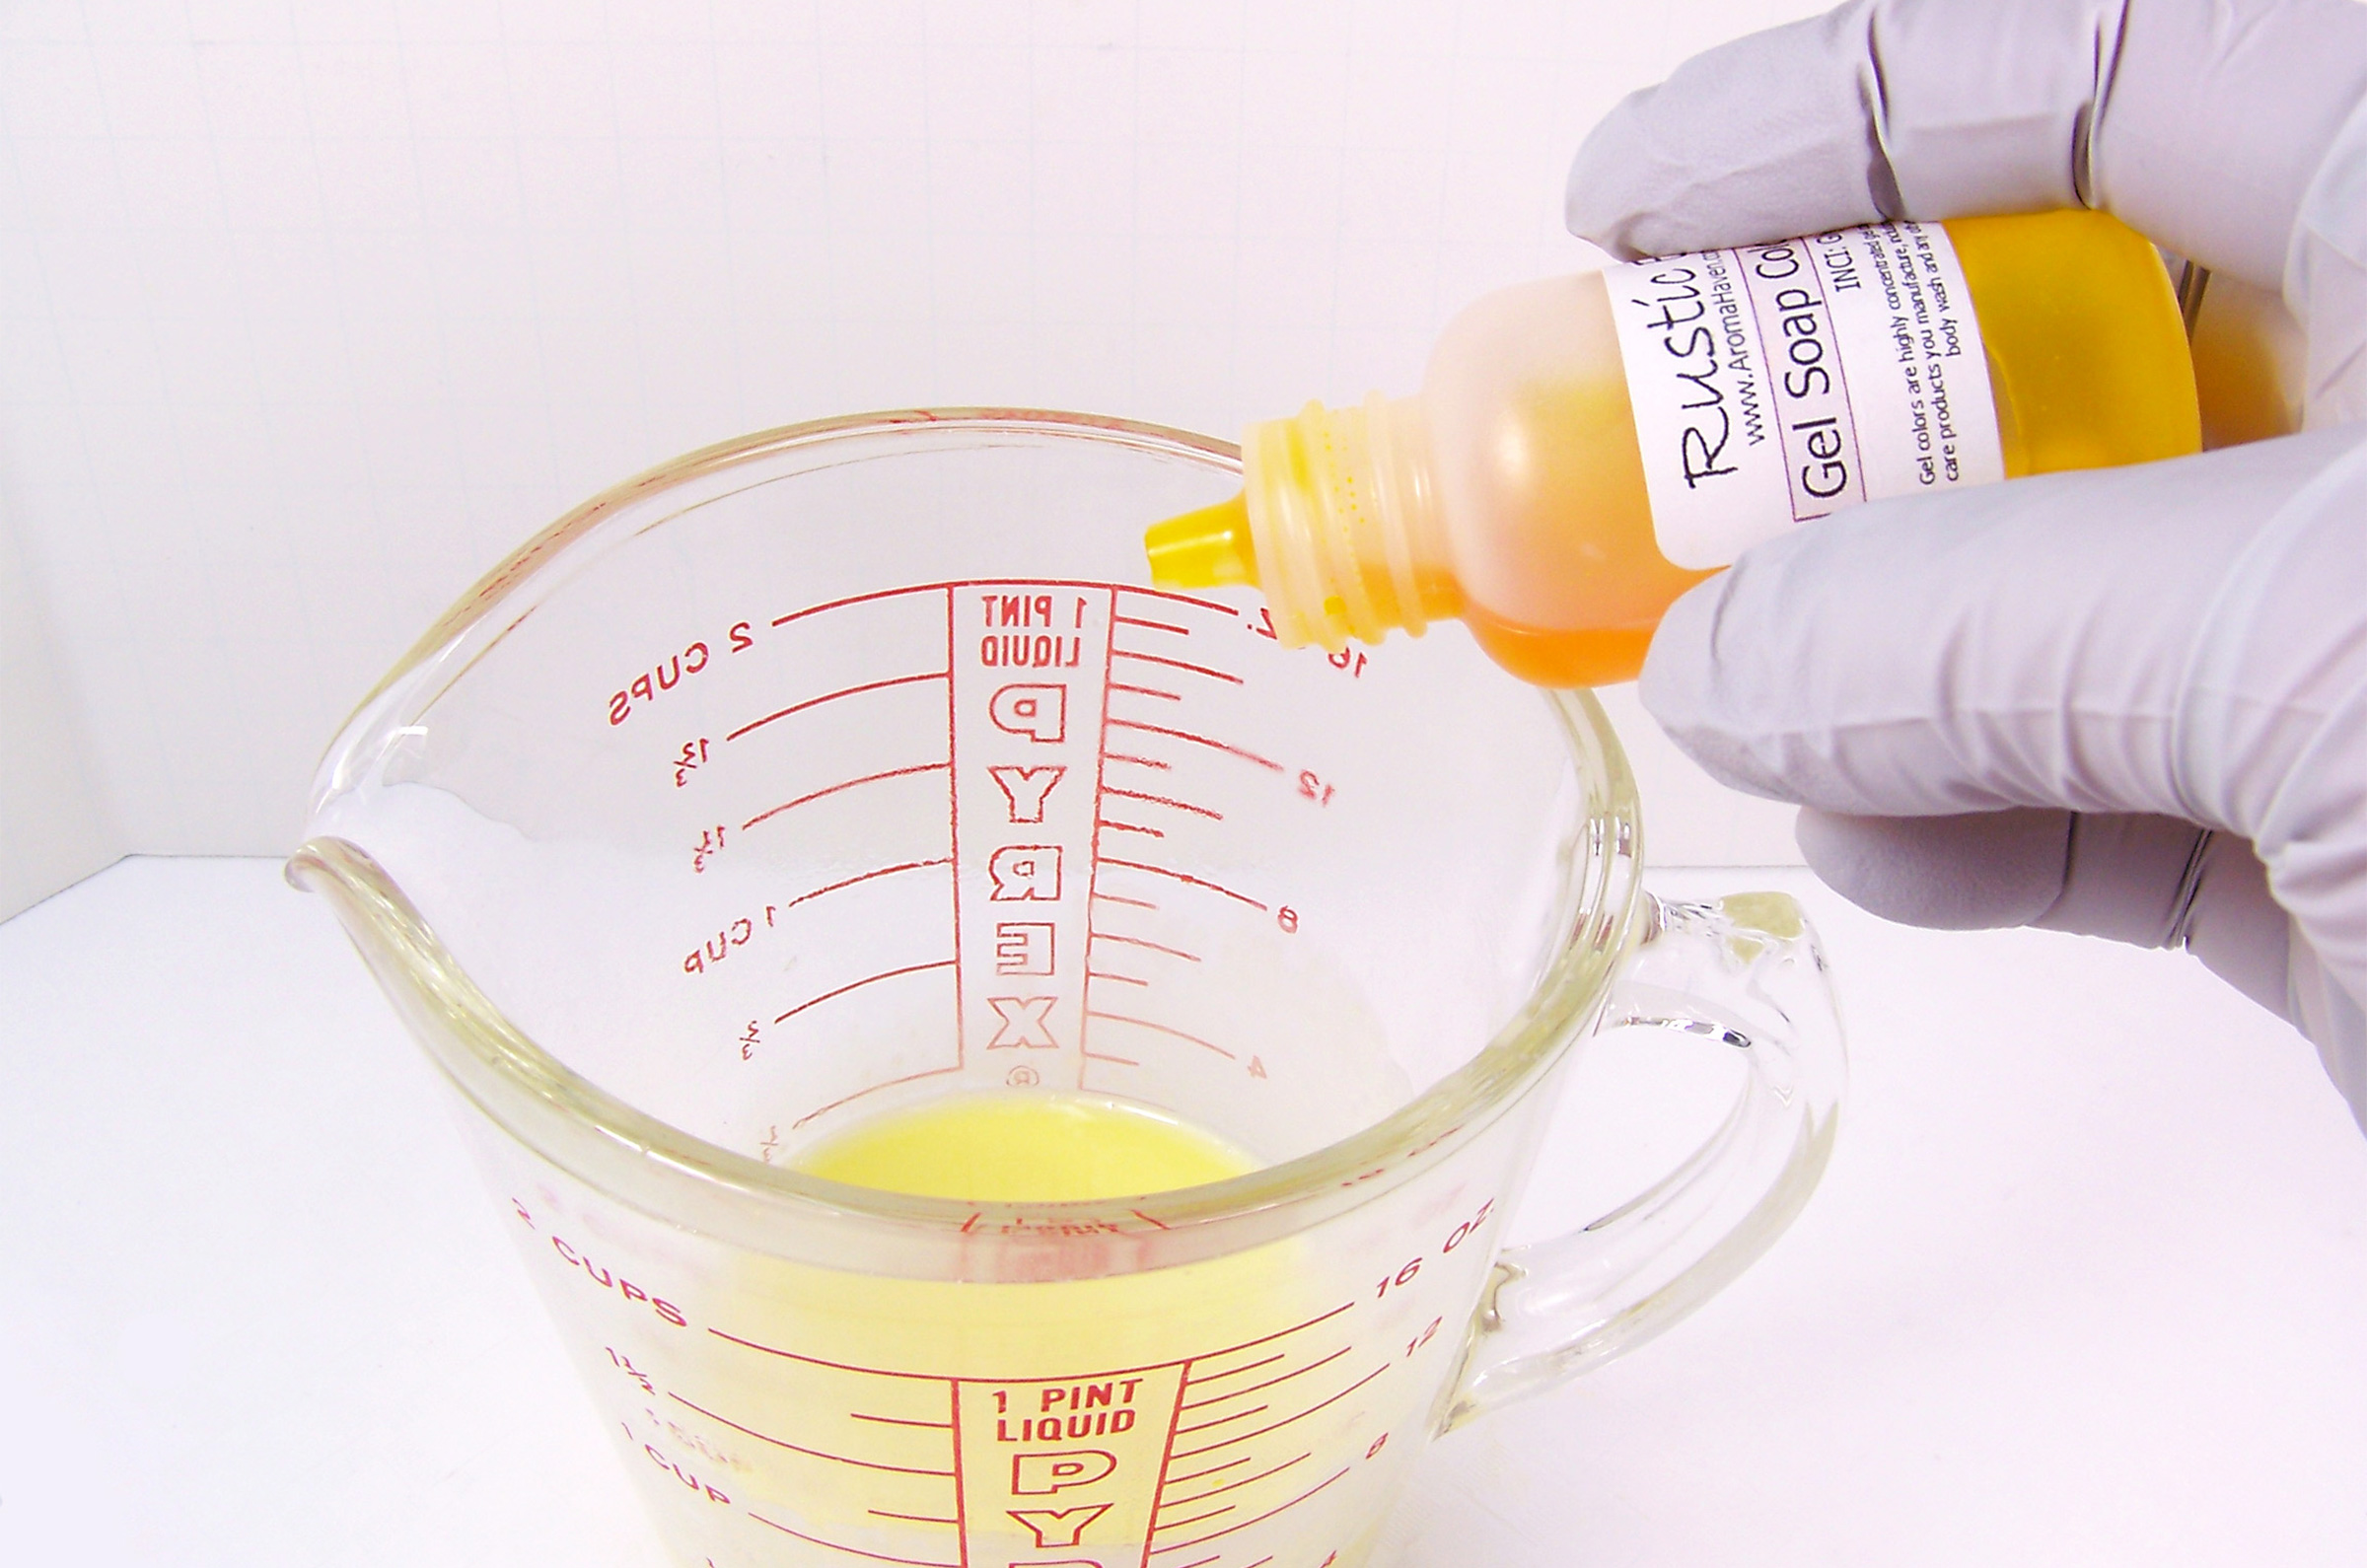
Add 3 drops of Lemon Yellow Gel Colorant to the melted soap base and stir.
Step 4
Using a disposable pipette, add 2 ml of soap Fragrance Oil and stir. For this soap making tutorial, we chose Lemon Curd fragrance oil to match the beautiful yellow soap colorant!
Step 5
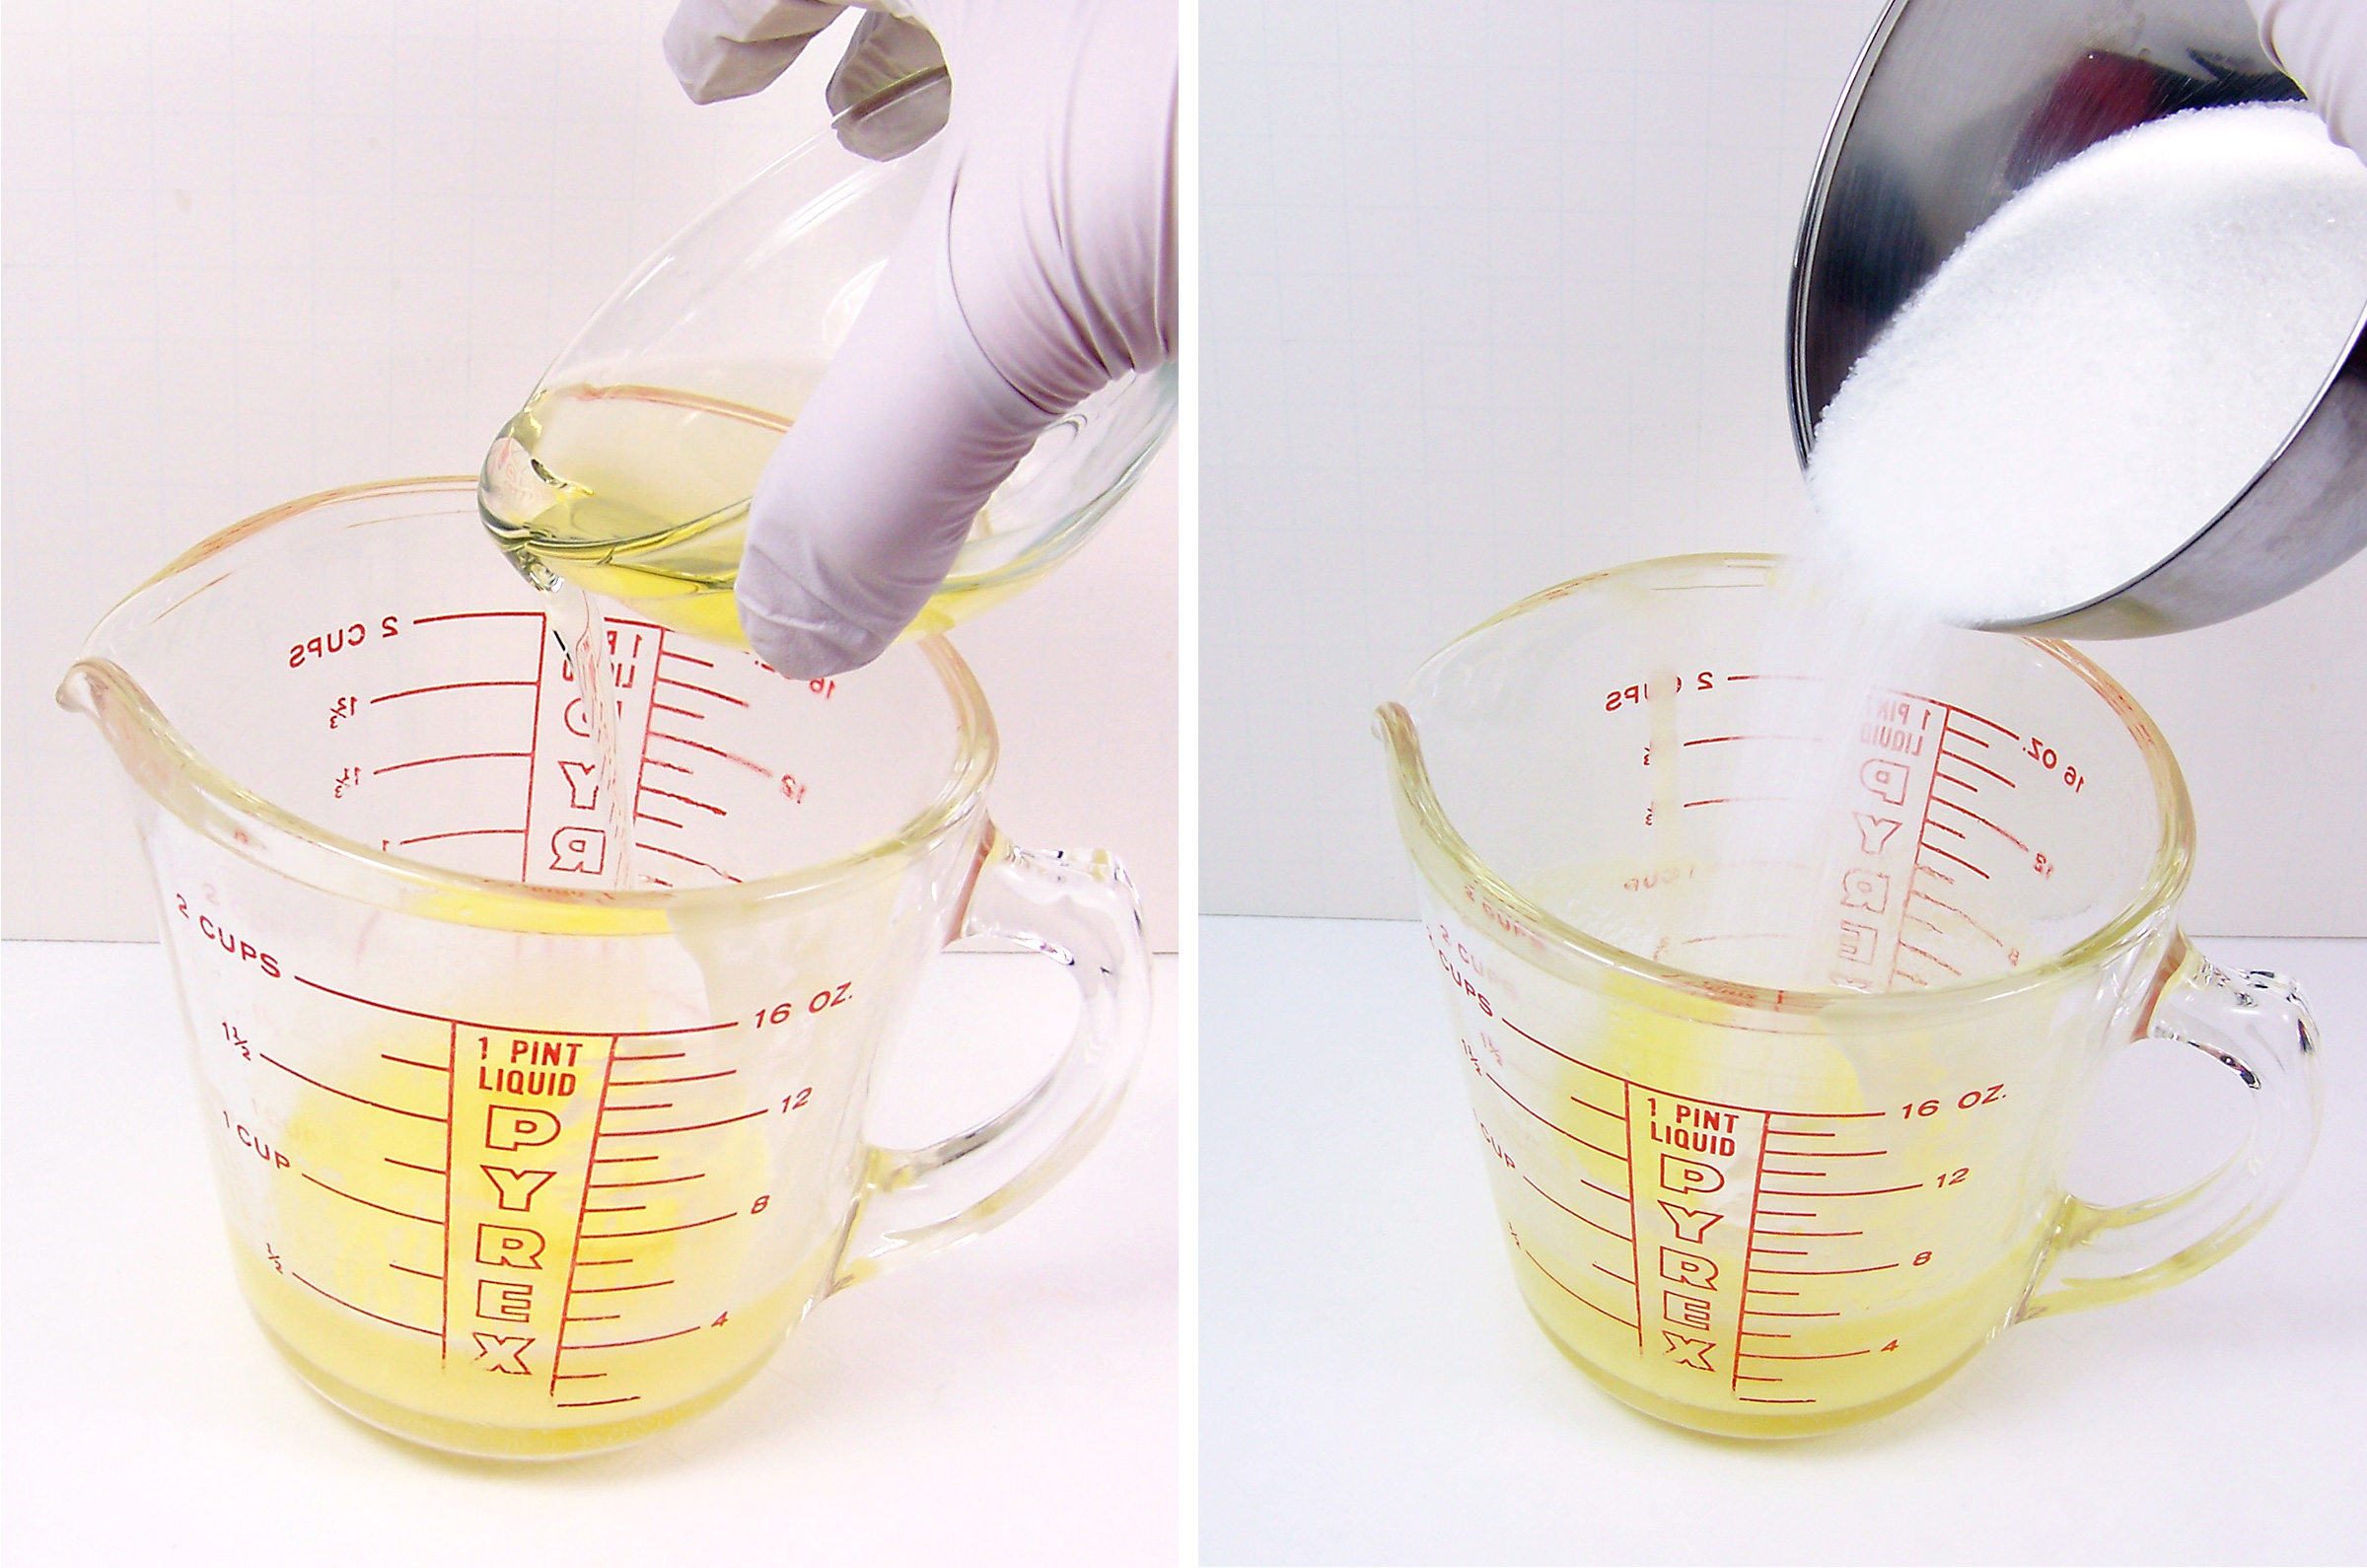
Add 2 oz of Sweet Almond oil to the melted soap base and stir to fully incorporate the oil into the soap.
Step 6
Stir in 6 ounces of sugar with a fork. At this stage you need to work fast because the mixture will set up quickly. A fork works much better than a butter knife for stirring this textured mixture.
Step 7
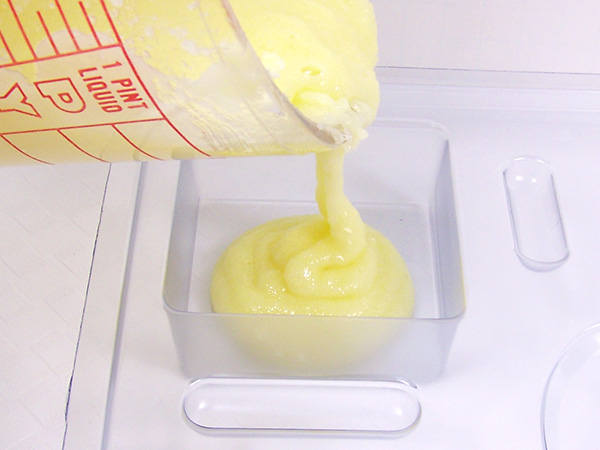
Pour the scrub mixture into the Basic Square soap mold approximately 3/4 of the way up. This amount will fill 2 cavities.
Note: If the scrub mixture sets before you can pour into the mold, zap it in the microwave on 50% power for 10 seconds. You can repeat if necessary.
Step 8
Set aside to fully cool and set. Approximately 1 hour.
Step 9
After the scrub has set, turn the mold over carefully and slowly press on the bottom of the cavity to release.
Step 10
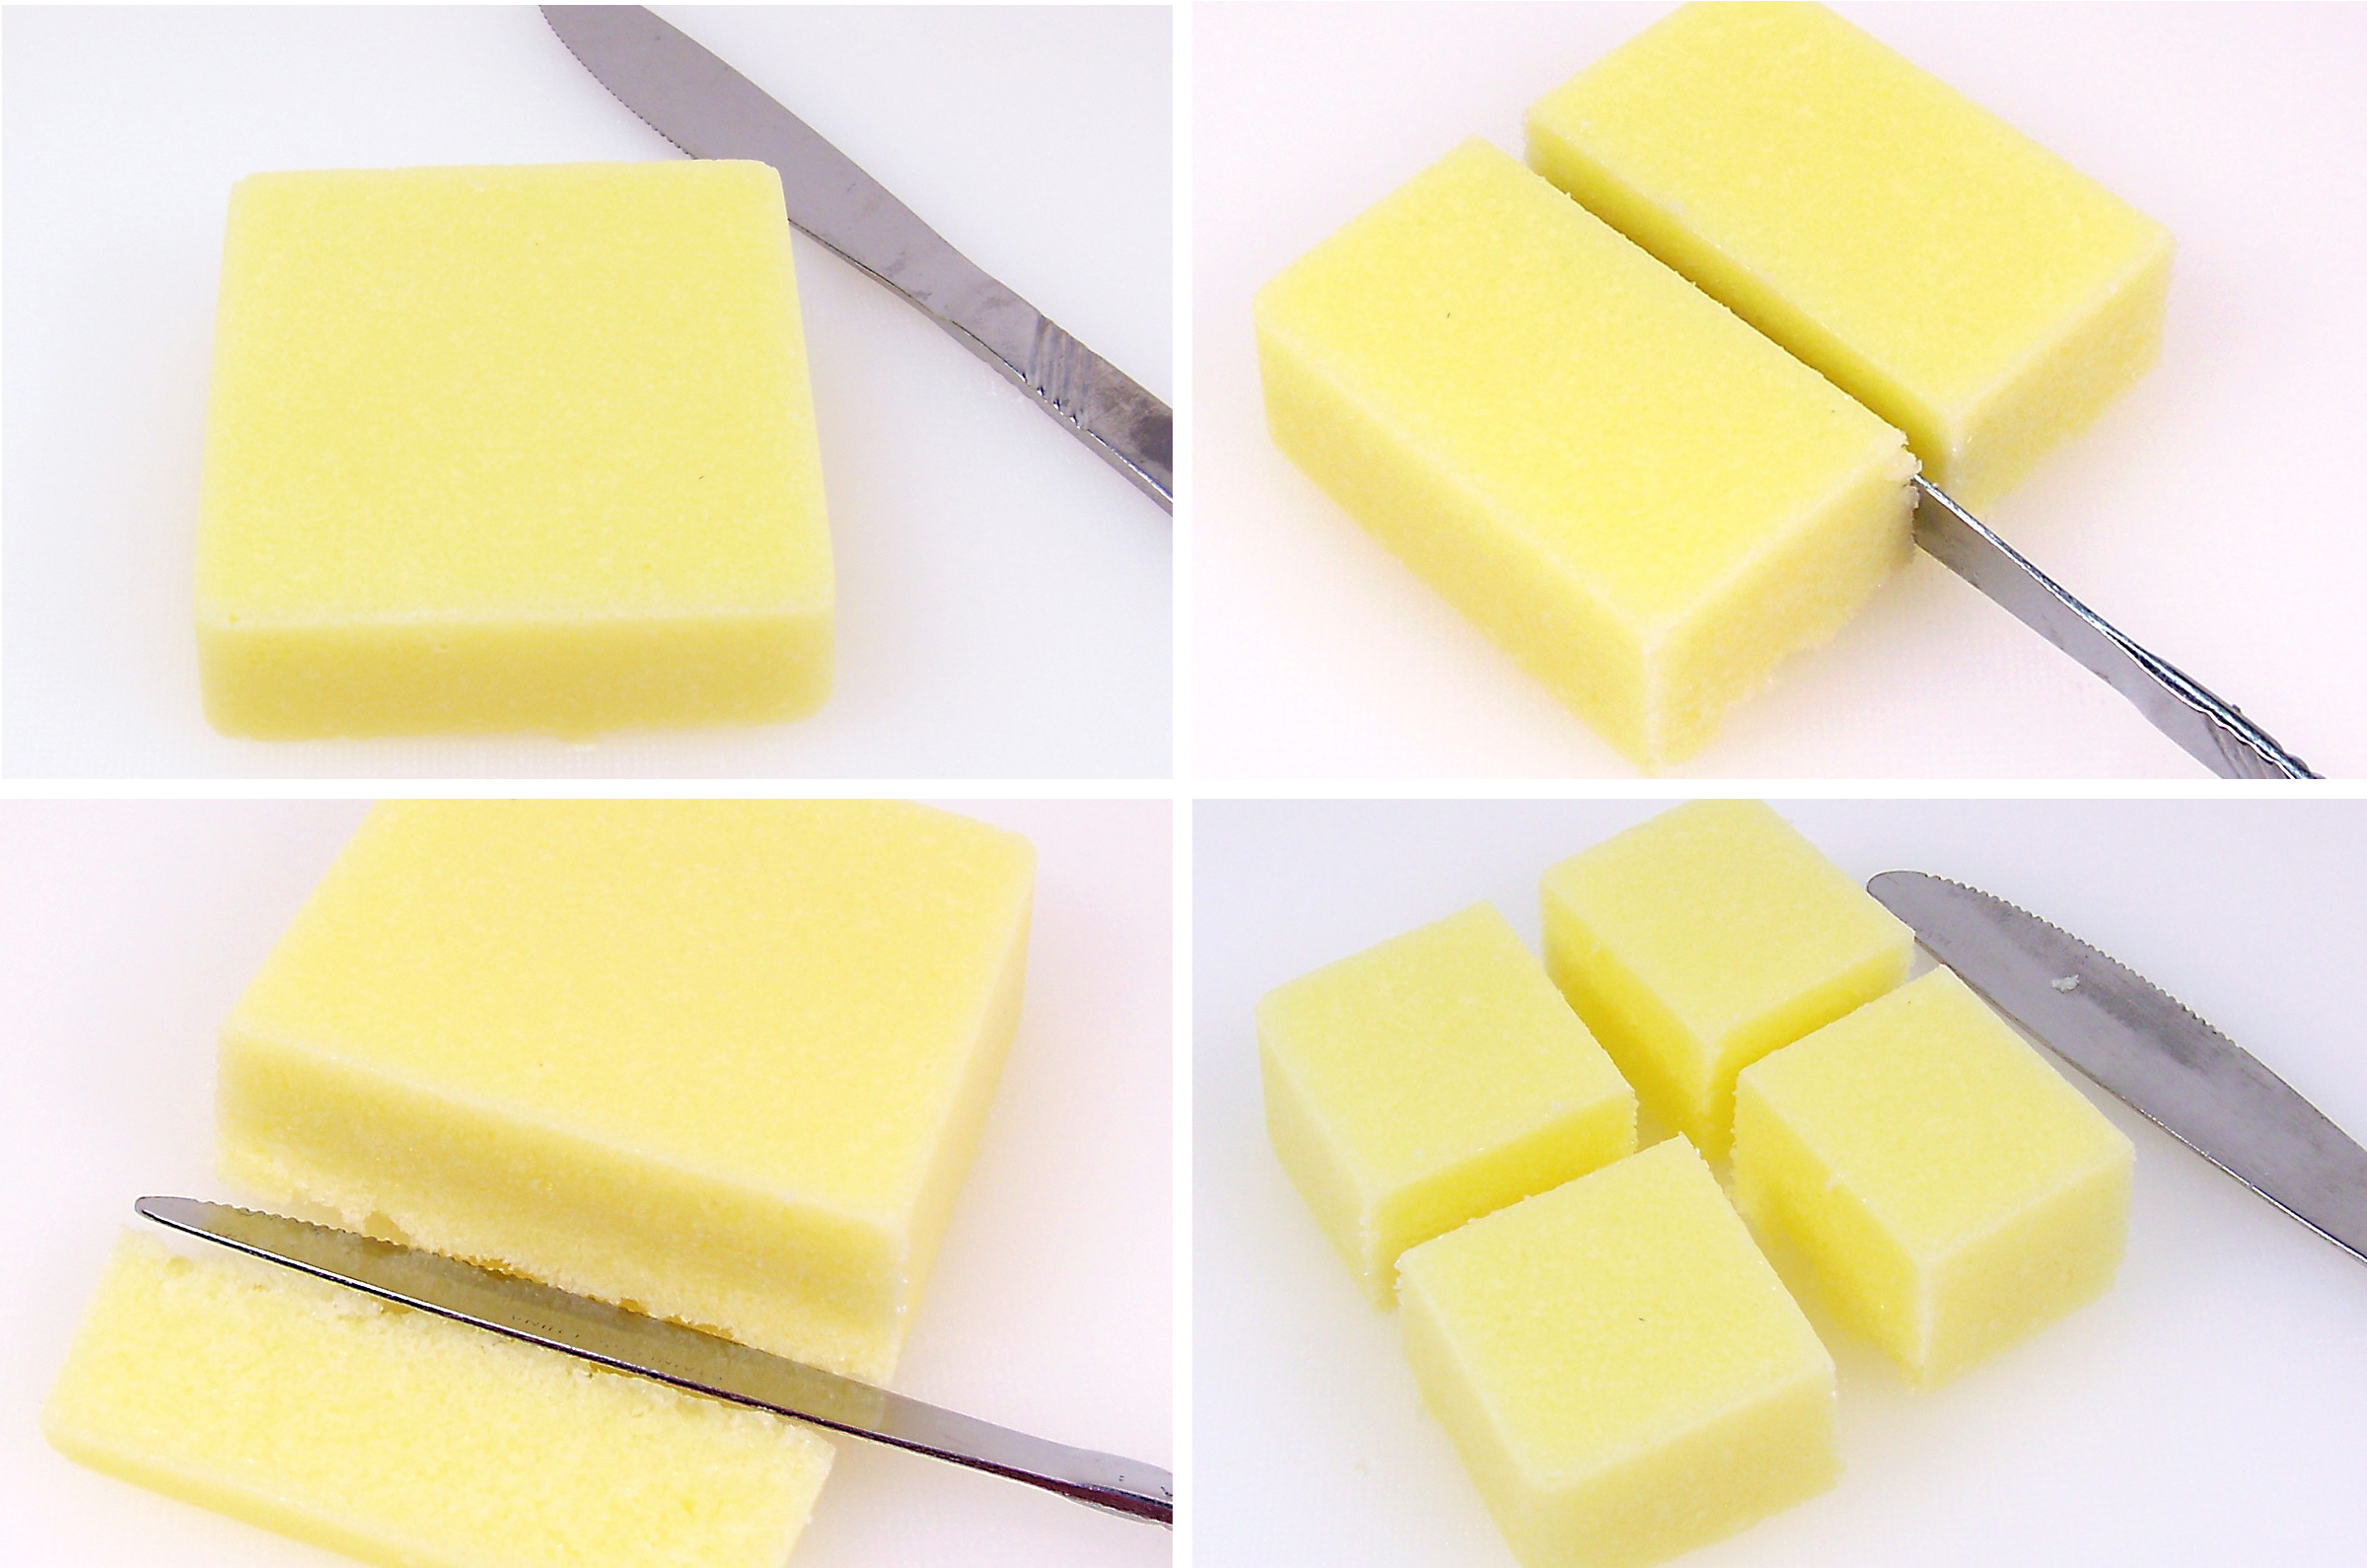
Trim the sugar scrub on two sides to ensure that it will be smaller than the original cavity size. After trimming, cut the sugar scrub into 4 pieces and set aside.
Making the Soap
Step 1
Cut up approximately 7 ounces of Ultra Clear Melt & Pour soap base into small cubes using a sharp knife.
Step 2
Using a microwave safe container, heat in a microwave using 30-second bursts until melted. Do not burn or boil, this will result in a poor quality rubbery soap. If there are any small chunks of soap left, stir slowly; the heat of the soap will melt these small chunks.
Step 3
Add 3 drops of Lemon Yellow Gel Colorant to the melted soap base and 2 ml of Lemon Curd Fragrance Oil – stir in slowly.
Step 4
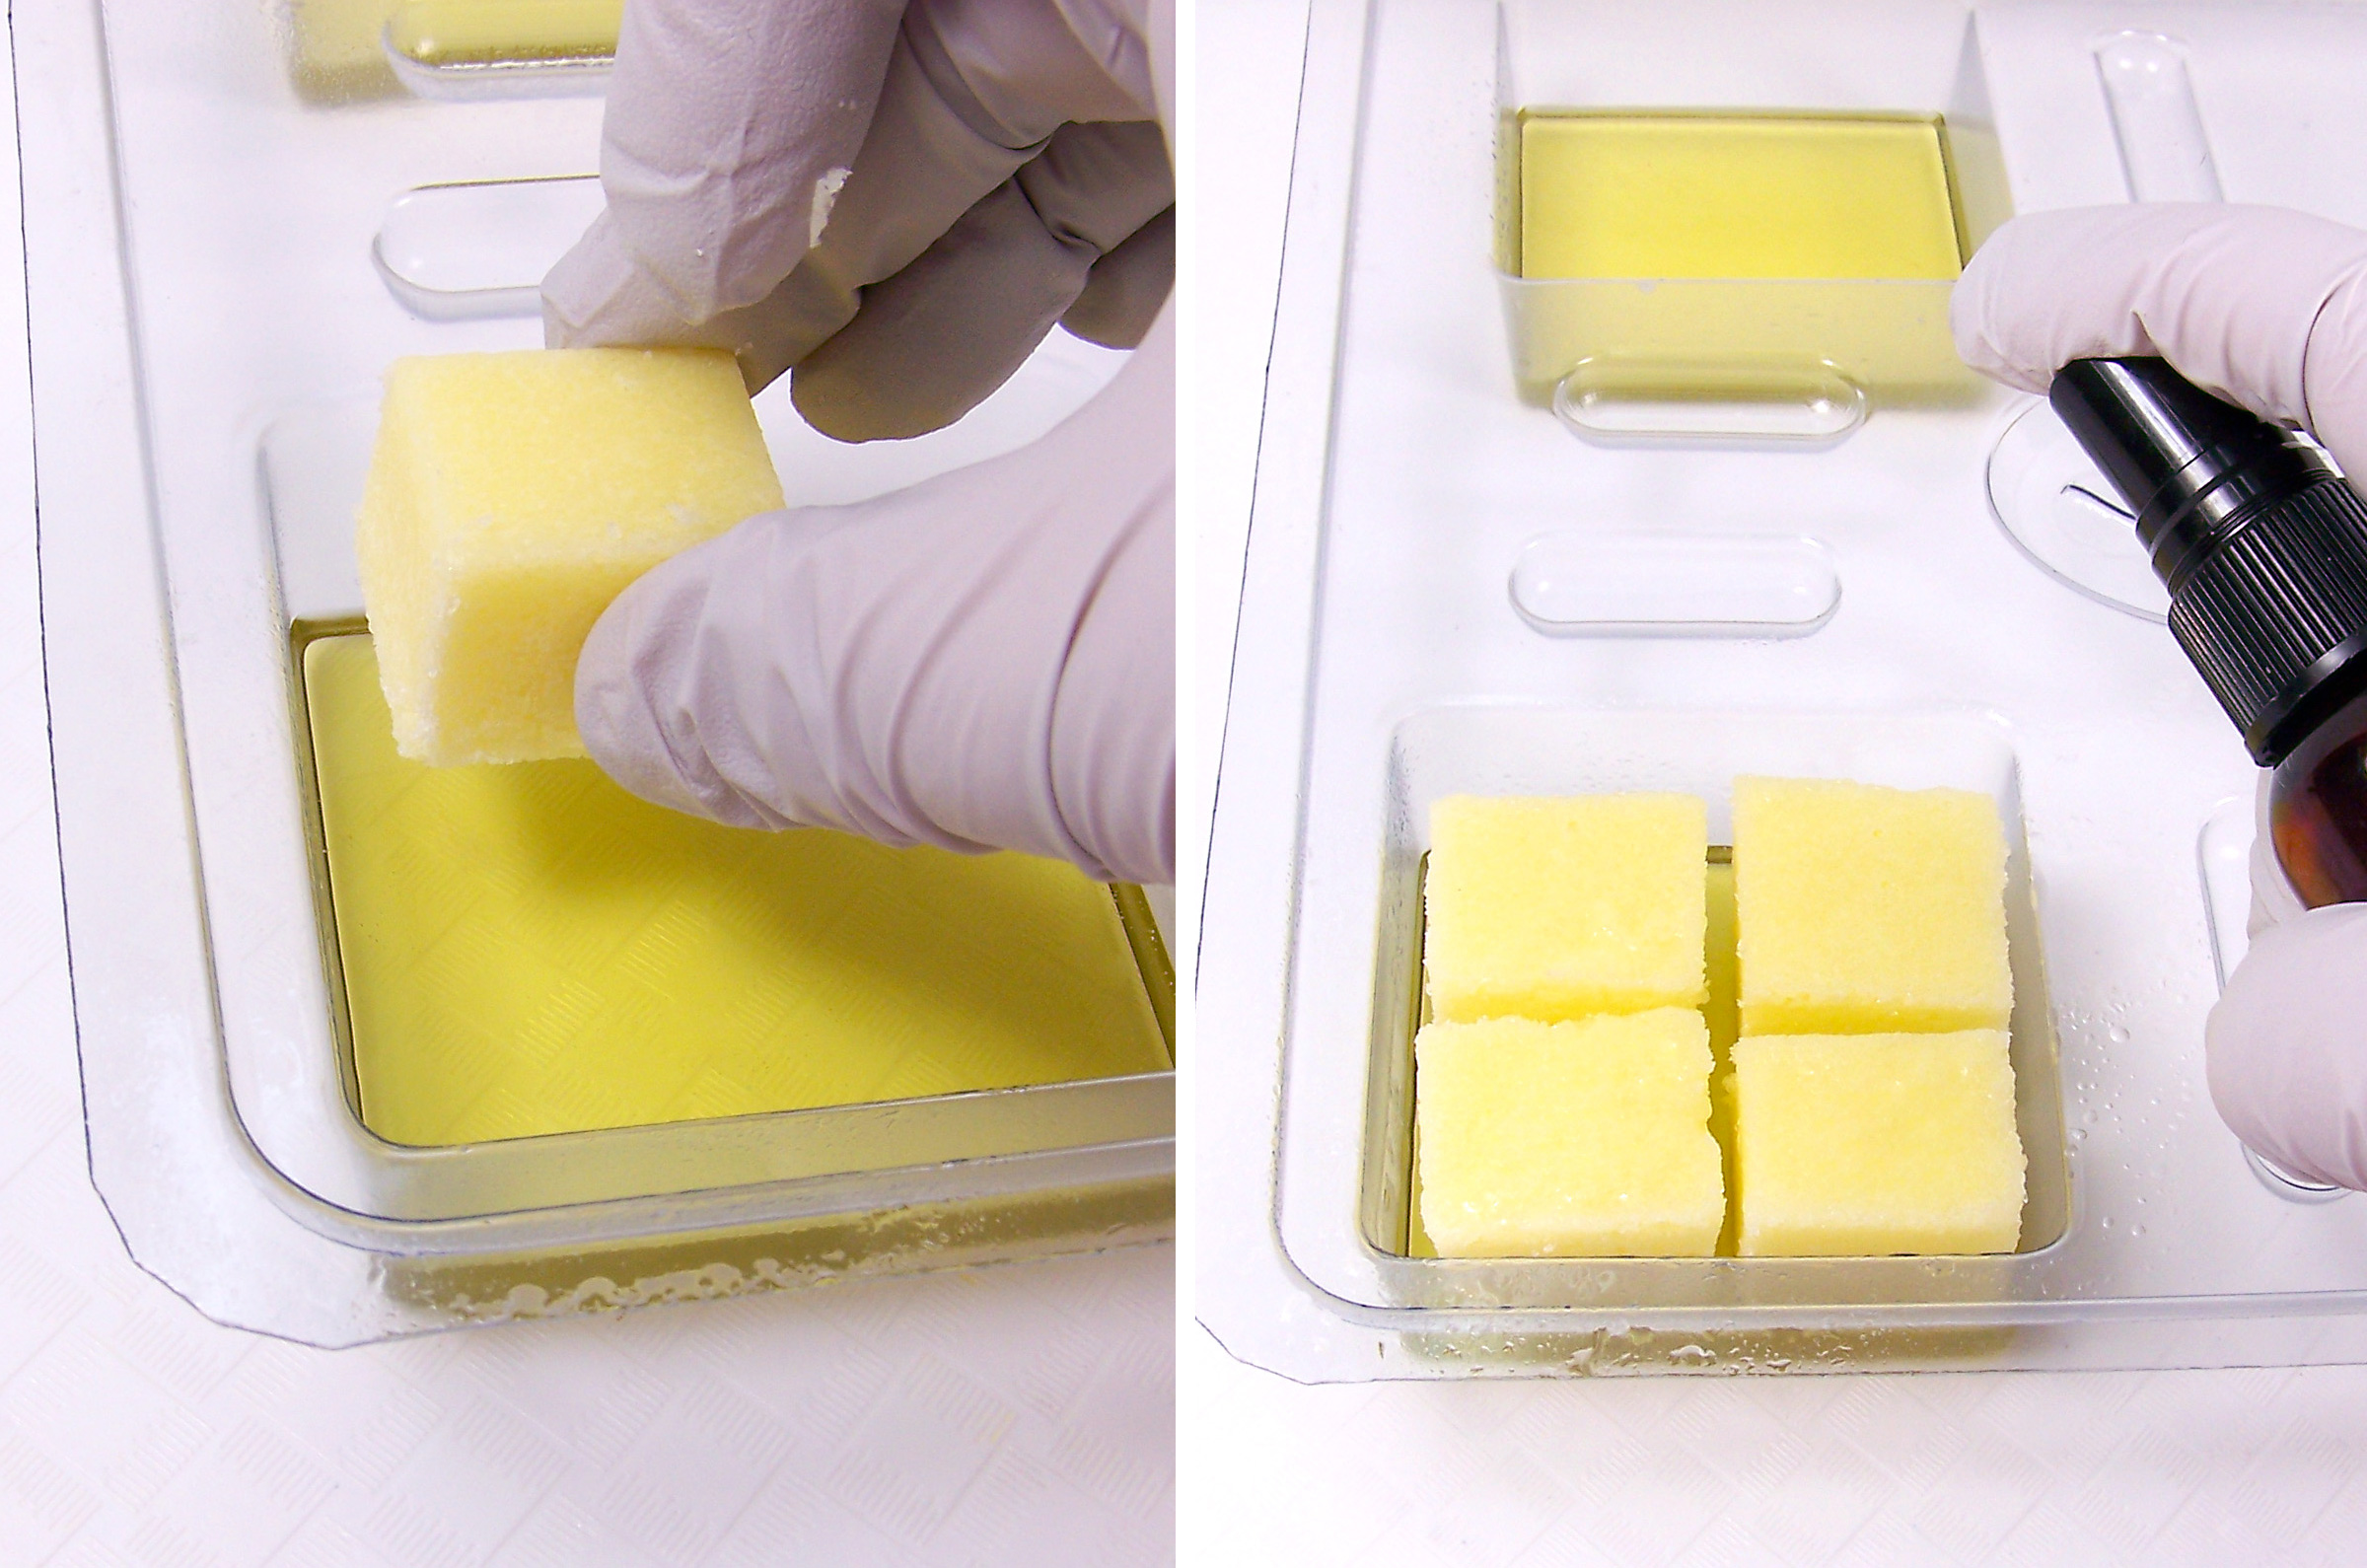
Add a small amount of the melted soap base into the bottom of a cavity in the Basic Square soap mold.

Step 5
Spritz with alcohol to remove any bubbles and allow to set approximately 5 minutes.
Step 6
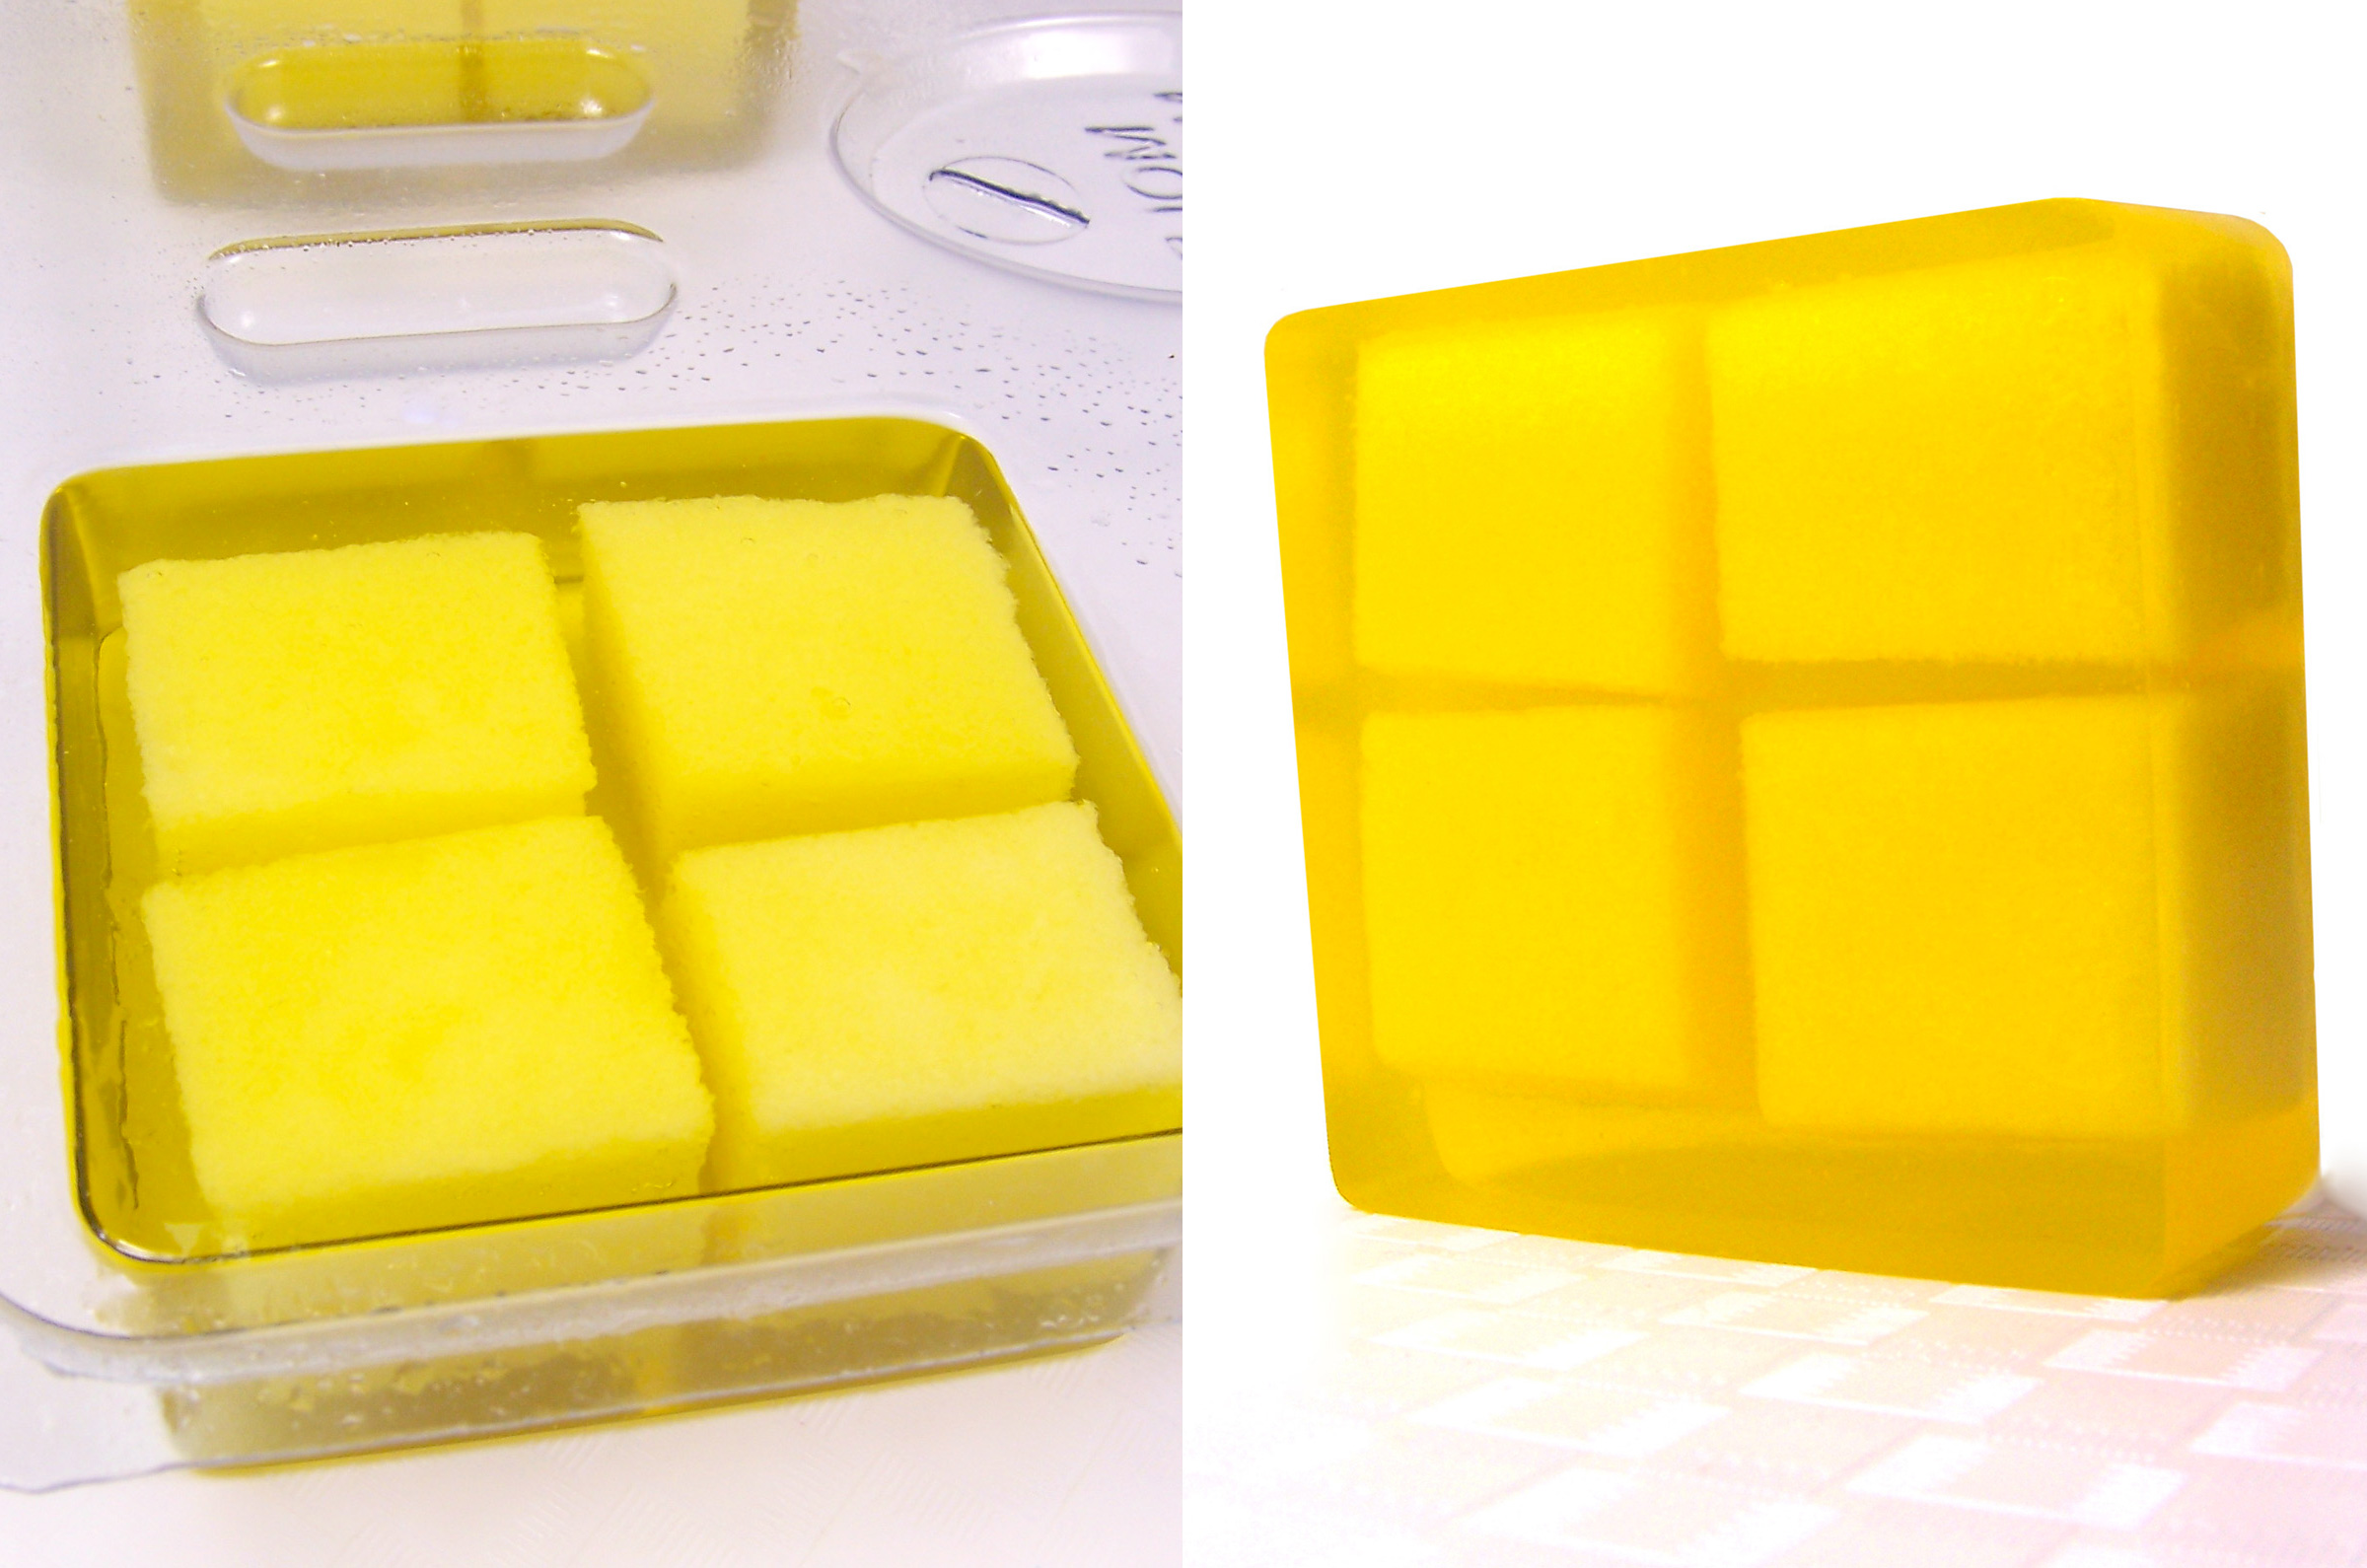
Place 4 pieces of the solid sugar scrub cubes into the soap mold cavity and spritz lightly with alcohol. Make sure you have gaps between the cubes.
Step 7
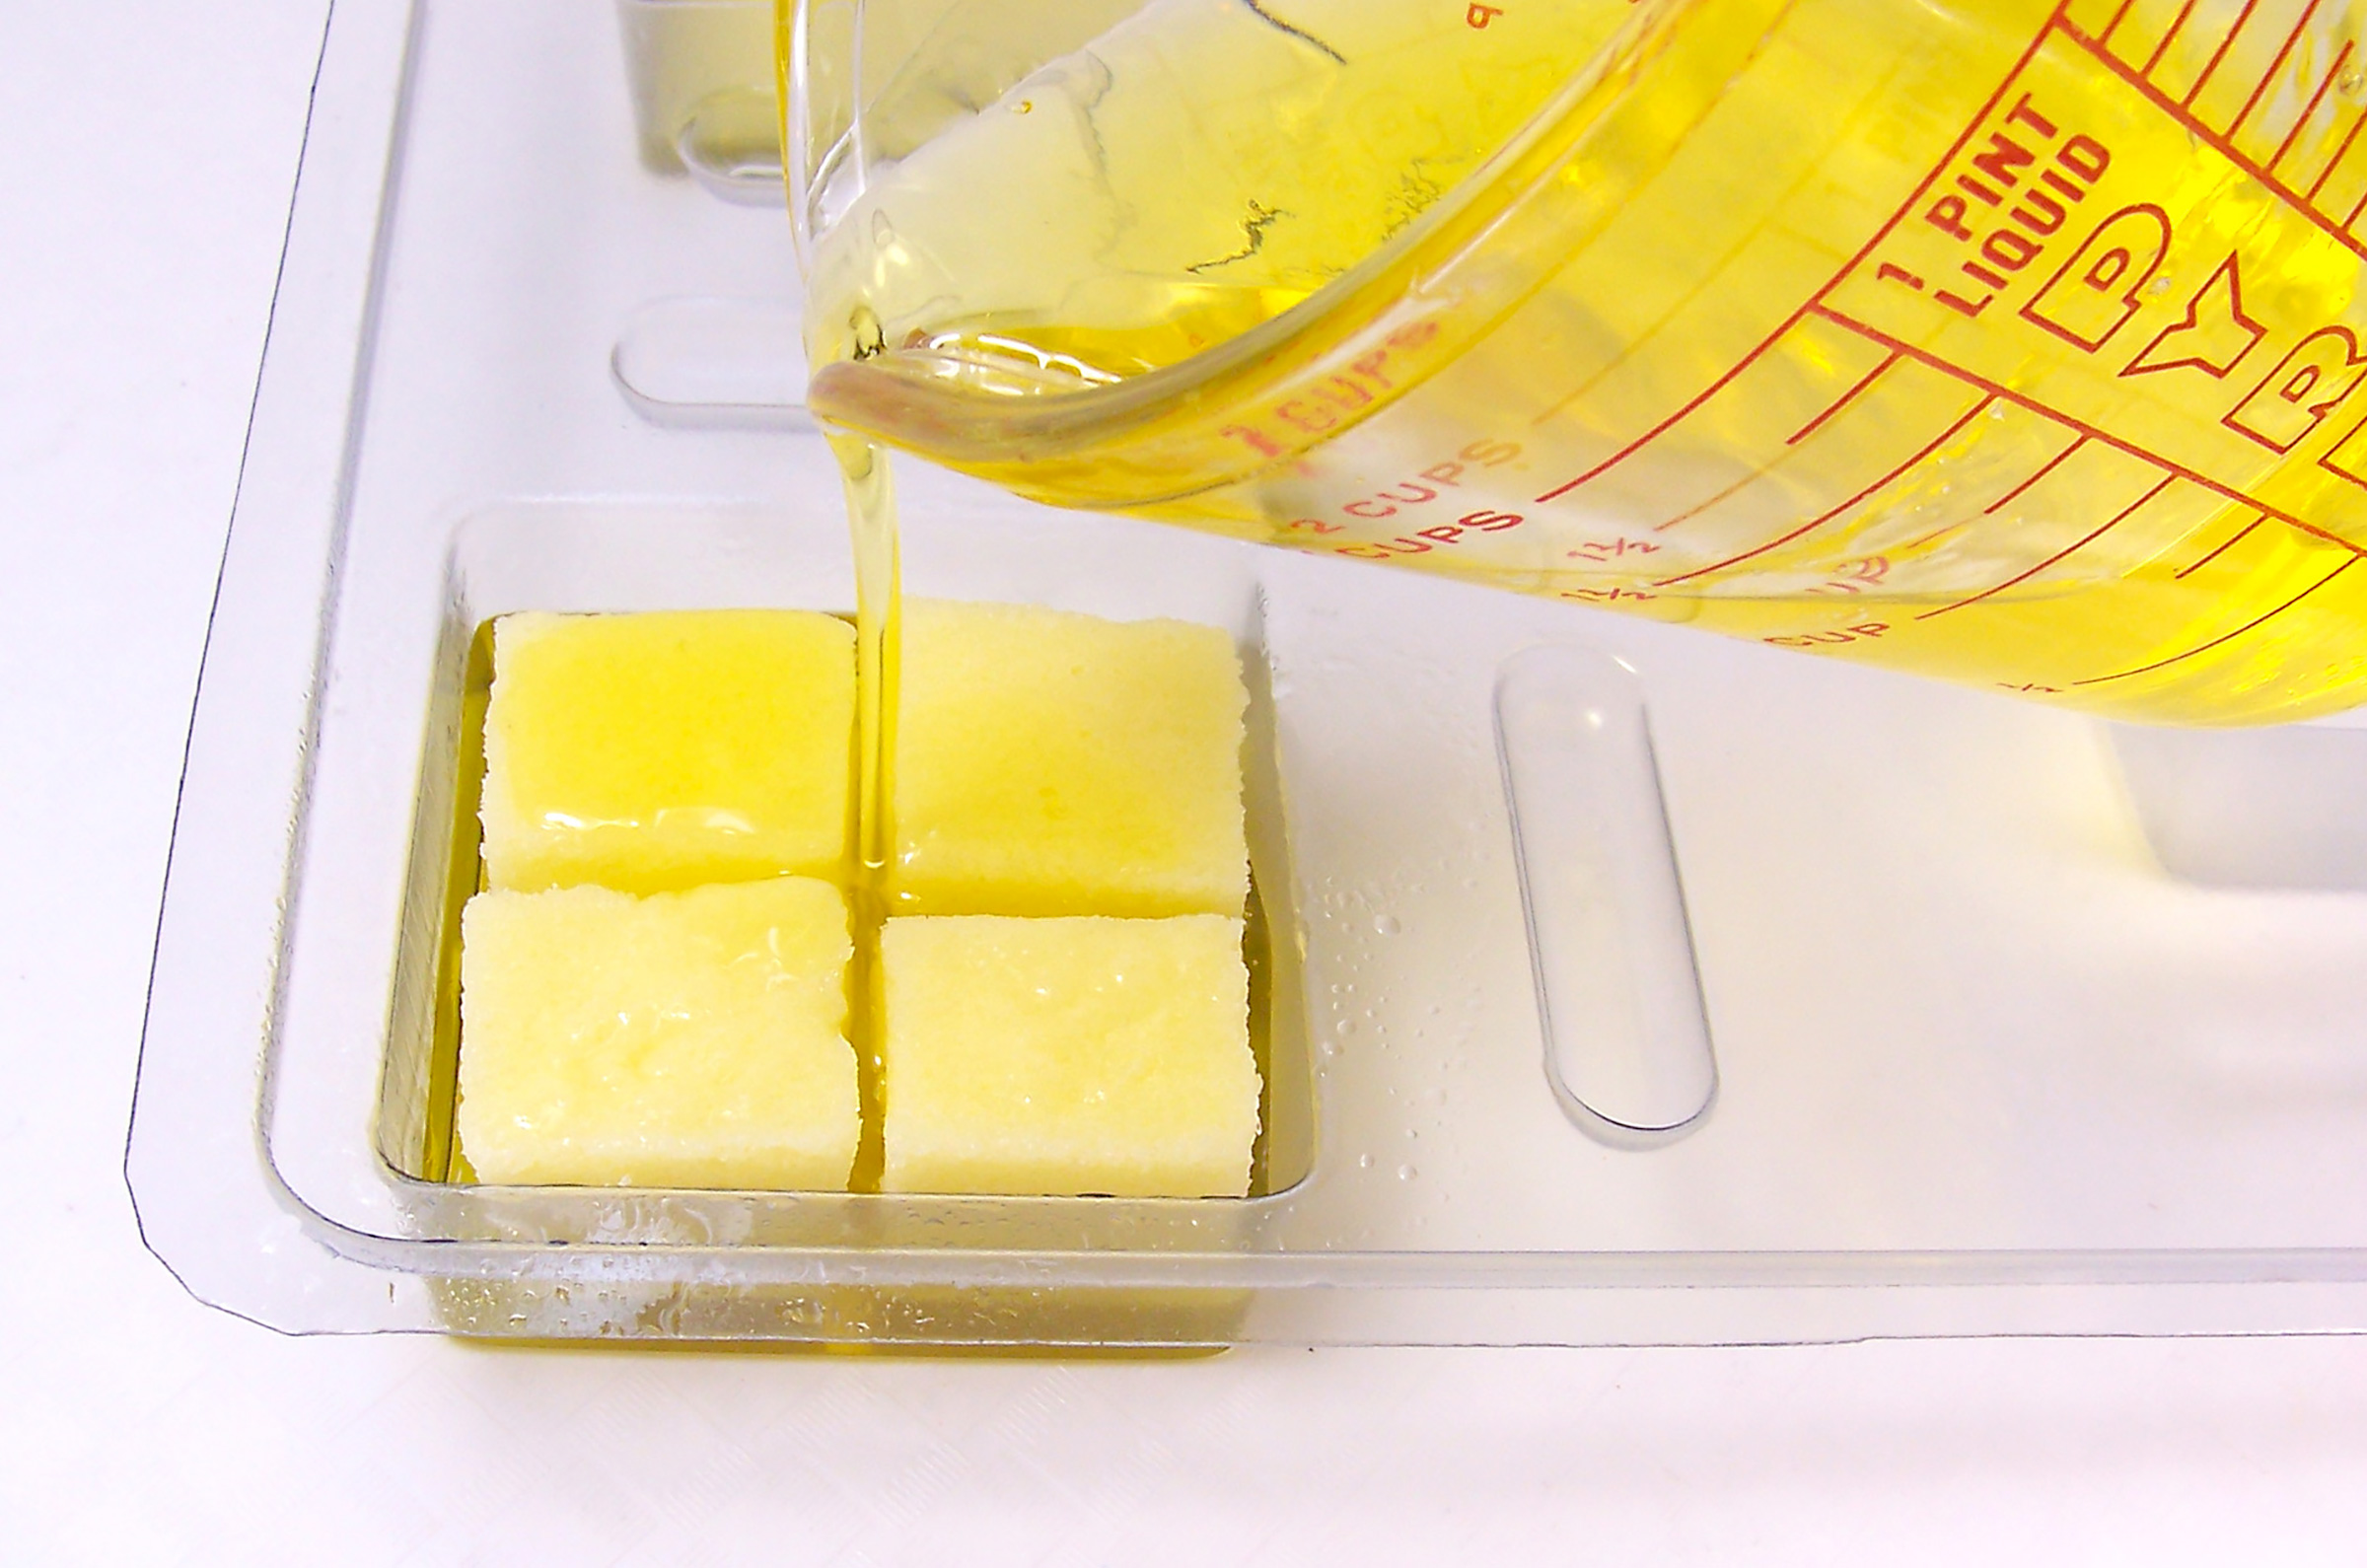
Take the remaining melted soap base and pour into each cavity. You can either pour in between the sugar cube scrub pieces leaving the scrubs exposed or pour a thin layer over the top. The thin layer of soap will help protect the scrubs if you will be packaging them for a gift or for sale, it will wear away quickly when first used.
Each cavity should take 3 or 3.5 ounces of soap.
Step 8
Set aside and allow to set 3 hours or overnight. Release from mold when set and enjoy!