by Rustic Escentuals
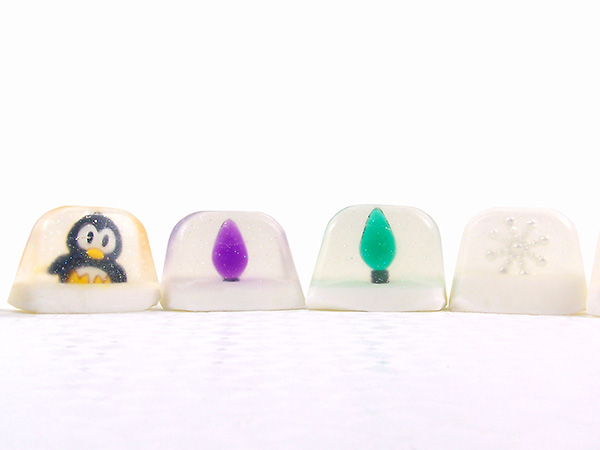
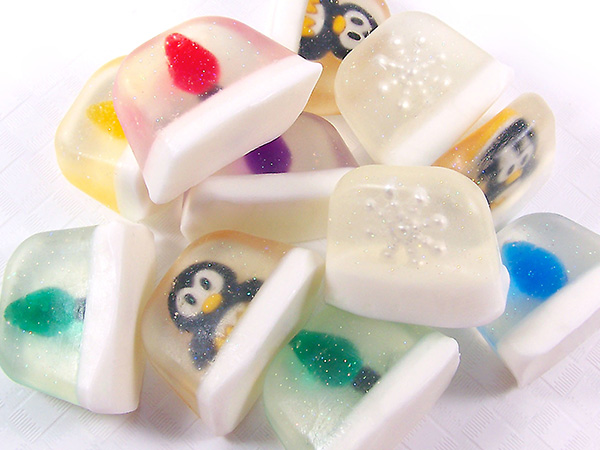
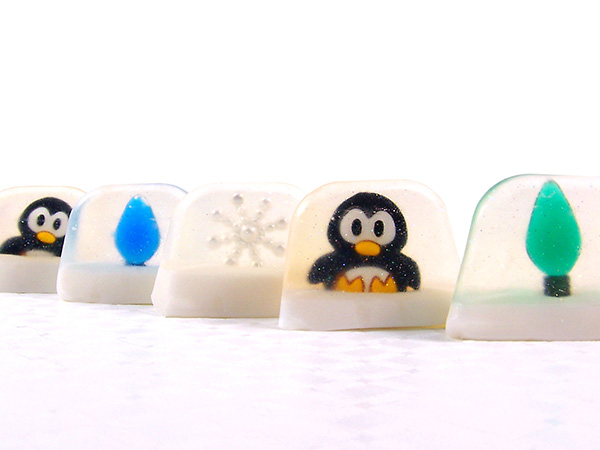
Wonderful guest soaps for the holidays! These adorable teeny tiny snow globe soaps are perfect for gifts or decorating for the holidays.
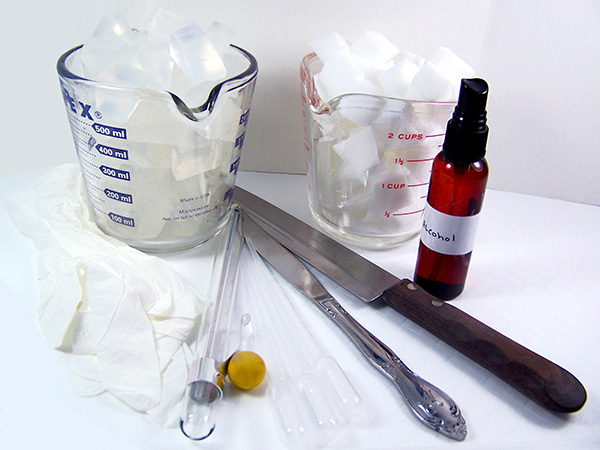
Supplies and equipment needed
Microwave safe glass container (2)
Sharp knife to cut soap
Spray bottle with rubbing alcohol
Butter knives
Rubber gloves
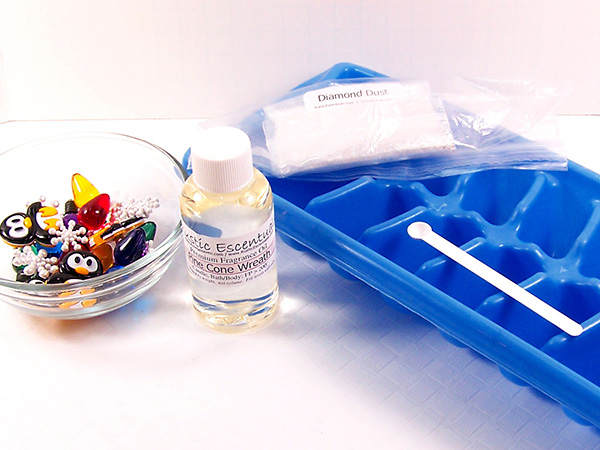
Ice cube tray
Small holiday toys or items (less than 1 inch length) – can be found in any craft store.
Disposable pipettes
Shimmer Dust Glitter: Diamond Dust
Thermometer to monitor soap temperature
Ultra Clear Melt & Pour soap base (10 oz)
White Melt and Pour soap base (4 oz)
Soap Fragrance Oil
.15 cc scoop
IMPORTANT: These soaps are not meant for children under 5 years of age. The toys/items in the soaps are small and may cause choking in smaller children.
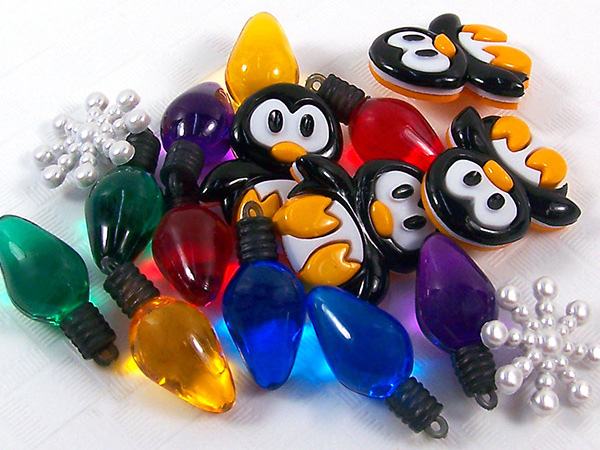
Embeds
Inserts or embeds can be small toys, buttons, or erasers with a holiday theme. They should be no bigger than 1 inch. Please measure the ice cube tray to ensure they fit.
Step 1
Take 10 ounces of cubed Ultra Clear Melt and Pour soap base and place in a microwave safe glass container. Melt in the microwave in 30-second bursts until melted. Be careful not to boil the soap — boiling will result in a poor quality rubbery soap.
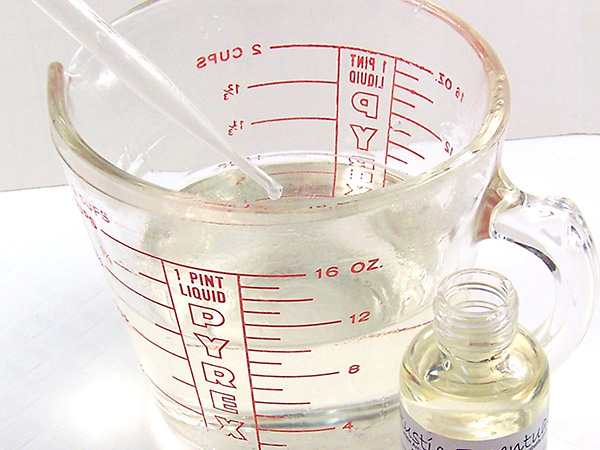
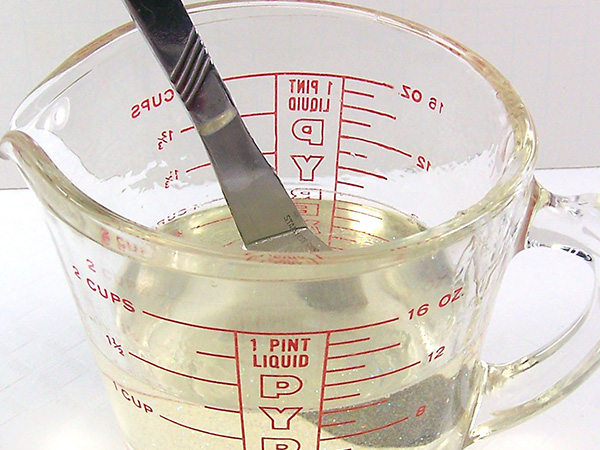
Step 2
Using a disposable pipette, add 4 ml of soap fragrance oil to the soap base and stir slowly.
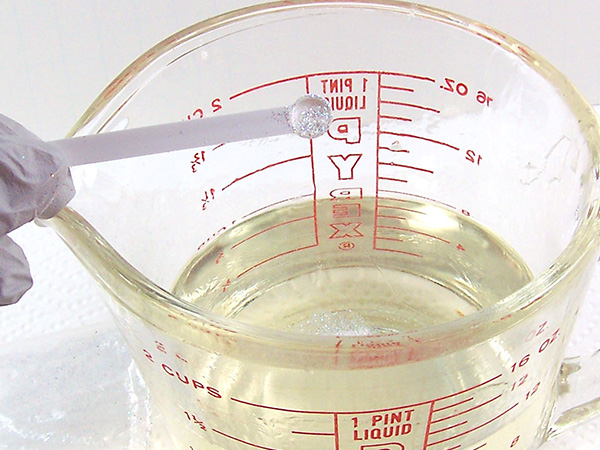
Step 3
Using the .15cc scoop, add 2 scoops of Diamond Dust glitter and stir slowly until well mixed. Continue to stir until soap base is has cooled – this will ensure the glitter remains suspended throughout the soap.
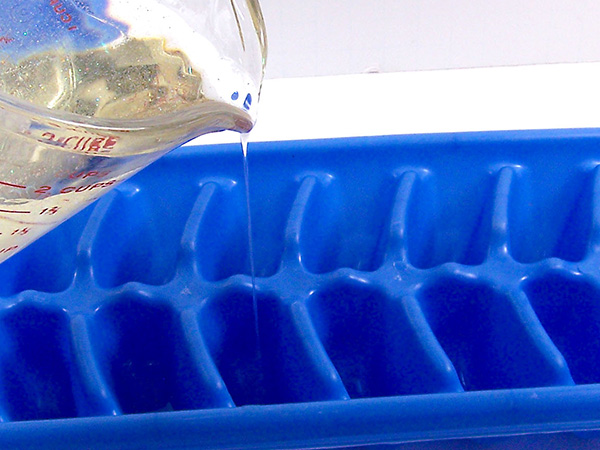
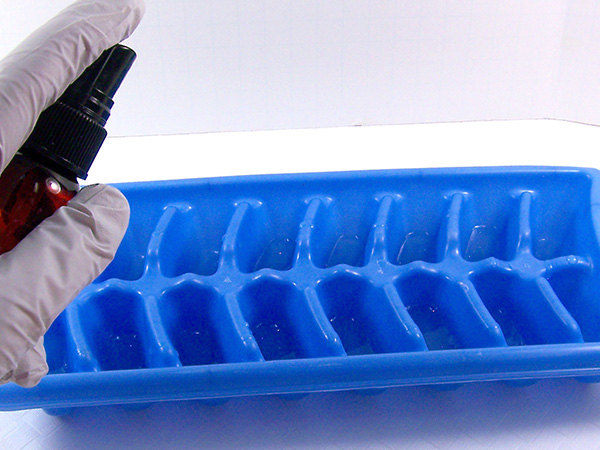
Step 4
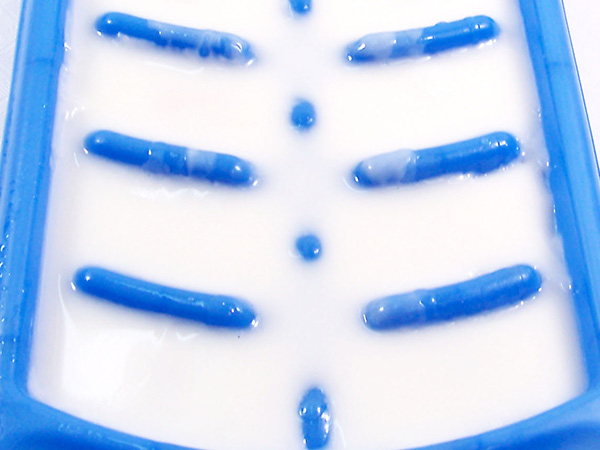
Pour a small amount of the melted glitter soap into each ice cube tray cavity – about 1/4 inch. Spritz with alcohol to remove any bubbles and let set for approximately 3 minutes.
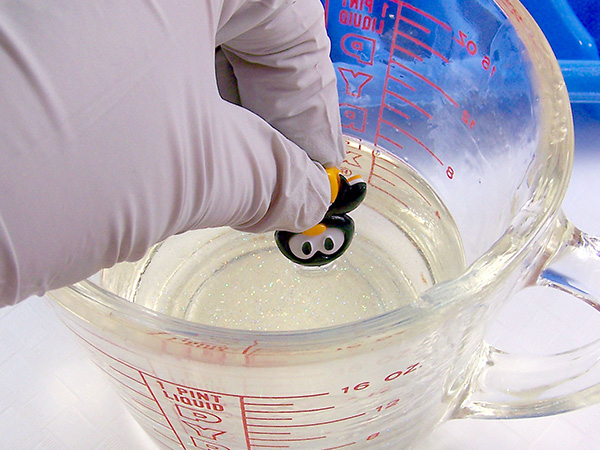
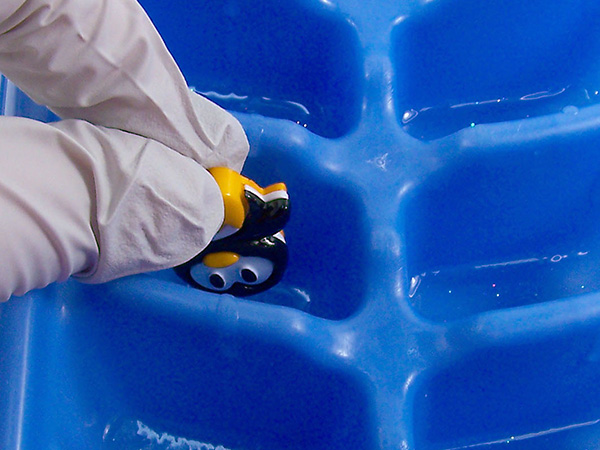
Step 5
Dip the top of a toy into the melted soap and place into one of the cavities. Hold until the toy “glues” to the first layer of soap. This will help the toy stay upright and hold it in place. Continue with the remaining toys. Remember to place the toys upside down into each cavity of the ice cube tray. This is not a lot of soap and will set quickly.
Step 6
Once all the toys/embeds are in place, wait approximately 2 minutes to make sure the “glue” has set.
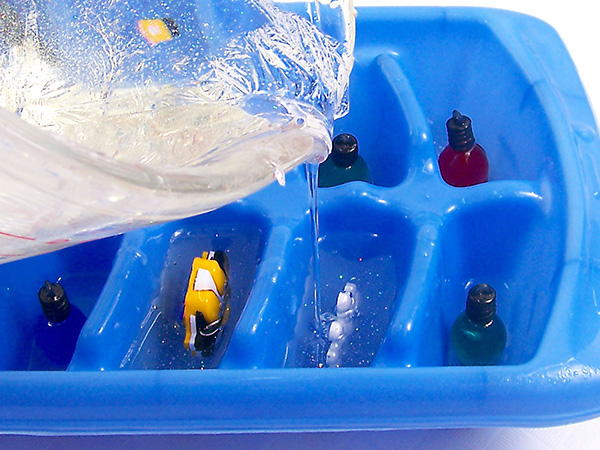
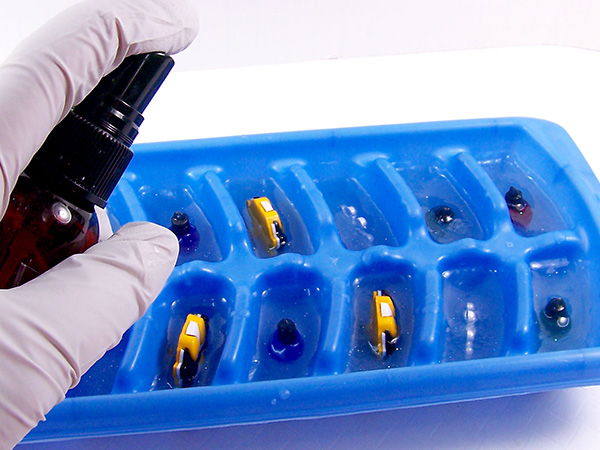
Step 7
Spritz embeds and hardened soap with alcohol and slowly pour the remaining soap. Stop pouring at approximately 1/4 inch from the top of the cavity to leave room for the white soap. Let set for 15 minutes until hard.
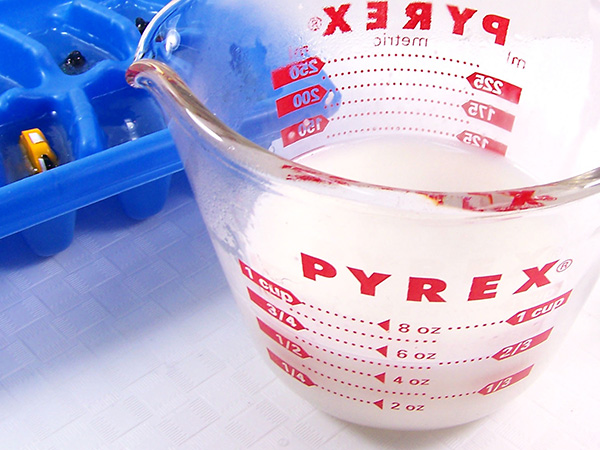
Step 8
To make the snow for the snow globe, take 4 ounces of the cubed White Melt & Pour soap base and place in a microwave safe glass container. Melt in the microwave in 15-second bursts until melted. Be careful, as this is not a lot of soap. With a disposable pipette, add 2 mls of soap fragrance oil and stir.
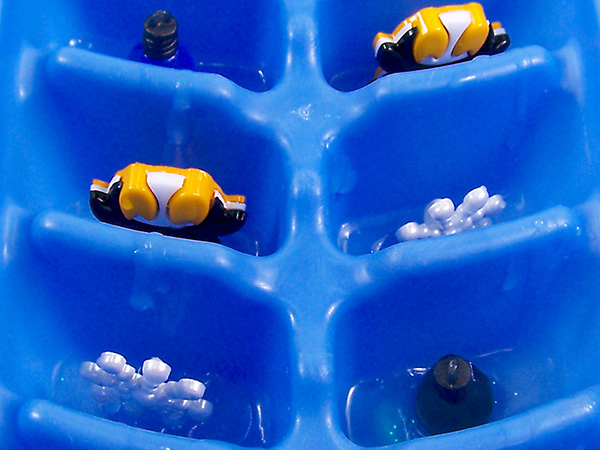
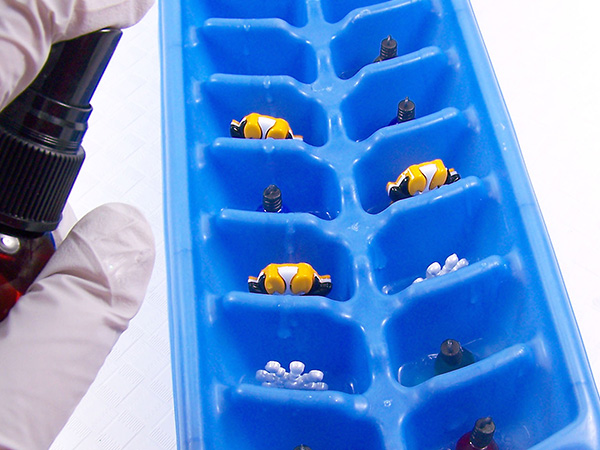
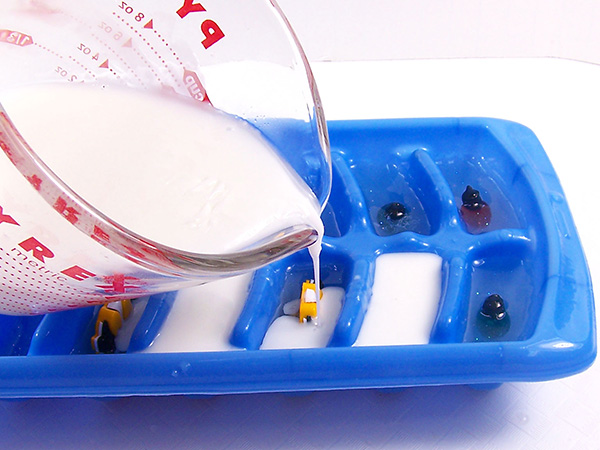
Step 9
Check that the soap in the ice cube trays has set. Spritz with alcohol and pour a layer of white up to the top of each cavity.
TIP: Make sure the soap is not too hot – it is best to pour at 135 to 140 degrees.
Step 10
Wait 2 -3 hours for the soap to completely set. When the soap is firm, slowly release from the mold and enjoy!