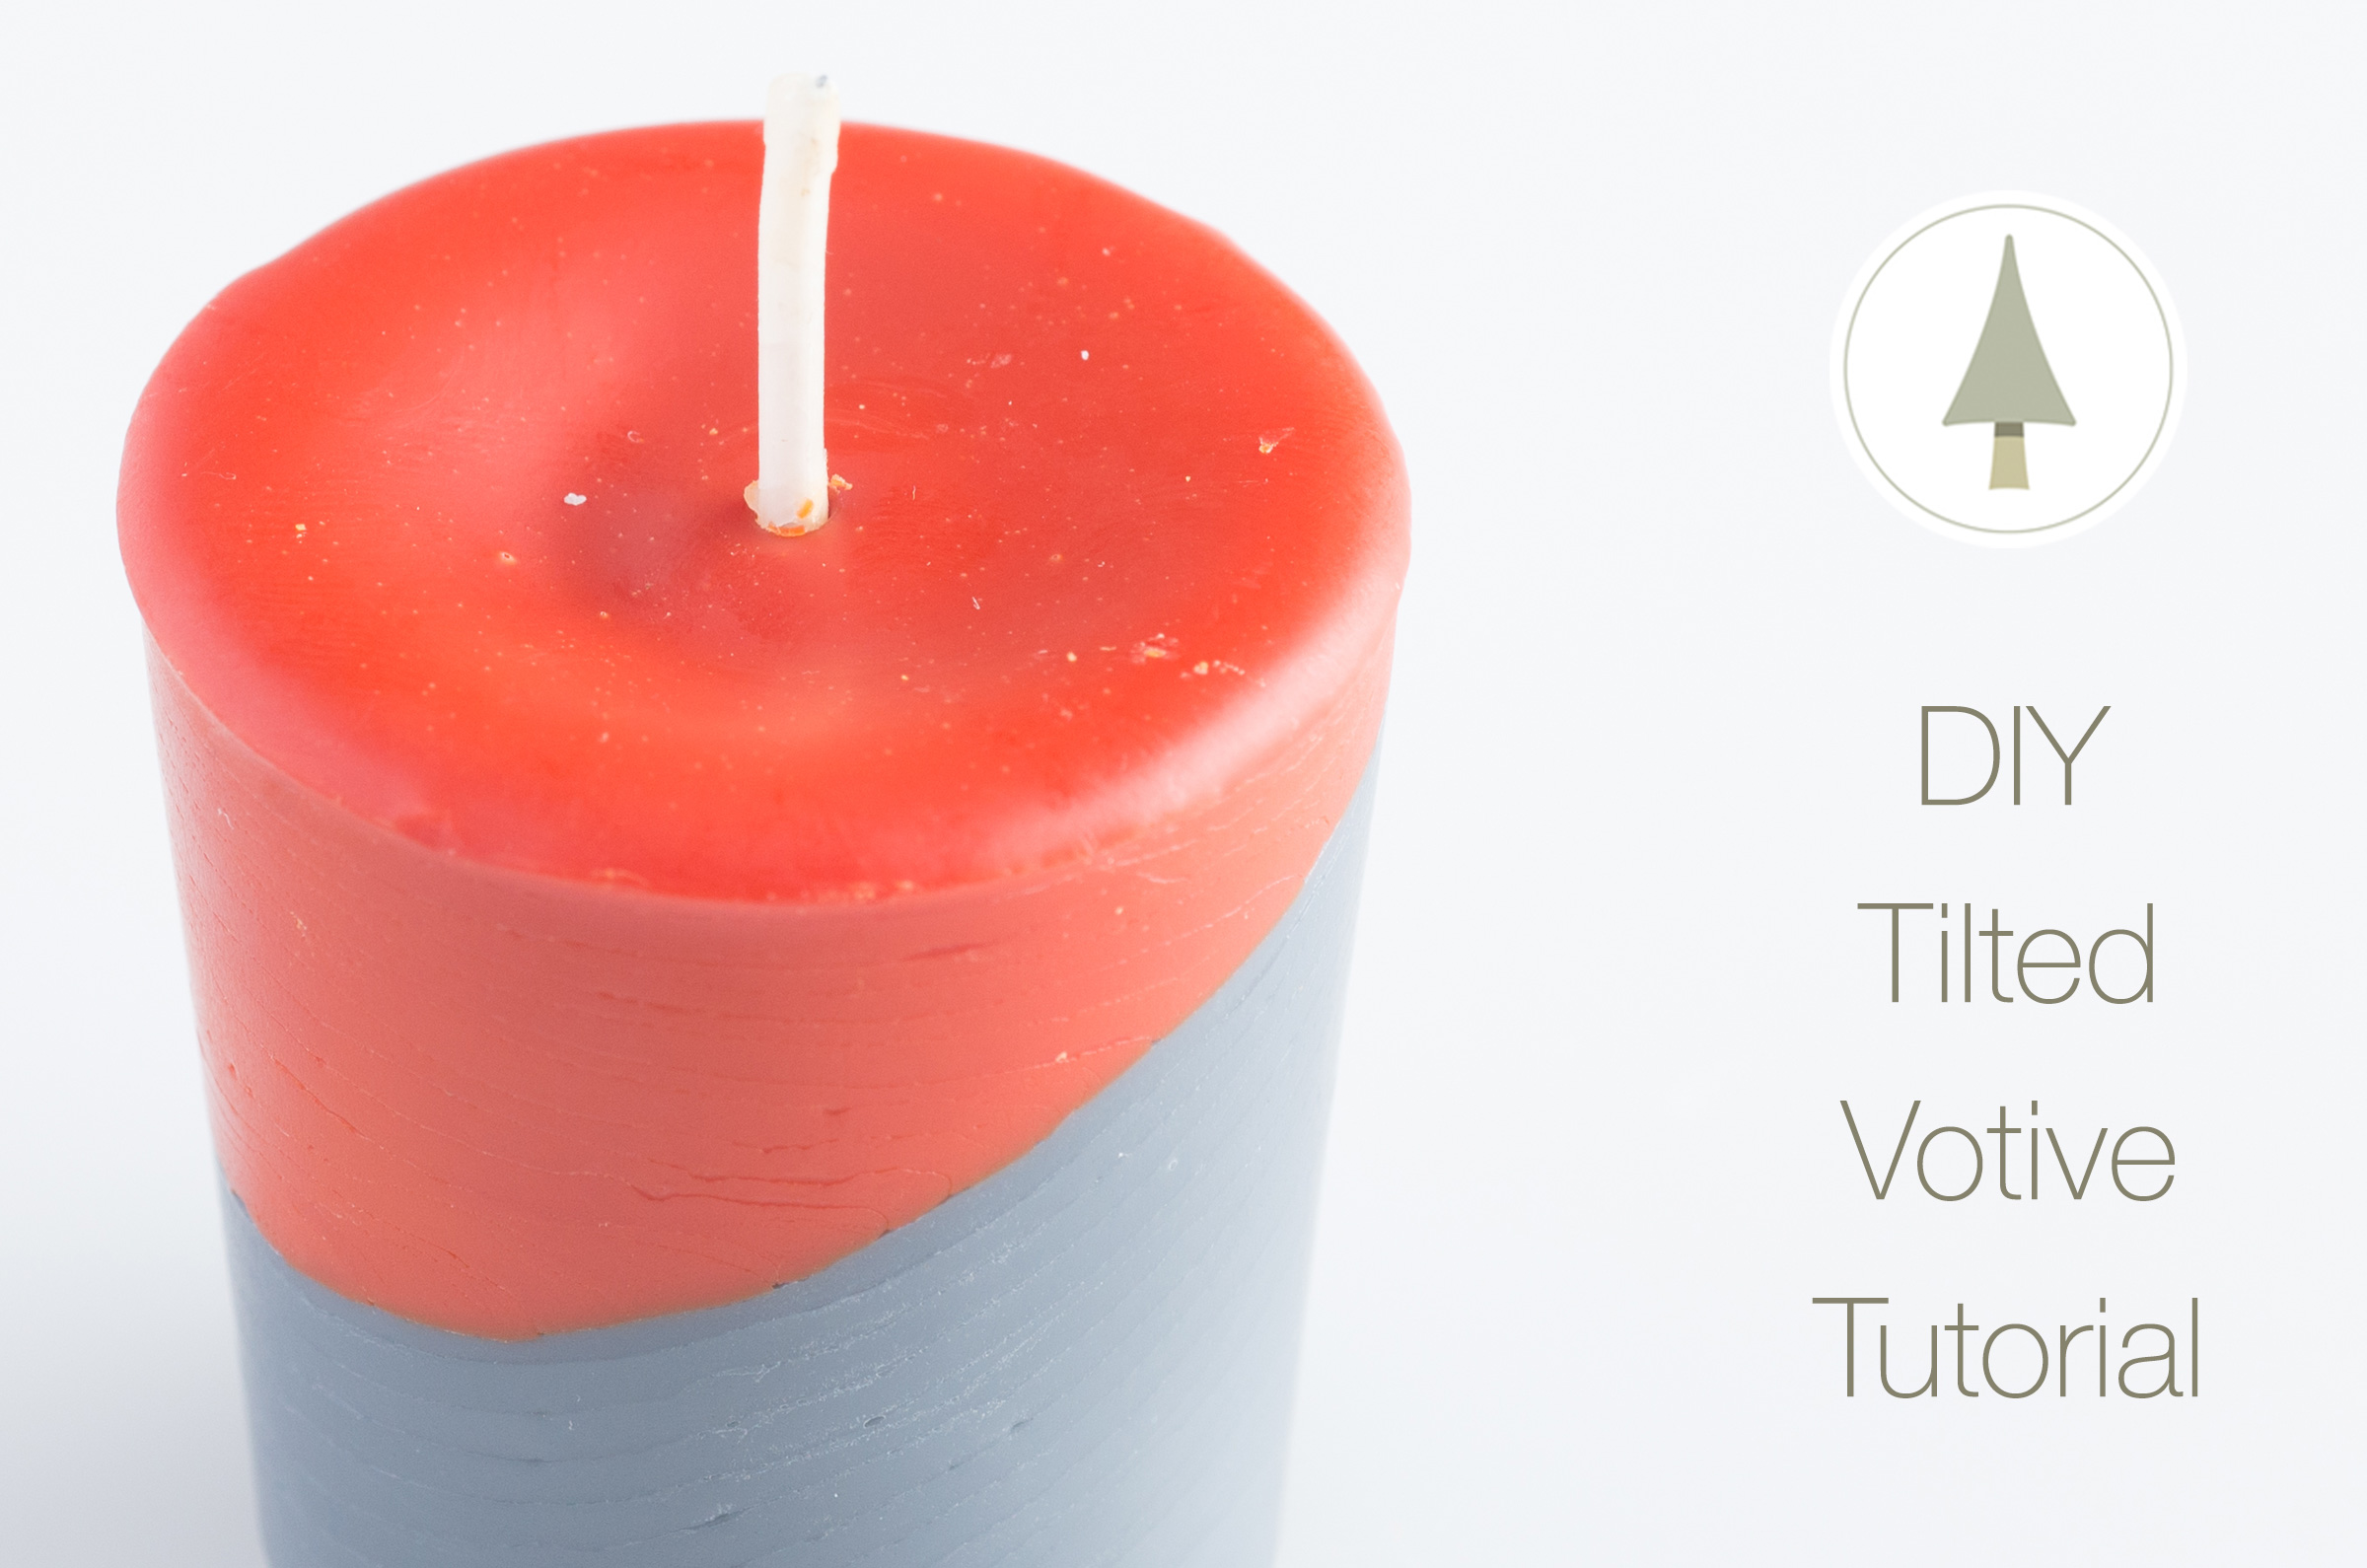
Using the technique in this candle making tutorial is a fantastic way to showcase your creativity with colors and scent. Coordinate complementary colors and scents for special occasions, seasons, holidays, parties, or just to be dramatic. Show your flair for creativity and add some pizzazz to votive candles!
Materials List:
Votive/Pillar Wax (suggestions..)
• KY 133 Versatile Paraffin Wax
• KY 143 Paraffin Pillar Wax
• KY Para-Soy Tart & Votive Blend (used in this tutorial)
Digital Scale
Fragrance Oils (2)**
Candle Colorants (2)**
Wax Pour Pitcher(s)
Thermometer(s)
Votive Molds (2)
Wick Pins (2)
Small Box with Sand to use a holder for the votives
36-24-24 Zinc Votive Wicks (2)
Presto Pot or Double Boiler to melt wax
Metal Spoon to stir wax
Safety goggles
Apron to protect clothing
Wax paper, old newspapers or aluminum foil

Step 1
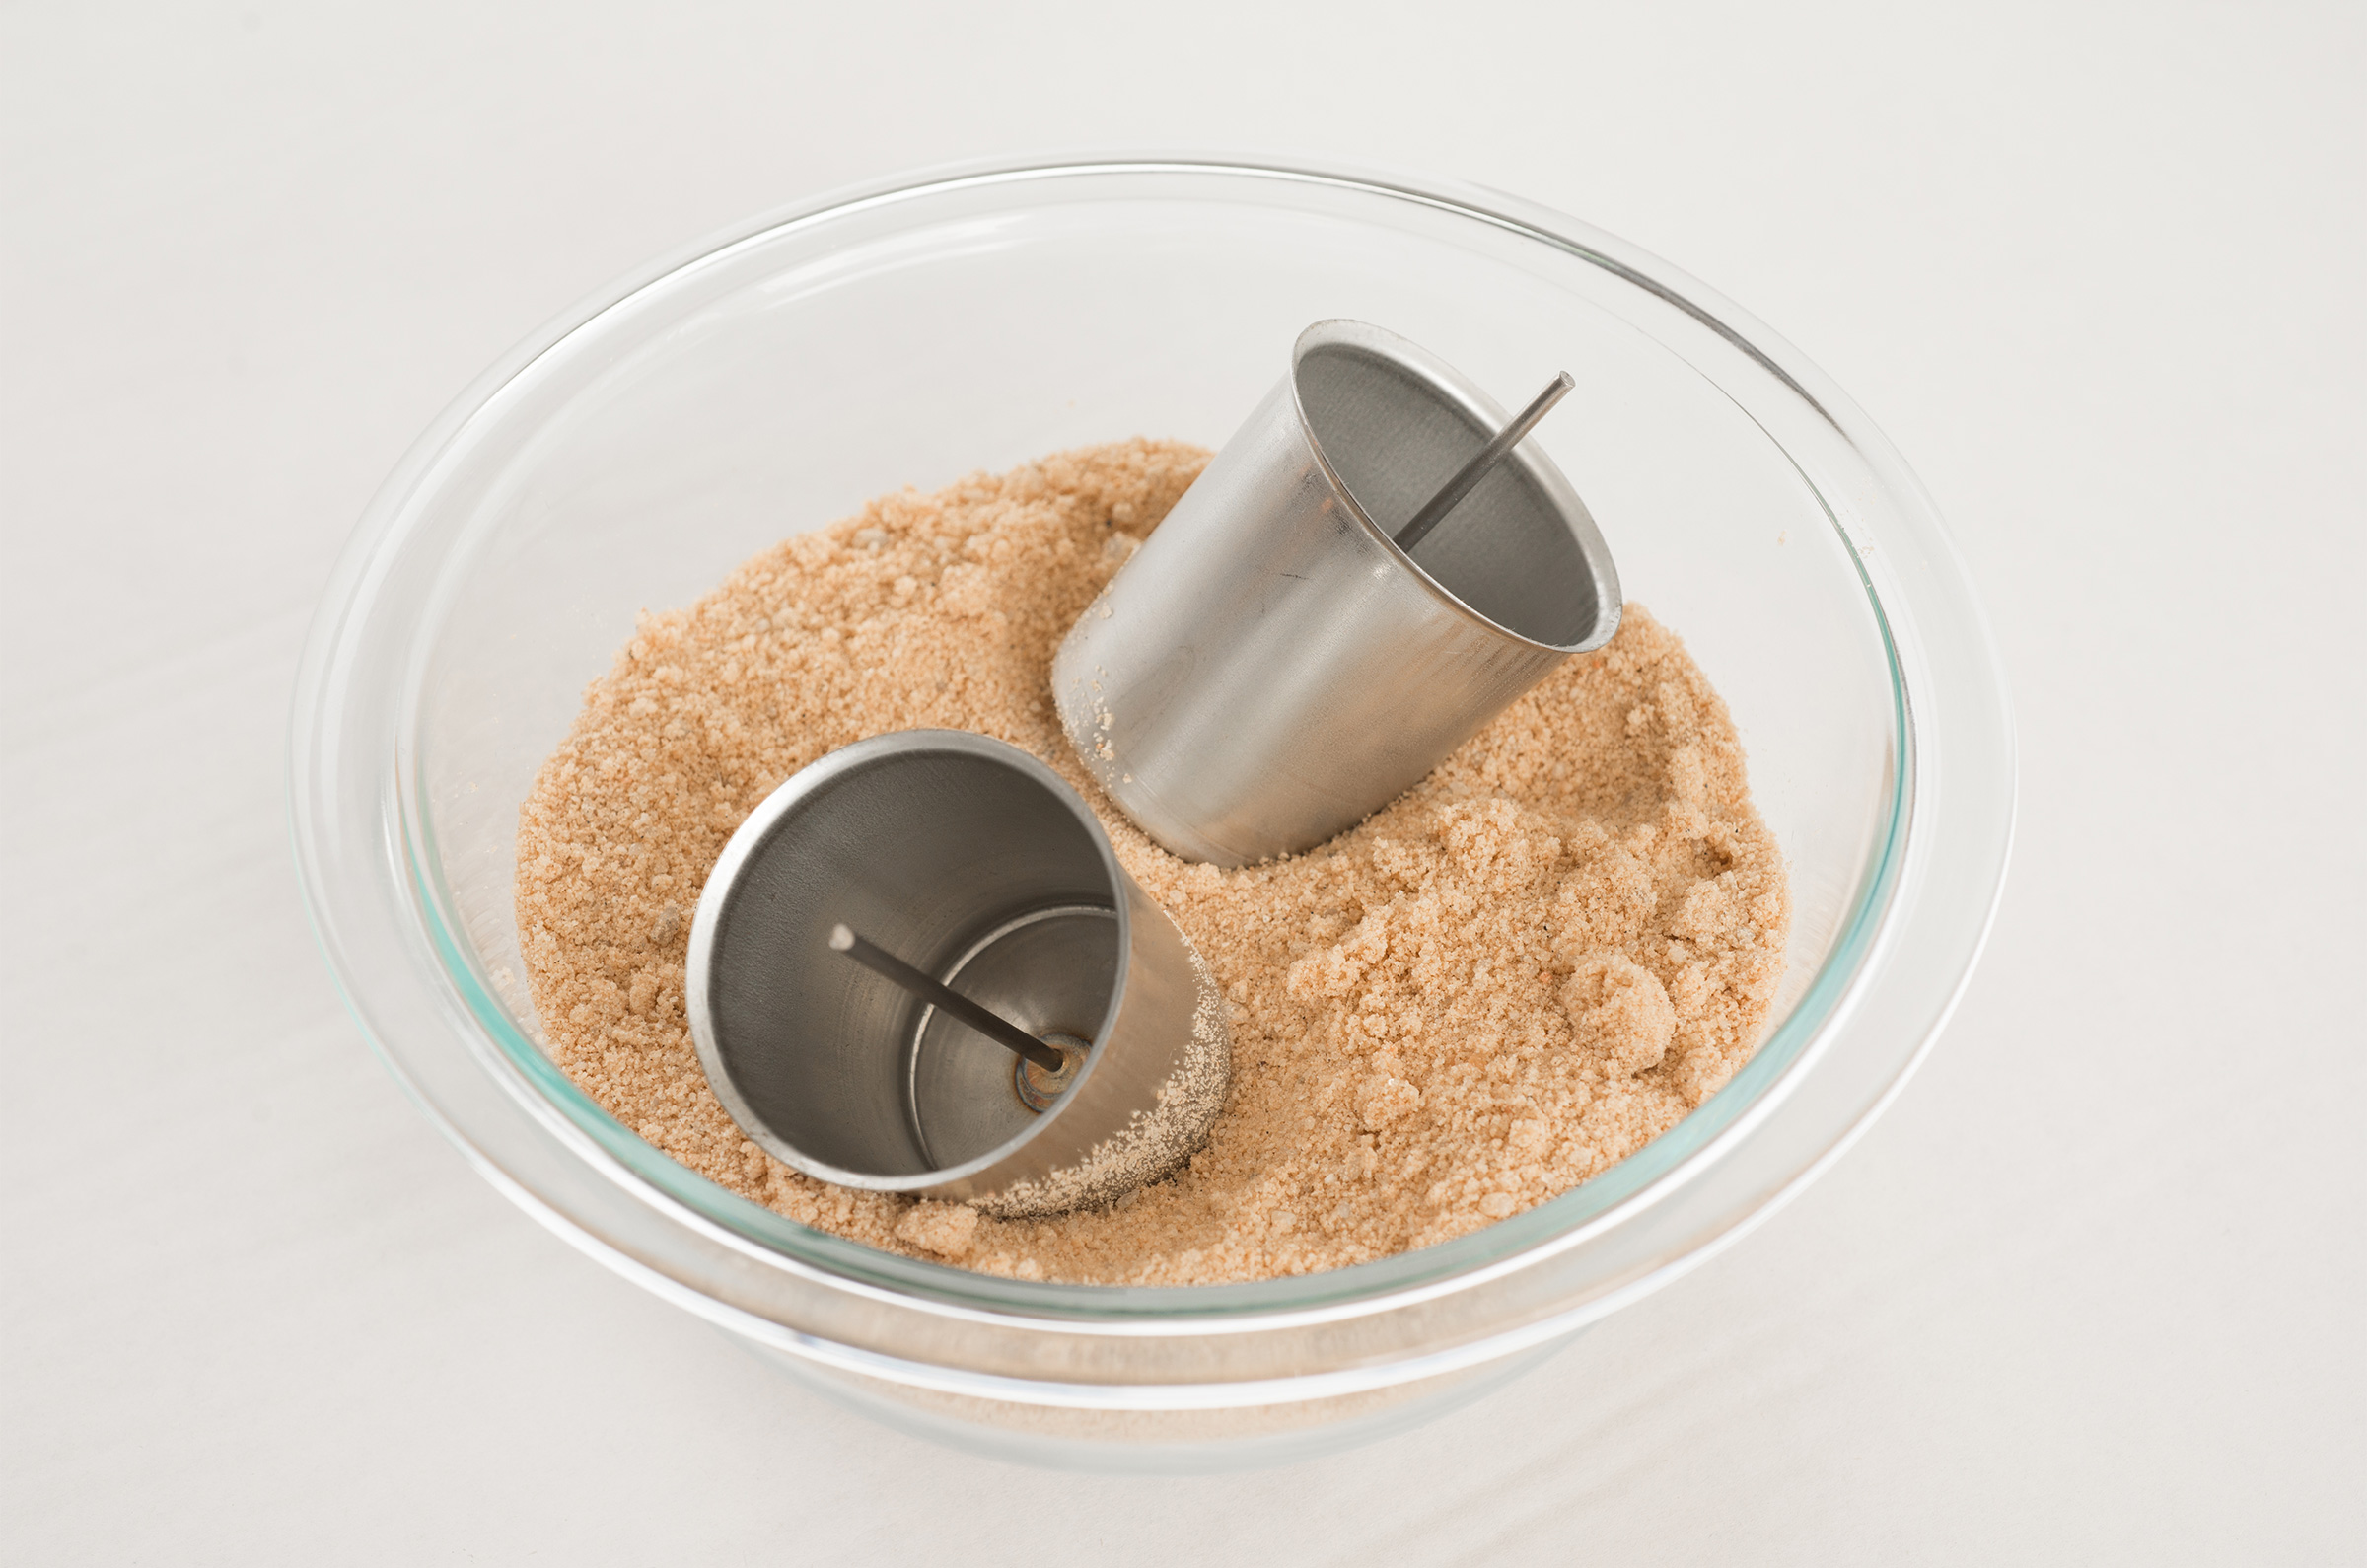
Cover work surface with wax paper, old newspapers or aluminum foil to make clean up easier. Prepare the votive molds by placing a wick pin in each mold. Using the box w/sand, set the votive molds in the sand at an angle.
Step 2
Melt the wax with the chosen method – presto pot or double boiler. Make sure to follow the wax manufacturer’s melting and pouring guidelines for correct temperatures. For this tutorial KY Para-Soy Votive/Tart Blend** is being used so it will need to be heated to approx 165°F . Use the thermometer to correctly monitor the temperature.
Step 3
Set the pour pot on the digital scale and tare. Transfer needed amount of wax to pour pot — in this tutorial two 2-oz. tilted votives will be created, so 6 oz* total of wax will be needed. Transfer 3 oz* of wax, and add .3 oz of Rustic Escentuals Fragrance Oil** for the first tilt. Stir well (approx 2 min). Then add 1 drop of Rustic Escentuals Liquid Premium Liquid Colorant** candle dye. (For this tutorial we chose the Red Maple Leaf and Black liquid candle dyes.)
Step 4
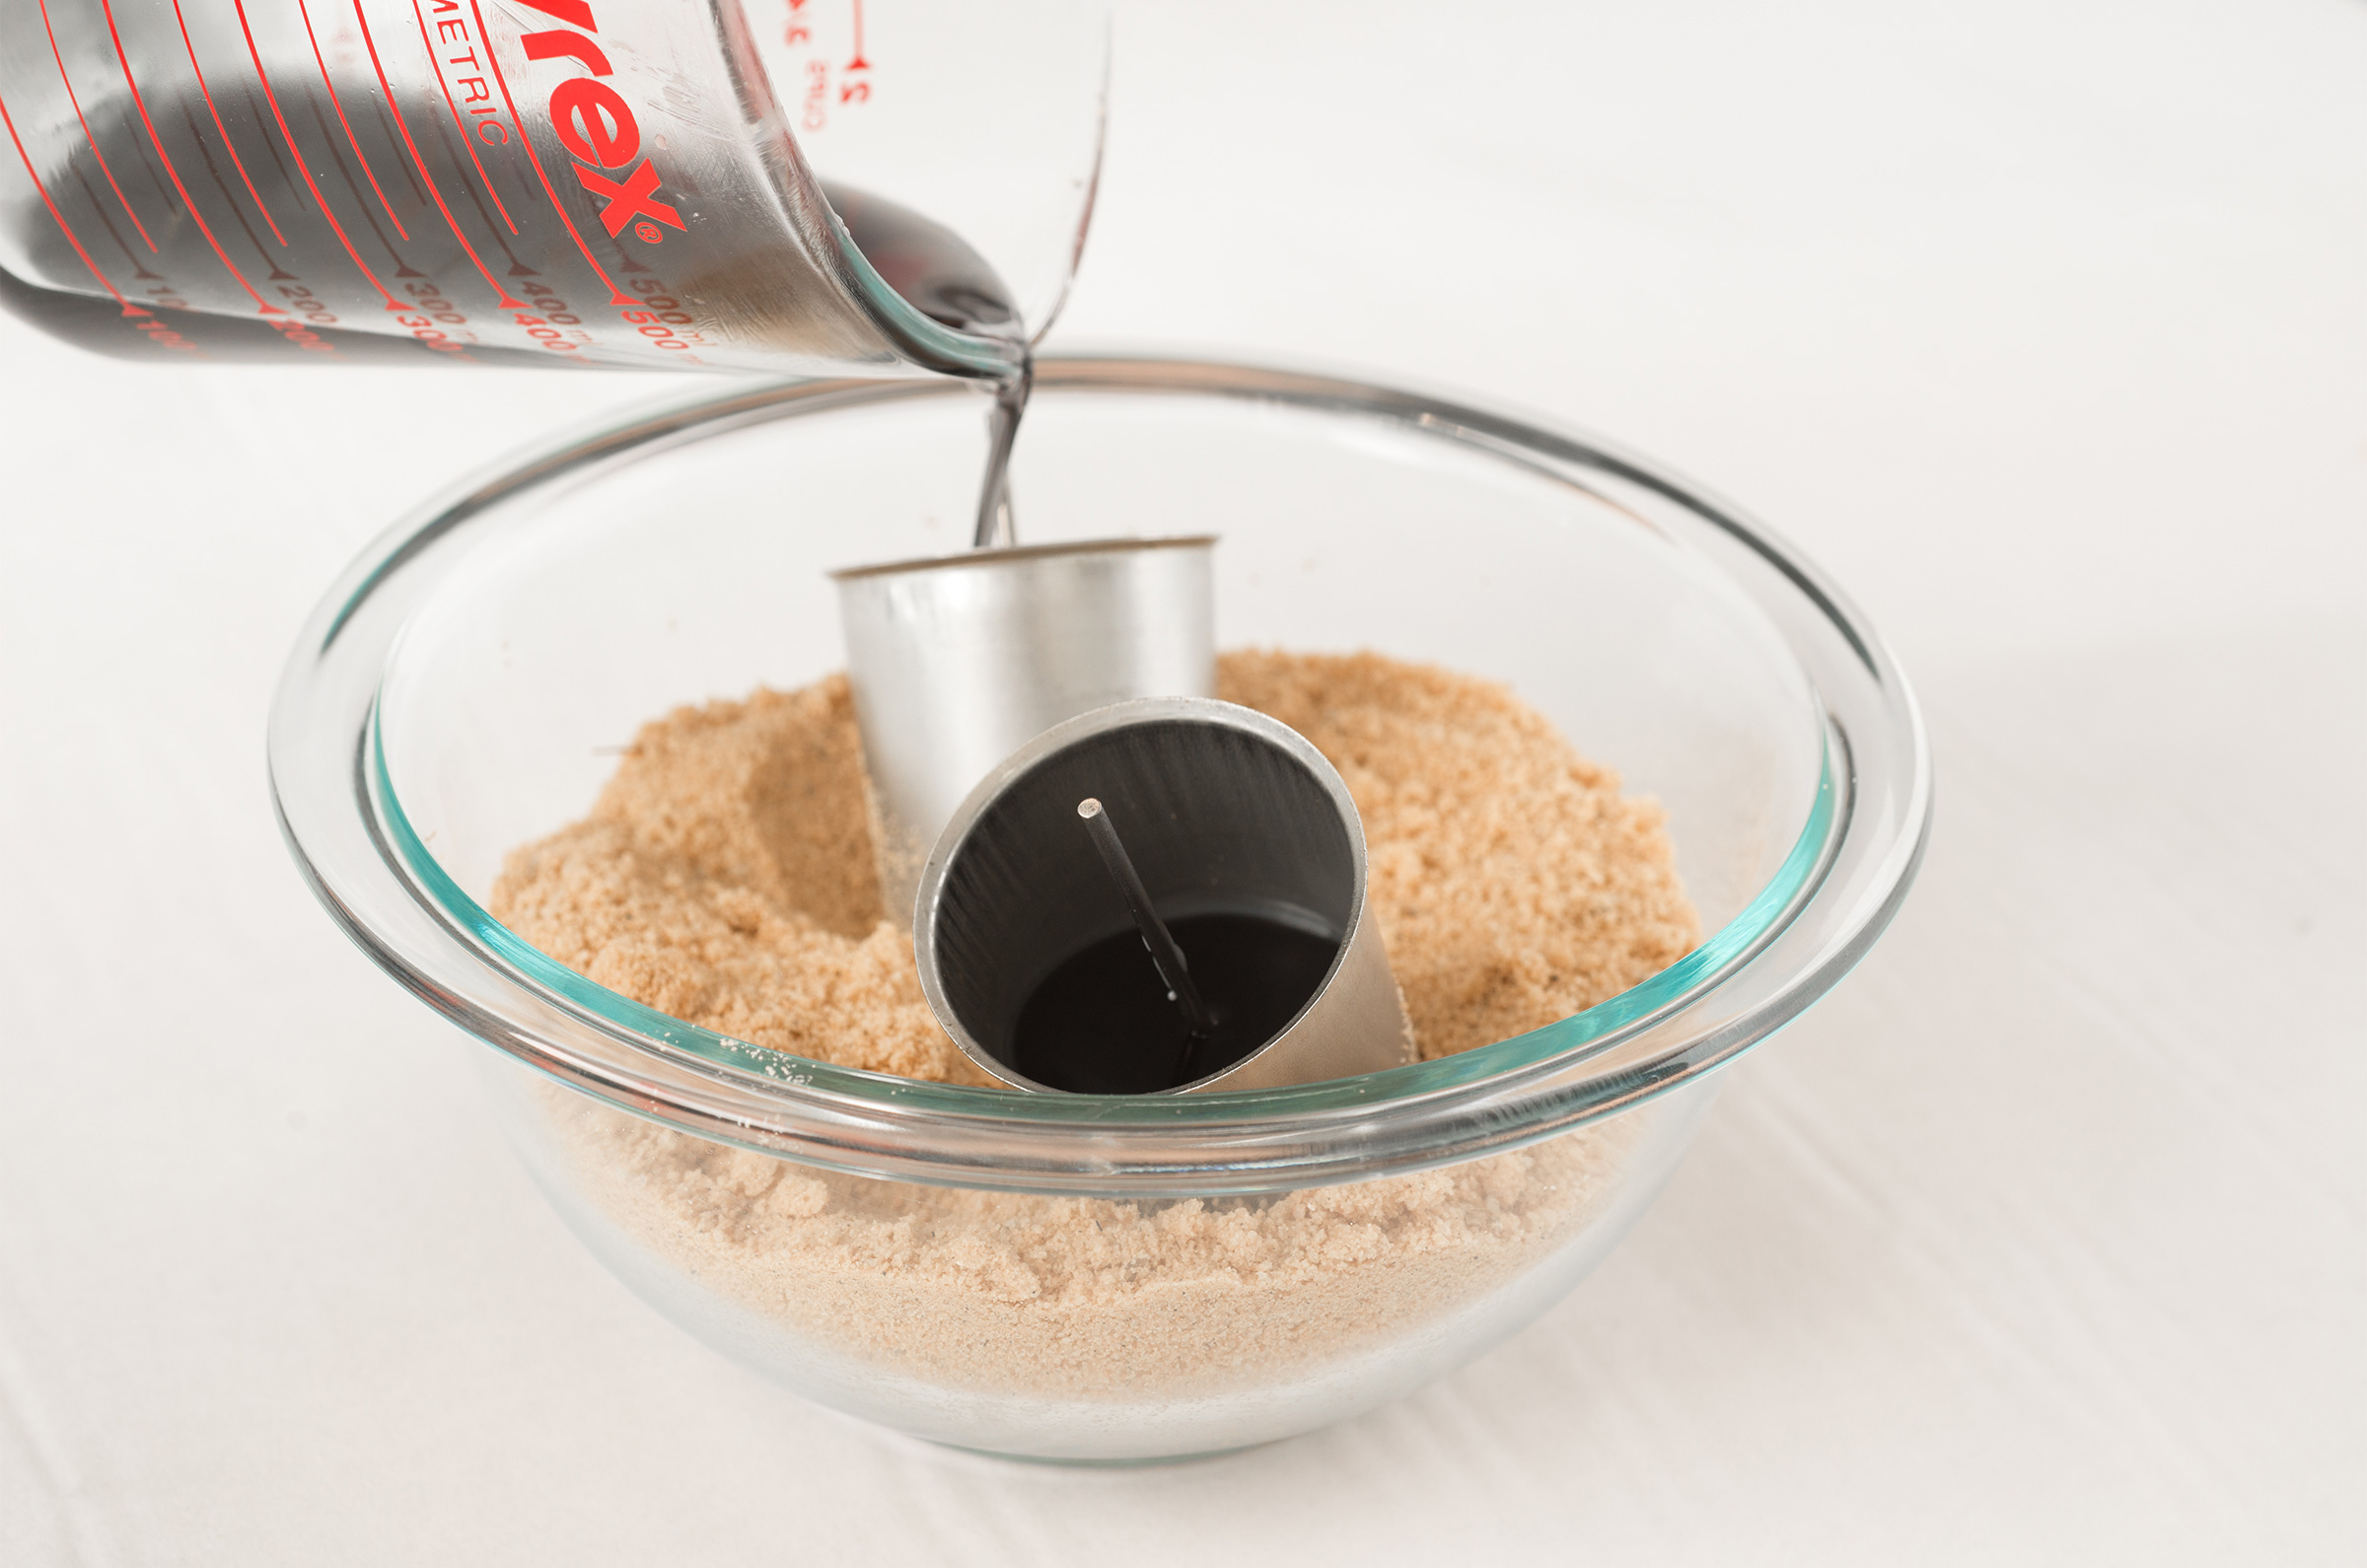
When mixture has cooled to approx 155-160° pour into votive molds held in the sand box. Fill approximately half way.
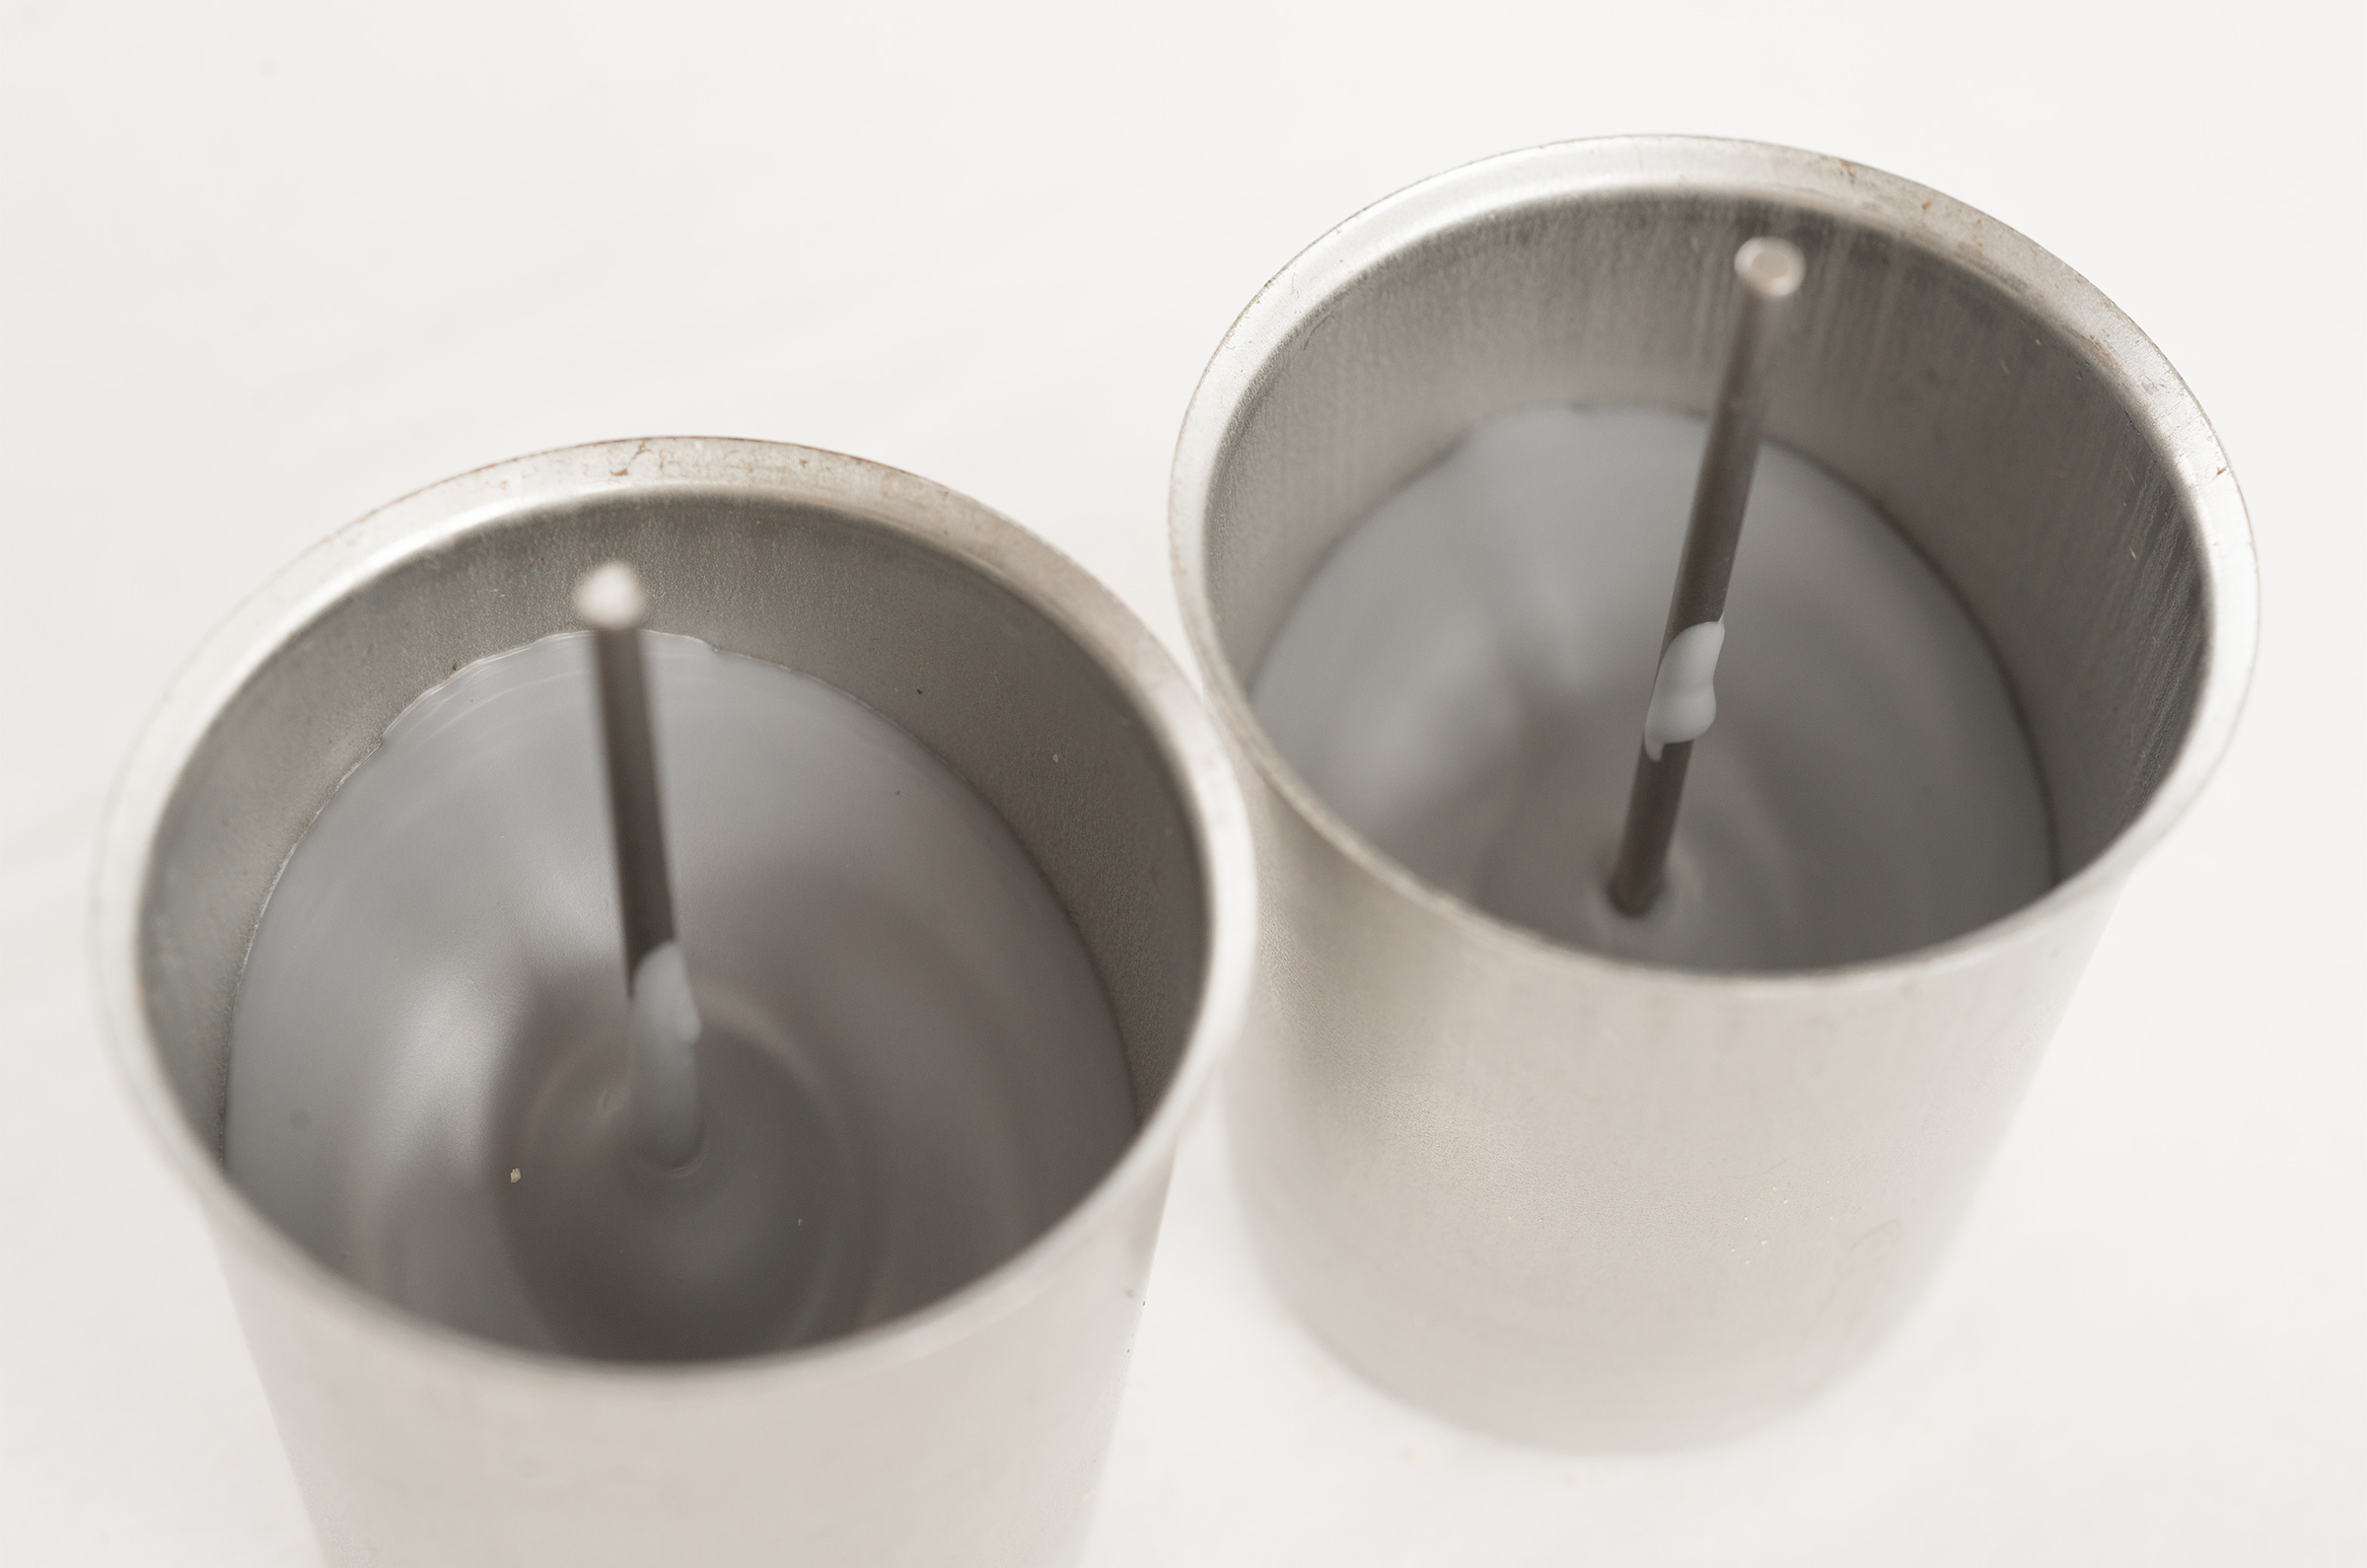
Once the first pour has cooled enough that it has stopped shrinking, it should look close to the below photo, prepare to pour the second layer. Remove the molds from the box and place on an even flat surface for the second pour.
Step 6 (basically repeating Step #3 for second layer)
Set the pour pot on the digital scale and tare. Transfer 3 oz* of wax, and add .3 oz of Rustic Escentuals Fragrance Oil** for the second tilt. Stir well (approx 2 min). Add 1 drop of Rustic Escentuals Premium Liquid Candle Dye. Stir well.
Step 7
When this mixture has cooled to approx 155°F begin pouring the second layer. Fill to right below where the votive mold starts to flare out. Once the candle is cooled, it will need an additional re-pour so make sure to save the leftover wax from the second layer for the re-pour.
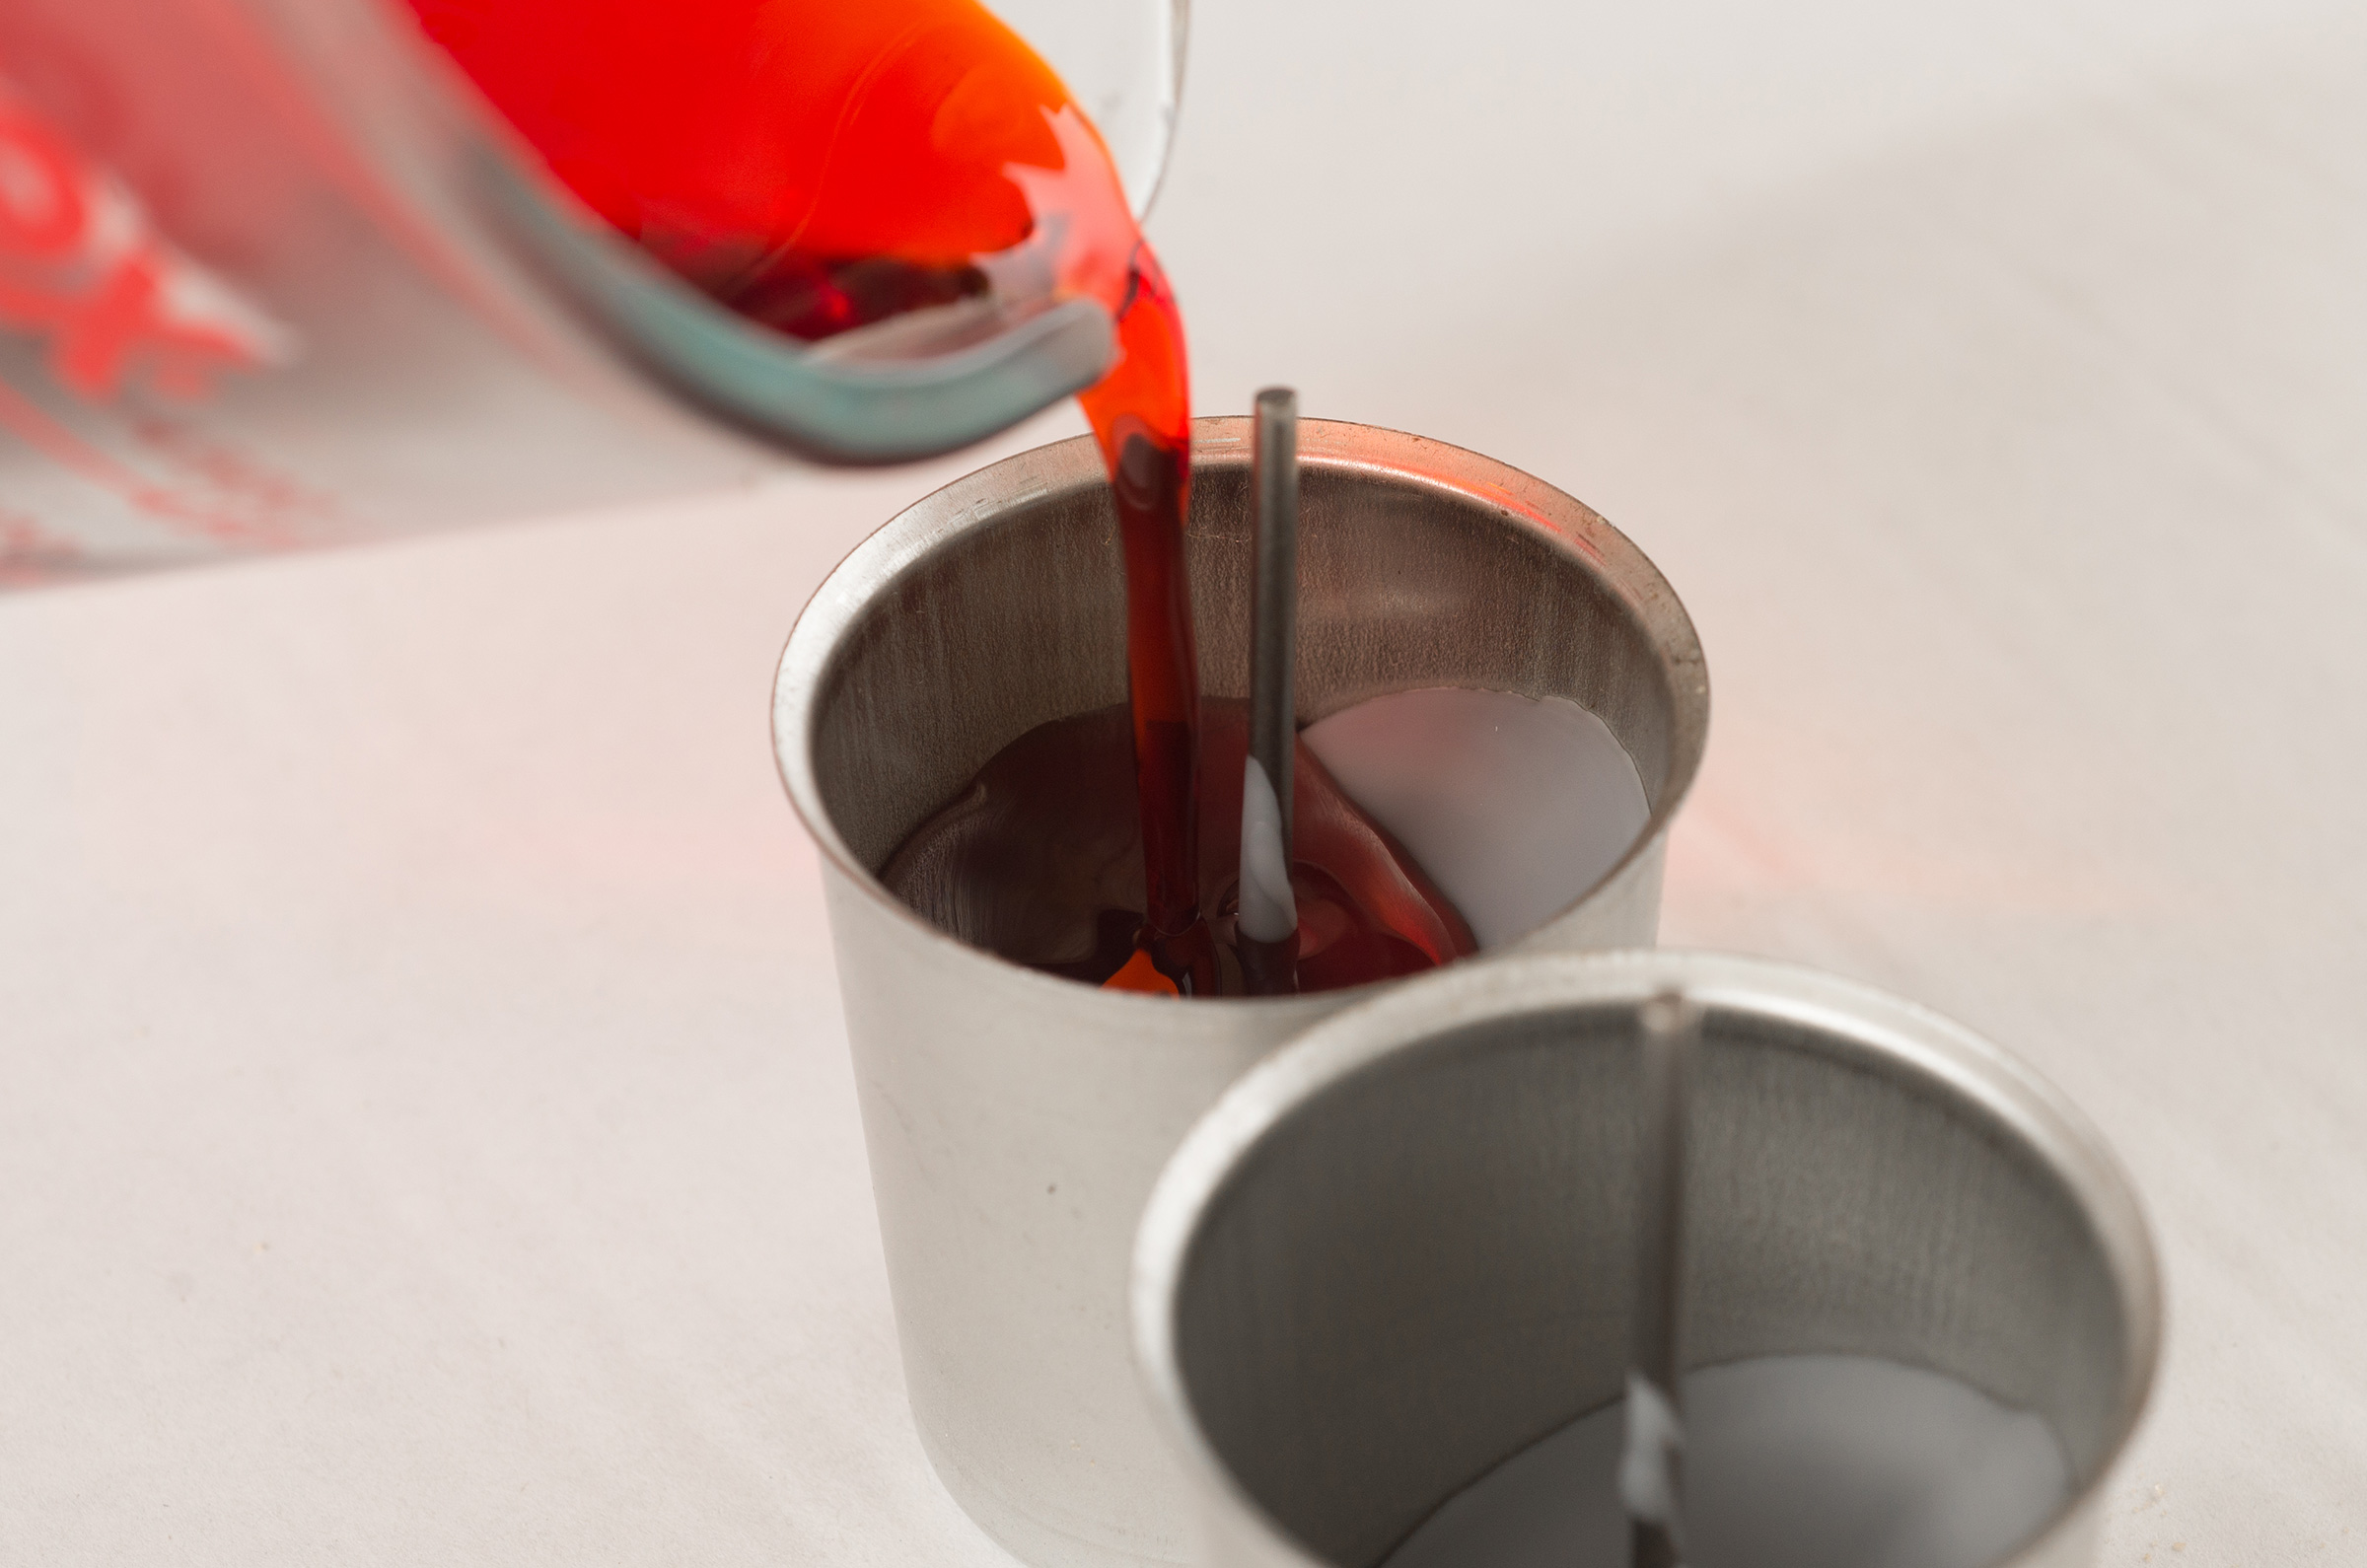
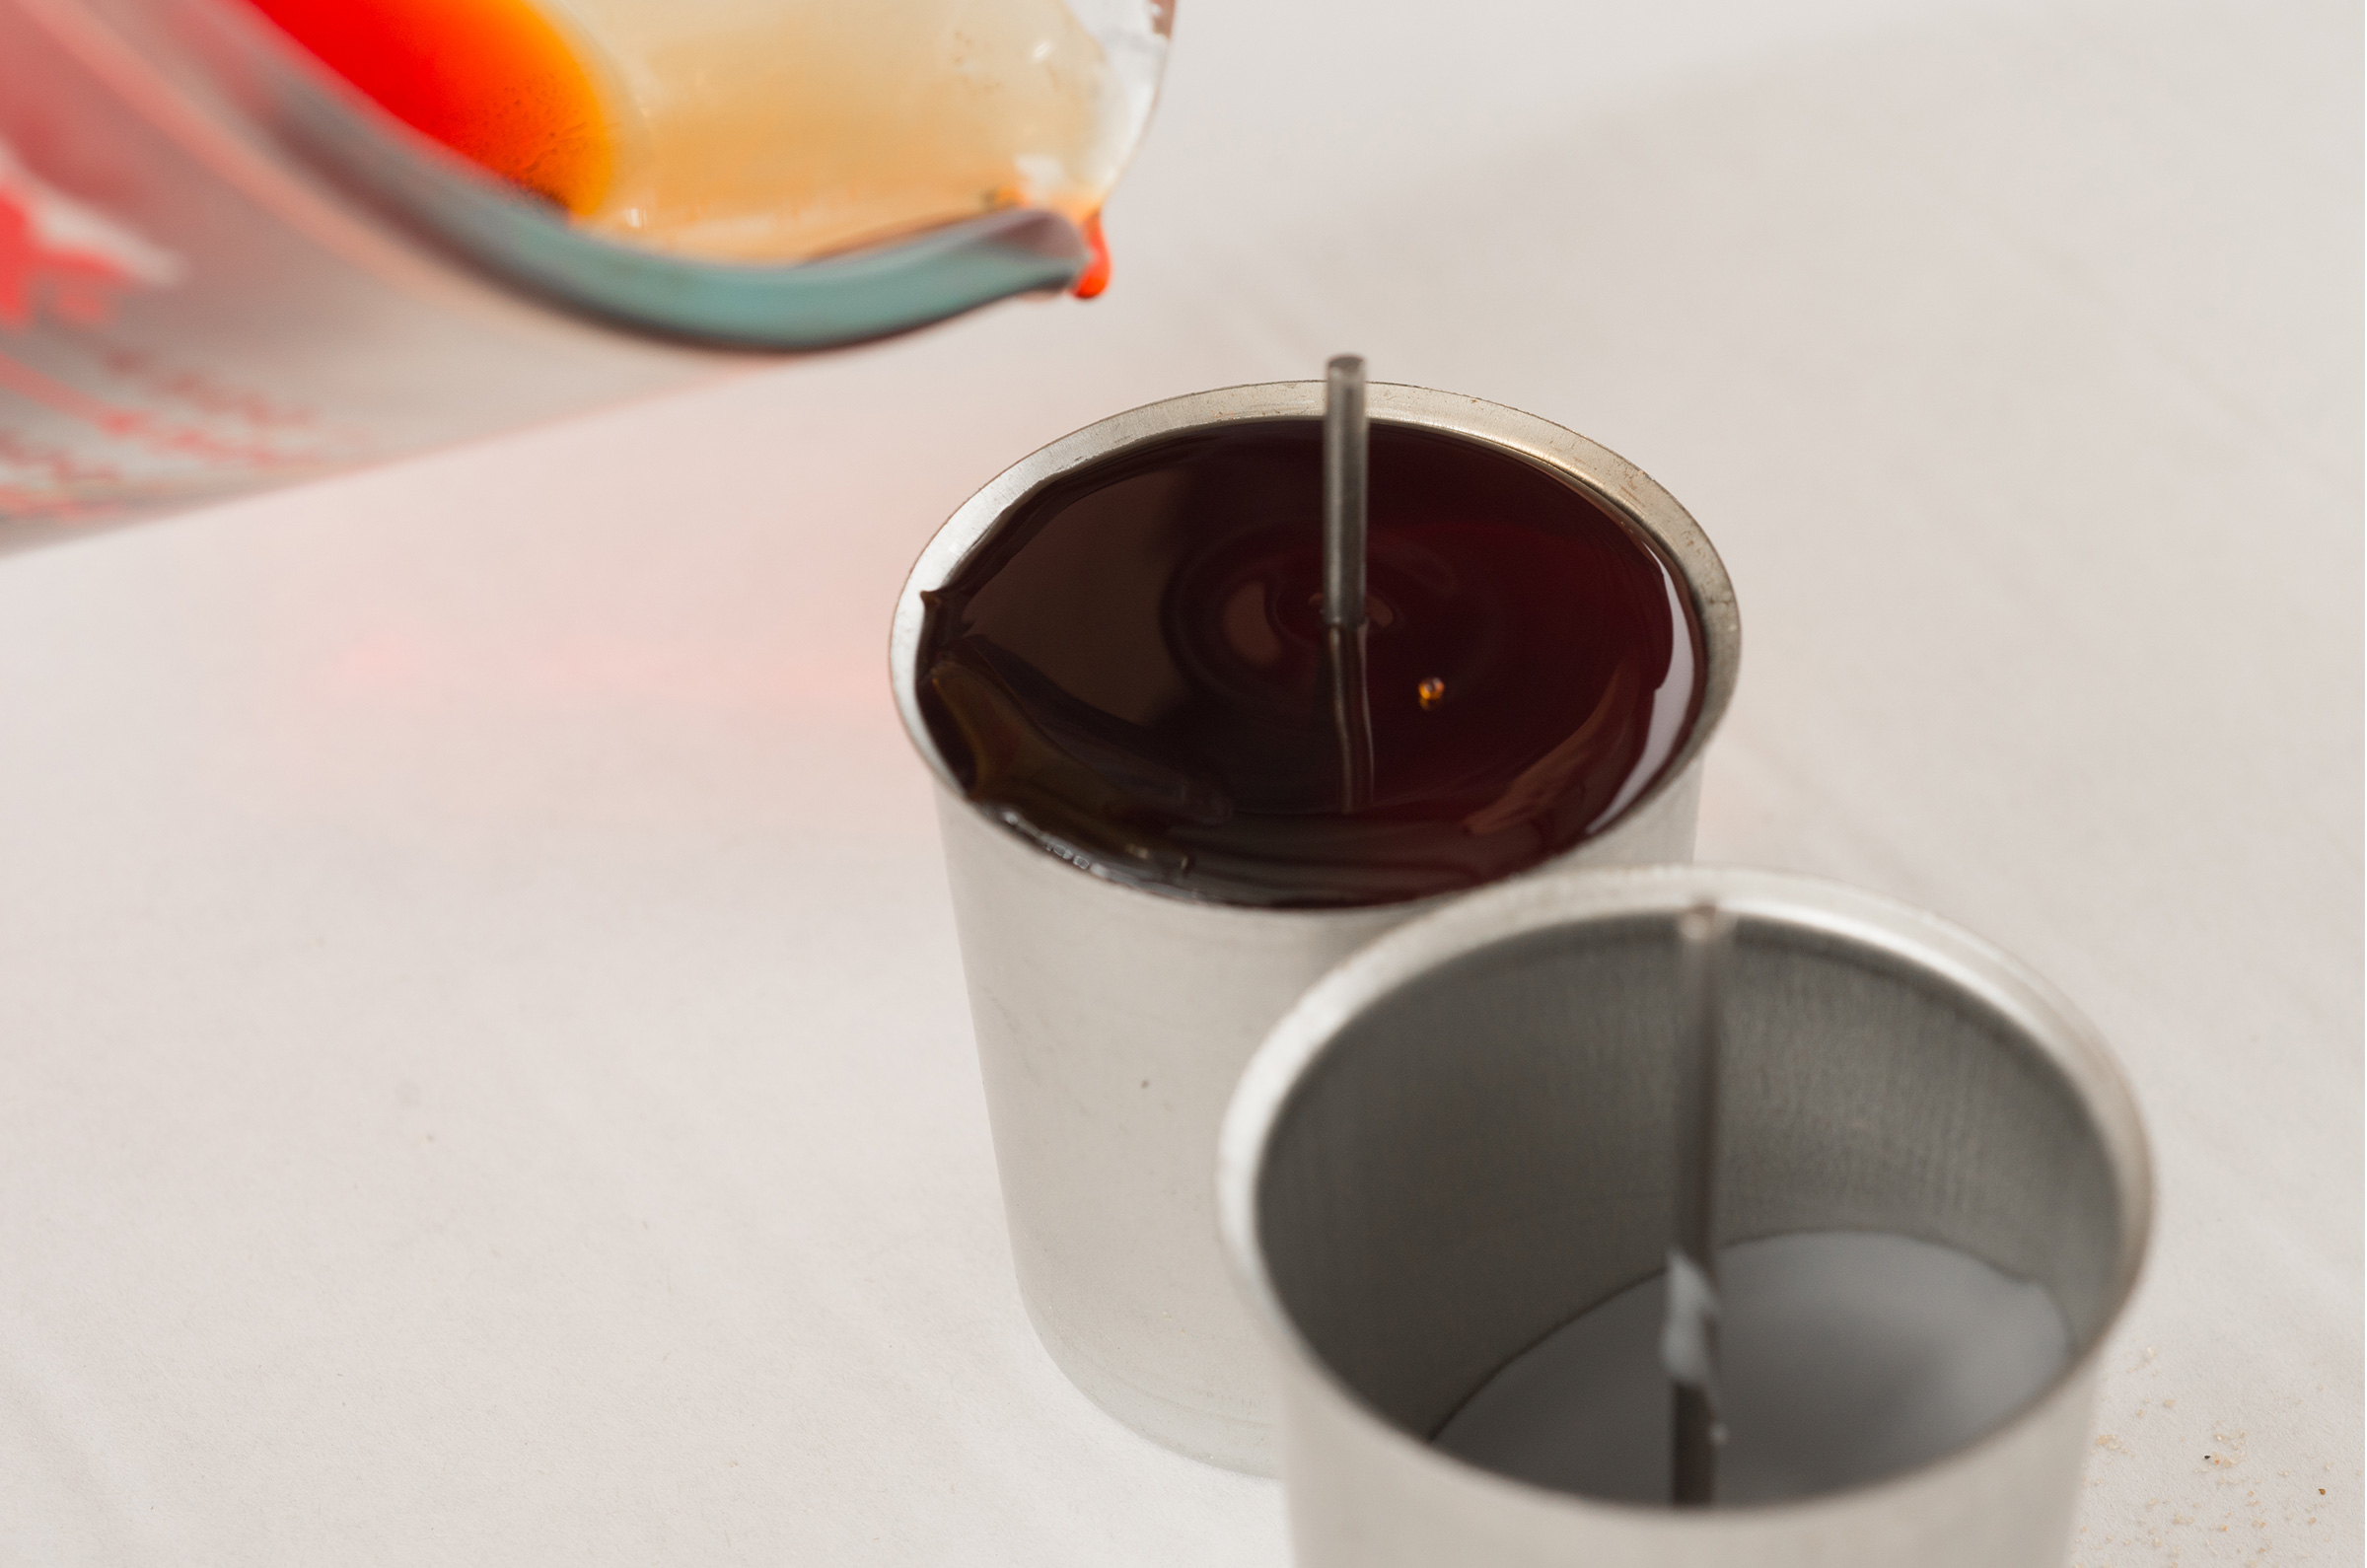
Step 8
Let the candles cool completely. If they don’t fall out by simply inverting the mold, give it a firm, quick tap on a sturdy surface — this should loosen them, and then they’ll fall right out. Remove wick pin, insert wicks, and allow candle to cure for 24 hours before burning. Enjoy your creation!

Notes:
* Wax weights are approximate and not exact.
** Wax, fragrance & colorant selections in this tutorial are for demonstrative purposes only.
All measurements are by weight, not volume.
SOME SAFETY PRECAUTIONS
- Cover counter with wax paper, old newspapers or aluminum foil to make clean up easier.
- Be sure to wear safety goggles for eye protection. You do not want to be splashed in the eye with hot wax! Remember with wax – safety first.
- Waxes used in making candles are very similar to cooking oils – they are flammable and they are poured at high temperatures, but with certain precautions, accidents may be avoided. NEVER HEAT WAX ABOVE 210°F.
- For safety, wax should be melted in a double boiler. Wax should NEVER be heated directly over an open flame or burner. Direct heating can cause wax to explode and result in serious injury.
- Use of a thermometer is advised to ensure proper wax pouring temperature.
- Never leave hot wax unattended. Keep children and pets away from the area where wax is being melted and poured.
- Never pour water in a wax fire. Water will cause the fire to spread. To extinguish a fire in a pan, cover the pan with its lid. Use a dry chemical fire extinguisher.
- Never pour melted wax into the sink or other drains.
