by Rustic Escentuals
With school right around the corner, make these awesome crayon soaps to celebrate the start of a new school year! This tutorial is a simple way to make a wonderful gift for your child’s teacher or to make your kids squeaky clean just in time for school. This one will bring out the little kid in all of us!
I will be using the new Natural Melt & Pour soap base for this tutorial.

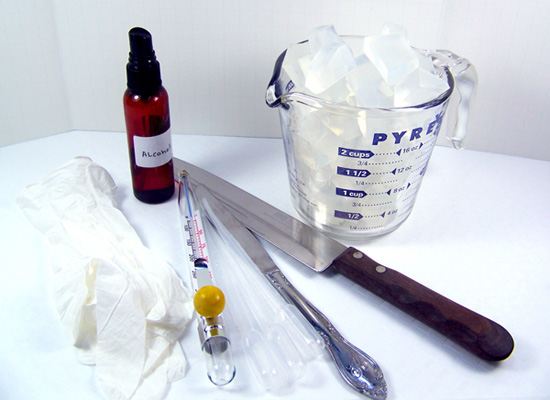
Supplies and equipment needed
Microwave
Microwave safe glass containers
Sharp knife to cut soap into cubes
Spray bottle with rubbing alcohol
Butter knives
Rubber gloves
Disposable pipette
Thermometer to monitor soap temperature
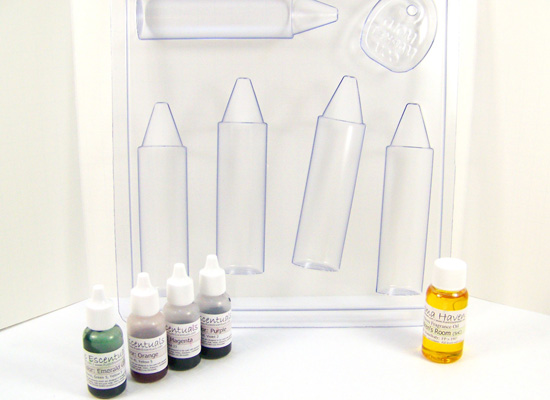
Natural Melt & Pour soap base
Gel Soap colorants in Emerald Green, Orange, Purple, and Magenta
Children’s Room Fragrance Oil
Jumbo Crayon Soap Mold (five 2-oz cavities)
Step 1: Cut up approximately 12 ounces of Natural Melt & Pour soap base into small cubes and set to the side.
Step 2: Using a microwave safe container, melt approximately 2 ounces of the cut up soap base in a microwave using 15 – second bursts until melted. This is a small amount of soap and will melt quickly. Do not burn or boil, this will result in a poor quality rubbery soap. If there are any small chunks of soap base left, stir slowly; the heat of the soap will melt these small chunks.
TIP: Each cavity holds 2 ounces of soap so melt a little extra to take into account that some of the soap will stick to your container.
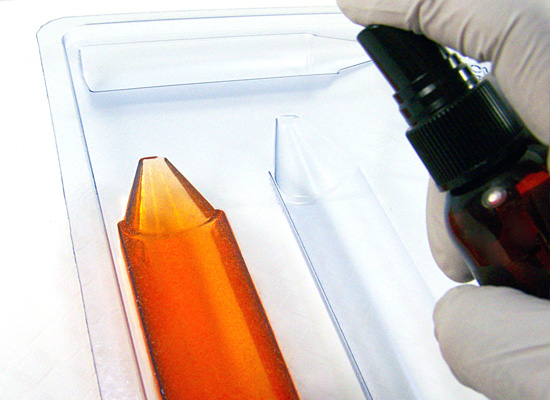
Step 3: Add 3 drops of Orange Gel colorant and stir slowly until mixed well.

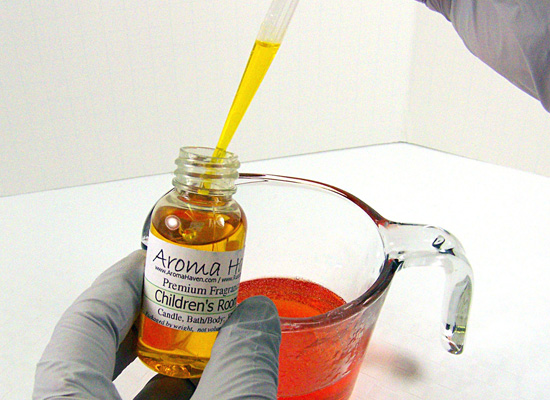
Step 4: Using a disposable pipette, add 1 ml of Children’s Room Fragrance Oil. Stir slowly until mixed well.
Tip: Always stir slowly when adding colorants, fragrance oils or any type of additions to the soap base to avoid creating any more bubbles than you have to.
Step 5: Use a thermometer to monitor the soap temperature; it should be about 130° – 135° to avoid warping the soap mold. If soap base is too hot, keep stirring slowly until you reach the desired temperature.

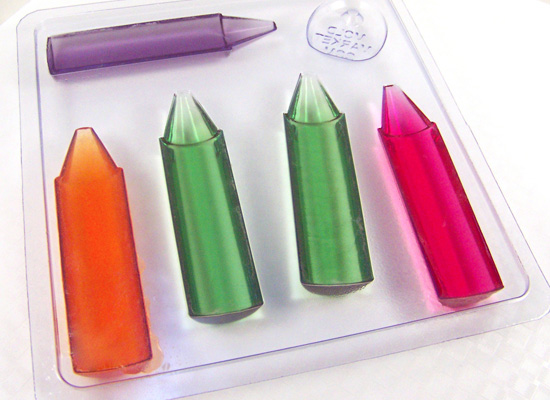
Step 6: Using the 5 cavity Jumbo Crayon Soap Mold, pour the orange soap slowly into one cavity. Remember to pour slowly to avoid excess bubbles.
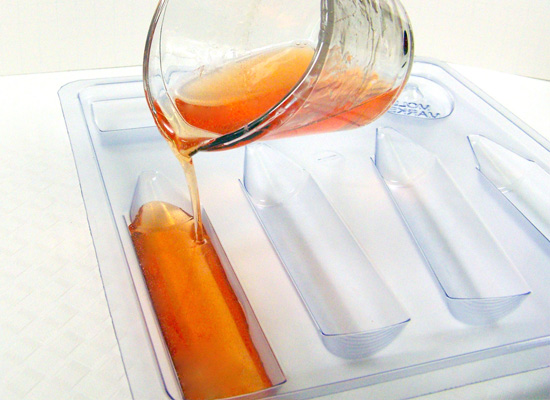
Step 7: Spritz the soap with rubbing alcohol to get rid of any bubbles that formed while you were pouring.
Repeat Steps 2 – 7 with different colors; remember each cavity holds 2 ounces of soap.
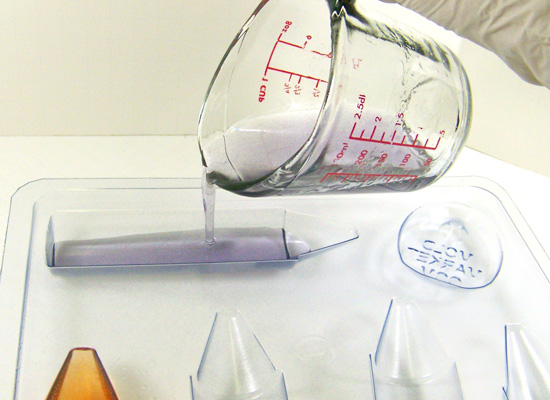
Step 8: I made a purple crayon by adding 3 drops of Purple Gel Colorant and 1 ml Children’s Room Fragrance Oil. Stir slowly and pour into cavity.
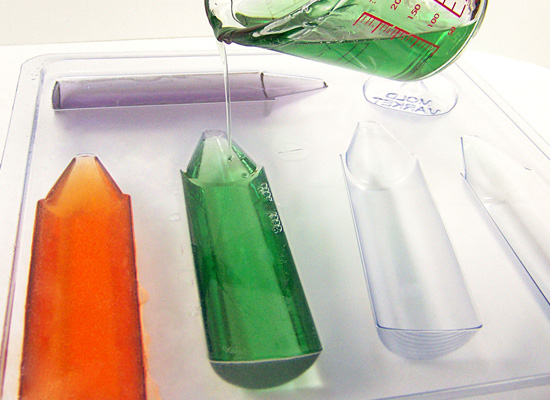
Step 9: Next I made 2 crayons in green, so I used 4 ounces of soap base plus 6 drops of Emerald Green Gel Colorant and 1.5 ml Children’s Room Fragrance Oil. Stir slowly and pour into cavity.
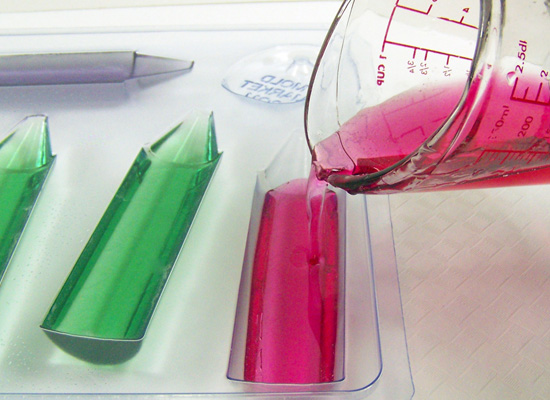
Step 10: The last crayon I made in Magenta, so I used 2 ounces of soap base plus 3 drops of Magenta Gel colorant and 1 ml Children’s Room Fragrance Oil. Stir slowly and pour into cavity.
Step 11: Wait 2 – 3 hours for the soap to completely harden.
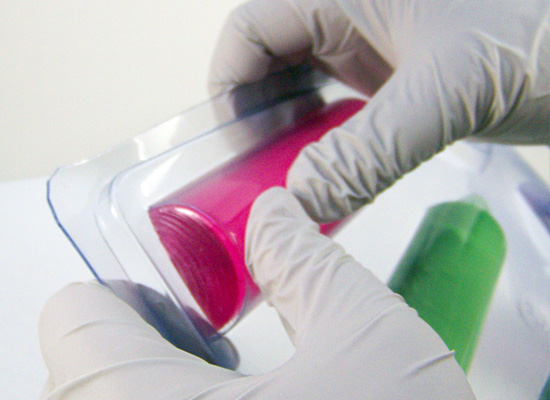
Step 12: Turn over and slowly press on the underside of mold to release the soap.
Tip: If the soap won’t come out, wait another 1/2 hour or so – don’t fight it. You can even pop the soap in the freezer for 5 minutes but I don’t recommend longer than that.
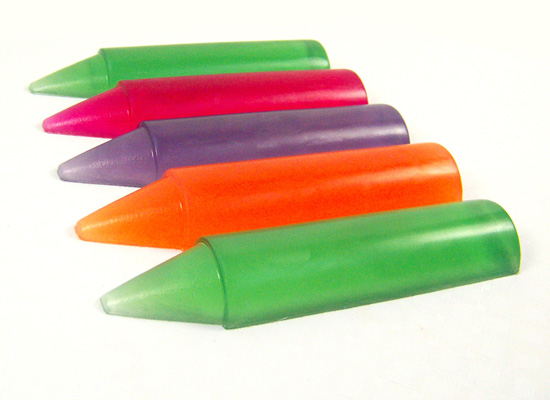
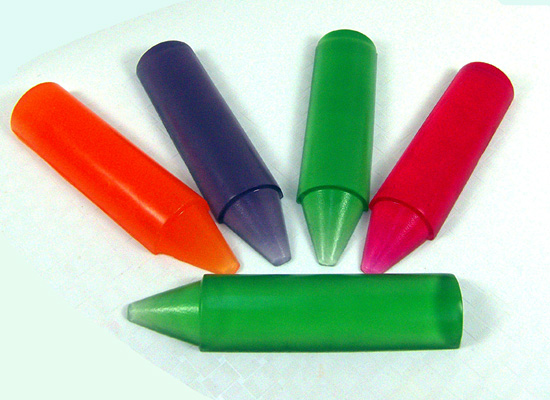
Tip: If you would like to make all of your “soap crayons” in one color just use 2 ounces of melted soap for each cavity and color accordingly.
Important: These crayons do not “color” your bath tub – there is no color transfer.
Click here to download a crayon label we’ve made just for these soaps!