by Rustic Escentuals
This next tutorial was inspired by a couple of Rustic Escentuals Facebook fans. I had asked what some of your favorite fragrance oils were for some inspiration and this is the one of many that was mentioned. Add some Little Black Dress fragrance oil and some Diamond Dust Glitter and a soap is born!
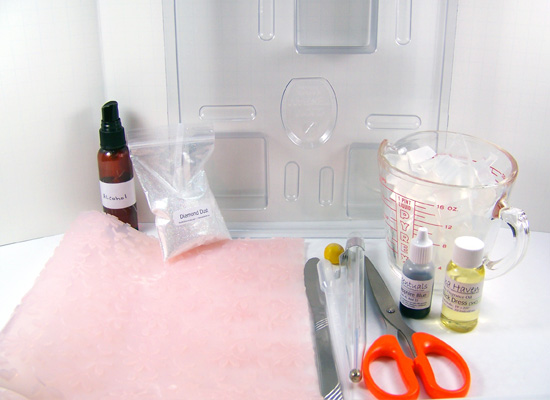
Supplies and equipment needed:
Microwave
1 Microwave safe glass containers
Sharp knife
Spray bottle with rubbing alcohol
Butter knife for stirring soap
Rubber gloves
Scissors
Pen
1 .15cc scoop
1 Disposable pipette
Thermometer to monitor soap temperature
12 oz Ultra Clear Melt & Pour Soap Base
Basic Square Soap Mold
Little Black Dress Fragrance Oil
Sapphire Blue Gel Soap Color
Diamond Dust Glitter
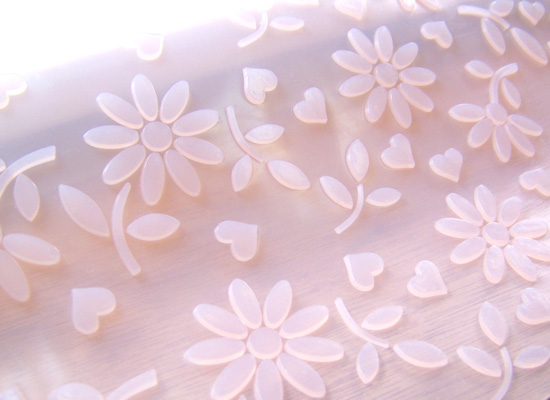
Fondant Imprint Mat
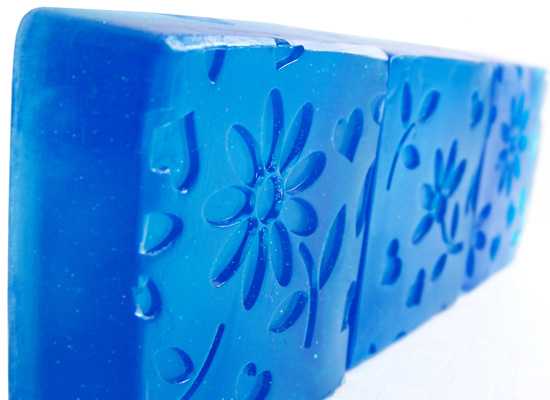
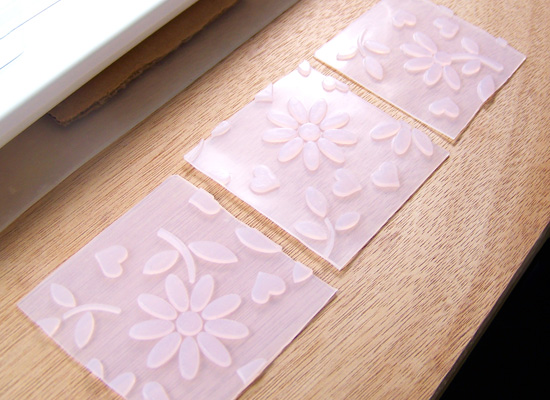
I’m using a Daisy Fondant Imprint Mat for this tutorial. These fondant mats can be found in the cake/baking sections of most craft stores. I like to use these because they are very flexible and easy to measure and cut.
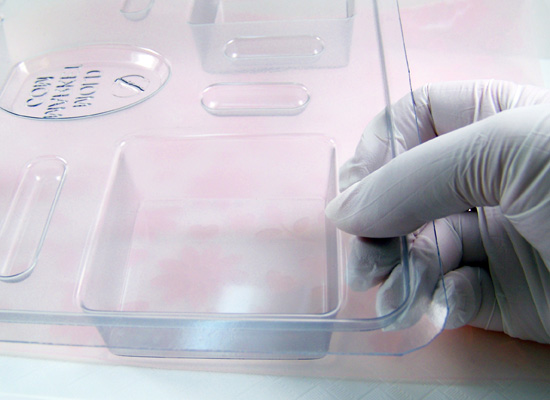
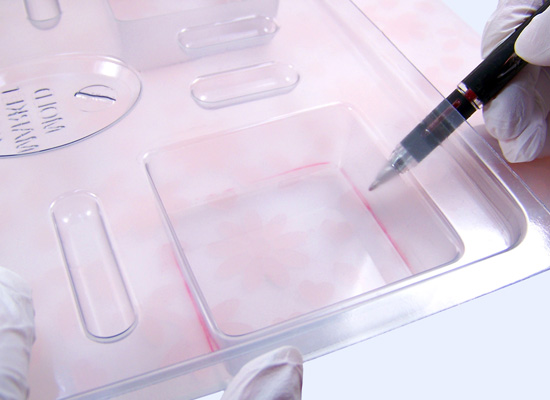
Step 1: An easy way to measure and cut the fondant imprint mat is to place the mat design face down and place the Basic Square Soap Mold on top of the mat. Outline the mold using a pen. The pen outline will wash off nicely before use.
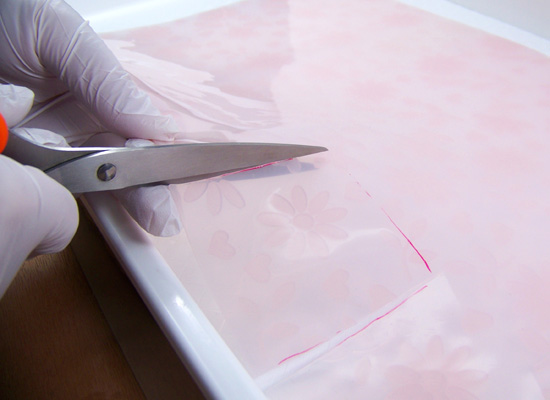
Step 2: Cut carefully along the pen outline.
Step 3: Once you’ve cut out all of the inserts, wash each and pat dry. Test by placing each fondant mat insert inside of the mold cavities. The imprint design has to be placed face-up. You may need to make small adjustments to the inserts by trimming up the edges slightly. The key is to have a nice tight fit inside the cavities with the inserts lying flat along the edges.

Step 4: Now that you have the mold prepared, cut up 12 ounces of the Ultra Clear Melt & Pour soap base into small cubes using a sharp knife and place into a microwave safe glass container.
Step 5: Melt your soap base in a microwave in 30 – second bursts until melted. Do not burn or boil, this will result in a poor quality rubbery soap. If there are any small chunks of soap left, stir slowly; the heat of the soap will melt these small chunks.
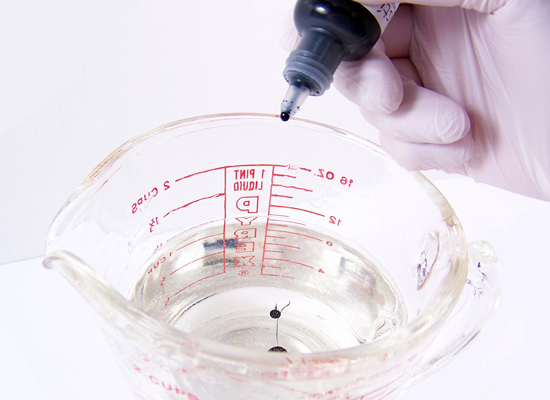
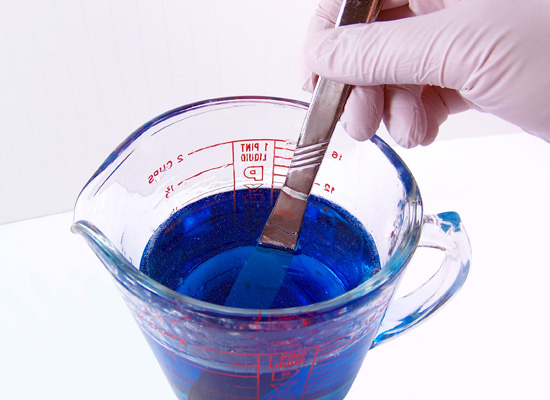
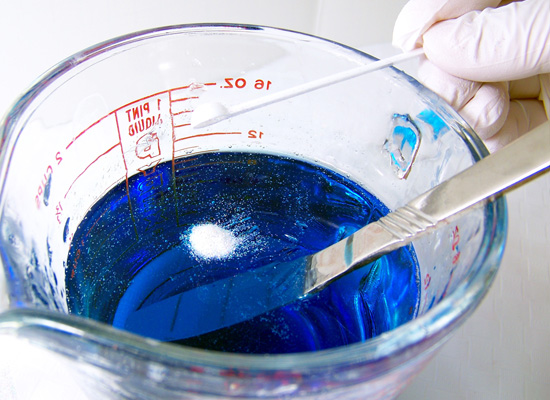
Step 6: Add 6 drops of Sapphire Blue Gel Soap Colorant to the melted soap base and stir slowly.
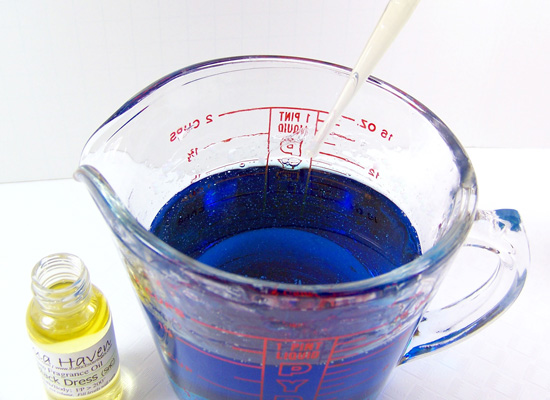
Step 7: Using a disposable pipette add 2.5 ml of Little Black Dress fragrance oil. Stir in slowly until fully incorporated. Always stir your soap base slowly to avoid forming bubbles in the soap.
Step 8: Using the .15cc scoop, add 1 scoop of Diamond Dust Glitter for a little pizzazz. Stir in slowly.
Step 9: With your thermometer, make sure your soap base is around 130 degrees before pouring to prevent warping the soap mold. If it looks like your soap has cooled too much and formed a skin on top, melt in the microwave using a quick 15 second burst and stir slowly. You don’t want to pour chunky soap into the mold…it won’t flow nicely over the inserts.
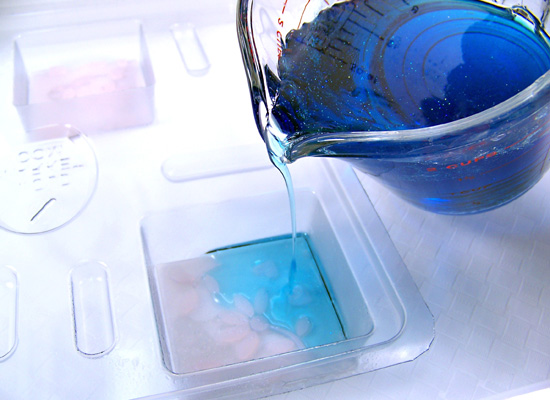
Step 10: Spray the inserts in your mold with alcohol to help the soap pour evenly over your inserts. Pour slowly.
Step 10: After pouring soap in all cavities, spritz the top of the soap with alcohol to remove any bubbles that may have formed. Wait 2 -3 hours for the soap to completely harden.
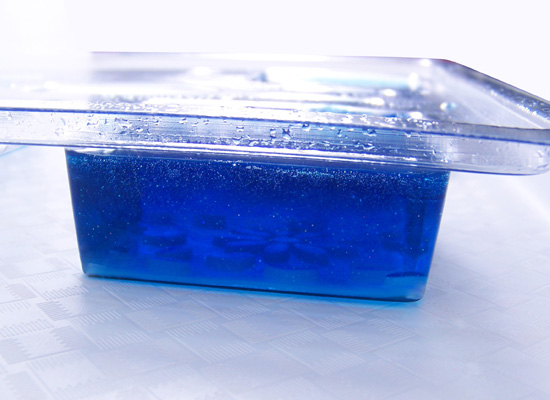
Step 11: After the soap has completely set, turn the mold over and slowly press on the bottom of each cavity to release the soap. Do not force it. If the soap won’t come out, wait another 1/2 hour or so. You can even pop the soap in the freezer for 5 minutes then try again.
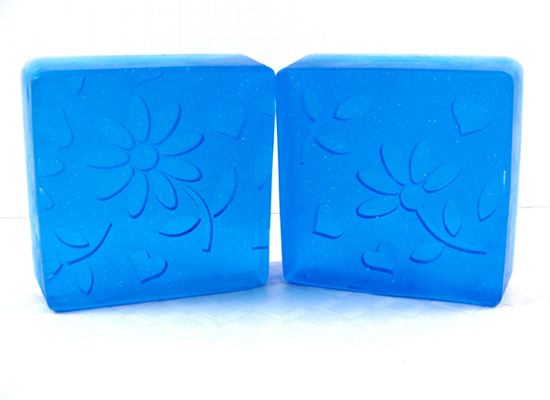
Step 12: Place the soap face up and peel the fondant imprint mat off the soap slowly, starting at one corner.

Step 13: You may have to clean up the edges of the soap. Many times a quick rub using a paper towel along the edges is all that’s needed.
Have fun!!