by Debra Ryan
These are great for testing new fragrance oil or making several varieties of scents without wasting a whole bunch of oil mix and sticks. The 12ml. Refresher Oil Base plus 6ml. fragrance oil blend is enough for 23 sticks. 20 is a much more workable number – sometimes there is extra dip and sometimes it’s all soaked up. Either way, in most cases it’s sufficient. I currently have 60 different scents I make in incense, so small batches are great.

incense sticks and cones
Supplies for a 20 stick batch:
20 – 11″ incense sticks
12 ml. Refresher Oil Base or DPG (Dipropylene Glycol)
6 ml. high quality fragrance oil
1 Glass test tube 25 x 250 mm (10″ tall)
2 Disposable pipettes
A permanent marker (optional, but it helps later uses)
Holder of some sort to keep the test tube upright
Drying rack
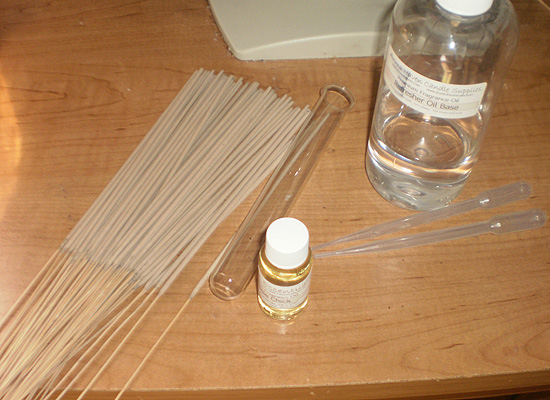
supplies needed to make 20 incense sticks
Step One
We start with a clean, dry test tube and add to it 12ml of Refresher Oil Base using a pipette. Pipettes usually go to 3ml at the most, so just add until you reach 12ml. Now I mark the test tube with permanent marker so I don’t have to measure again when the tubes are used later.
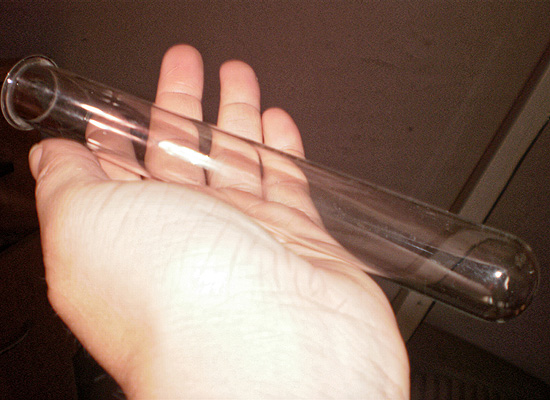
begin with a clean, dry test tube
Step Two
Measure and add 6ml fragrance oil to the Refresher Oil Base. A 50/50 blend is a great tester. I have some scents that only need a 25/75 blend but that’s why small batches are great for testing.
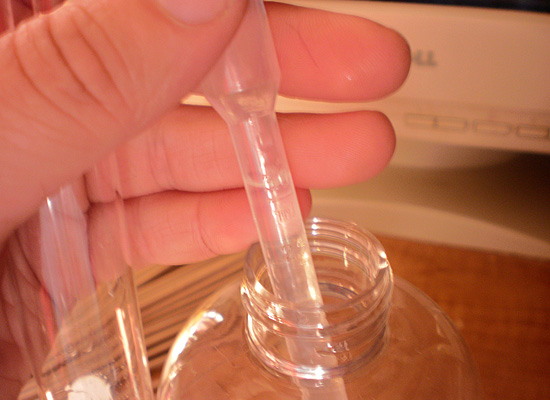
add 12ml of Refresher Base using a pipette
Step Three
Mix the oils together – I just put my thumb over the top of the test tube and gently shake the oils. Some fragrance oils float and some sink – both are normal because it’s simply just a density difference.
Step Four
Put the incense sticks into the dip. They are only covered to the first quarter but in three days they will all soak up the mix.
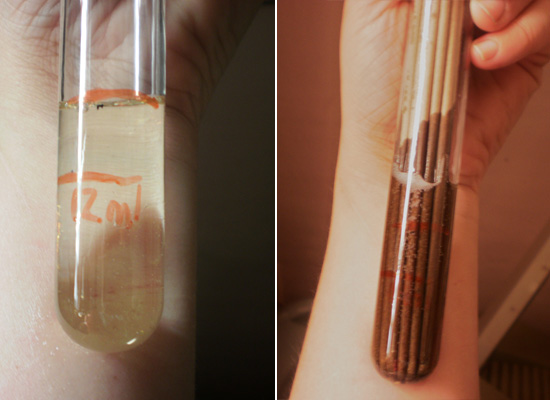
put incense sticks into dip and let them sit for 3 days
Step Five
We are finished with the sticks for the next three days – the soaking process can’t be accelerated although warm dry temperatures do seem to be better than cold wet days. We need a place to put the tubes. My set up simply consists of broom holders mounted to the wall. You can also use test tube racks or a box/basket that won’t be disturbed and can keep the tube upright. Any of those will suffice.
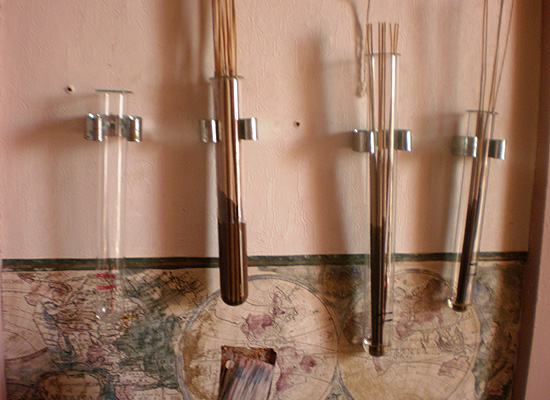
my set up consists of broom holders mounted to the wall
Step Six
In about three days the incense should be nicely soaked. (If they are not soaked all the way to the stick bottom, they need more time to soak.) They are ready for drying. Remove the sticks from the tube and place them on the drying rack. Mine drying rack is covered in window screen so I can also use it for incense cones. Leave alone to dry – this also takes time. The test for dryness is when you run them over a paper towel and there is no residue.
Step Seven
Incense is ready to be bagged and marked with scent name, your business information, and a warning & instruction label.
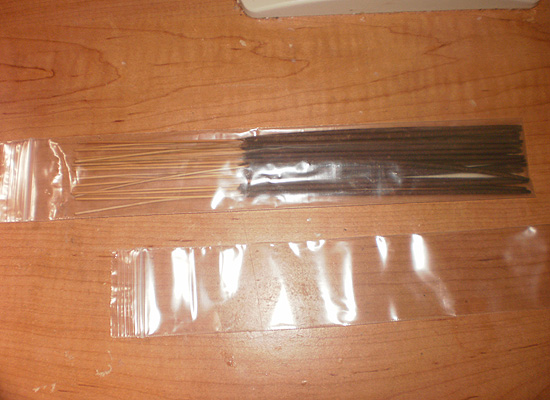
bagged and ready for sale