by Karla Gragg
Candle making equipment, candle wax, candle dyes, and fabulous fragrance oils are available at Rustic Escentuals! Just use the handy hyperlinks below.
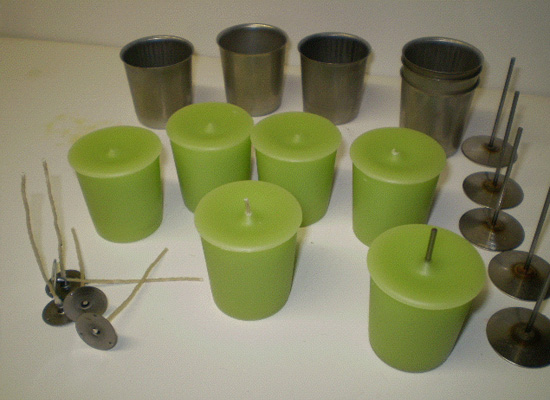
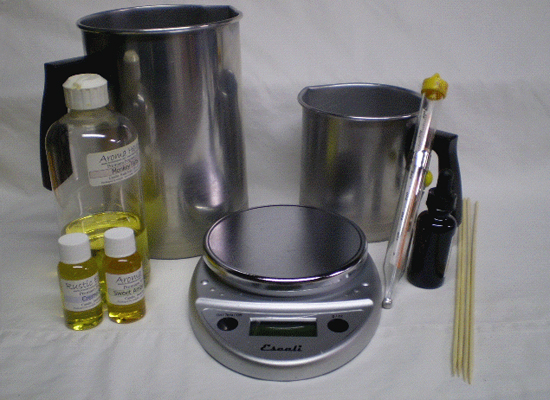
First – Gather everything you will need:
Candle wax
Digital Scales
Fragrance Oil
Candle Dye(s)
Pour Pots
Thermometers
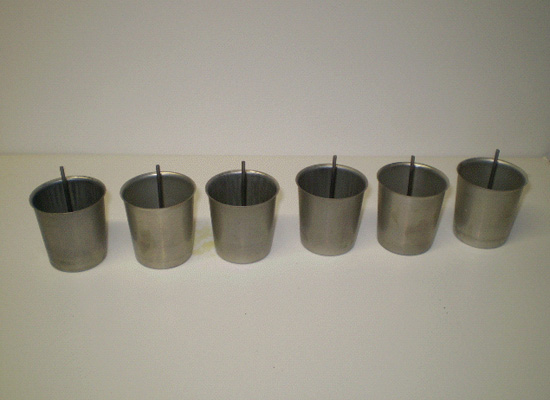
Votive Molds and Wick Pins
Wicks
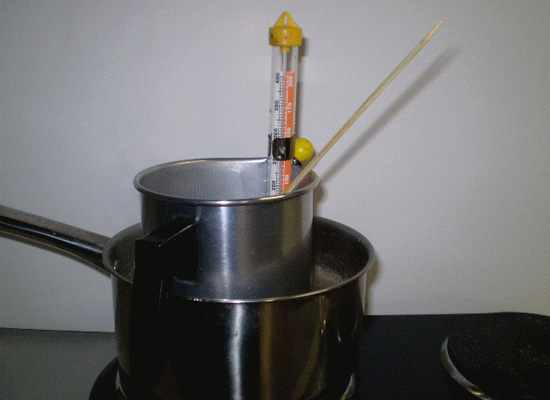
Using your selected method for safe wax melting (Presto Pot and/or double boiler), melt your choice of wax and heat to manufacturer’s suggested temperature. In this tutorial we’re using a paraffin wax which we’ll heat to approximately 185°.
Set pour pot on digital scale and tare. Transfer needed amount of wax to pour pot – in this tutorial we’re making six 2-oz votives, so we’ll need 12 oz total. We have transferred 11.5 oz of wax, and added .5 oz of Rustic Escentuals wonderful Lime Freeze FO. Stir well (approx 2 min). We have also added Rustic Escentuals Green Apple Premium Liquid candle dye.

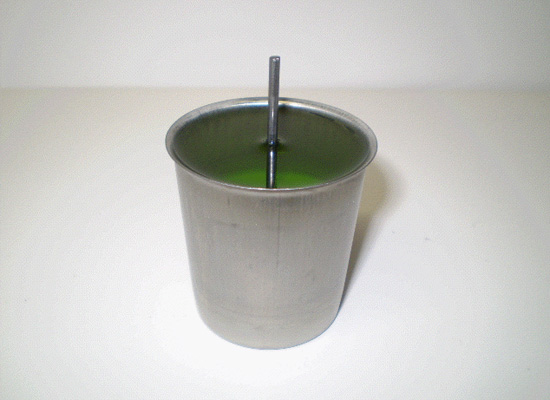
When mixture has cooled to approx 170° pour into votive molds. Note: Don’t overfill – you need to fill to just below the top of the lip because you will need to do a second pour.
Keep remaining mixture heated to approx 160° while monitoring the first pour.
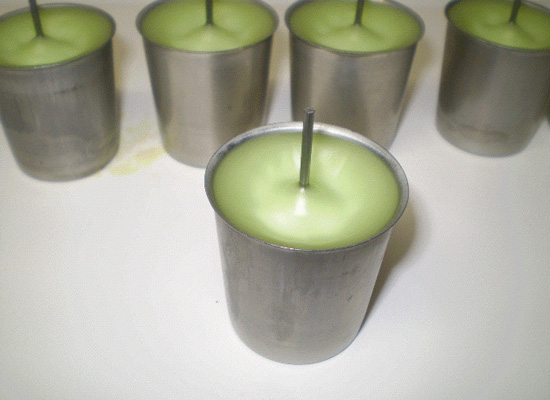
Once the first pour has cooled enough that it has stopped shrinking, it should look close to the below photo. Although some candle makers will wait until they are completely cooled, even overnight, I do not. I do the second pour while they are still somewhat warm as I find it ensures proper adhesion of the two layers.
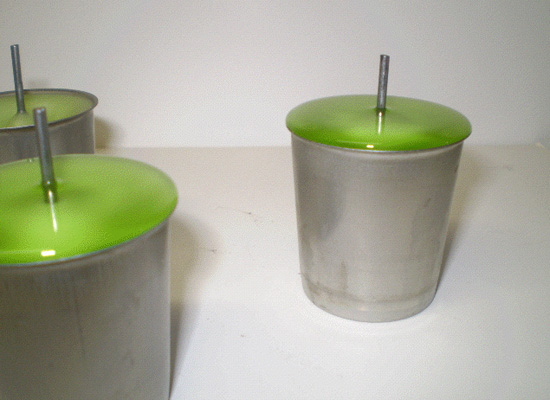
For the second pour fill to the brim! You will still have some shrinkage, so for a nice even top you’ll want them full.
Now let them cool completely. If they don’t fall out by simply inverting the mold, give it a firm, quick tap on a sturdy surface – this should loosen them, and then they’ll fall right out. Remove wick pin, insert wicks, and you’re ready to enjoy!